Planing
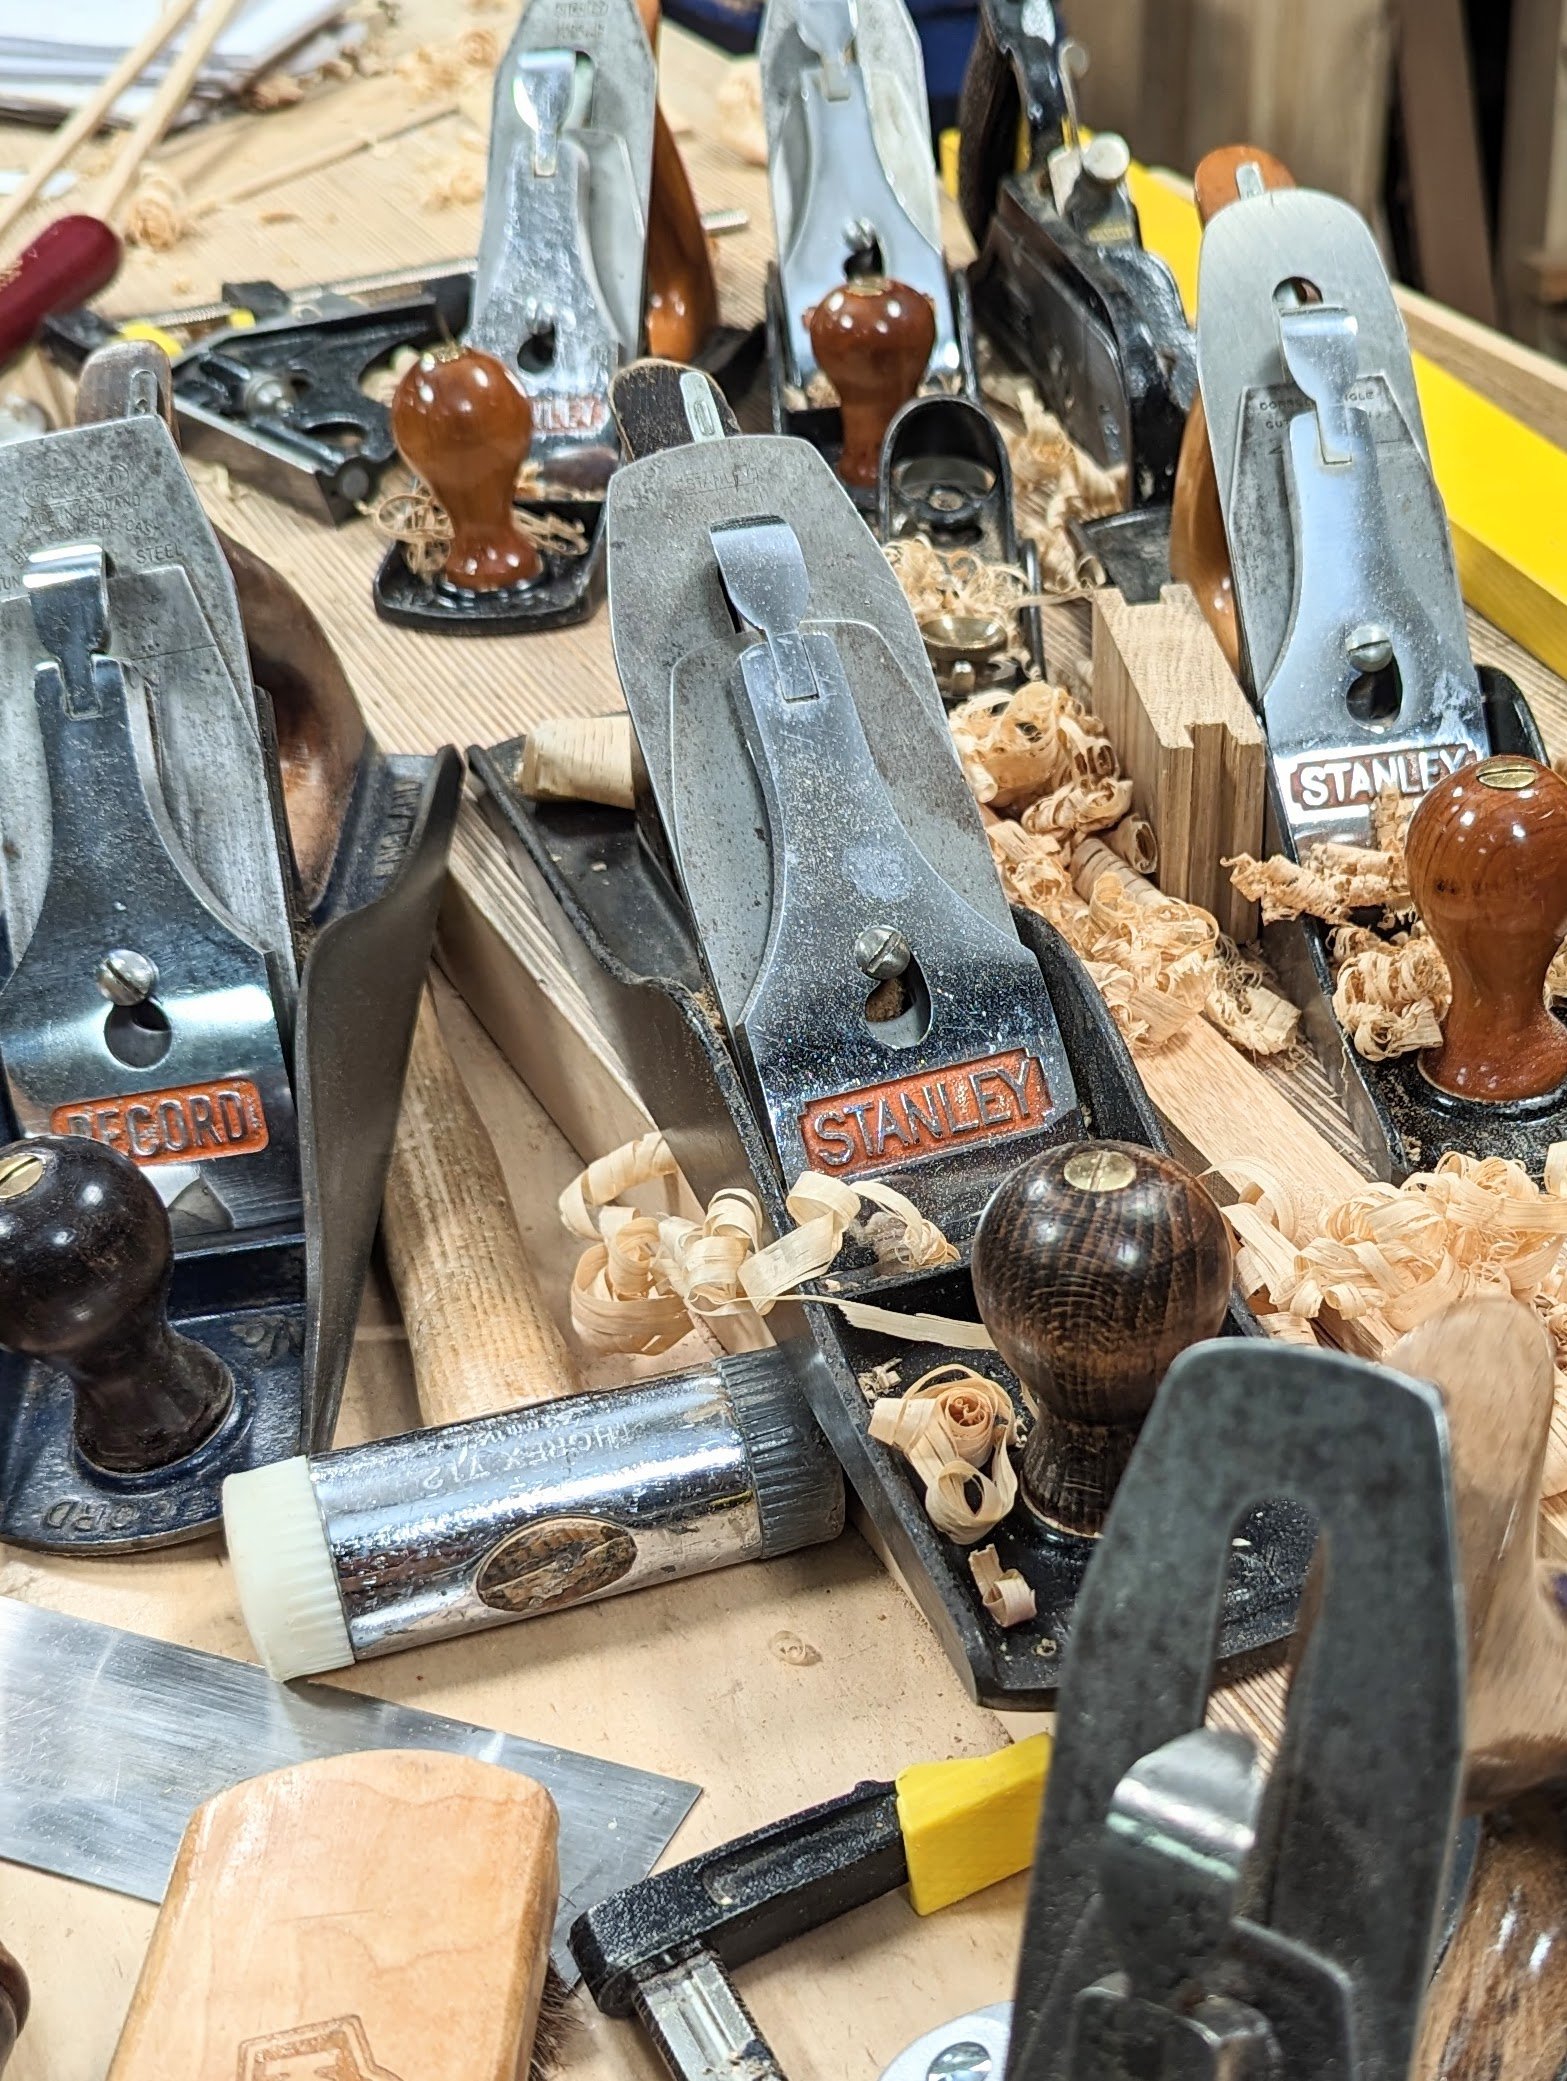
It looks excessive and might be for some but it’s not in the life of a productive maker. Woodworking with hand tools in the life of a productive worker must be strategised throughout. Strategic planing soon becomes a way of life when you are a full-time maker but anyone can adopt the practice to make them more efficient and the sooner you understand the reasoning the sooner you will save time. For me it was an evolving process and it been for almost six decades for me to arrive. You don’t need to wait. Nothing’s changed except my more creative knowledge of how best to work with each category of tools: that’s planes, saws, chisels, hammers and so on. Strategic planning is not something I plan but something I practiced according to need decades ago. This is what gets my work done and I want the instancy from each tool chosen and especially the plane picked up, worked and put down in a position ready for action when I need it. This is less about how they are placed generally on my bench. I place three in order and from left to right know where the #4 scrub plane is in relation to my other #4s. If it’s not in its bay (a sloped tray that takes three planes side by side) I can tell by two things which plane is which of two #4s I use all the time in wood prep. The handle on my adapted-to-a-scrub version #4 has a slightly larger handle though I doubt you could tell. It also has identifying pinpoint pin knots to its tote. Three of my planes have yew handles. This sets them apart from the rest anyway. Identity is everything.
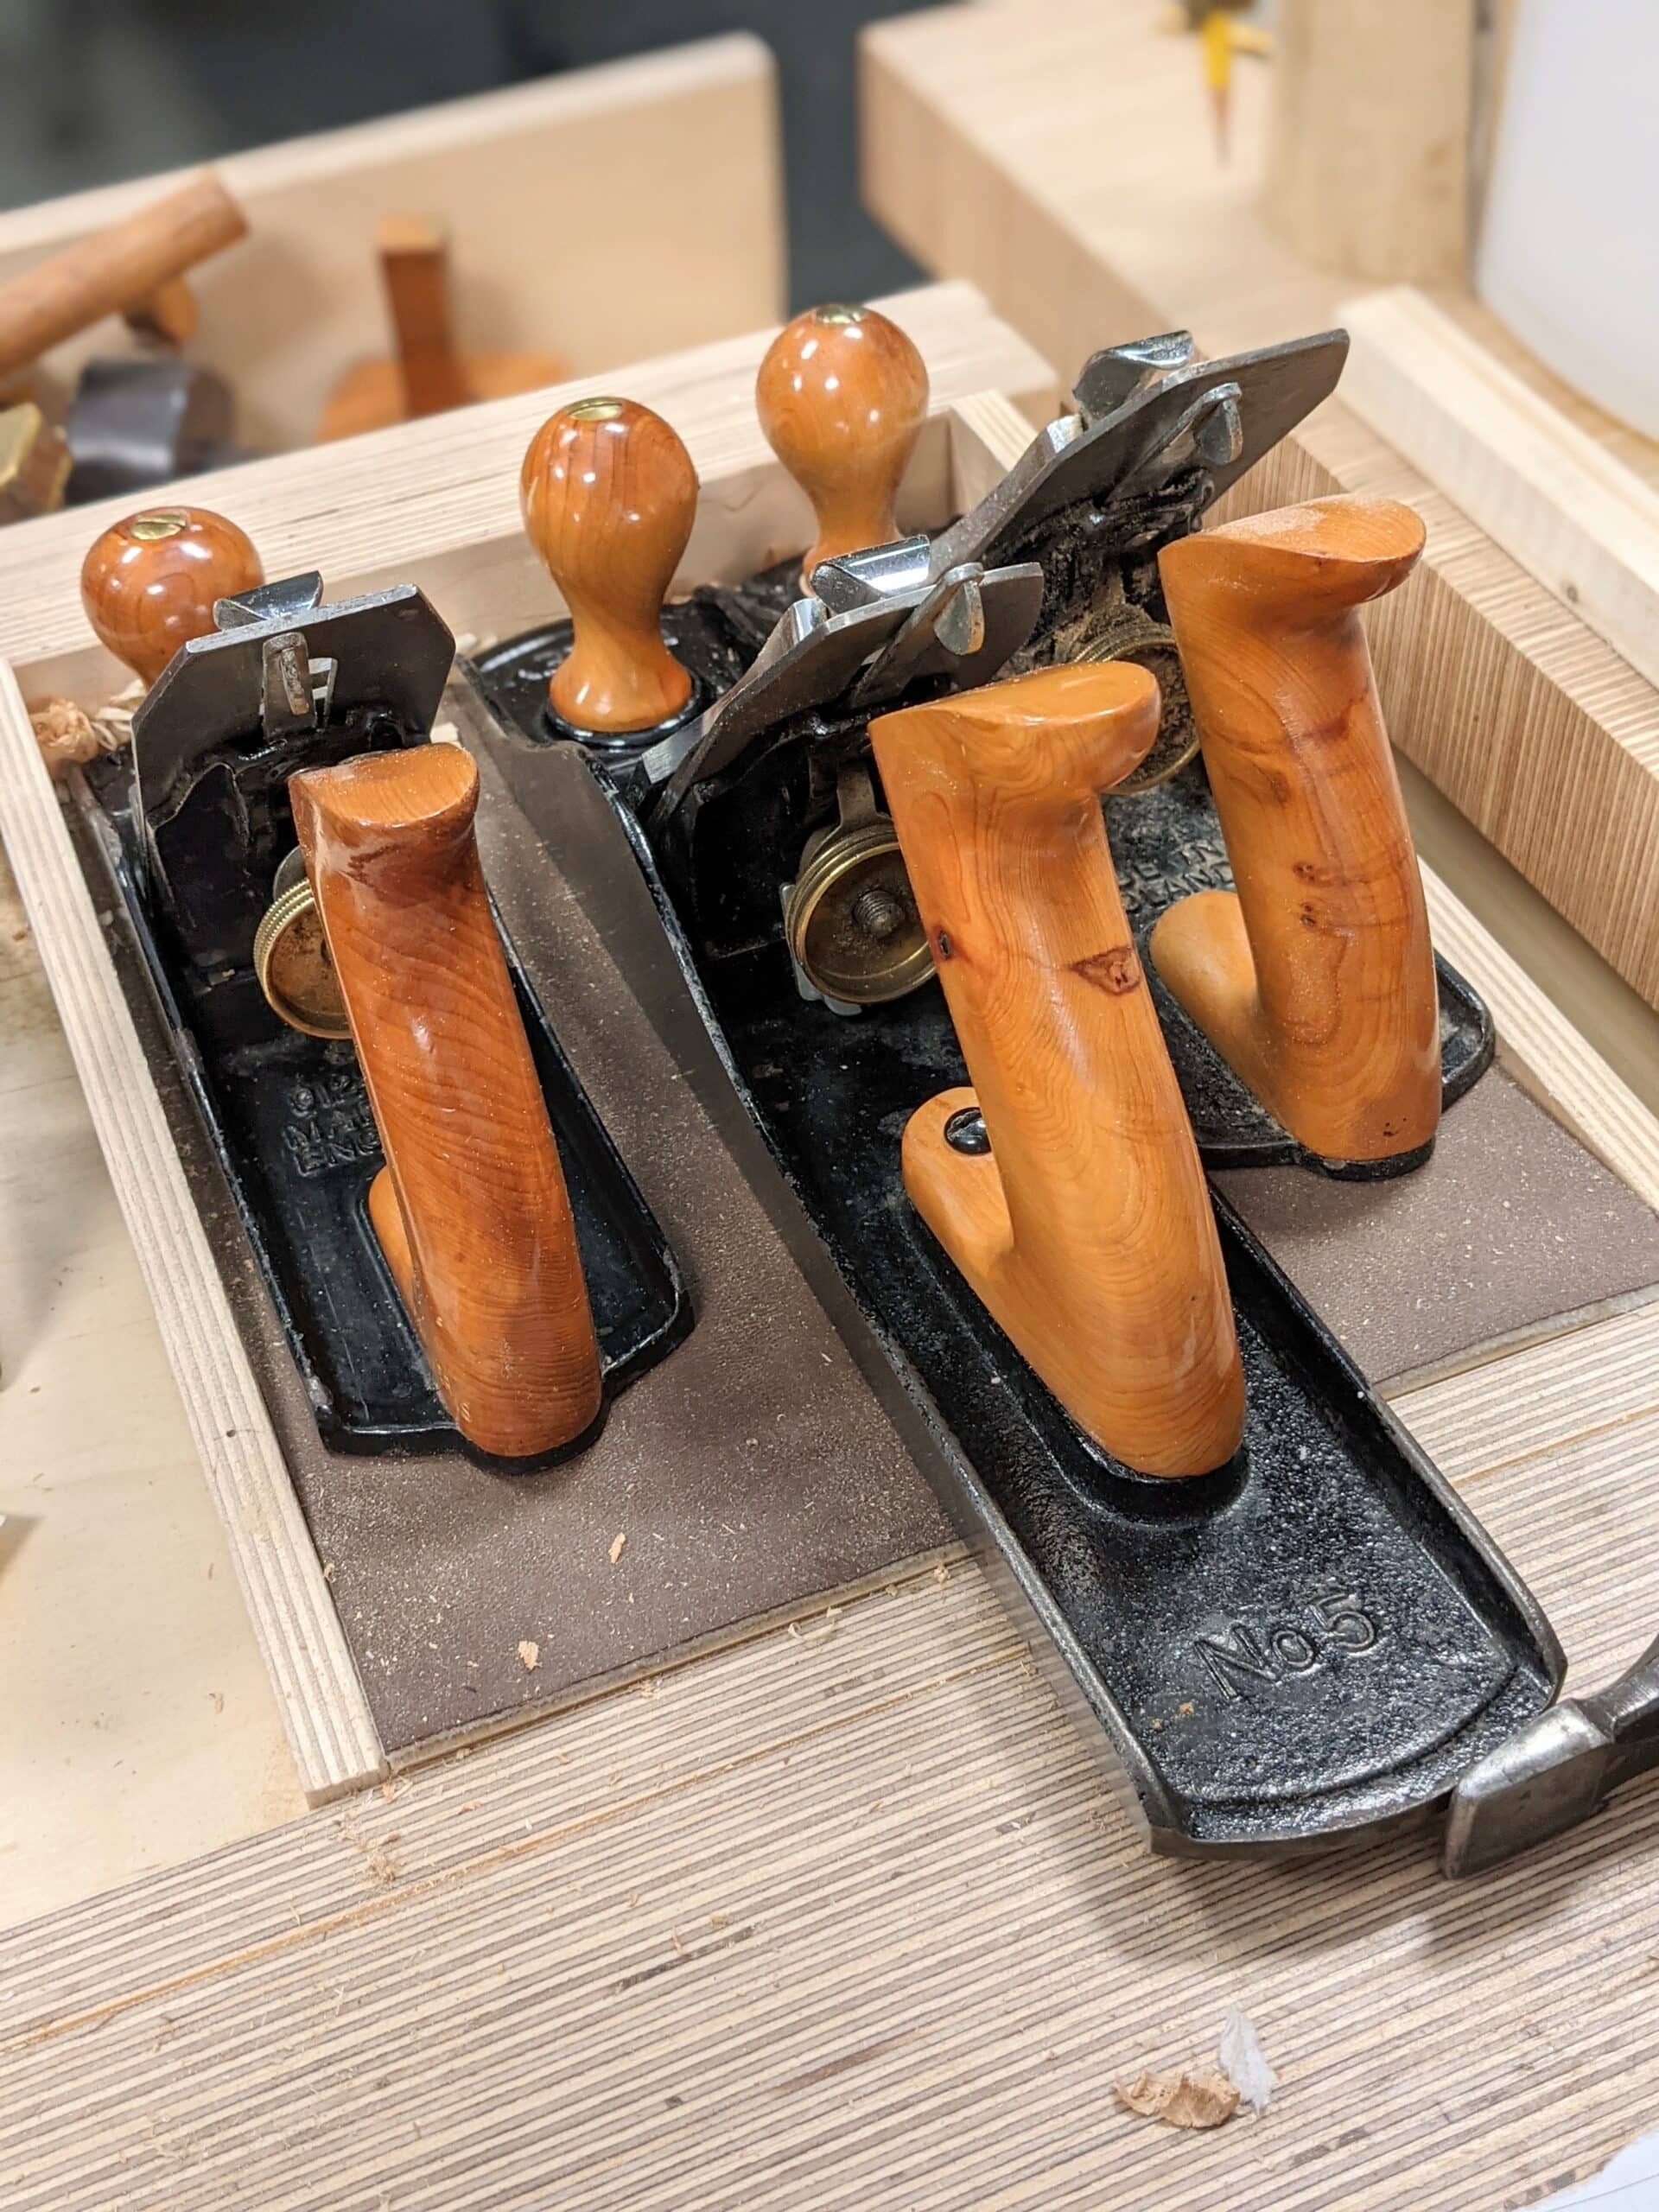
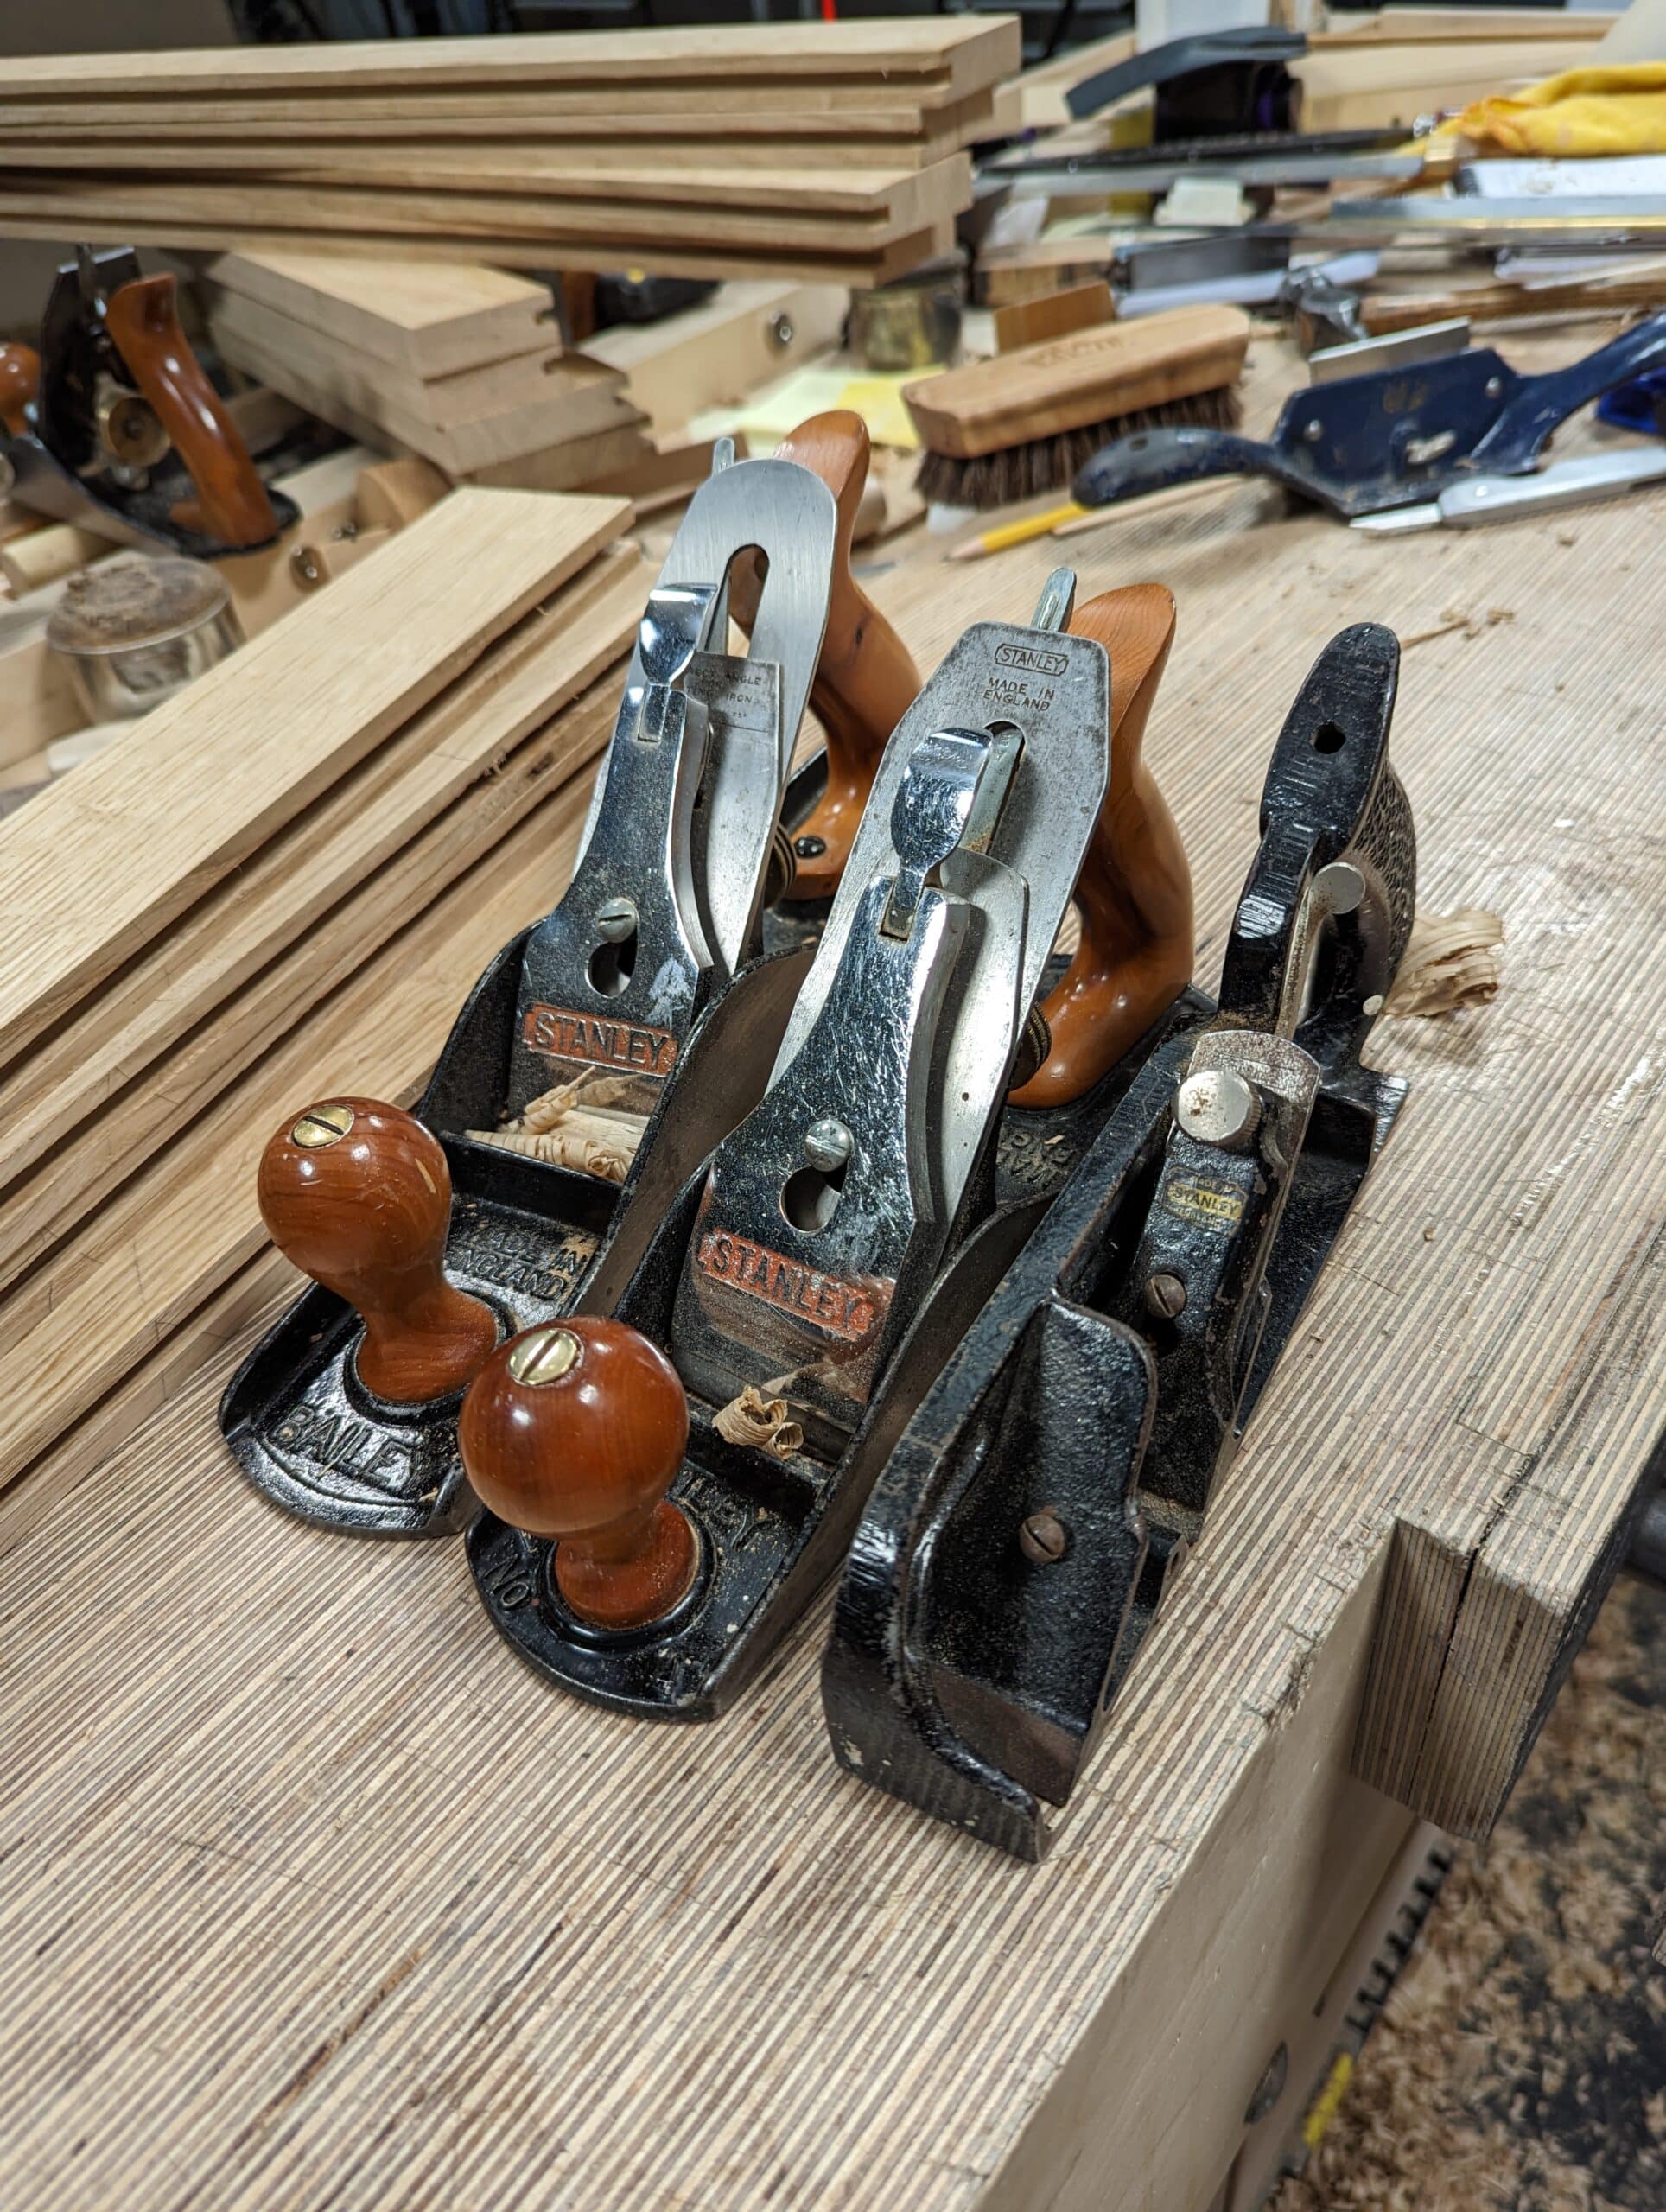
My most used planes are my #4 and #5 smoothing and jack planes respectively. Two #4s mean I can split my use time between two and have a refining set of shallower depth on the one and an alternative deeper set to the other. It’s always the same way; yew is for fine work, stained beech for deeper cuts that tackle any remaining defects like slight cups, bows, twists and crooks. My #5 is another refining plane. I should say here that my scrub planes go ahead of these and do all of the donkey work to take out 95% of wood defects. They must be used carefully as by nature the blade protrudes much more heavily than refining planes and this being so any inclined grain pockets rising against the direction of the cutter will rip and tear. I have grown accustomed to sensing grain through the plane itself in an instant and can flip it around to a pull stroke in a heartbeat and before too much damage-by-depth takes place. That said, sometimes it is beneficial to go against such grain as these can maximise the removal of material and keep the plane pulled by the grain to the surface. The trick is to know when to stop and turn the plane so that enough wood remains to refine the surface through any subsequent strokes with the plane.
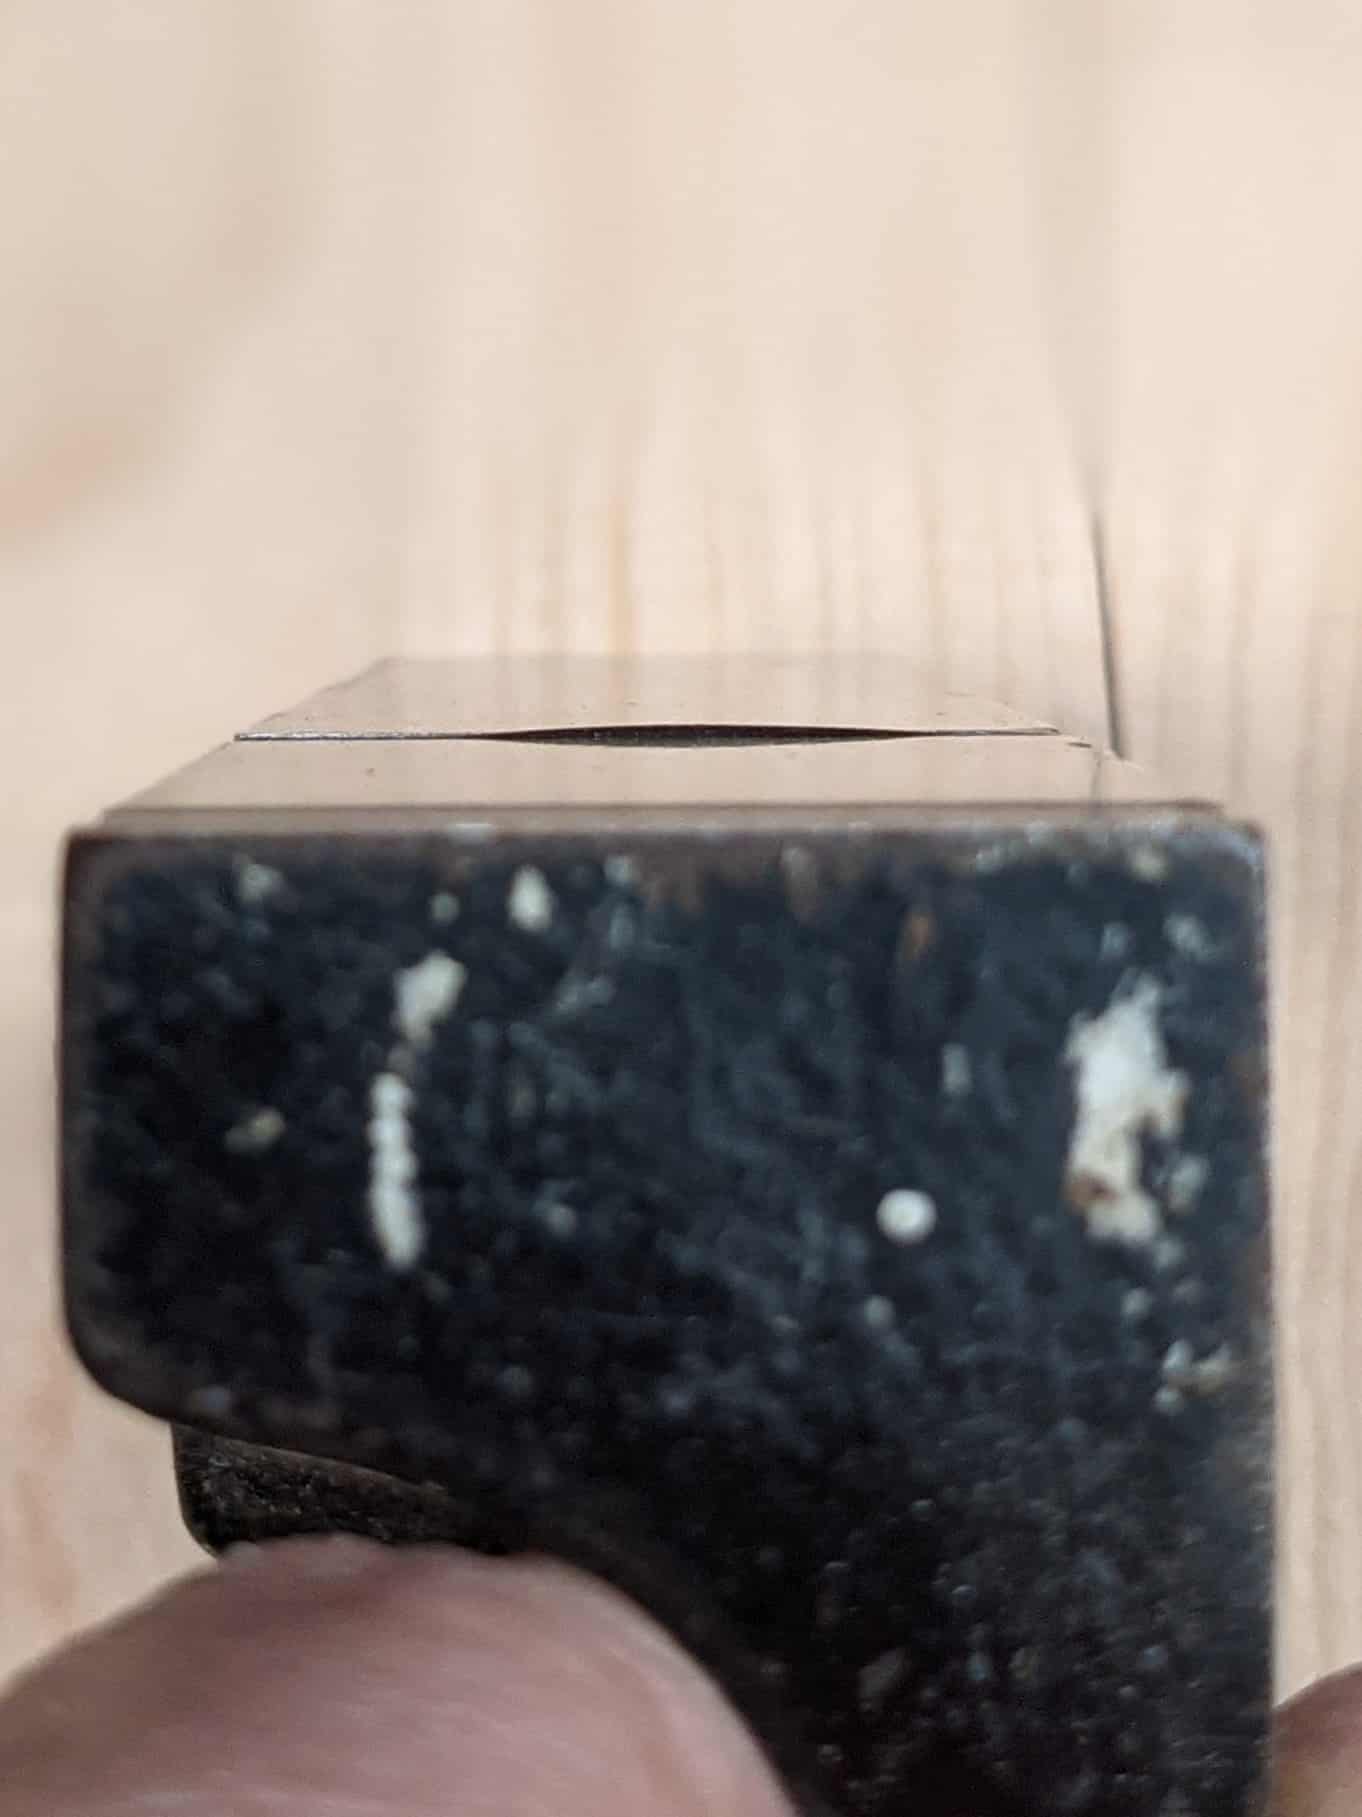
I have grown to love my two scrub planes for what they offer me in the day-to-day of preparing my material for final refining. This practice is not new but old. Vintage wooden planes went through various restorative processes as the soles wore down and their mouths gained a wider opening. That would most likely be after 50 years of use. Wood is a surprisingly resilient material and especially beech, the predominant wood used in British and North American hand-plane making. Such planes were ready to use as scrub planes with no more adjustment. The wide mouth gave gain and heavy shavings achieved the goal of heavier cuts and a mouth open enough to allow the expulsion of thick shavings. Cast metal planes are less accommodating and the mouth must usually be filed to open them up.

This past week or so I have been making large panels and doors for the wardrobe I am making. Four panels have about 40 pieces each and those 40 pieces have four faces that I hand planed to finished size so 640 surfaces straightened, trued and finessed by simple planes. I was glad for my strategy. It worked, kept me sane and kept me exercised. The same planes have and will surface plane the panels and the frames after gluing up.
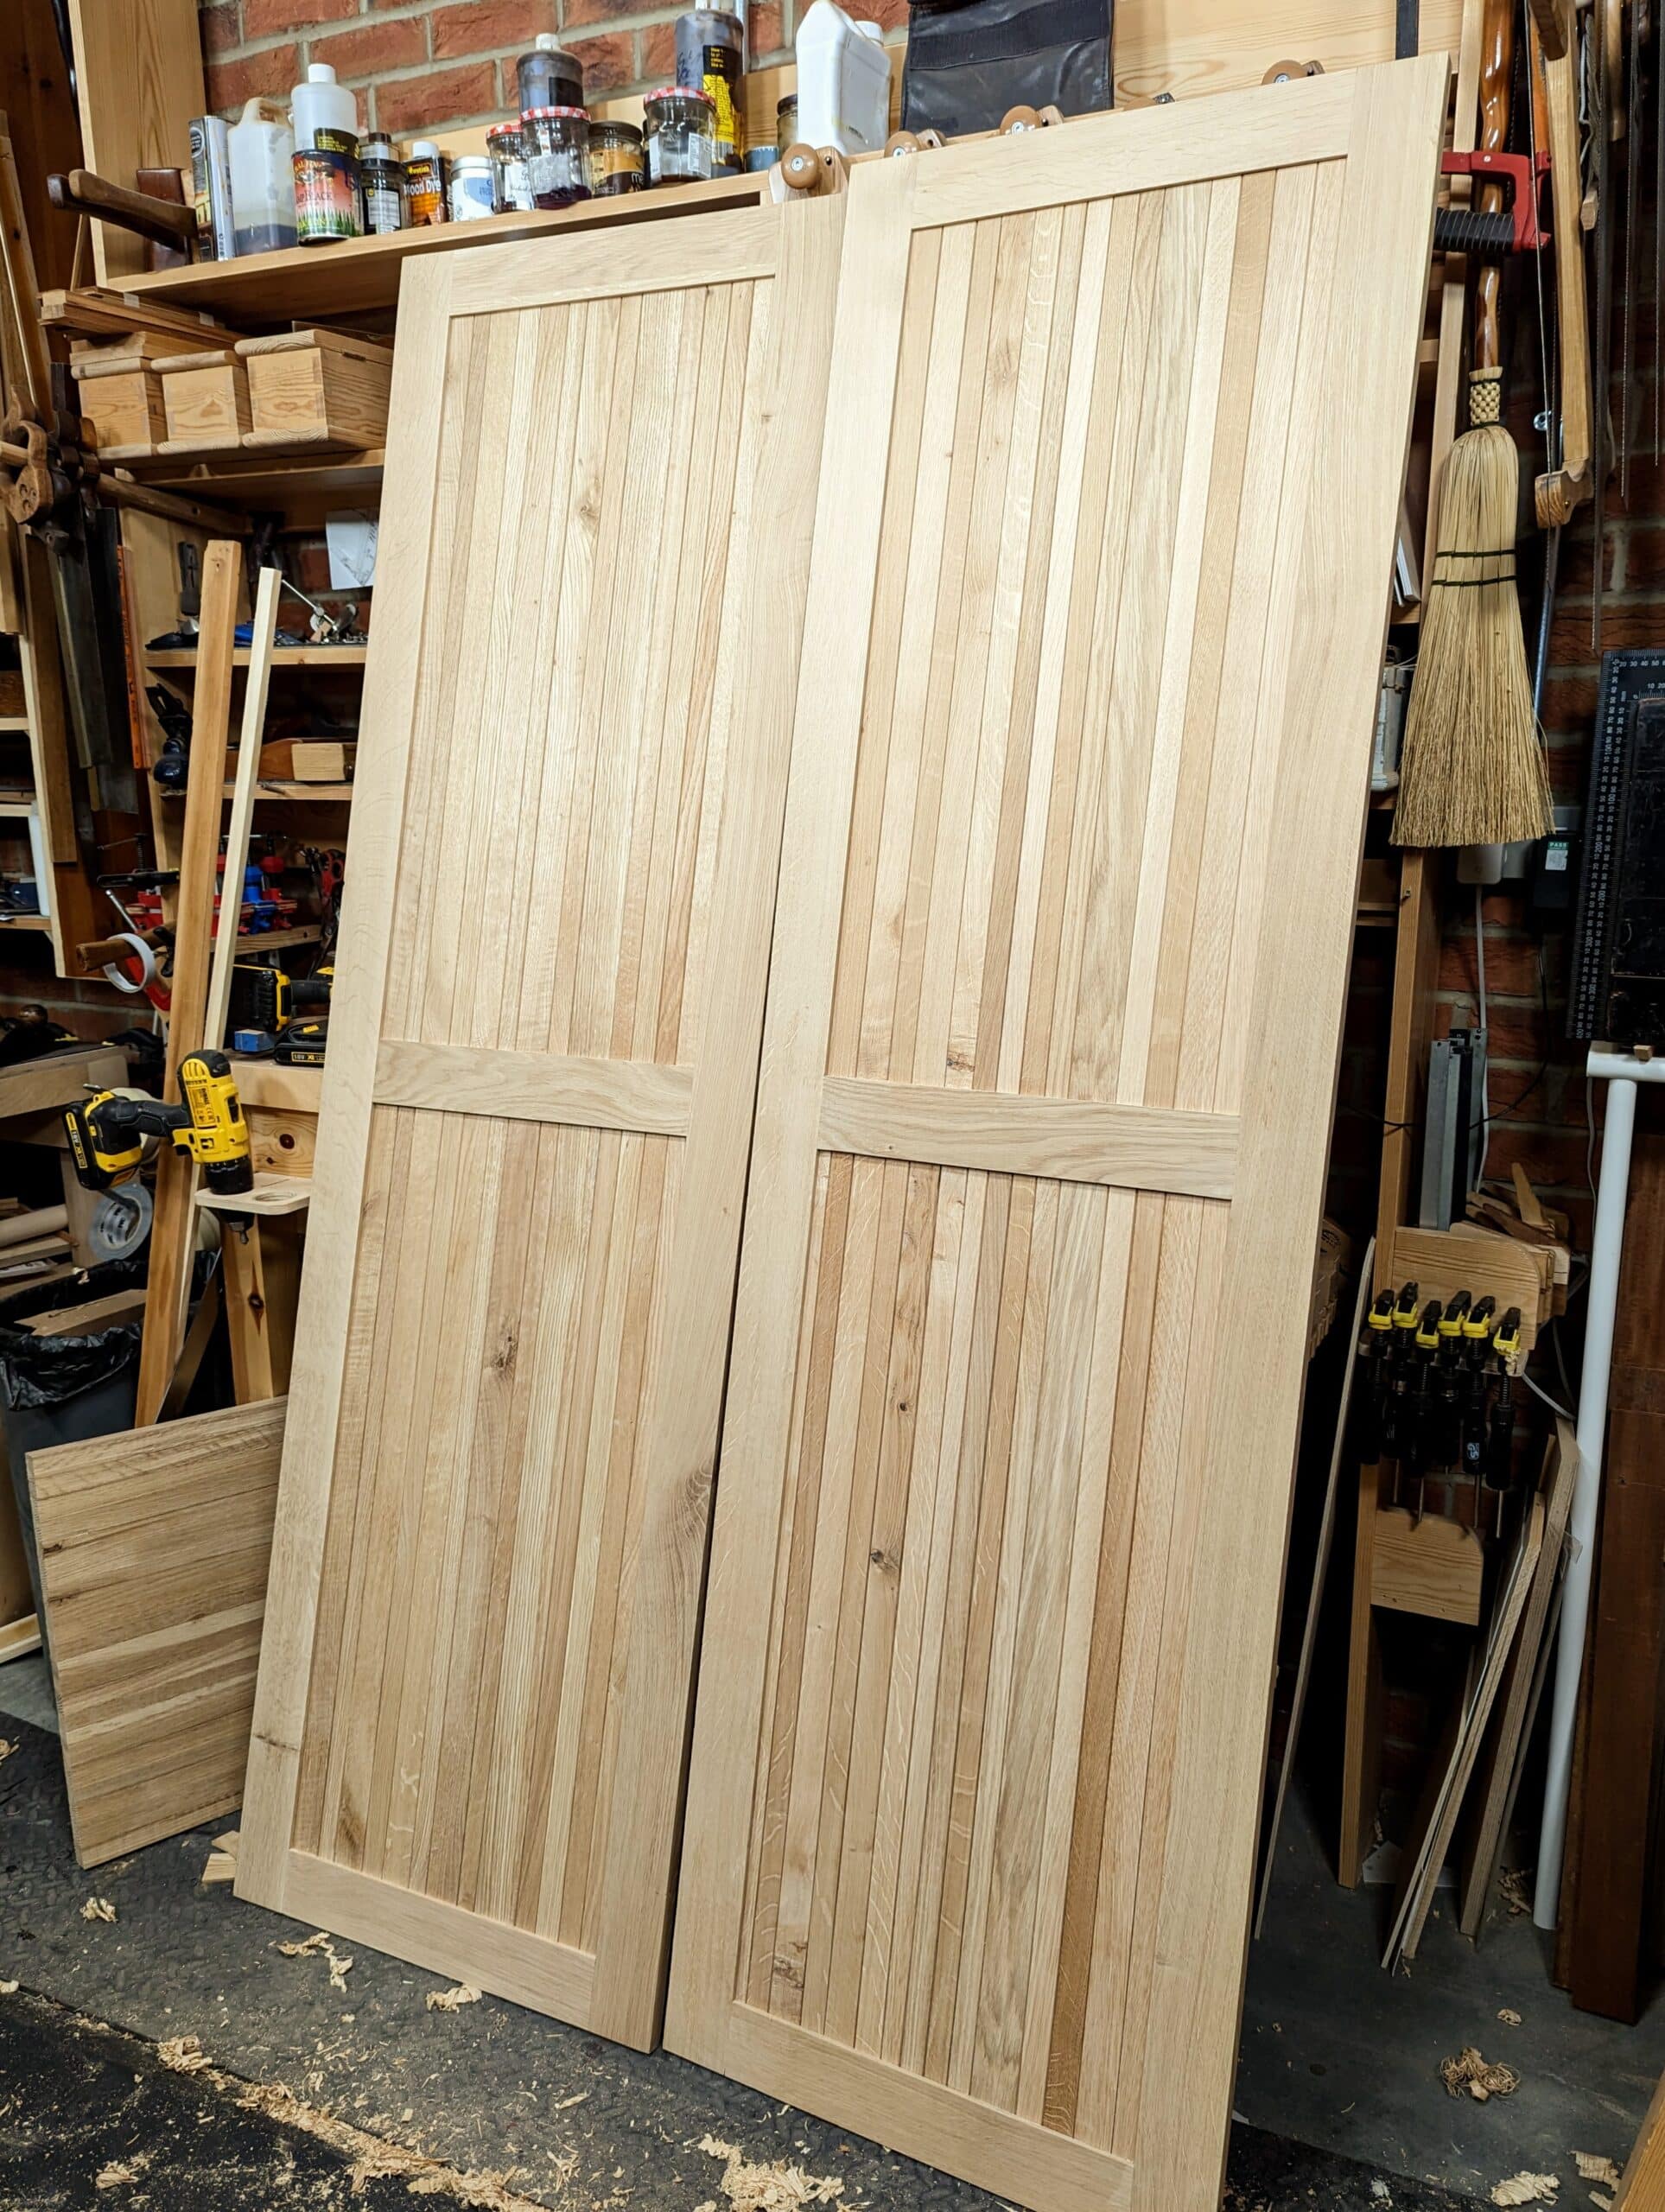
I cannot imagine tackling all the planing for these side panels without the adaptation of my two highly efficient scrub planes. Soon I will be assembling the carcass for the wardrobe and the I have doors and a drawer to make.
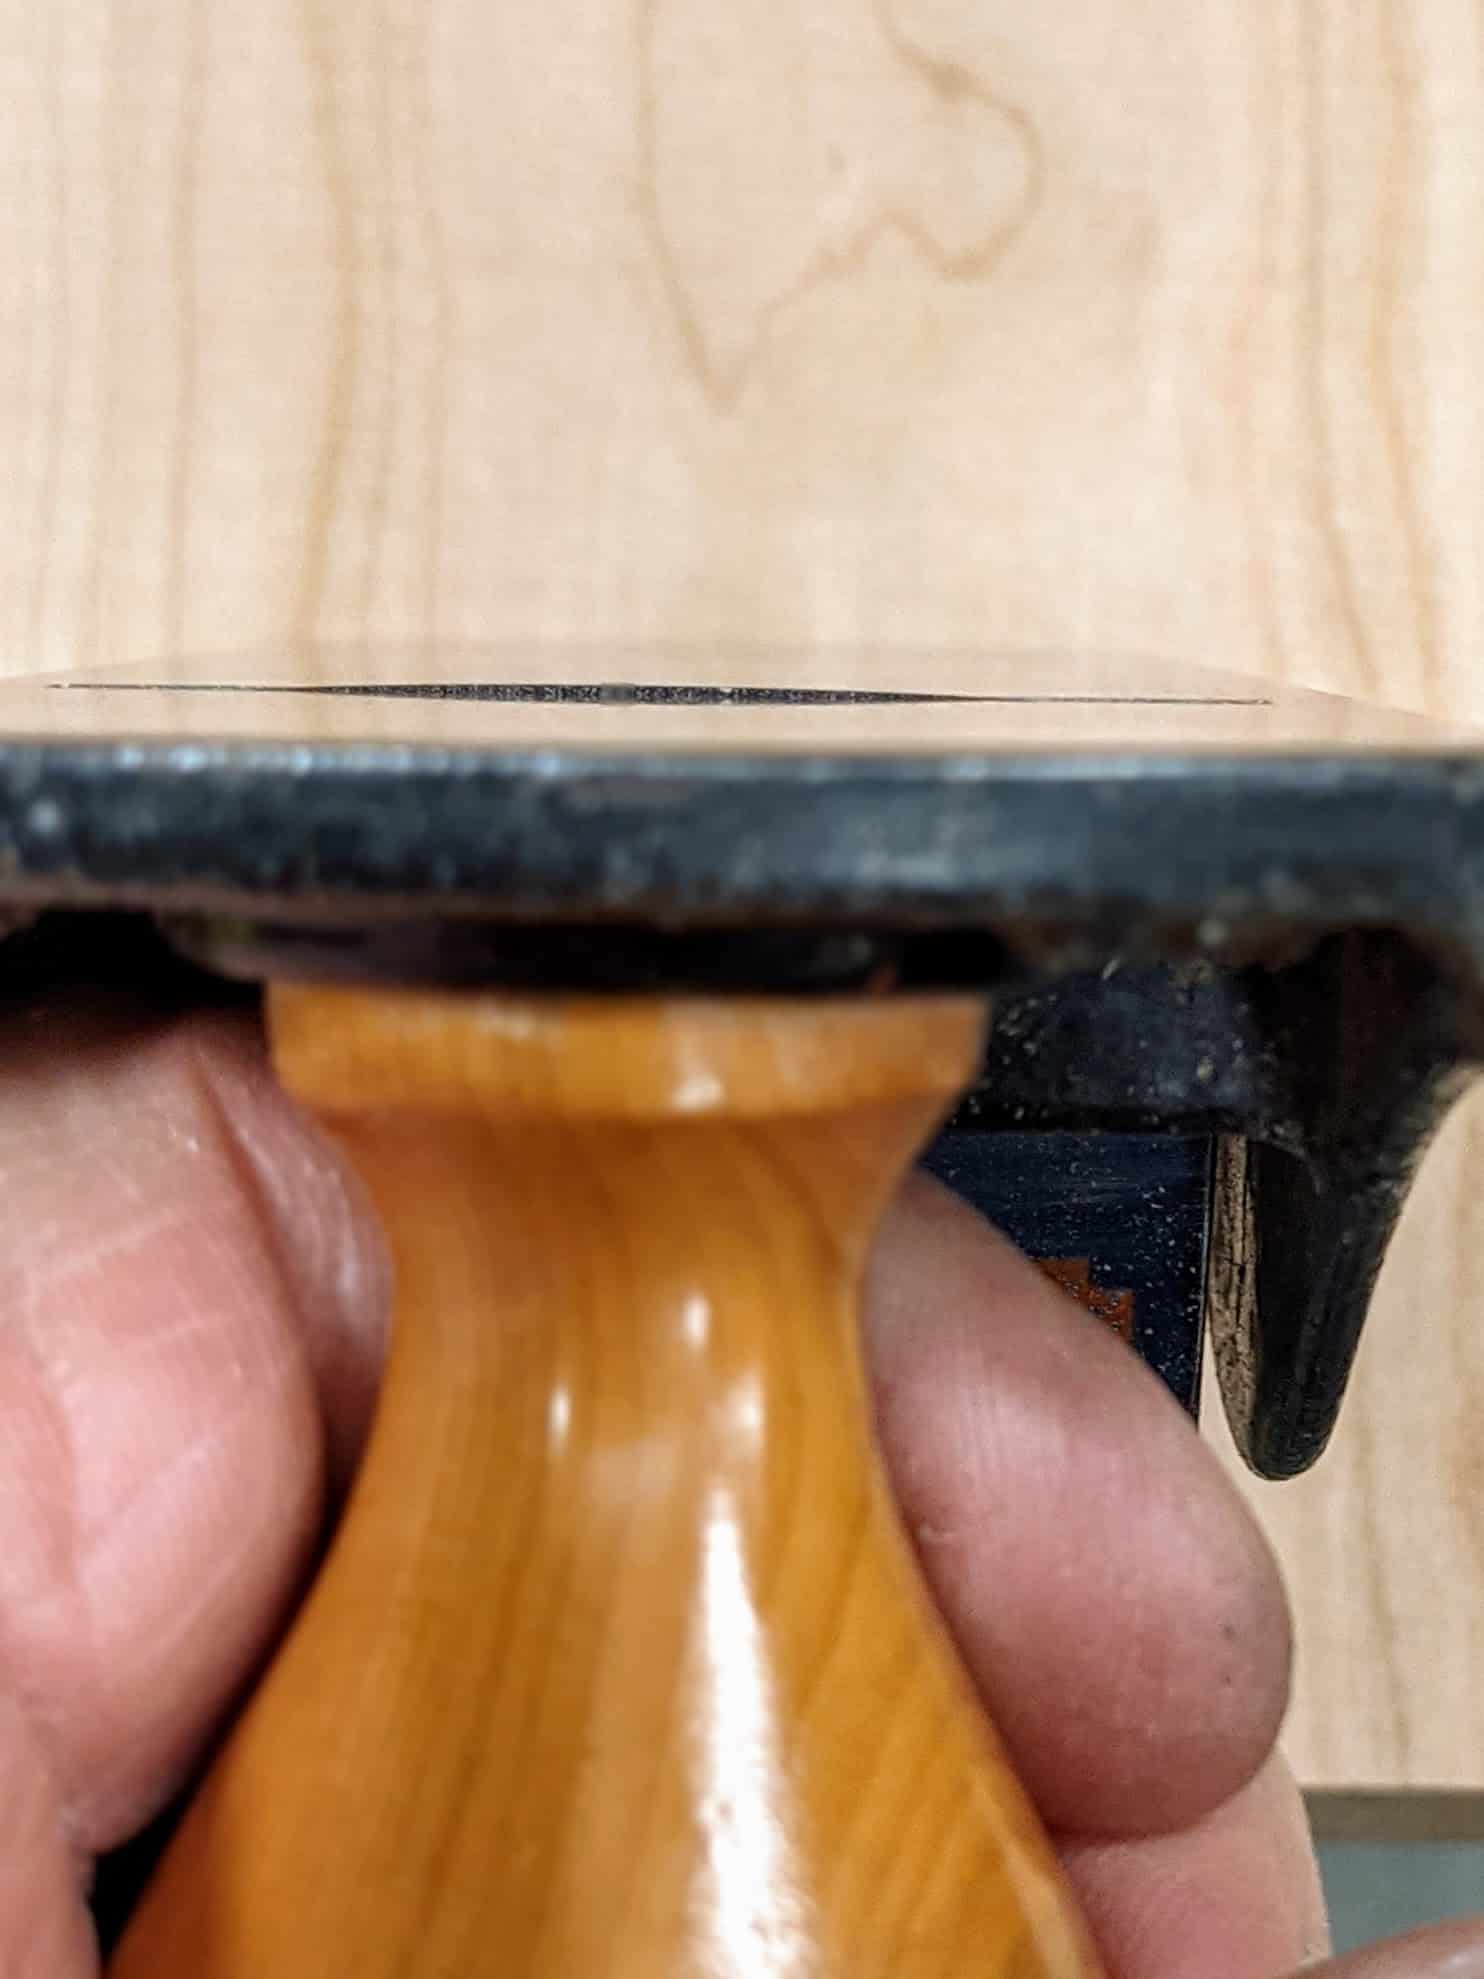
My #4 adapted scrub plane above gives a wider cut and follows on after my adapted #78 below.
Following on from these is a breeze with any other surface planing.
I love those wardrobre doors Paul, very beautiful indeed. Some of the designs for your house have been stunning, but those doors stand out for some reason. The two pieces (or one piece cut in half?) you’ve chosen for the centre rail just draw you in. It’s that sort of thing – the choosing of which piece goes where – that I am largely clueless about. I suspect it’s partly because I’ve generally only got enough timber to just finish a piece and no more, so there’s rarely any wiggle room, the larger part is lack of experience. I suspect, also, that because I’ve rarely done furniture items for other people’s homes, I’ve never got into the mindset of making something really beautiful. In fact, it’s probably only in the last couple of years I’ve developed the capability of making anything beautiful, so perhaps I’ve still the best to come!
Off to check out #78s on ebay!
I love your posts and appreciate the effort that goes into making them for us. I have been hoping for an instruction video on large door making.
Alain
Thank you for posting this. Do you have a video that shows the process of going from a rough plank to a finished surface? Also, what is the reason for the #78 plane vs the #4? Is it more sturdy, heavier, tougher ? Thanks!
Alain,
The #78 is a narrower plane so it takes less effort to push for an identical depth of cut as compared to a #4. As a result, one can (as Paul does) put a very heavy camber on the #78 and set to a heavy depth. It speeds the process of dimensioning lumber to size.
Makes sense. Thanks.
Good read Paul. Truly old school woodworking which I admire. My father built a chair for Henry Kissinger while in office and my grandfather built a desk for JFK that sat in the Oval Office. Your work is on another level, keep it up, we love it.
Thanks Paul. Because of you, I have a similar set up in my plane usage. Somewhere, I was reading up on wooden planes, I noticed one article that talked about how to help keep the throat narrow near the blade longer, a small portion of the front would be cut in the same direction as the back and then dog leg to allow the shavings to flow out. As such, as teh sole wore down, the throat would remain narrow for longer. It was quite clever and I don’t see it talked about much. Then again, how many use wooden planes any more. Am I making sense?
Paul: You’re as good a writer as you are woodworker. I’m a retired timber framer/contractor and am now able to concentrate on furniture. I have a 78 plane which I’m going to tune up. When I was timber framing, I found a #10 carriage makers plane to be the best tool for cleaning up tenons on 8X, 10X and 12X material. But it’s a little too bulky for more delicate furniture work. . . I recently bought a violin makers plane from Lie Nielsen. Love it for easing edges and such.
Hi Paul
Great write up. I am only learning and mostly use preplanned wood so far.
I wished to ask, for the cutters in your number 5 sized planes to you use a straight across sharpened blade or slightly cambered (but less so than a scrub) shape. or does it just depend on the work?
Tom
I sharpen square on with just the corners removed to feather-in any step down.
Making my own #4 scrub plane following your video from a few years back was a real step forward in rapid stock removal when preparing timber for projects.
I was fortunate to find a ‘Whitmore’ #4 at a boot sale for a couple of pounds which already had a (factory) wide mouth so no further opening was required, it came with a decent but badly sharpened Record iron which made it even better value.
I often keep the plane to hand when doing 1st fix site work as a couple of strokes can, for example, help rough scribe battens and bearers to brick or block work quicker and more efficiently than reaching for say a router or using suspect practice to notch with the cordless saw.
A #78 scrub is on the to-do list and I already have a 50p boot sale one ready for conversion.
Thanks Paul
Best regards
Christopher
I was thinking to myself the other day how confident I have become recently whilst using planes, suddenly it all seems second nature. I guess because I have been using one more for the last decade.
I do seem to have aquired a collection, 3 No 4s plus one as a scrub, and 2 number 5. They are all slightly different to use. Although I also have a 4 1/2 and 5 1/2, they get a lot less use. One of the 5’s has a semi scrub blade and the other just has the corners removed. Easy to tell them apart as there is a mixture of Stanley and Record and different handles. The scrub is an Acorn, with more curve on its blade than you used in your video.
I regret not developing this level of skill decades ago, but then it was infrequent use.
Yesterday all the links from your site took me to a blank page, not a webpage, the source code showed just the numbers 1 and 2 on it. But all seems fine now.
Dear Paul. I am in Canberra, Australia and have been tutoring new members to the Woodcraft Guild on how to set up their planes and sharpen a blade. We are mostly older people many retired with heirloom planes in various stages of decrepitude. I use your graphic image of the the plane with the cheek removed and your excellent labelling of the items (copied from your Thick V Thin Blog, 18 May 21) and people react to it very well. I got an old No 4 with the intention of cutting off one cheek so that I could demonstrate the actual functioning of the depth, lateral and frog – fore and aft adjusters but just could not bring myself to do it! Your recent images of setting the blade by looking down the sole is also very useful. Especially the curved scrub plane blade – and the concept of its use. Much appreciated.
I understand the reluctance to ruining a good plane but for me it was one of those inspired moments that led to my bridging the gap between false assumptions we might have as the users and the misinformation (even lies) put forward by plane makers and sales personel. Remember I had been teaching and training students at the bench one to one for going on three decades, 6,500 of them at that. Truth has a way of driving you but unfortunately we don’t all seek out truth because we prefer to believe in what we buy or want to buy. Want tends always to be our master and we become slaves to it. For me it was more proving the practical in a lifelong woodworking life with a basic Stanley or Record bench plane which are one and the same and Record planes were the first knockoffs of Stanley – so too are all other modern planes no matter the makers.
Here’s the thing. Had I not cut the side off the plane I would still be flattening the back of the plane iron to dead flat. Not a whole lot different than believing the earth is flat. Having done that one very radical step I now know beyond doubt what I felt a theoretical knowledge of but couldn’t attest to it with good conscience: that there is enough force aplenty in the lever cap on the cap iron hump to force the cutter down hard on the frog or the leading edge of the rear aspect of the plane sole. No one ever spoke of or I suggest knew this until I began my work to bring the better plane (Stanley bench planes made to the Bailey-pattern developed by Leonard Bailey) back to the everyday working artisan. Combine that with the reality that we almost never, and I pretty much mean never ever, ever, need to adjust the frog more forward to get the better cut than lining up the back of the cutting iron with the fore edge of the sole and you will see and understand what I mean. Seeing that lever on the lever cam closing down the gap across the whole width even with twisted plane irons is revelatory.
Paul, Enjoy your posts. Planing to plane projects saves me a lot of time. When nothing fits, others think they have to drive somewhere, go buy something and pray it fits.
Recently had a to make a tapered oak shim (3/4″ x 6′) to square a flush mount security door. Locks would not latch without a shim. A sixty year old door casing and trim had bowed a little;) What was needed: Filling a quarter inch gap tapering to nothing and ‘my’ sharp #4 worked well creating a 6′ shim. Fun fitting wood on site.
Plan on planes when helping others.
Keep posting,
jeff
A question: Does the #78 by chance use the same iron as the #75?