I’m On It!
On the 19th of June this year I picked up a few extra lengths of very nice European oak for my upcoming project which was a chest of drawers. Thank you, Europe. So glad we are a part of you still; no matter the Eurocrats and politics of it, the eye cannot say to the hand, “I have no need of you and the head cannot say to the feet, “I don’t need you.” We all need one another. I’m glad for that. Woodworking is a very shareable activity and even a lifestyle if you want.
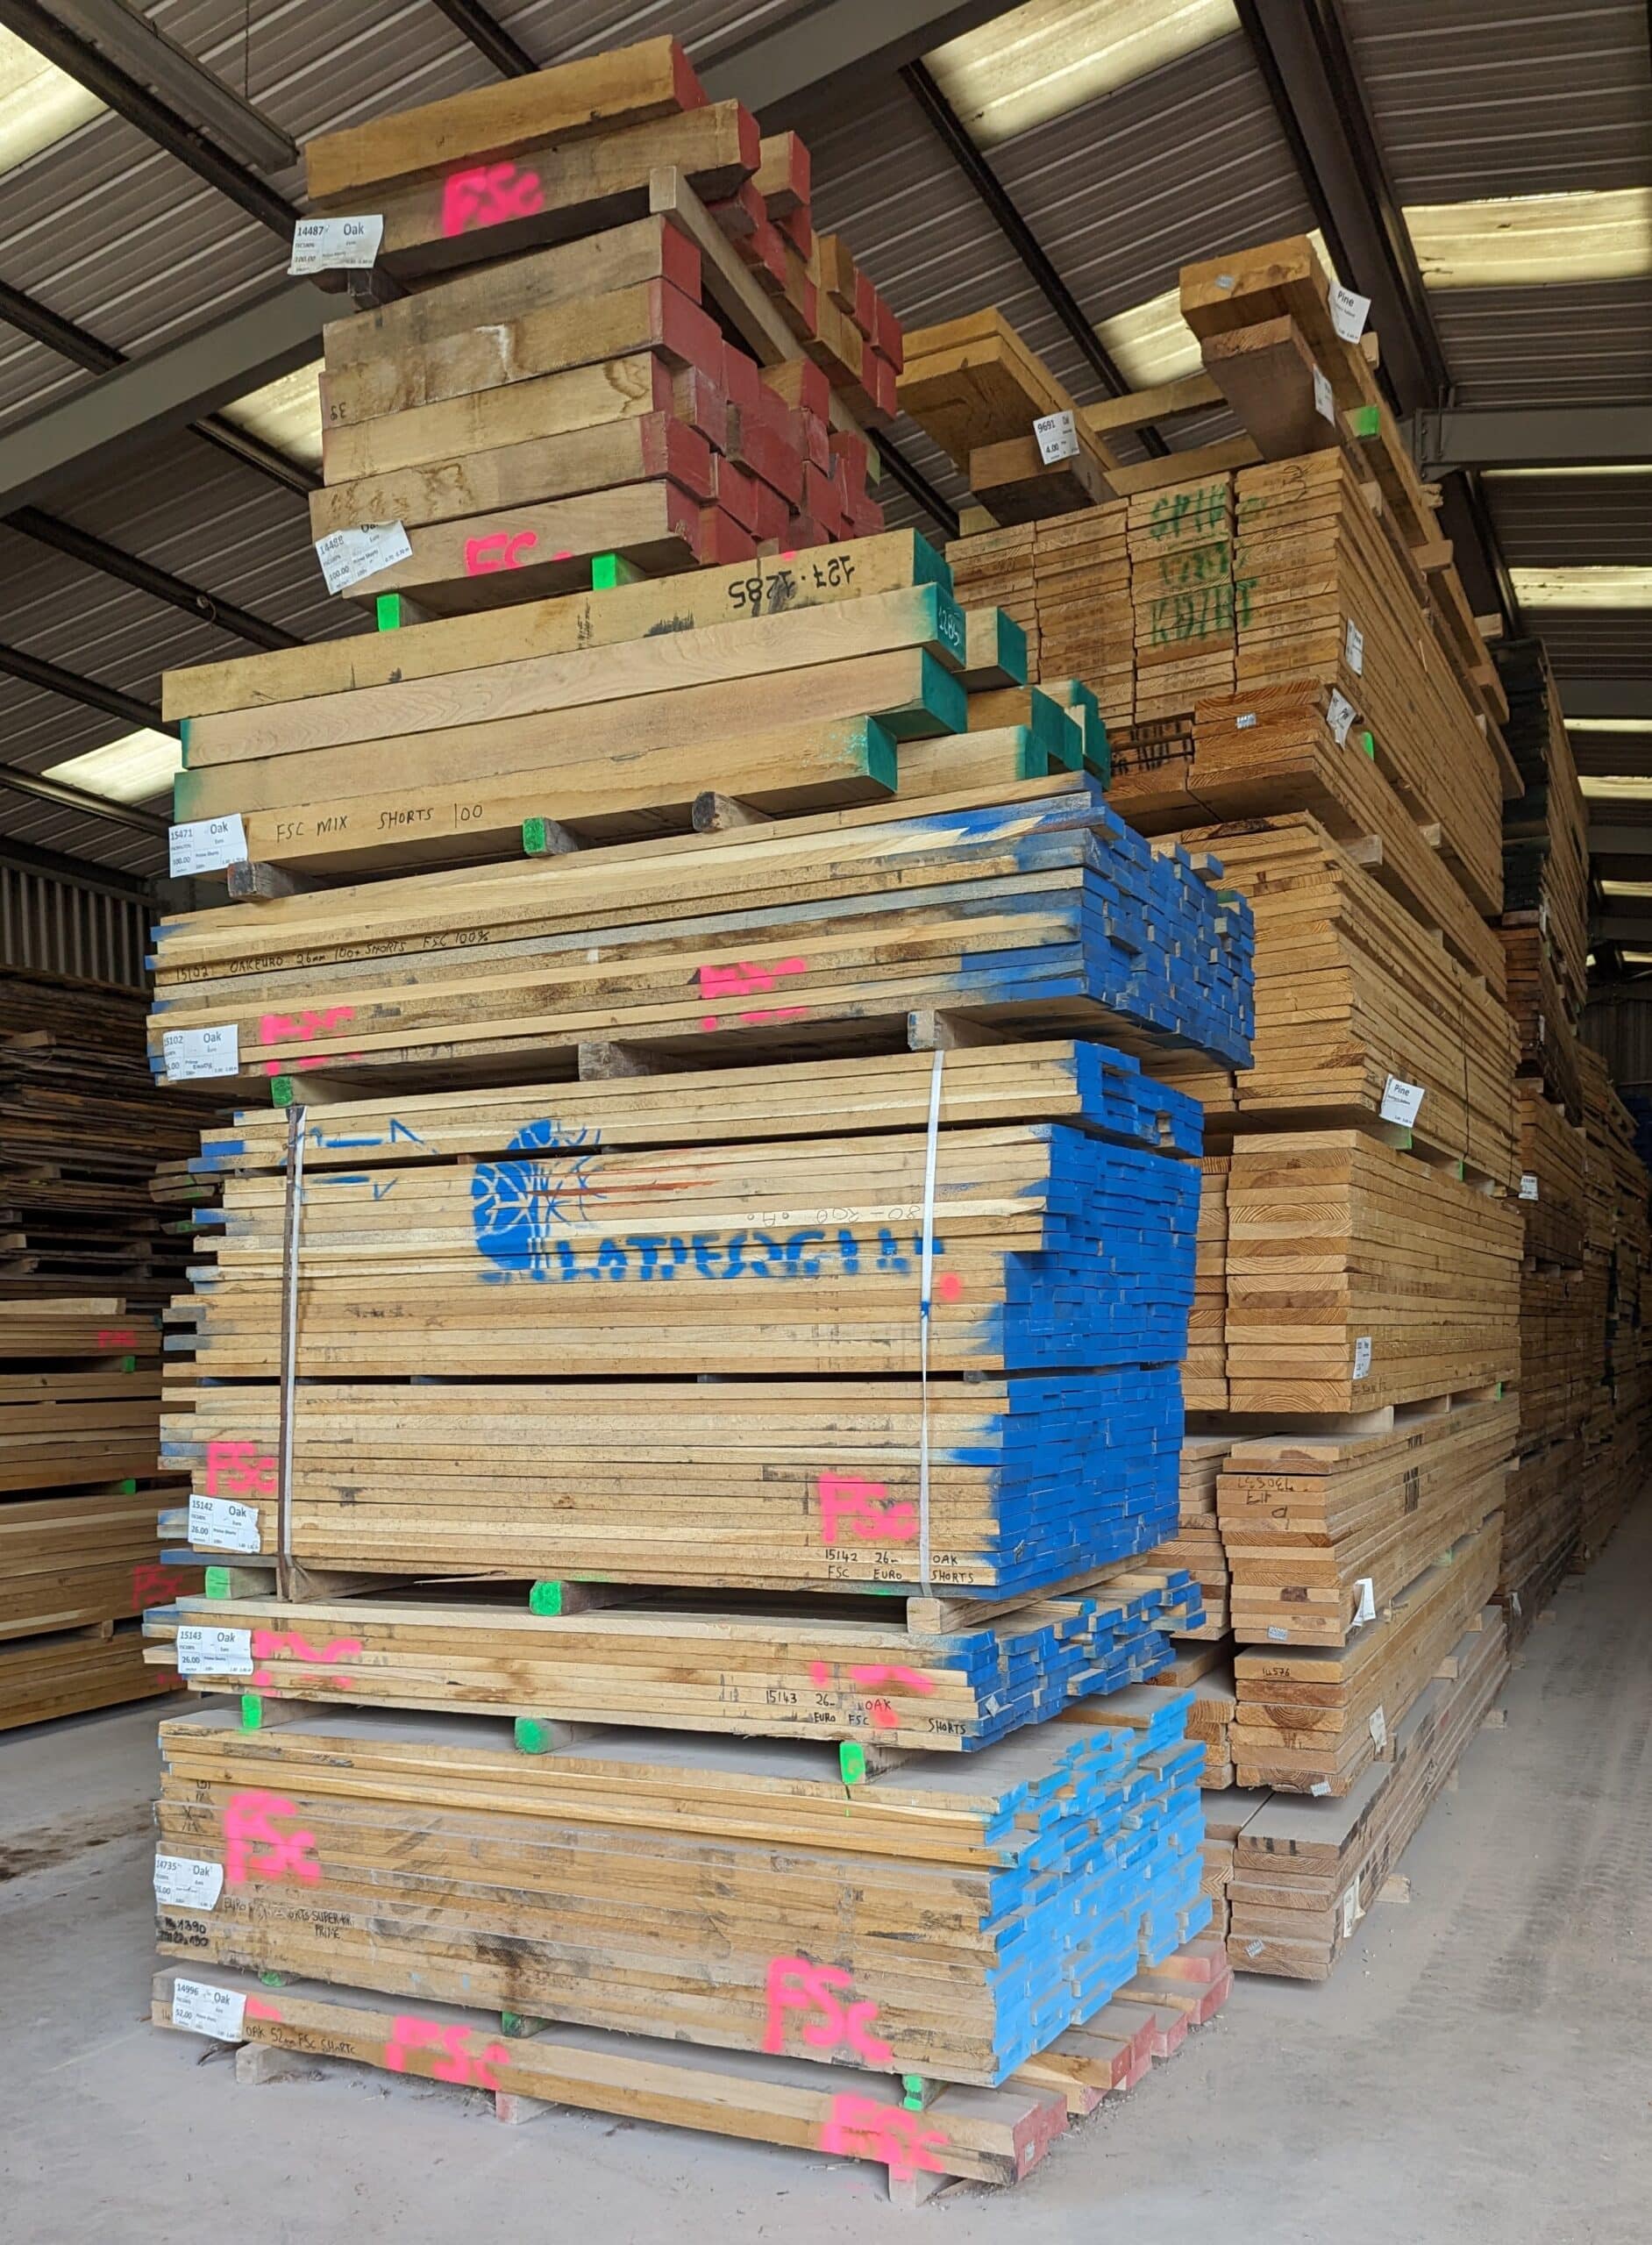
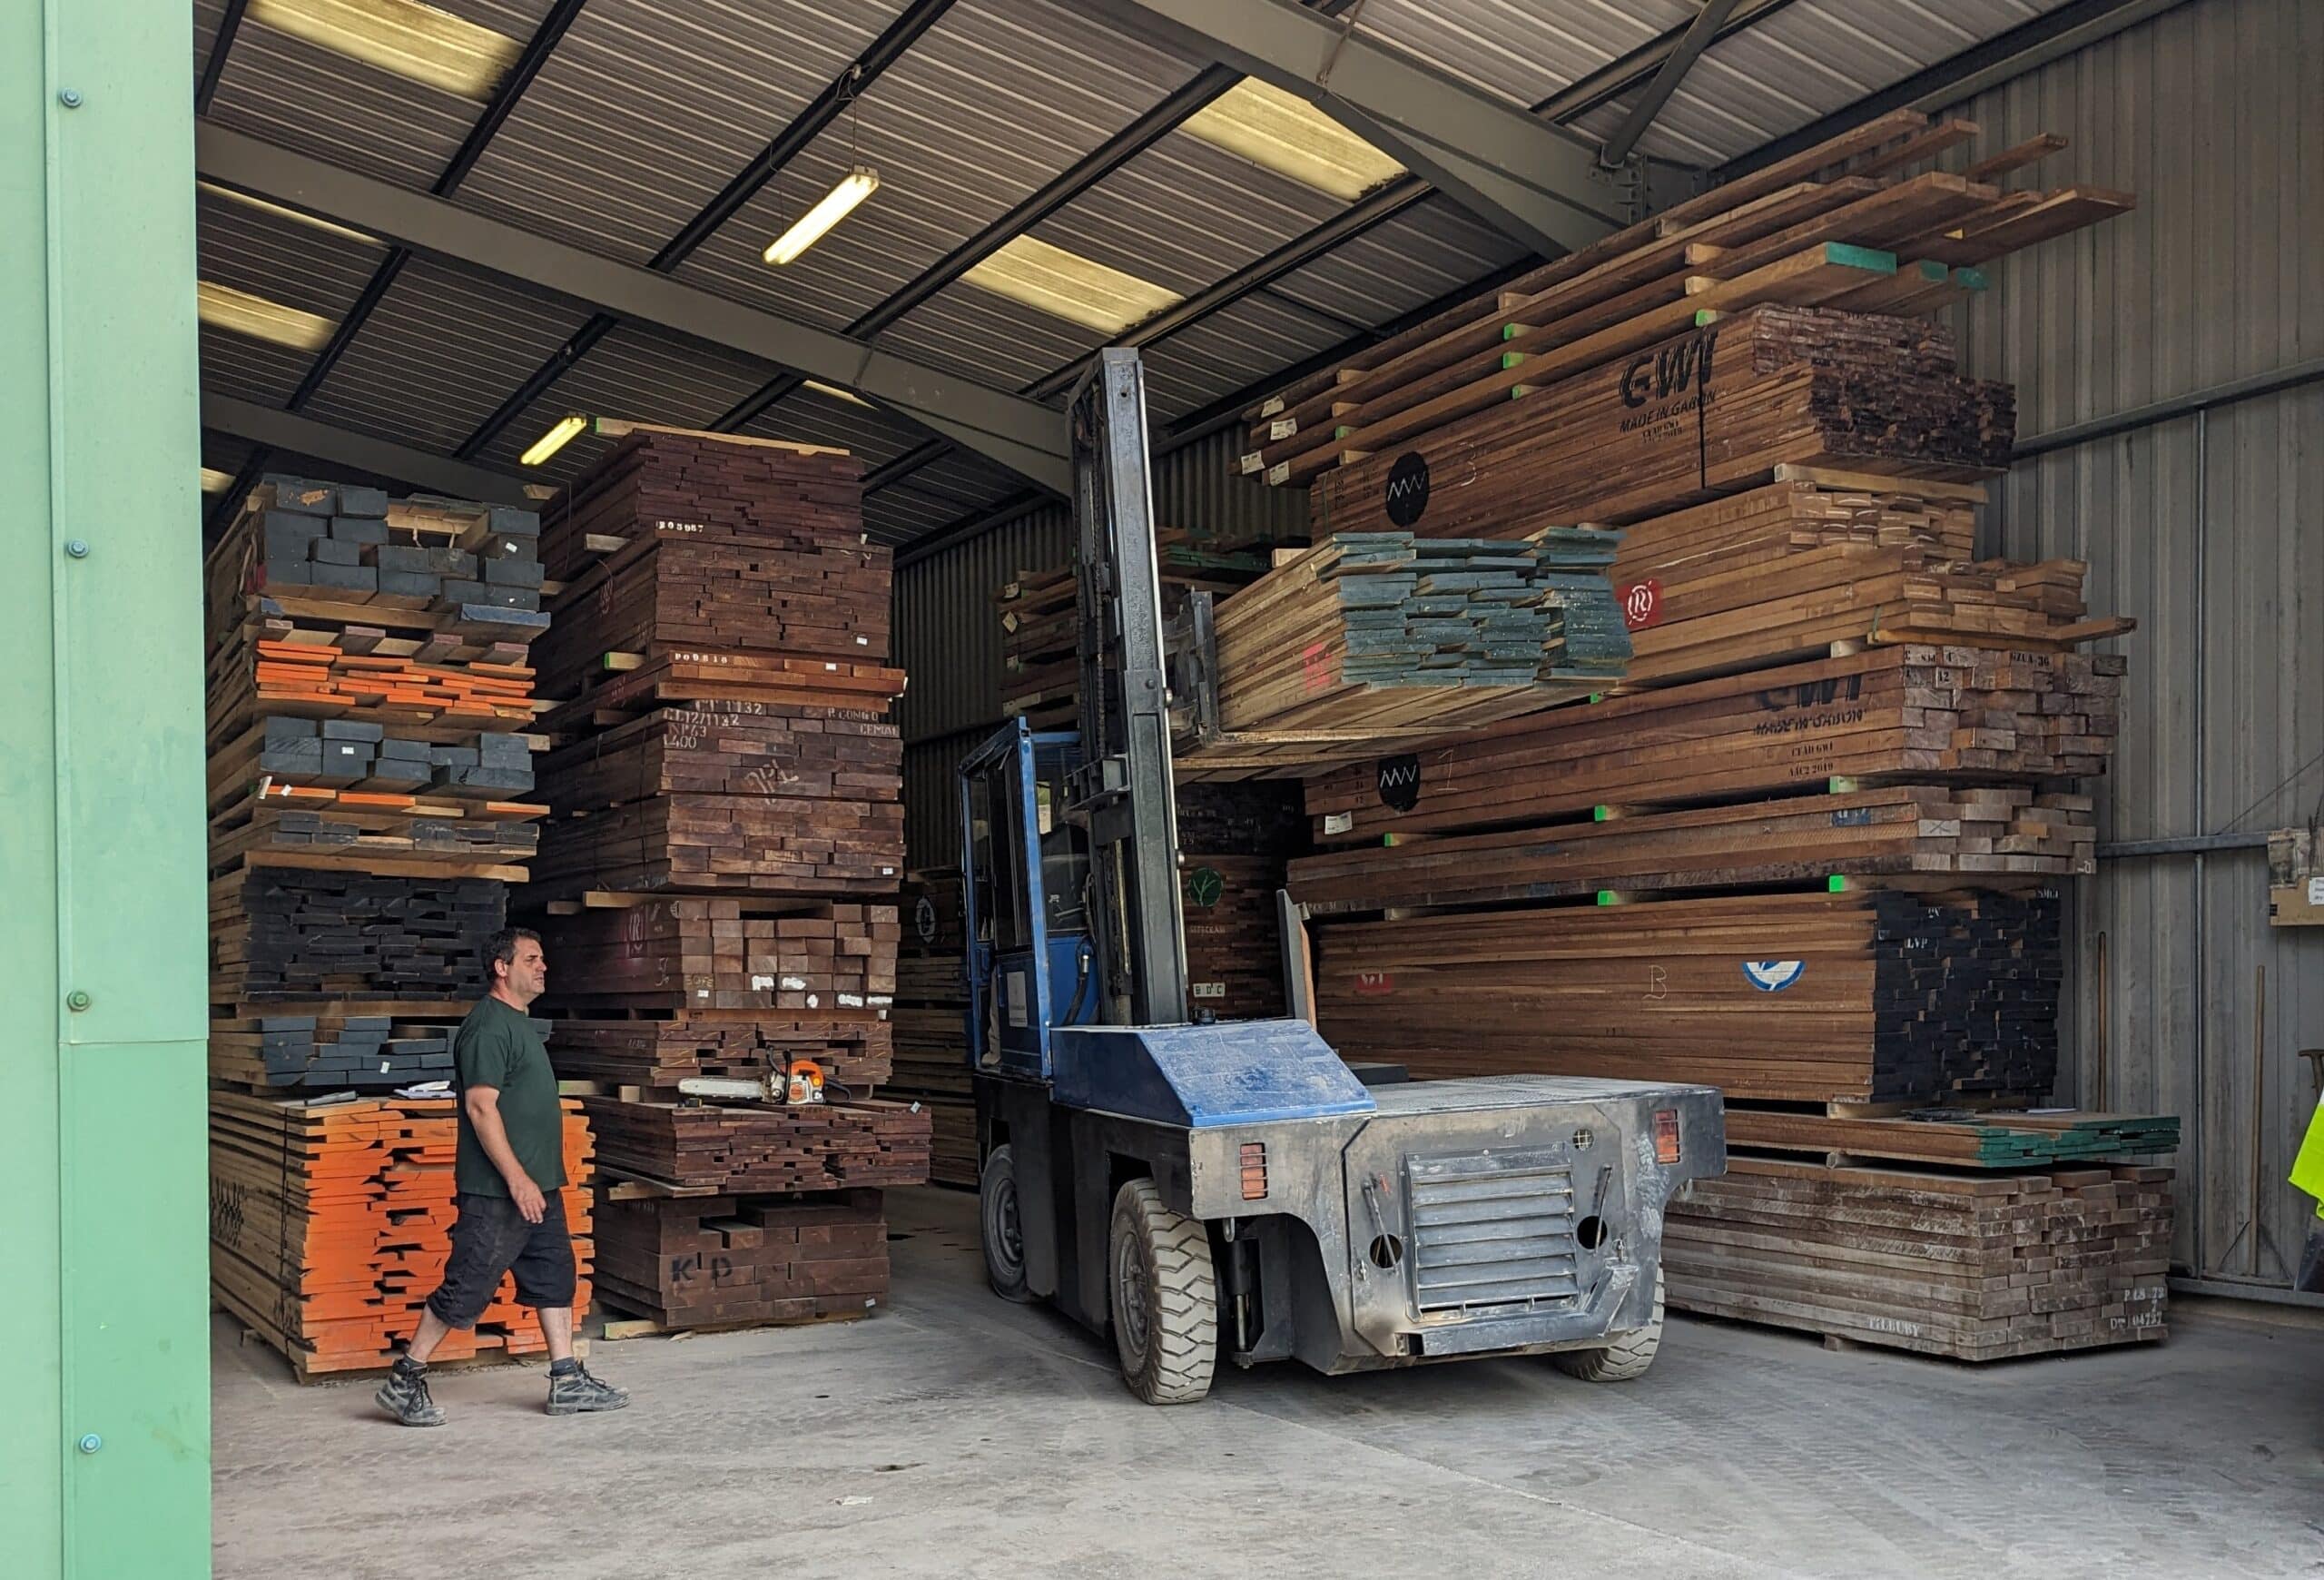
Hannah joined me half the way to where we buy our wood from me and we picked out some walnut alongside our oak, American walnut from the USA which I must say beats European walnut hands down. Thank you, USA, so glad that my history includes so much of your wonderful input, inclusivity and down-home hospitality. Texas, you changed my life forever! I feel the better man for having lived and worked there. Texas Hill Country, You will always be home for me. Hannah and I flipped boards, twisted them and joked about with Simon who goes to great lengths or should I say heights (all puns intended) to let us fathom the stacks for those beautiful pieces we need.
In times past I also harvested my trees and slabbed them on a Wood-Mizer towed behind a Ford F150 both of which were parked in my yard ready to work. Those were wonderful days when I drove through a hundred thousand acres across gravel river bottoms down near Uvalde, Texas to cut my precious Mesquite. Mm, mm, mm!
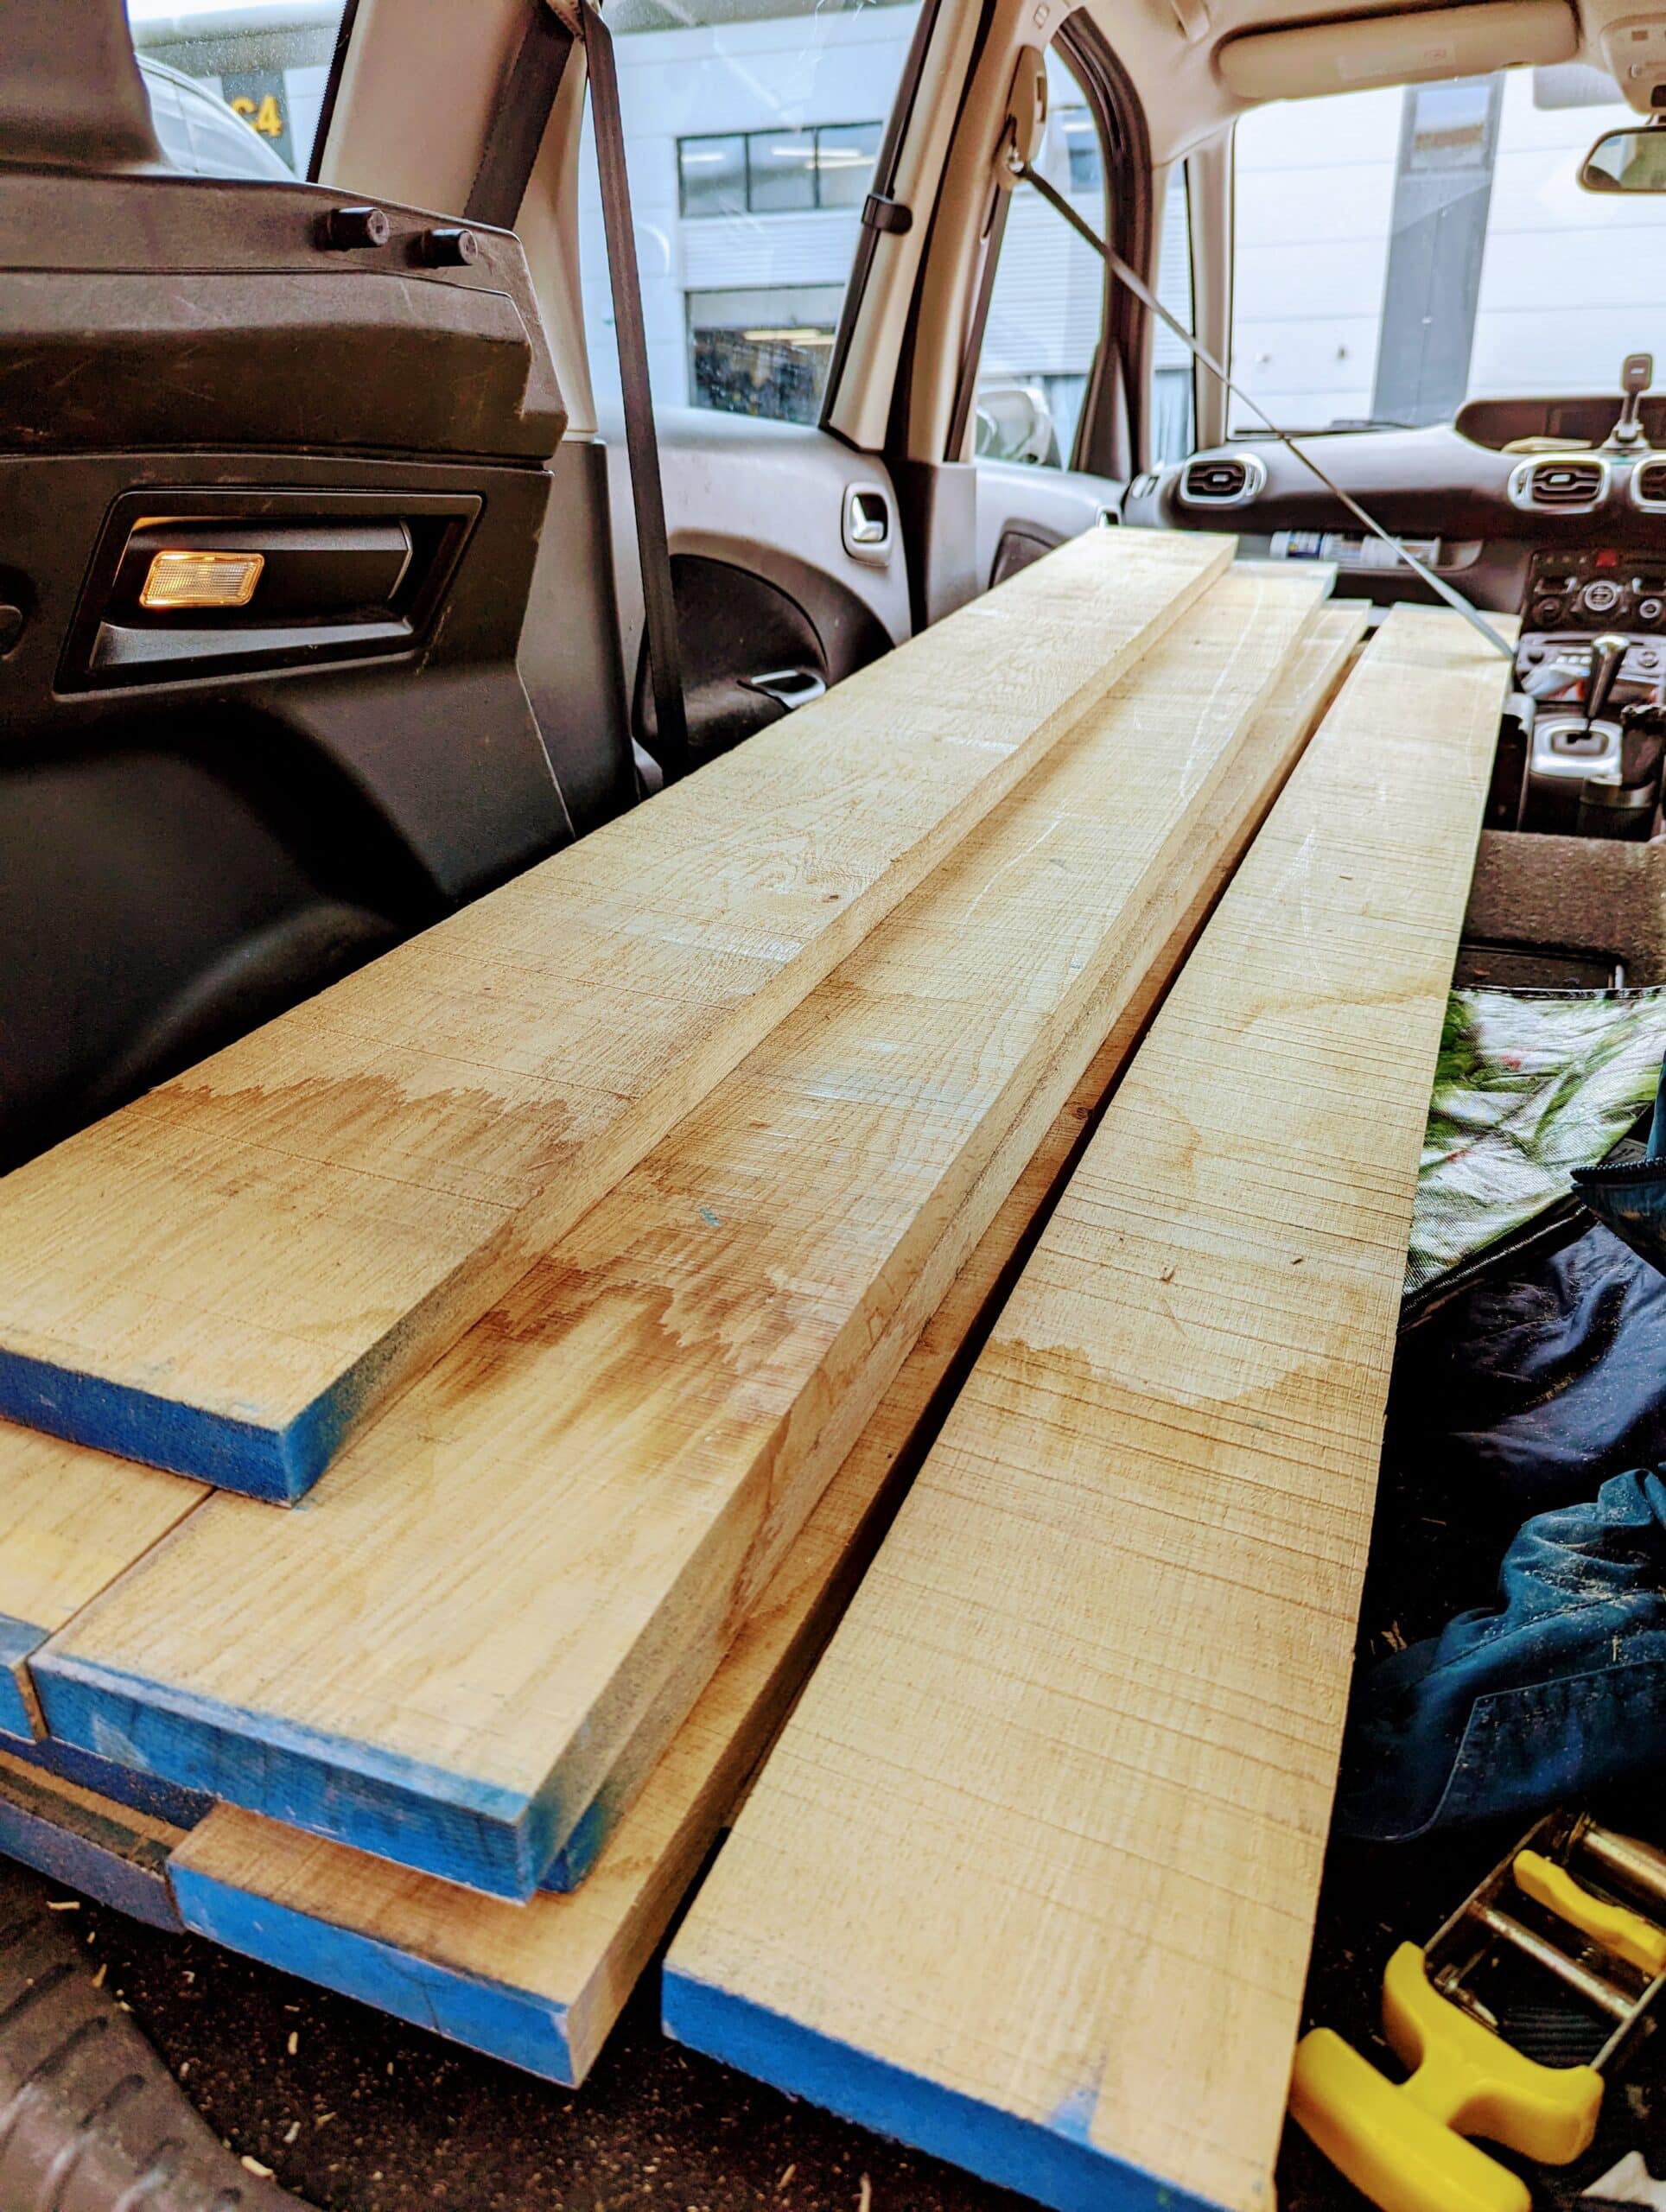
So here we are loaded with Oak, Poplar and Walnut in the back of my vehicle. The seats folded flat allows me to take eight-foot lengths. Just right, as my wood is around seven.
On the way back it’s lunch time so we stop for a bite to eat and replenish our energies from harvesting our wood. It’s a tough time again.
Back at the shop is where the work begins and these next two pictures are the before-and-afters.
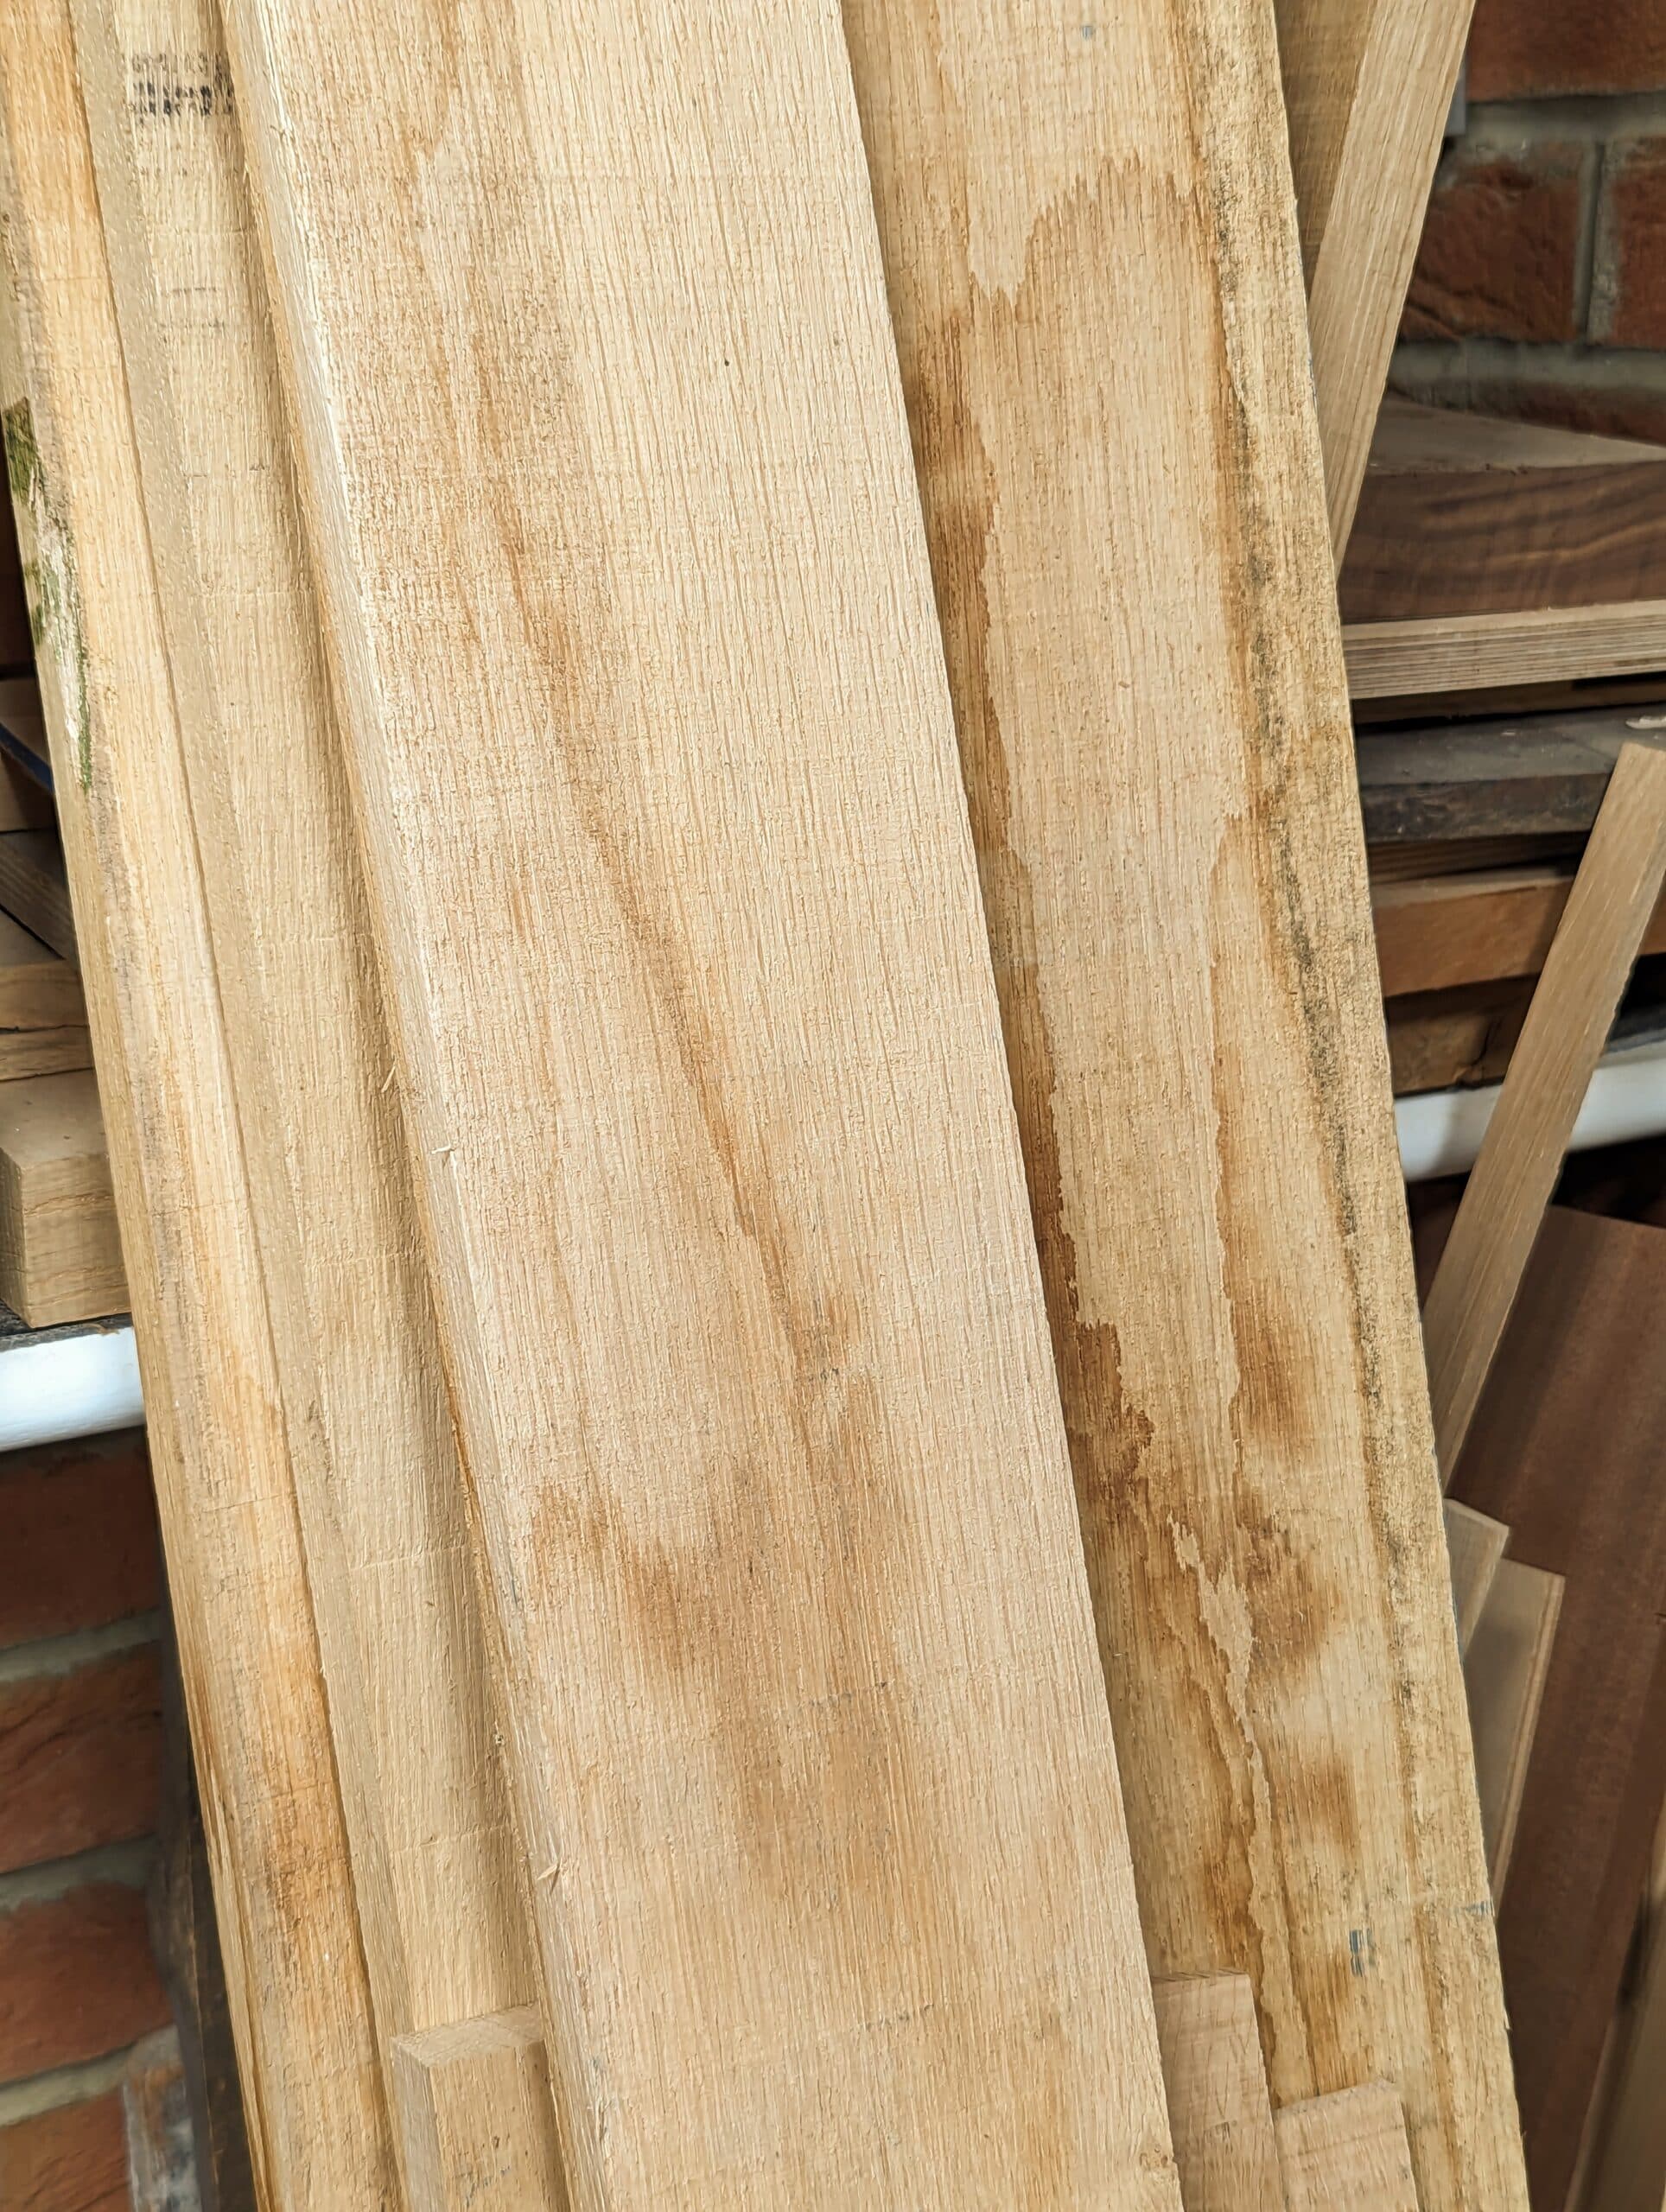
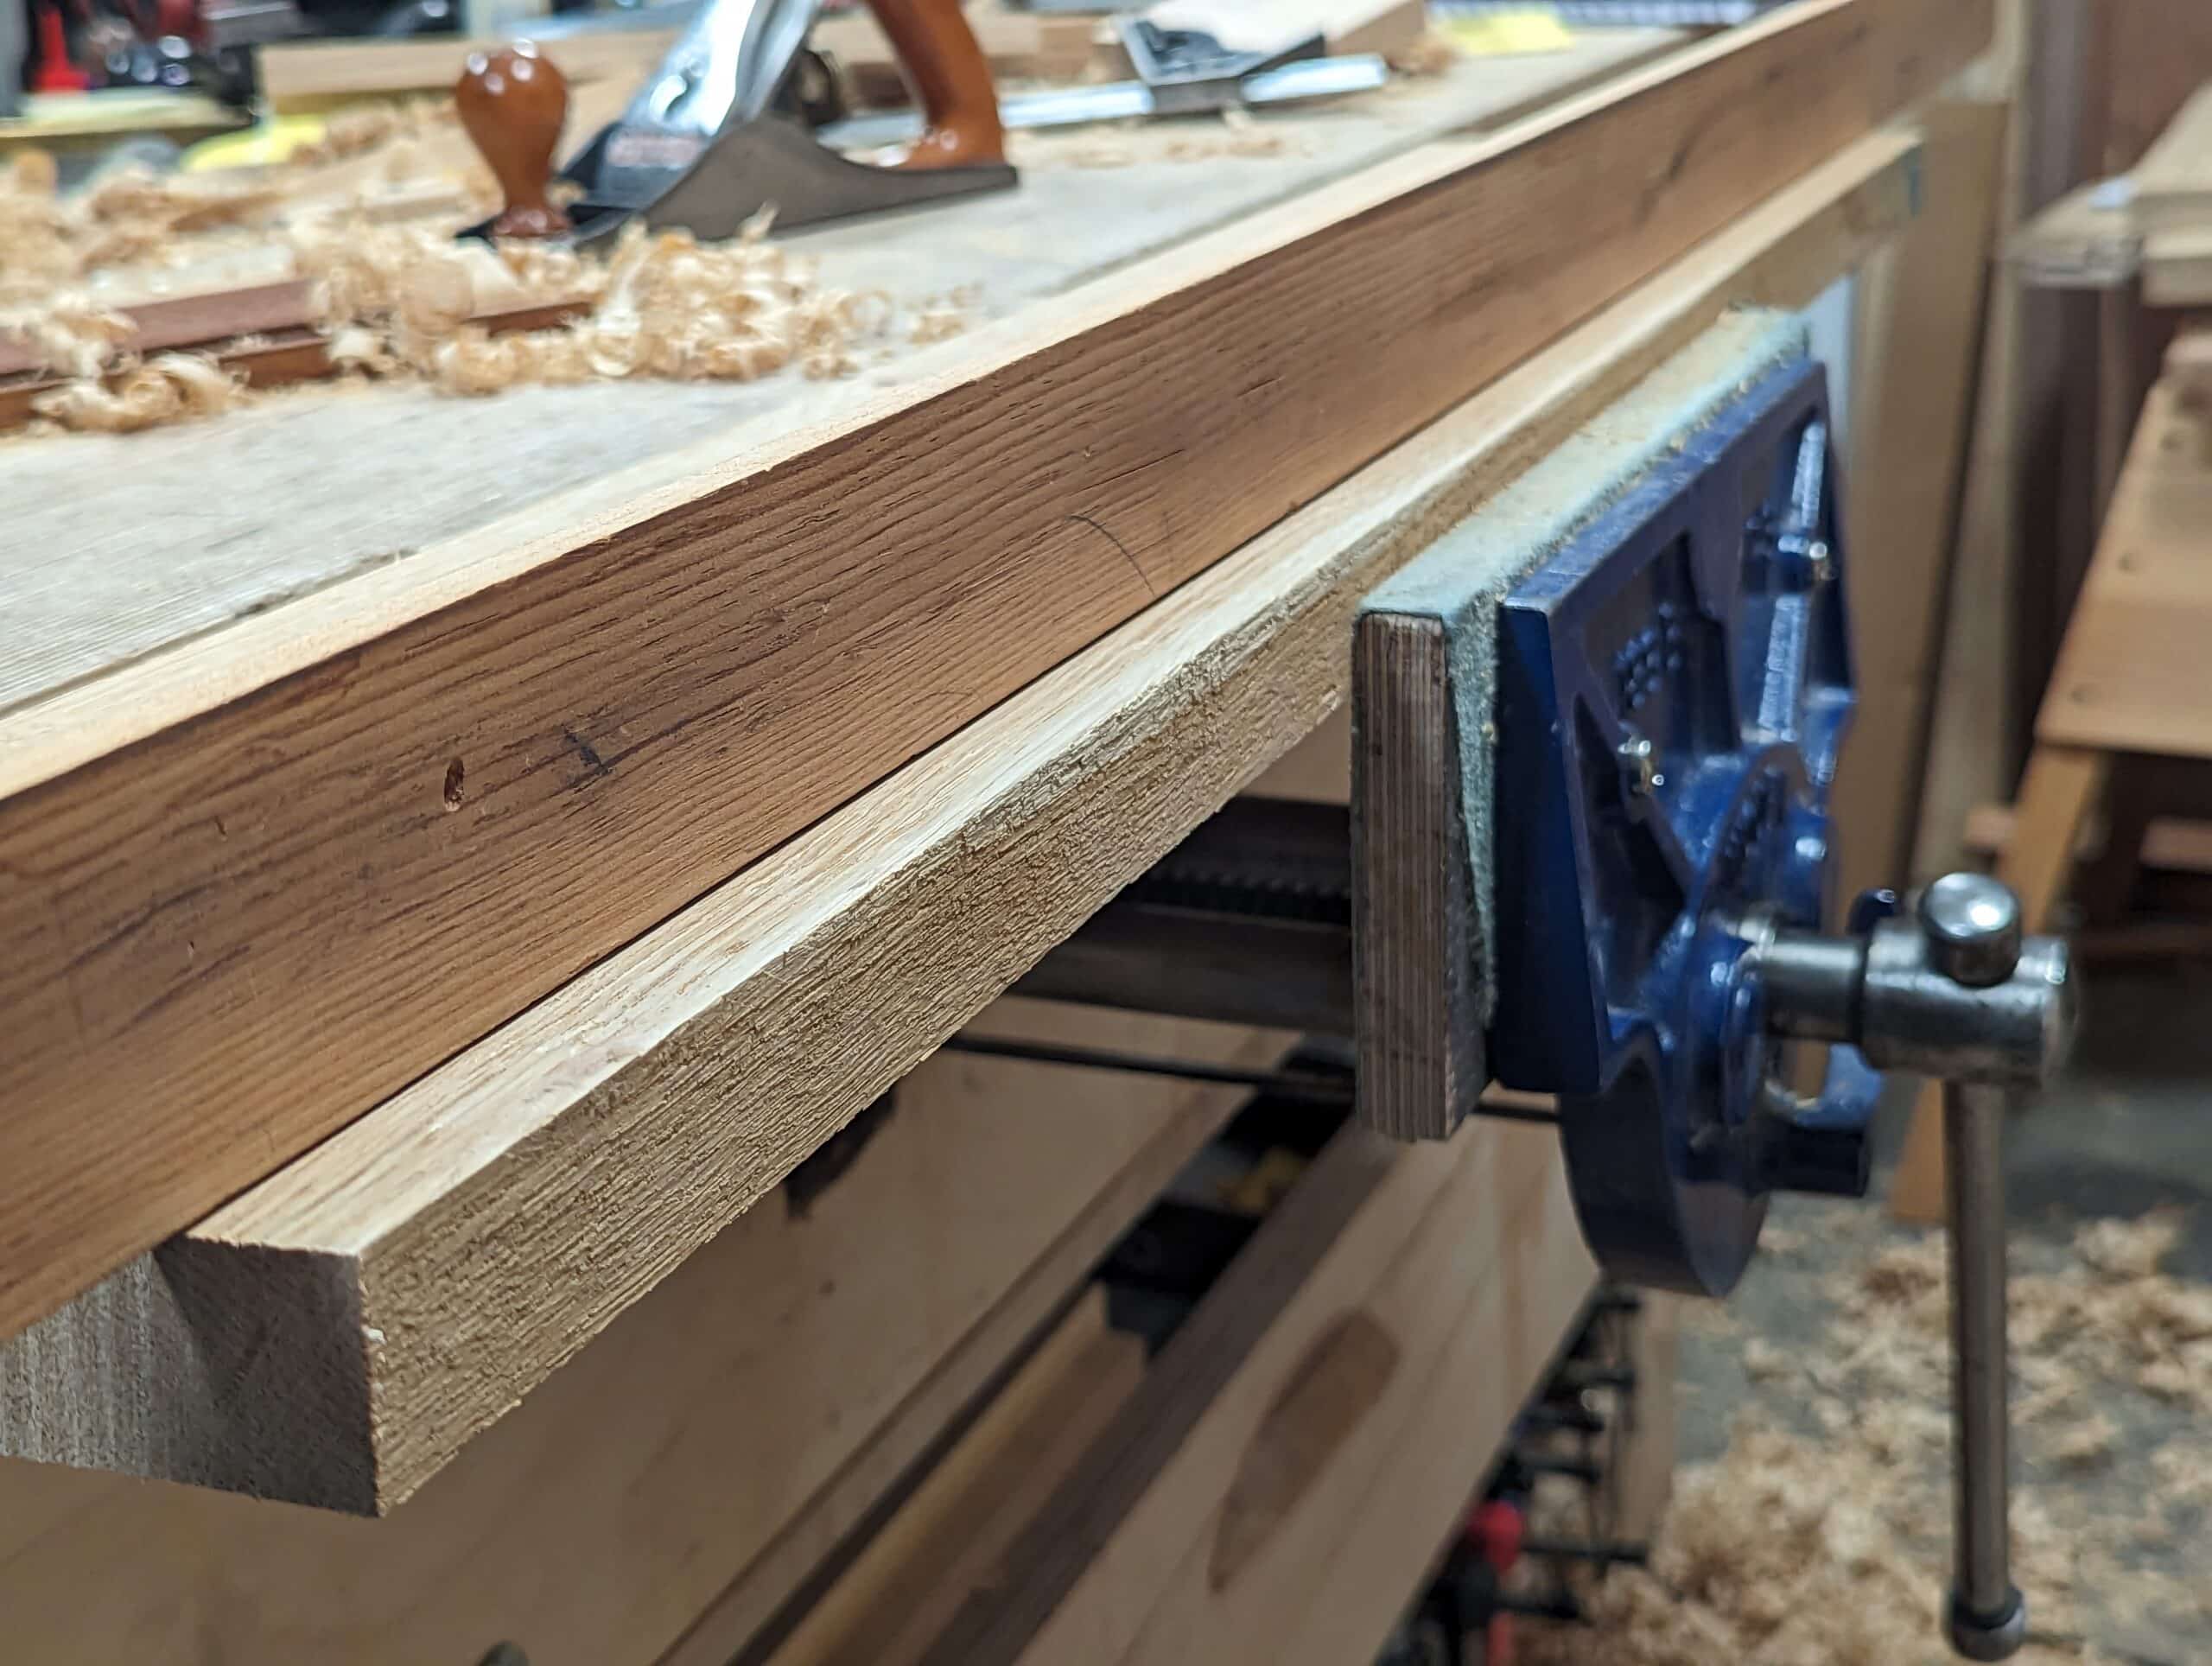
The first task back in the garage is making the three panels from the oak. Twist, cup and bow are removed with my system of using a series of half a dozen common bench planes positioned ready for the truing task on the first face and edge. This is now the 22nd of June and there is a lot of handwork to do. Some boards are worse than others but none of them are flat. . . Yet! My 1″ (25mm) stock comes into the shop at around 1 1/8″ and with judicious planing, I can just about get my 7/8″ thick material. The #78 Stanley (converted to a rough-cut scrub plane) rapidly takes down the highs to bring up the valleys and then my #4 scrub refines the surface further.
Now I have gone to either a #4 or #5 or #5 1/2 to finalise the surfaces.
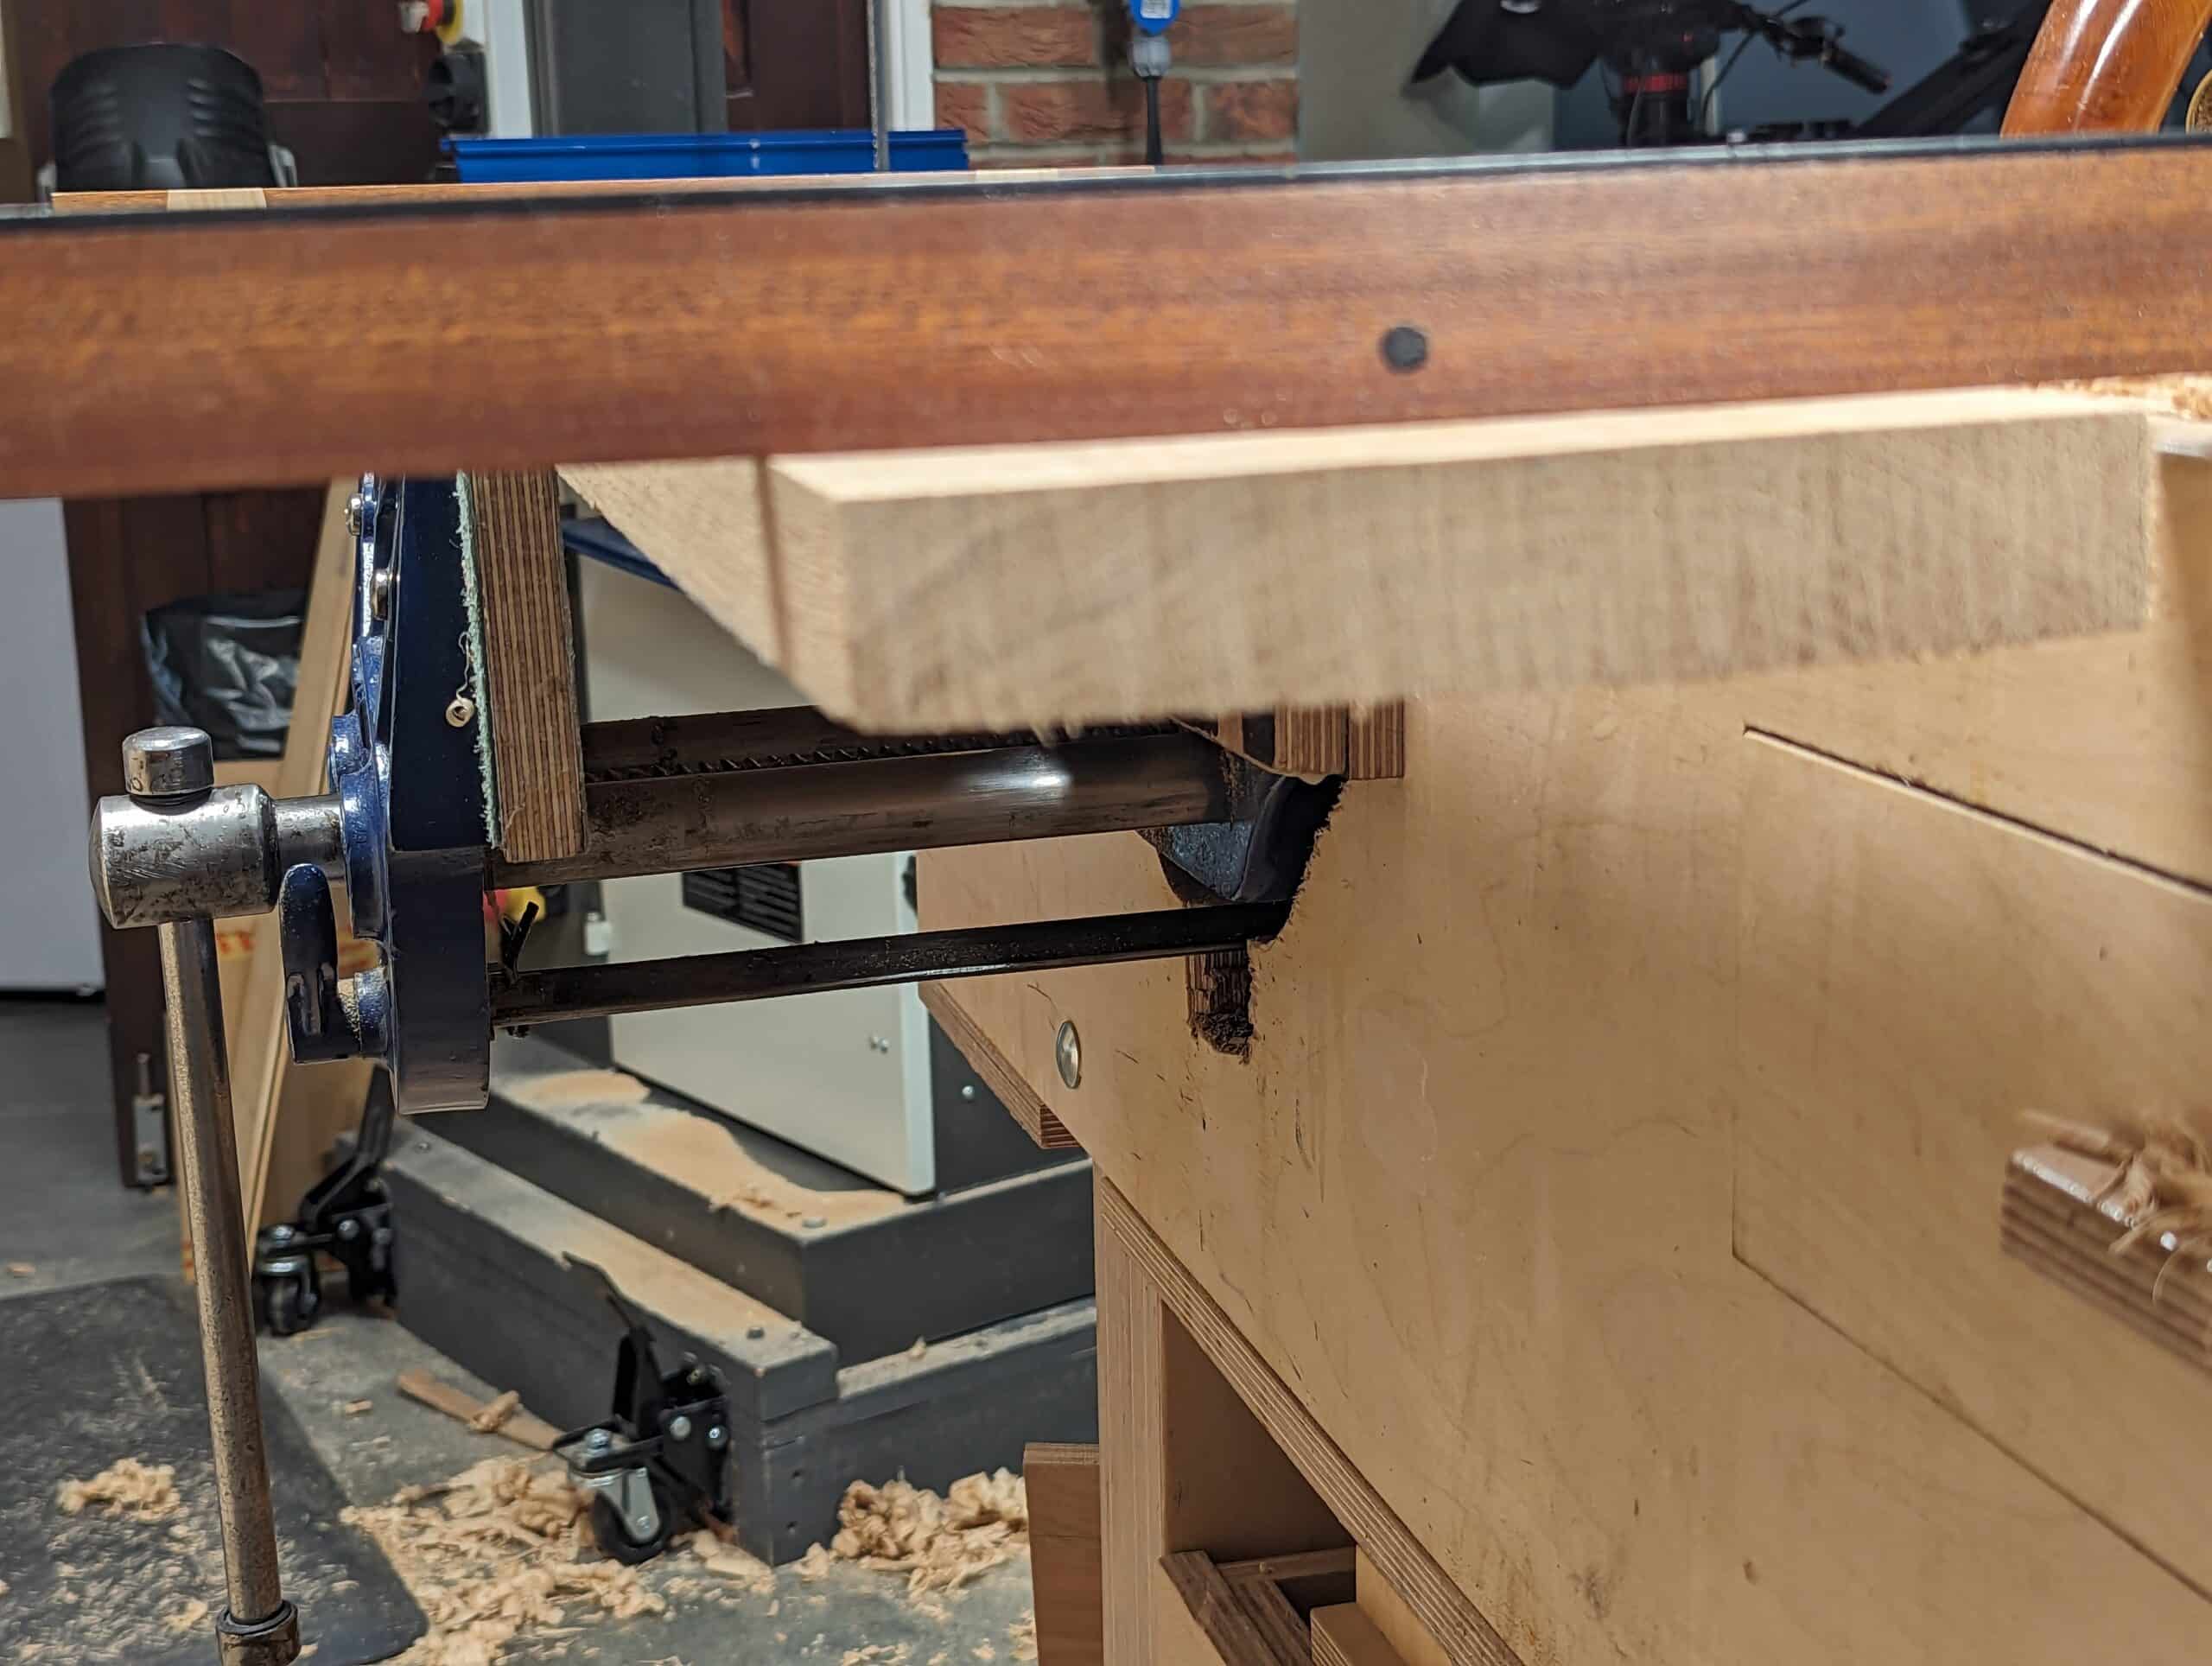
I used the bandsaw to cut away any excess thickness and planed the top to consistent parallelity mainly using the #4 and #5. This surfacing goes fast, just a couple of minutes a piece if the bandsaw is set up well really.
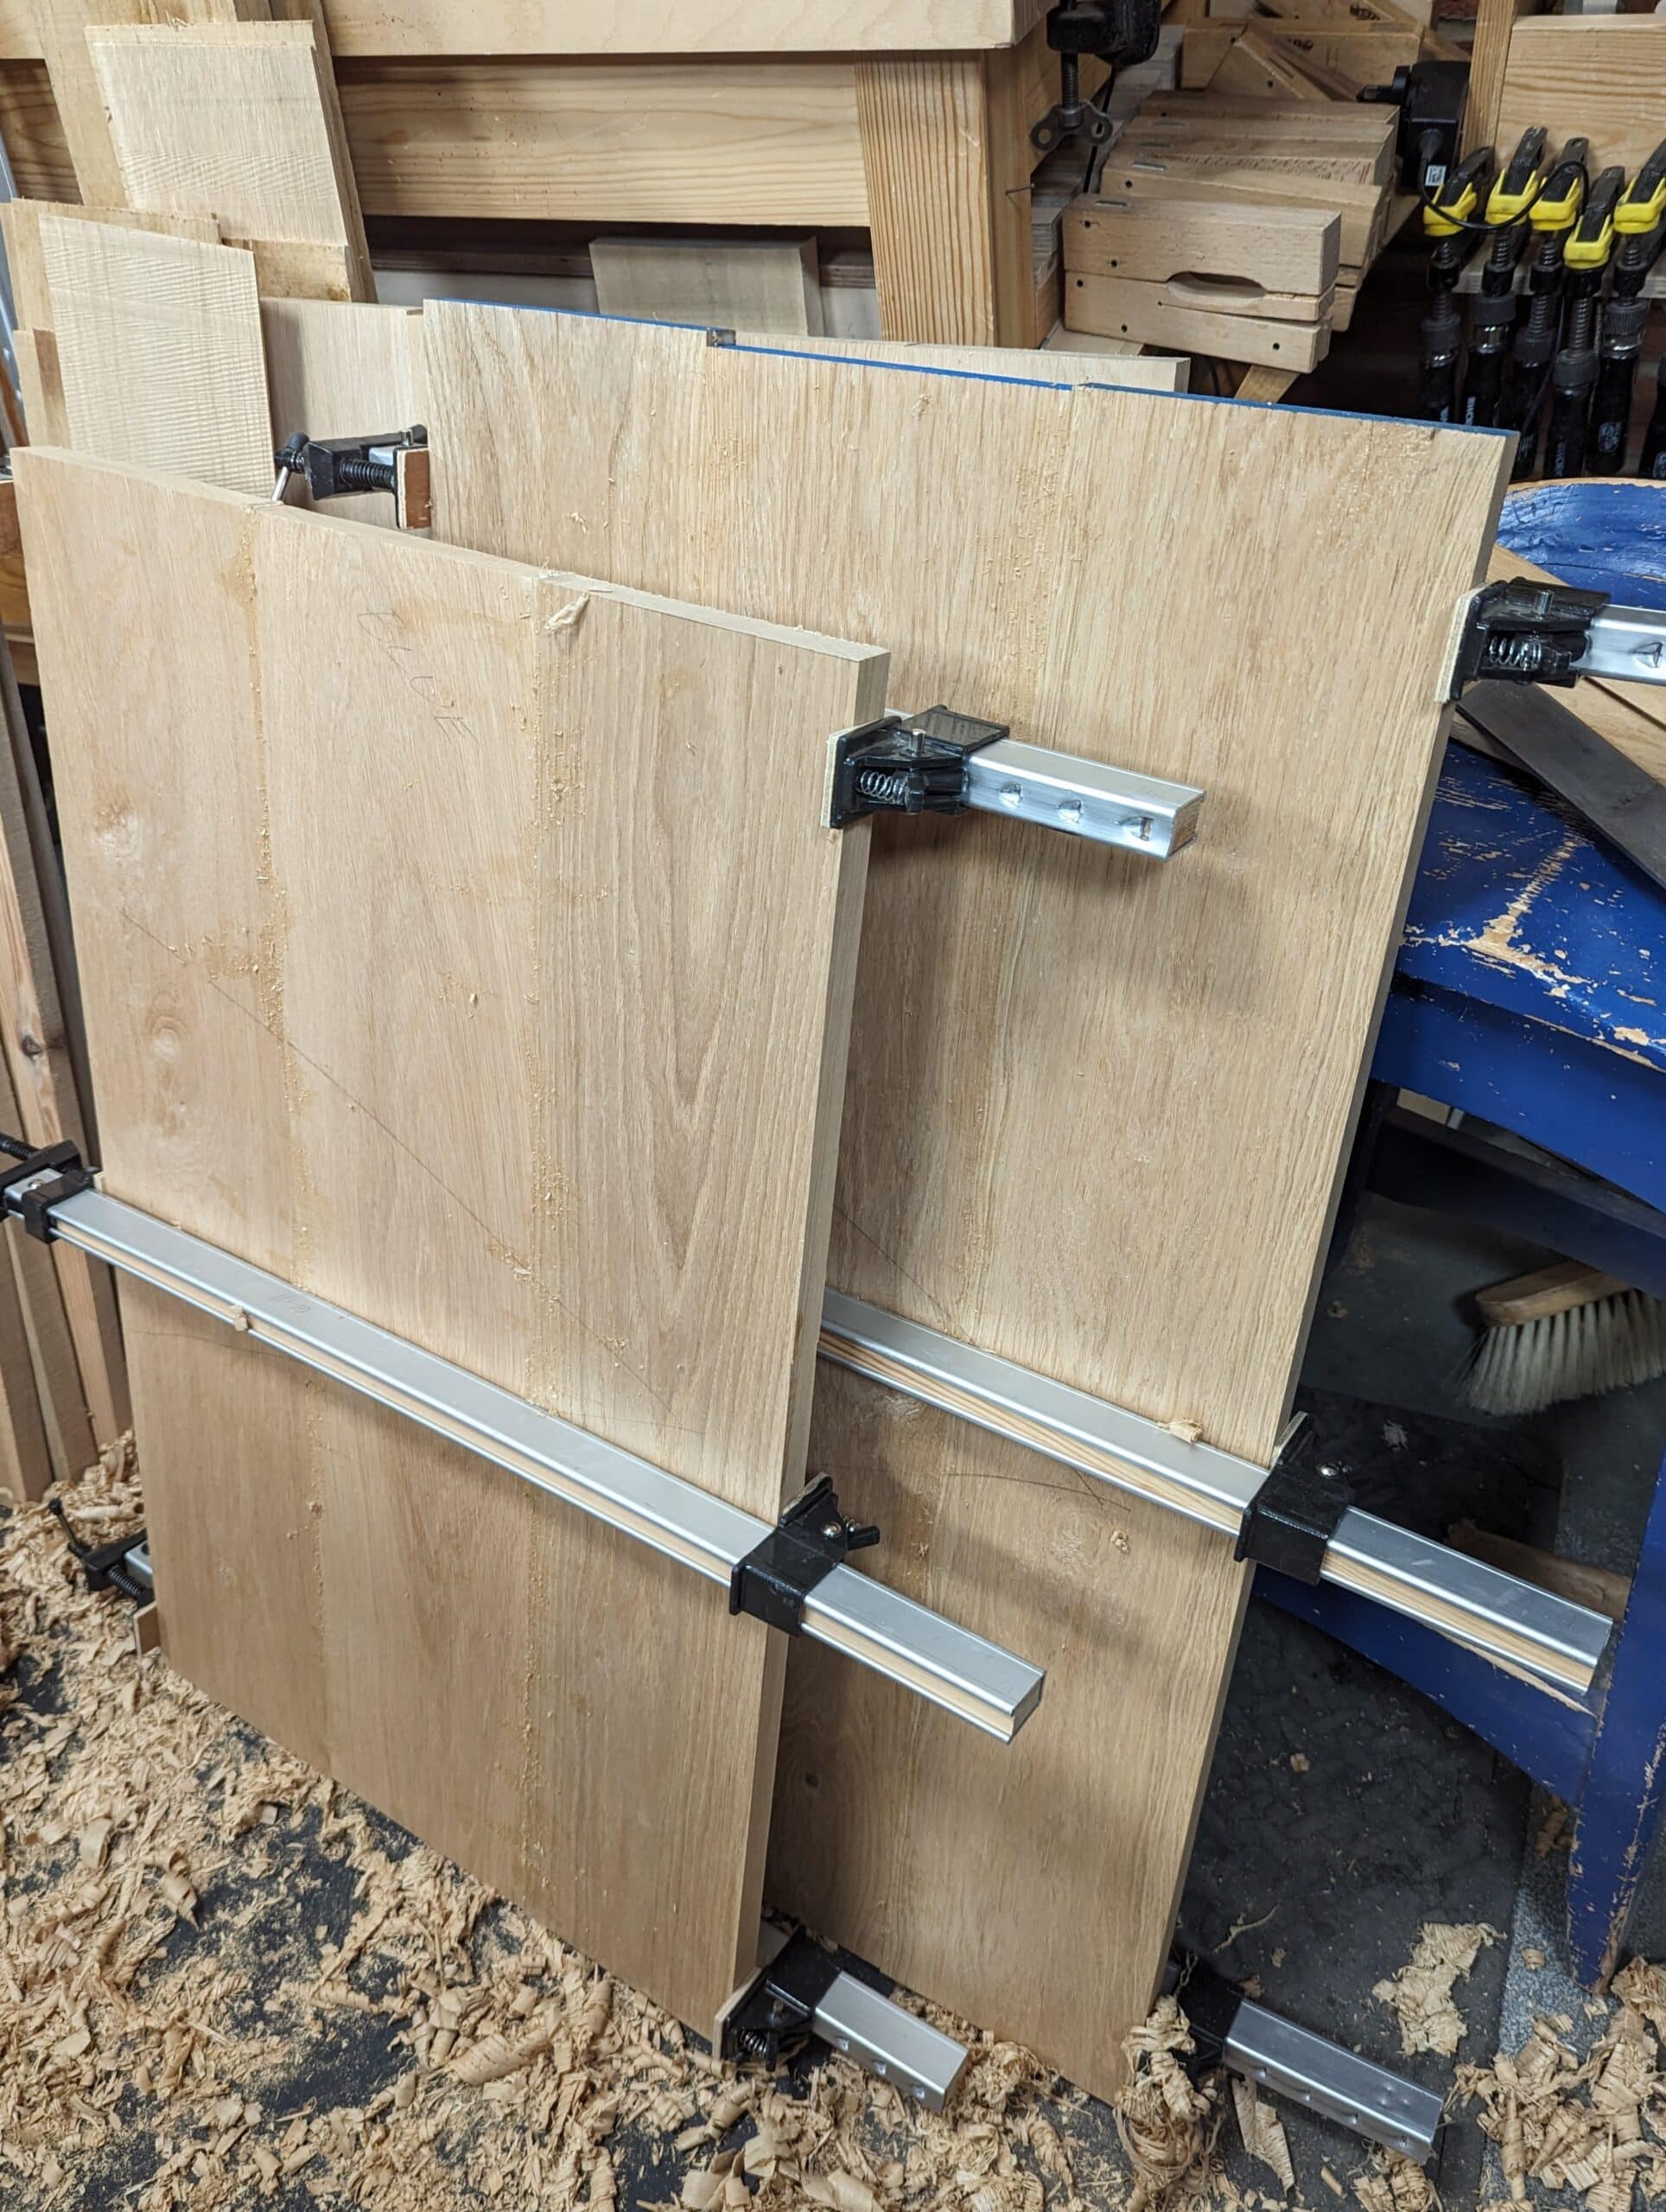
By the close of the afternoon, I have my three carcass panels glued up and in the clamps until tomorrow. We film B-roll throughout the day and might use timelapse for some of the work otherwise the video is less interesting.
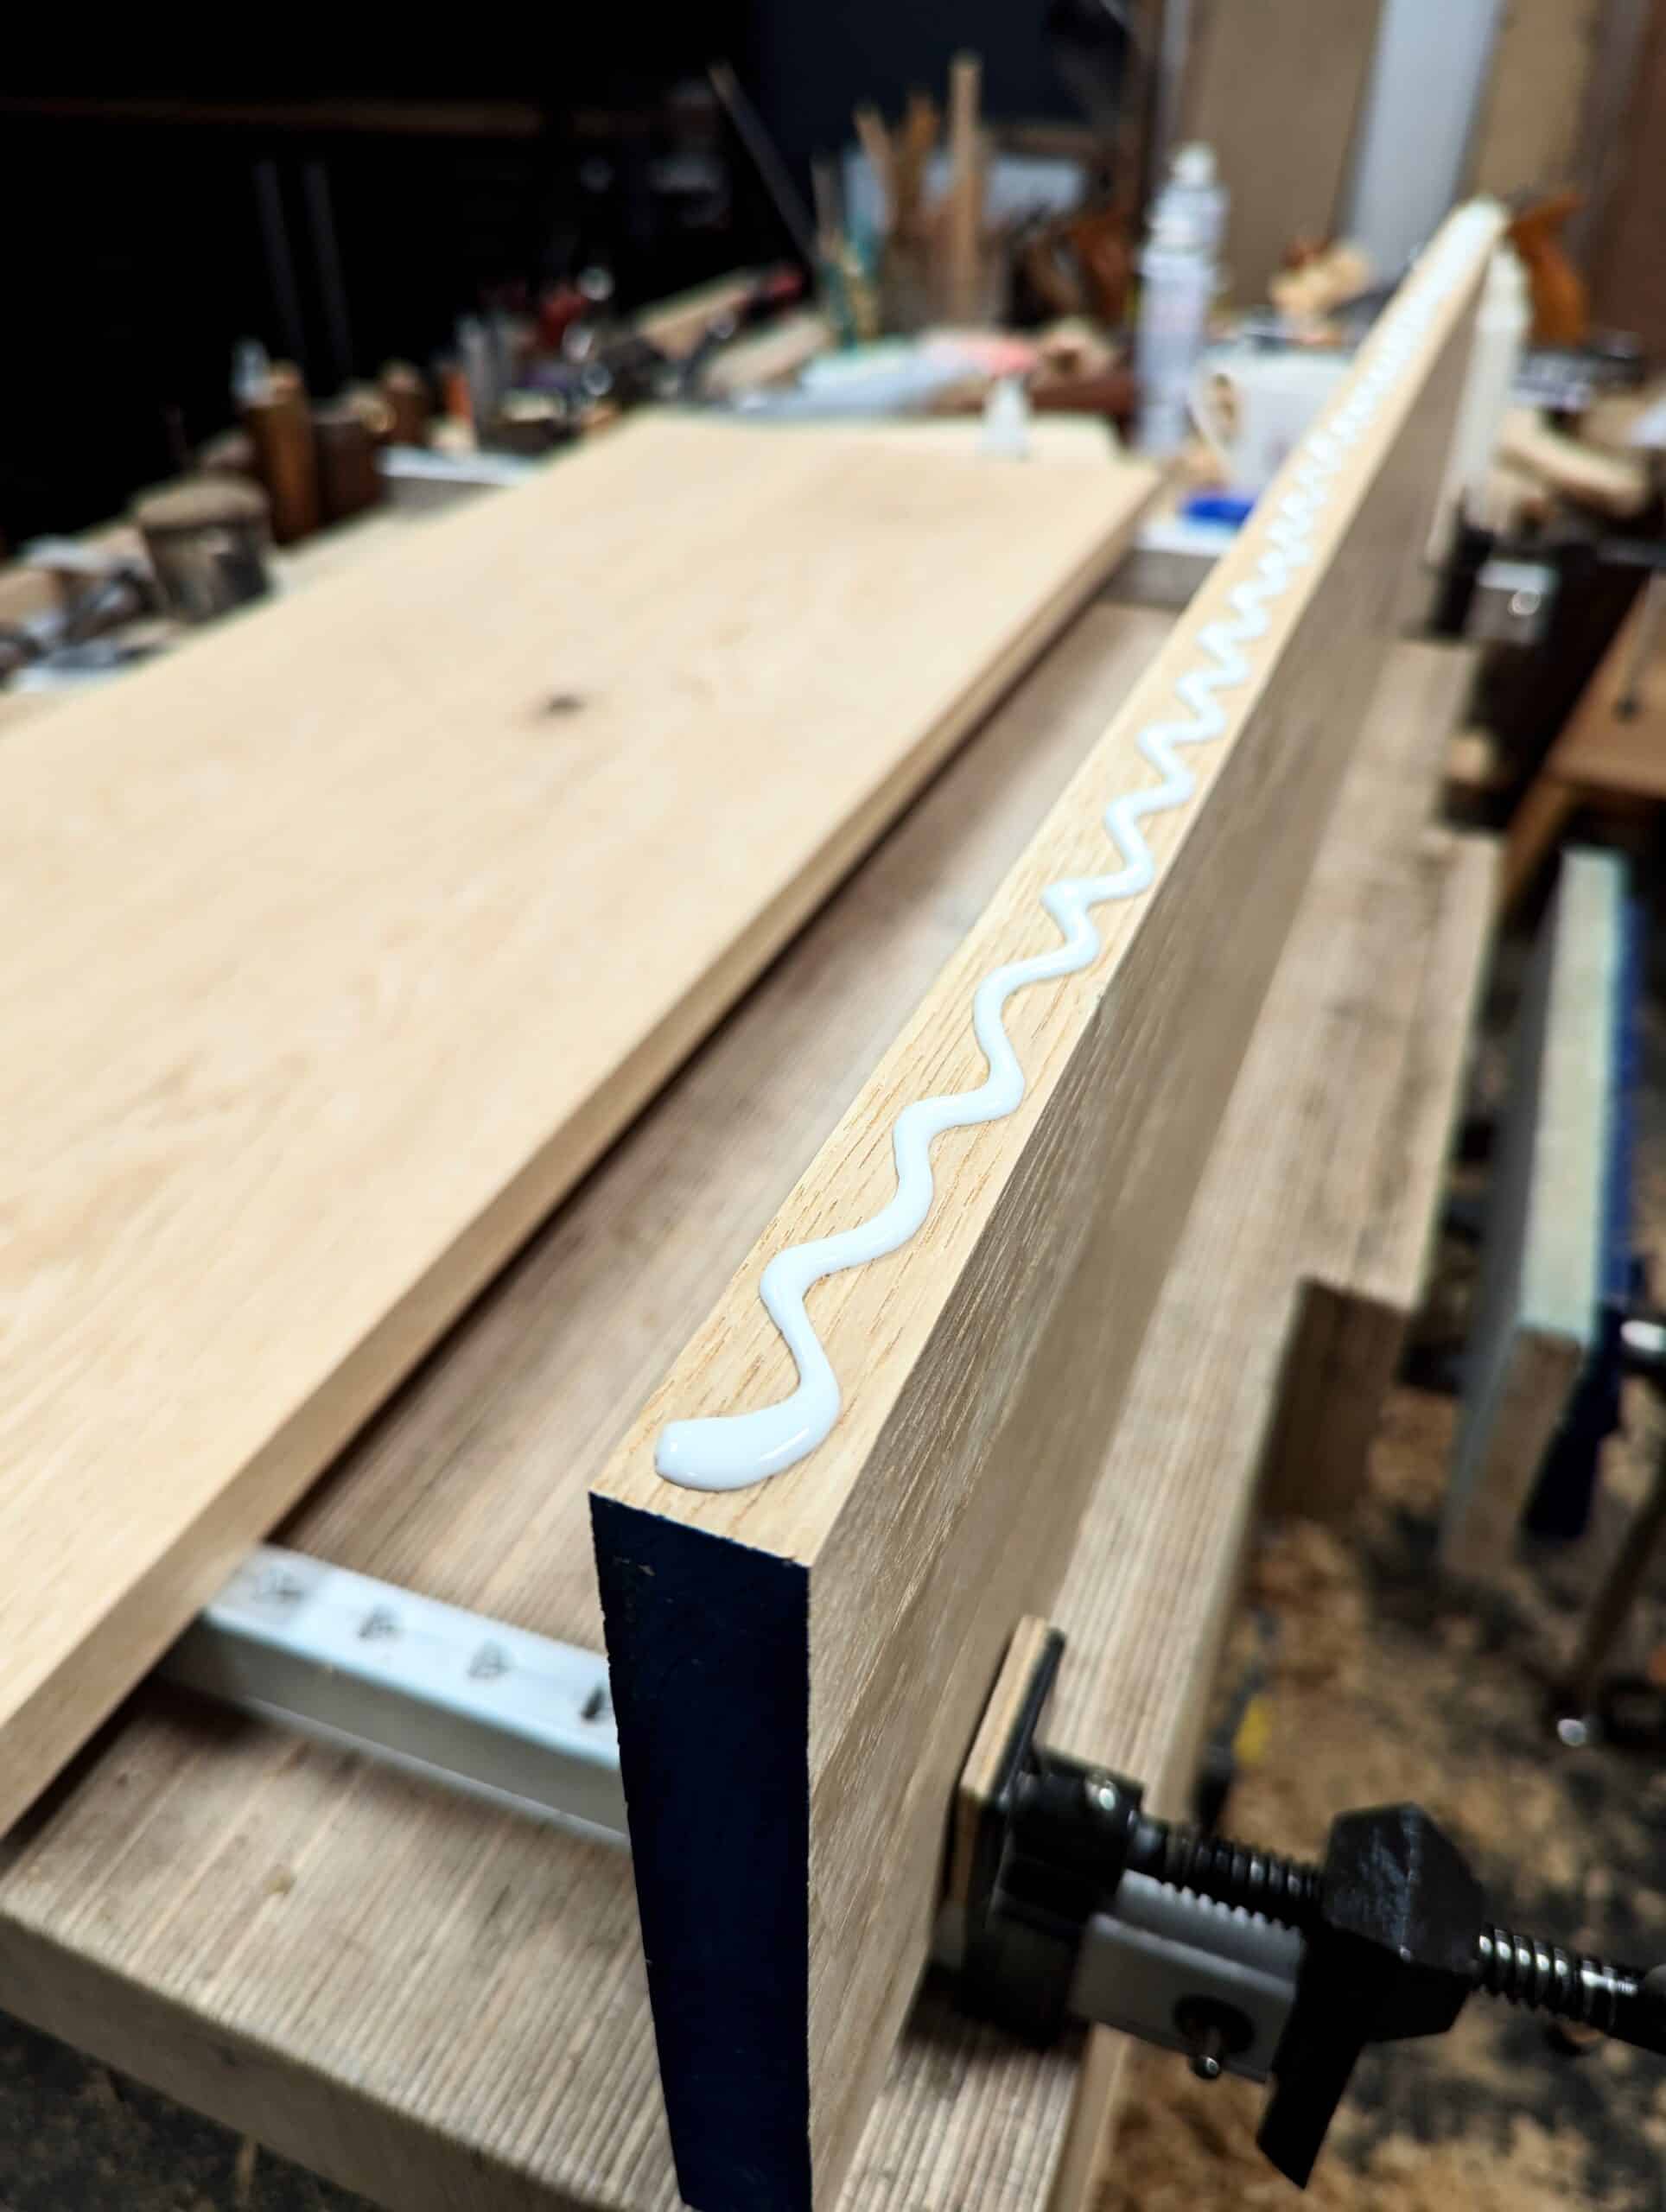
I think it is important to know that the wood will continue to move even after planing. I measure the panels periodically to see how much shrinkage takes place and I do this two ways; measuring is a good way but equally helpful is to weigh the wood taken from the original panels wood and use kitchen scales to note the reduction or increase. I often arrive in the morning after a glue-up like this to find the clamps are somewhat looser. Often it is only fractionally so but over a few days, maybe a week, it can be 1-2mm over 300mm span. In some woods like softwoods, it can be a lot more. It’s well worth having softwoods in stock to season more.
With my panels, I tighten the clamps up again and leave them for another 24 hours to see if there is any more change. I repeat until the shrinkage stops. It’s the 26th of July before I touch the panels again and it’s surprising how much it takes before the clamp’s looseness finally stops. Any further reduction will be much more gradual and usually not noticeable. Oak is of course much more forgiving with its open pores and ability to ‘stretch’. other woods, sycamore, for instance, distort more markedly. This week I had to ease a drawer in my kitchen cabinets made a few months ago because one of the drawers was sticking. At first, I thought it was one of the beech drawer sides that had expanded but during the refit, I noticed distortion in the top of the cabinet. Of course, the dovetails held the movement in check but a few inches away a small amount of shape change took place. No matter, a few quick shavings on the drawer took care of it just the same.
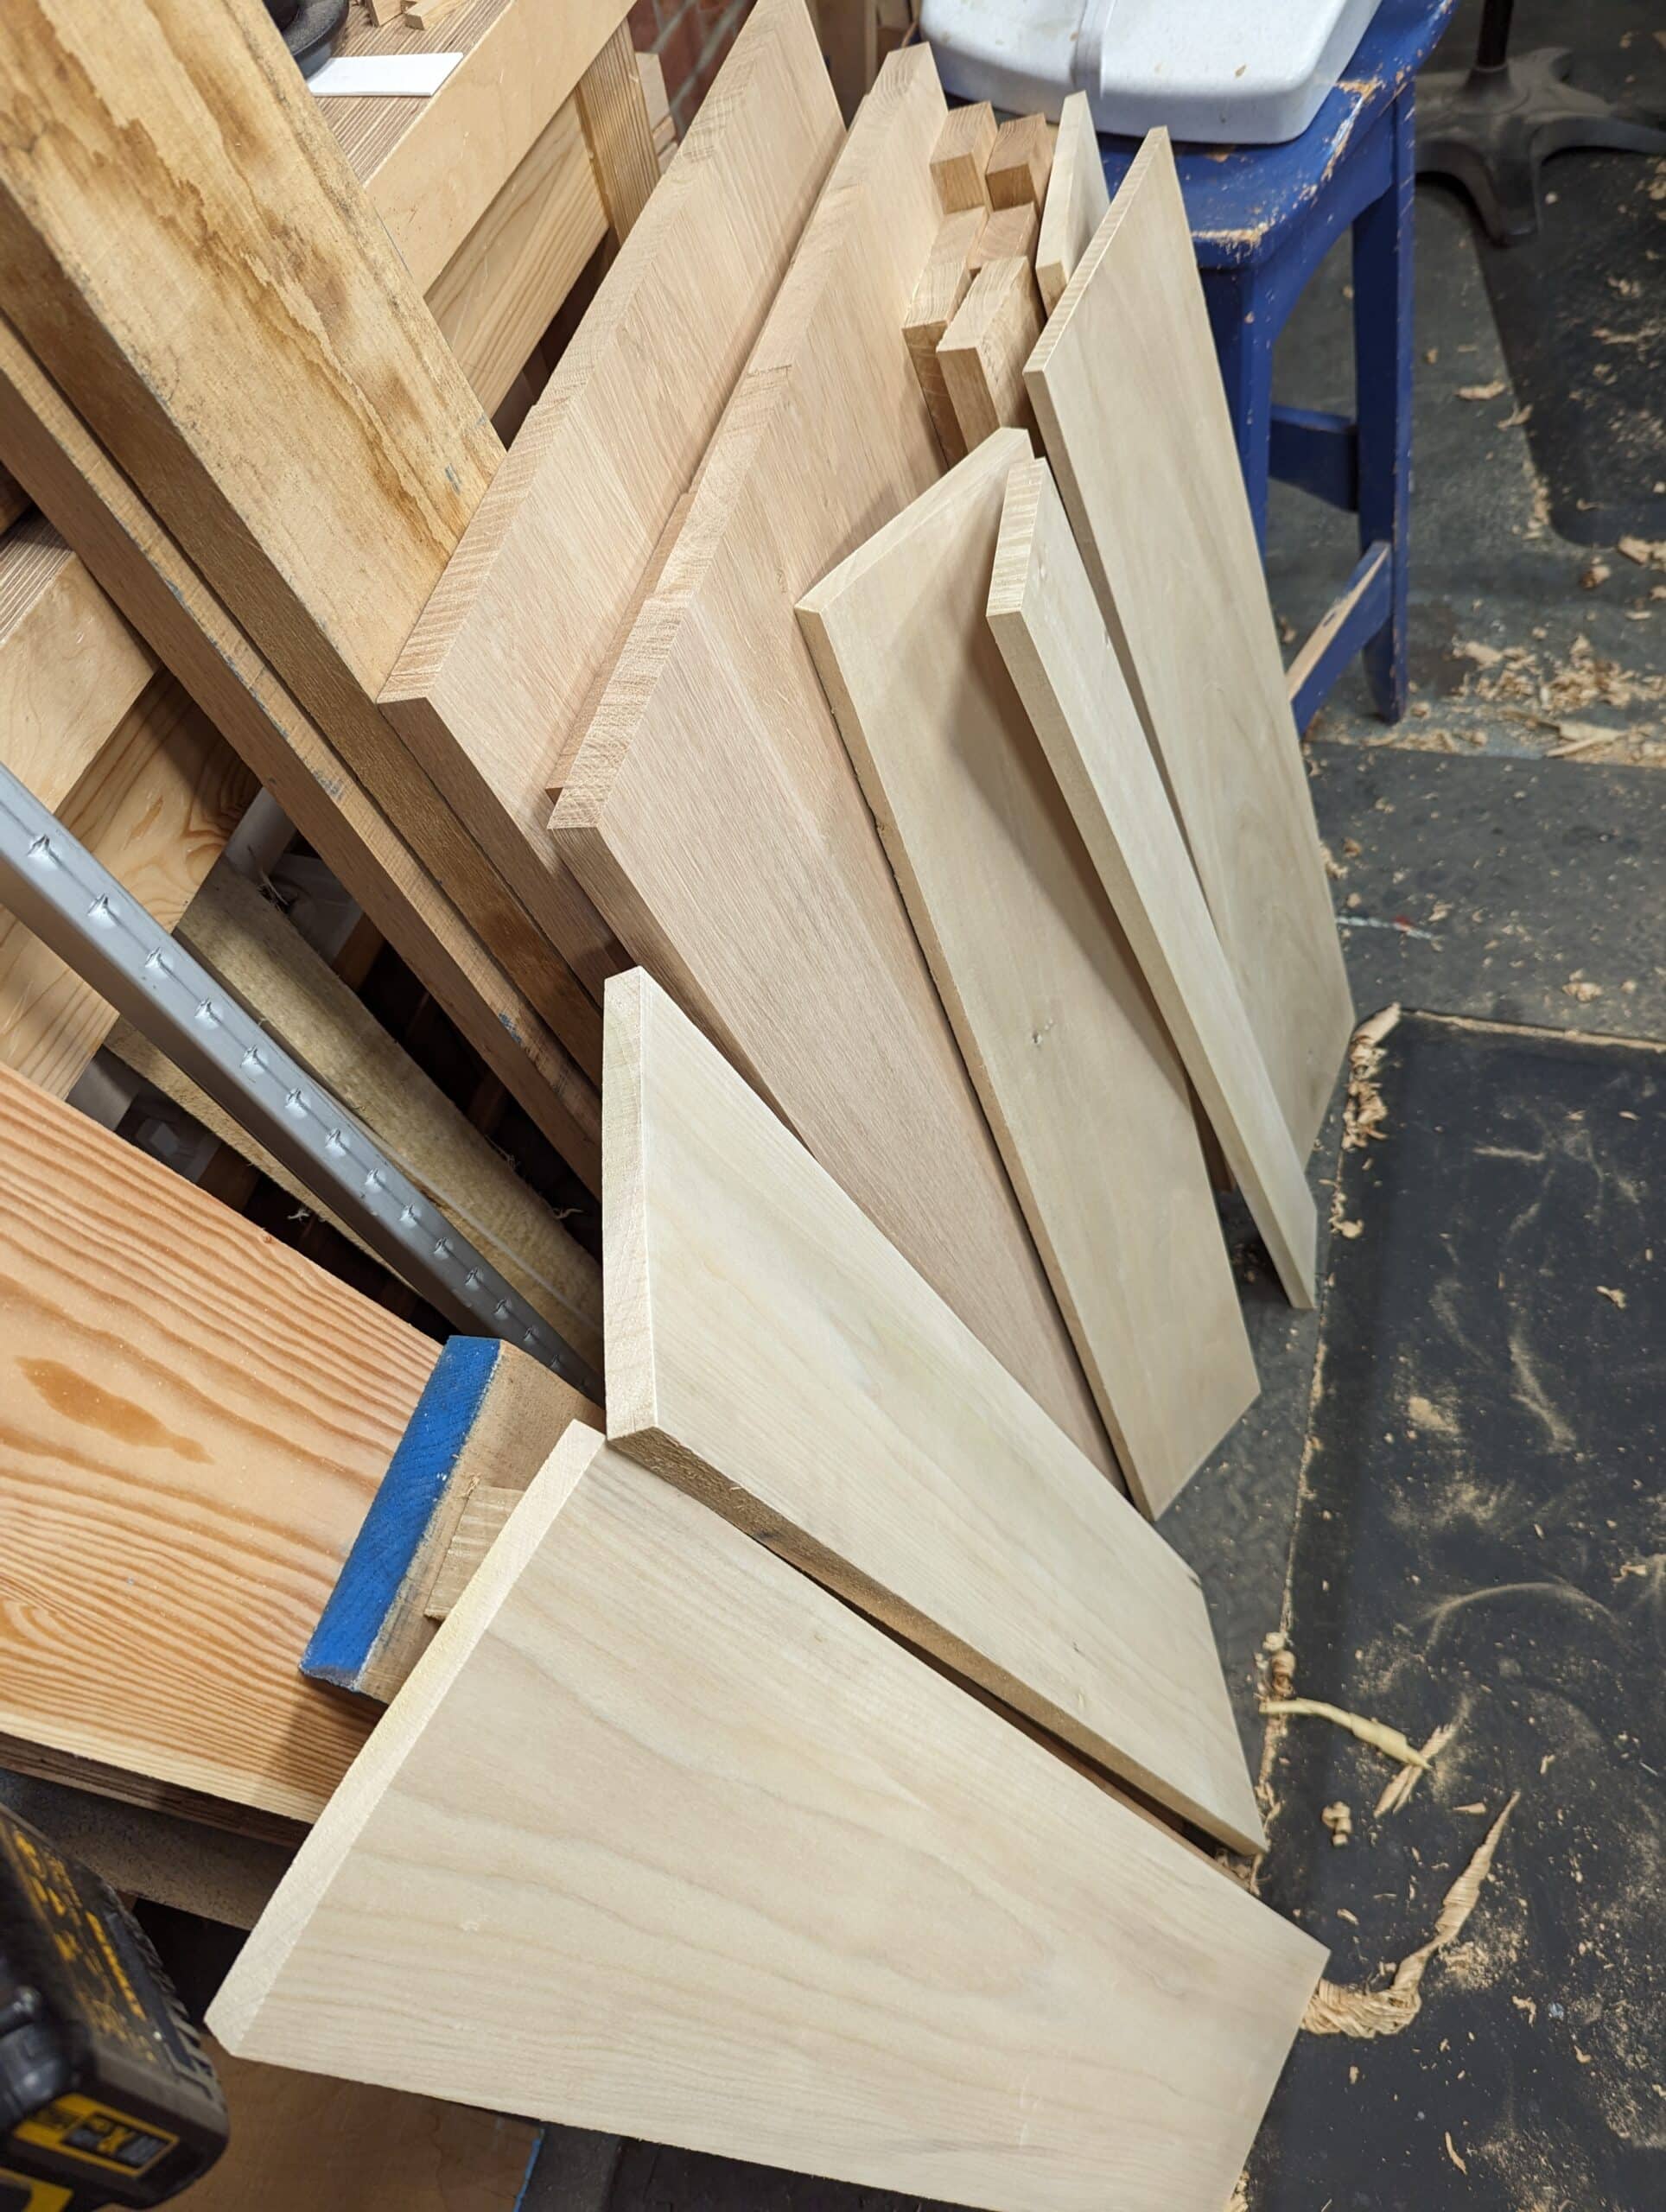
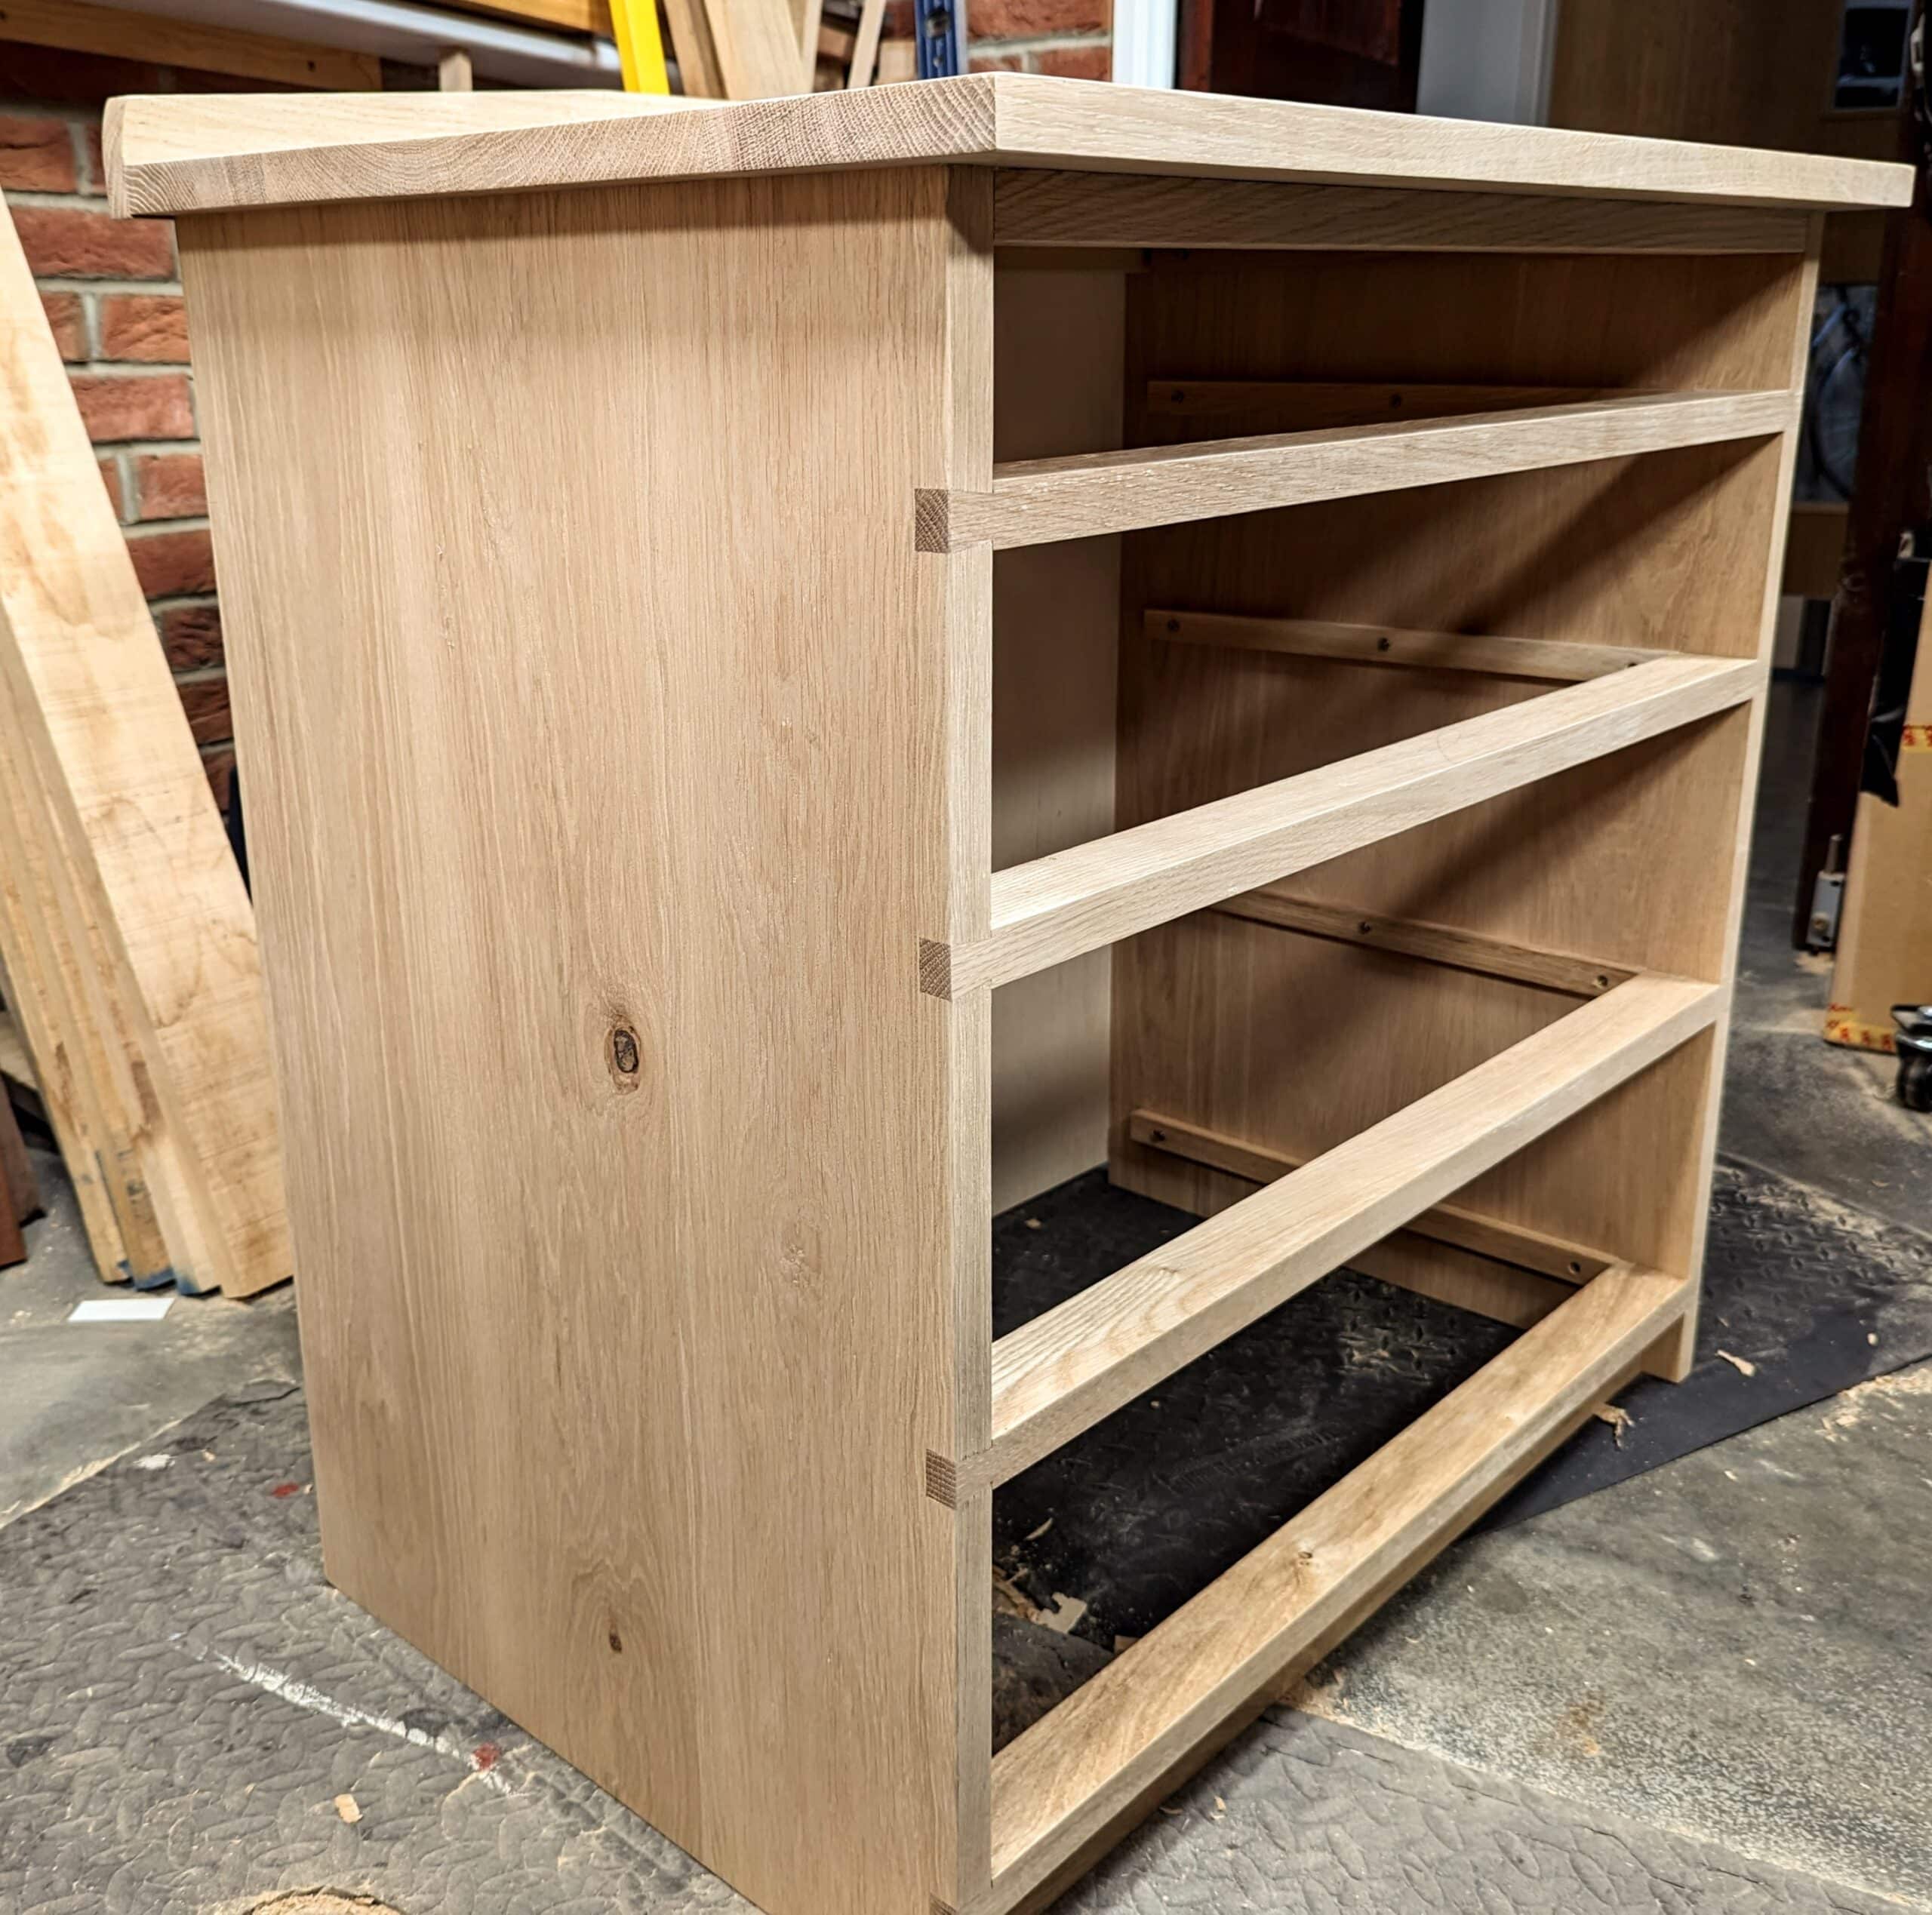
The joinery really relies on dry stock and I am sure before I begin that the levels are acceptable. My first joinery is the housing dadoes uniting the top to the sides. In the video, it is obvious that the sides have cupped overall with a 1/8″ or so cup. The housings will constrain this when it is all together. Funnily enough, it is a cup only at one end, the other end is straight. In such a case you can straighten the unconstrained end with a piece of wood on edge screwed to the bottom edge as long as you make slots for the screws so as to allow for expansion and contraction.
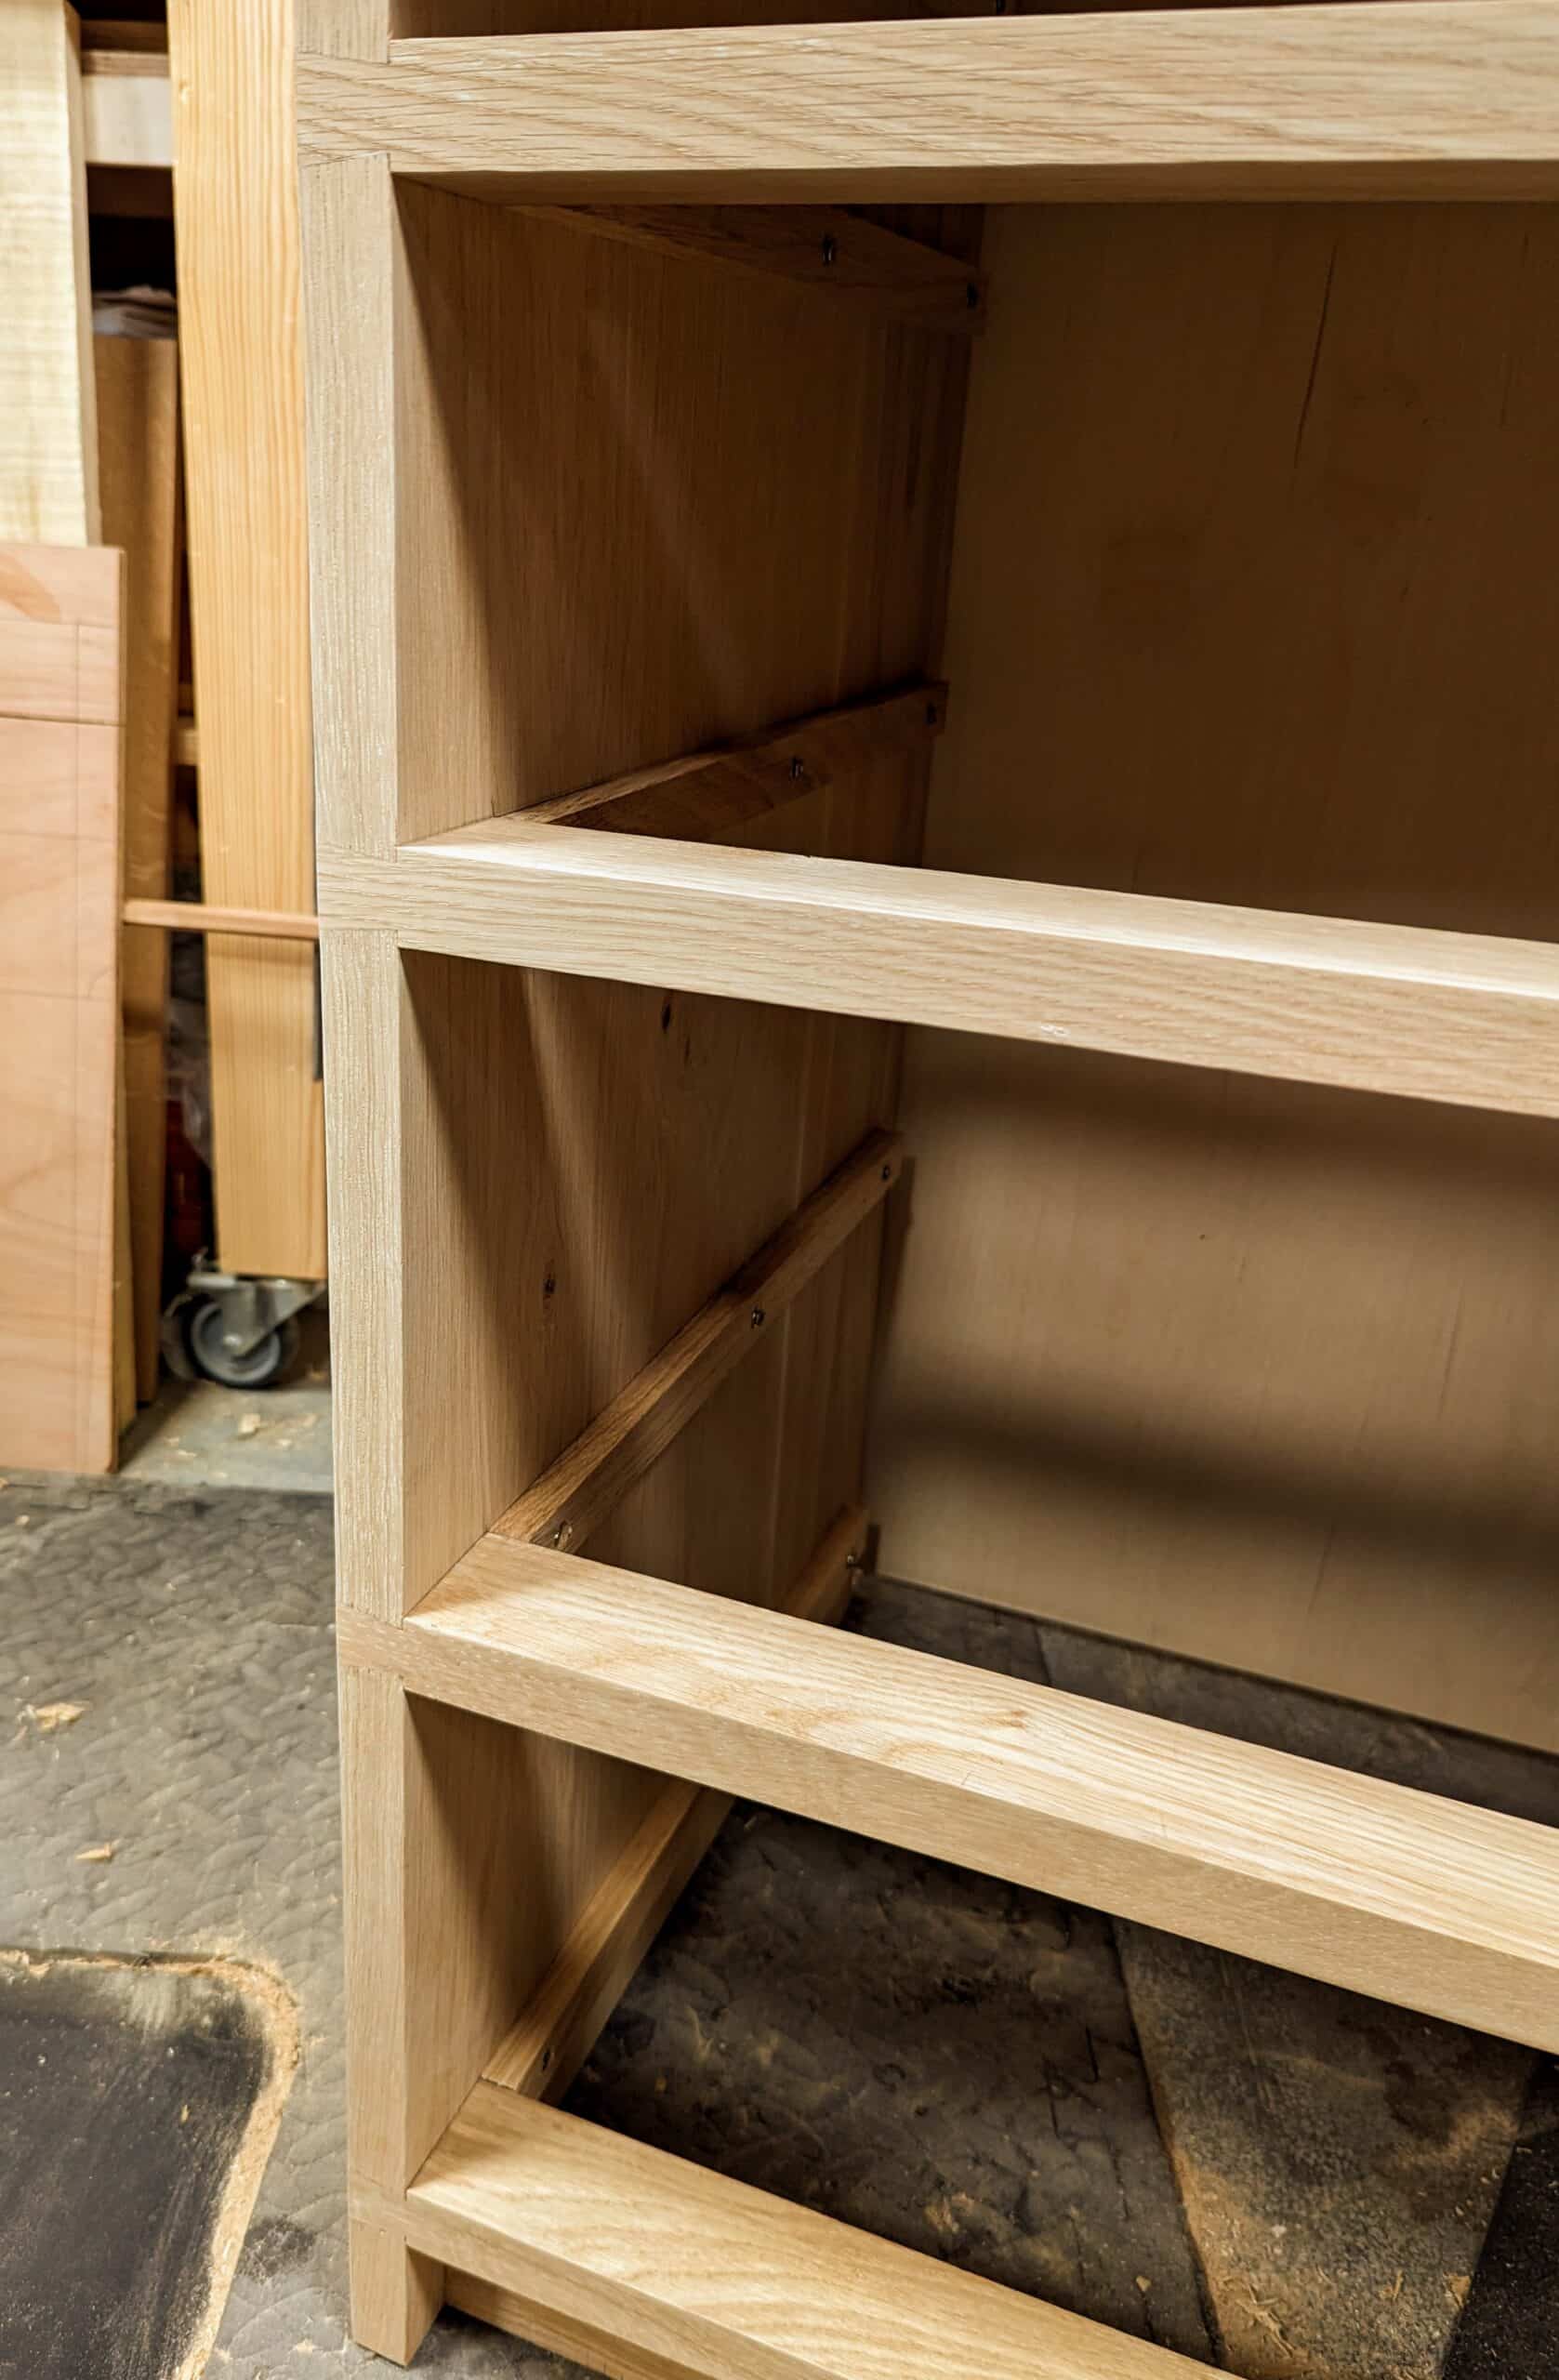
Certainly, it is now the 1st of July and my carcass is together. It’s actually four days of handwork to get to this point. I have many other things to do besides working on the cabinet–-other videoing, writing, drawing and photography. My workdays are pretty full-on all the time.
There is always twice as much wood in a chest of drawers as you can see. It’s surprising where the wood goes. I hardly have any waste. I am always surprised when I walk past a builder’s skip and see lengths of wood new and old that are discarded. The customer is paying for this wastefulness but the construction guys have all the good reasoning. I do understand that they have no place to stow and store it so their loss is usually my or someone else’s gain.
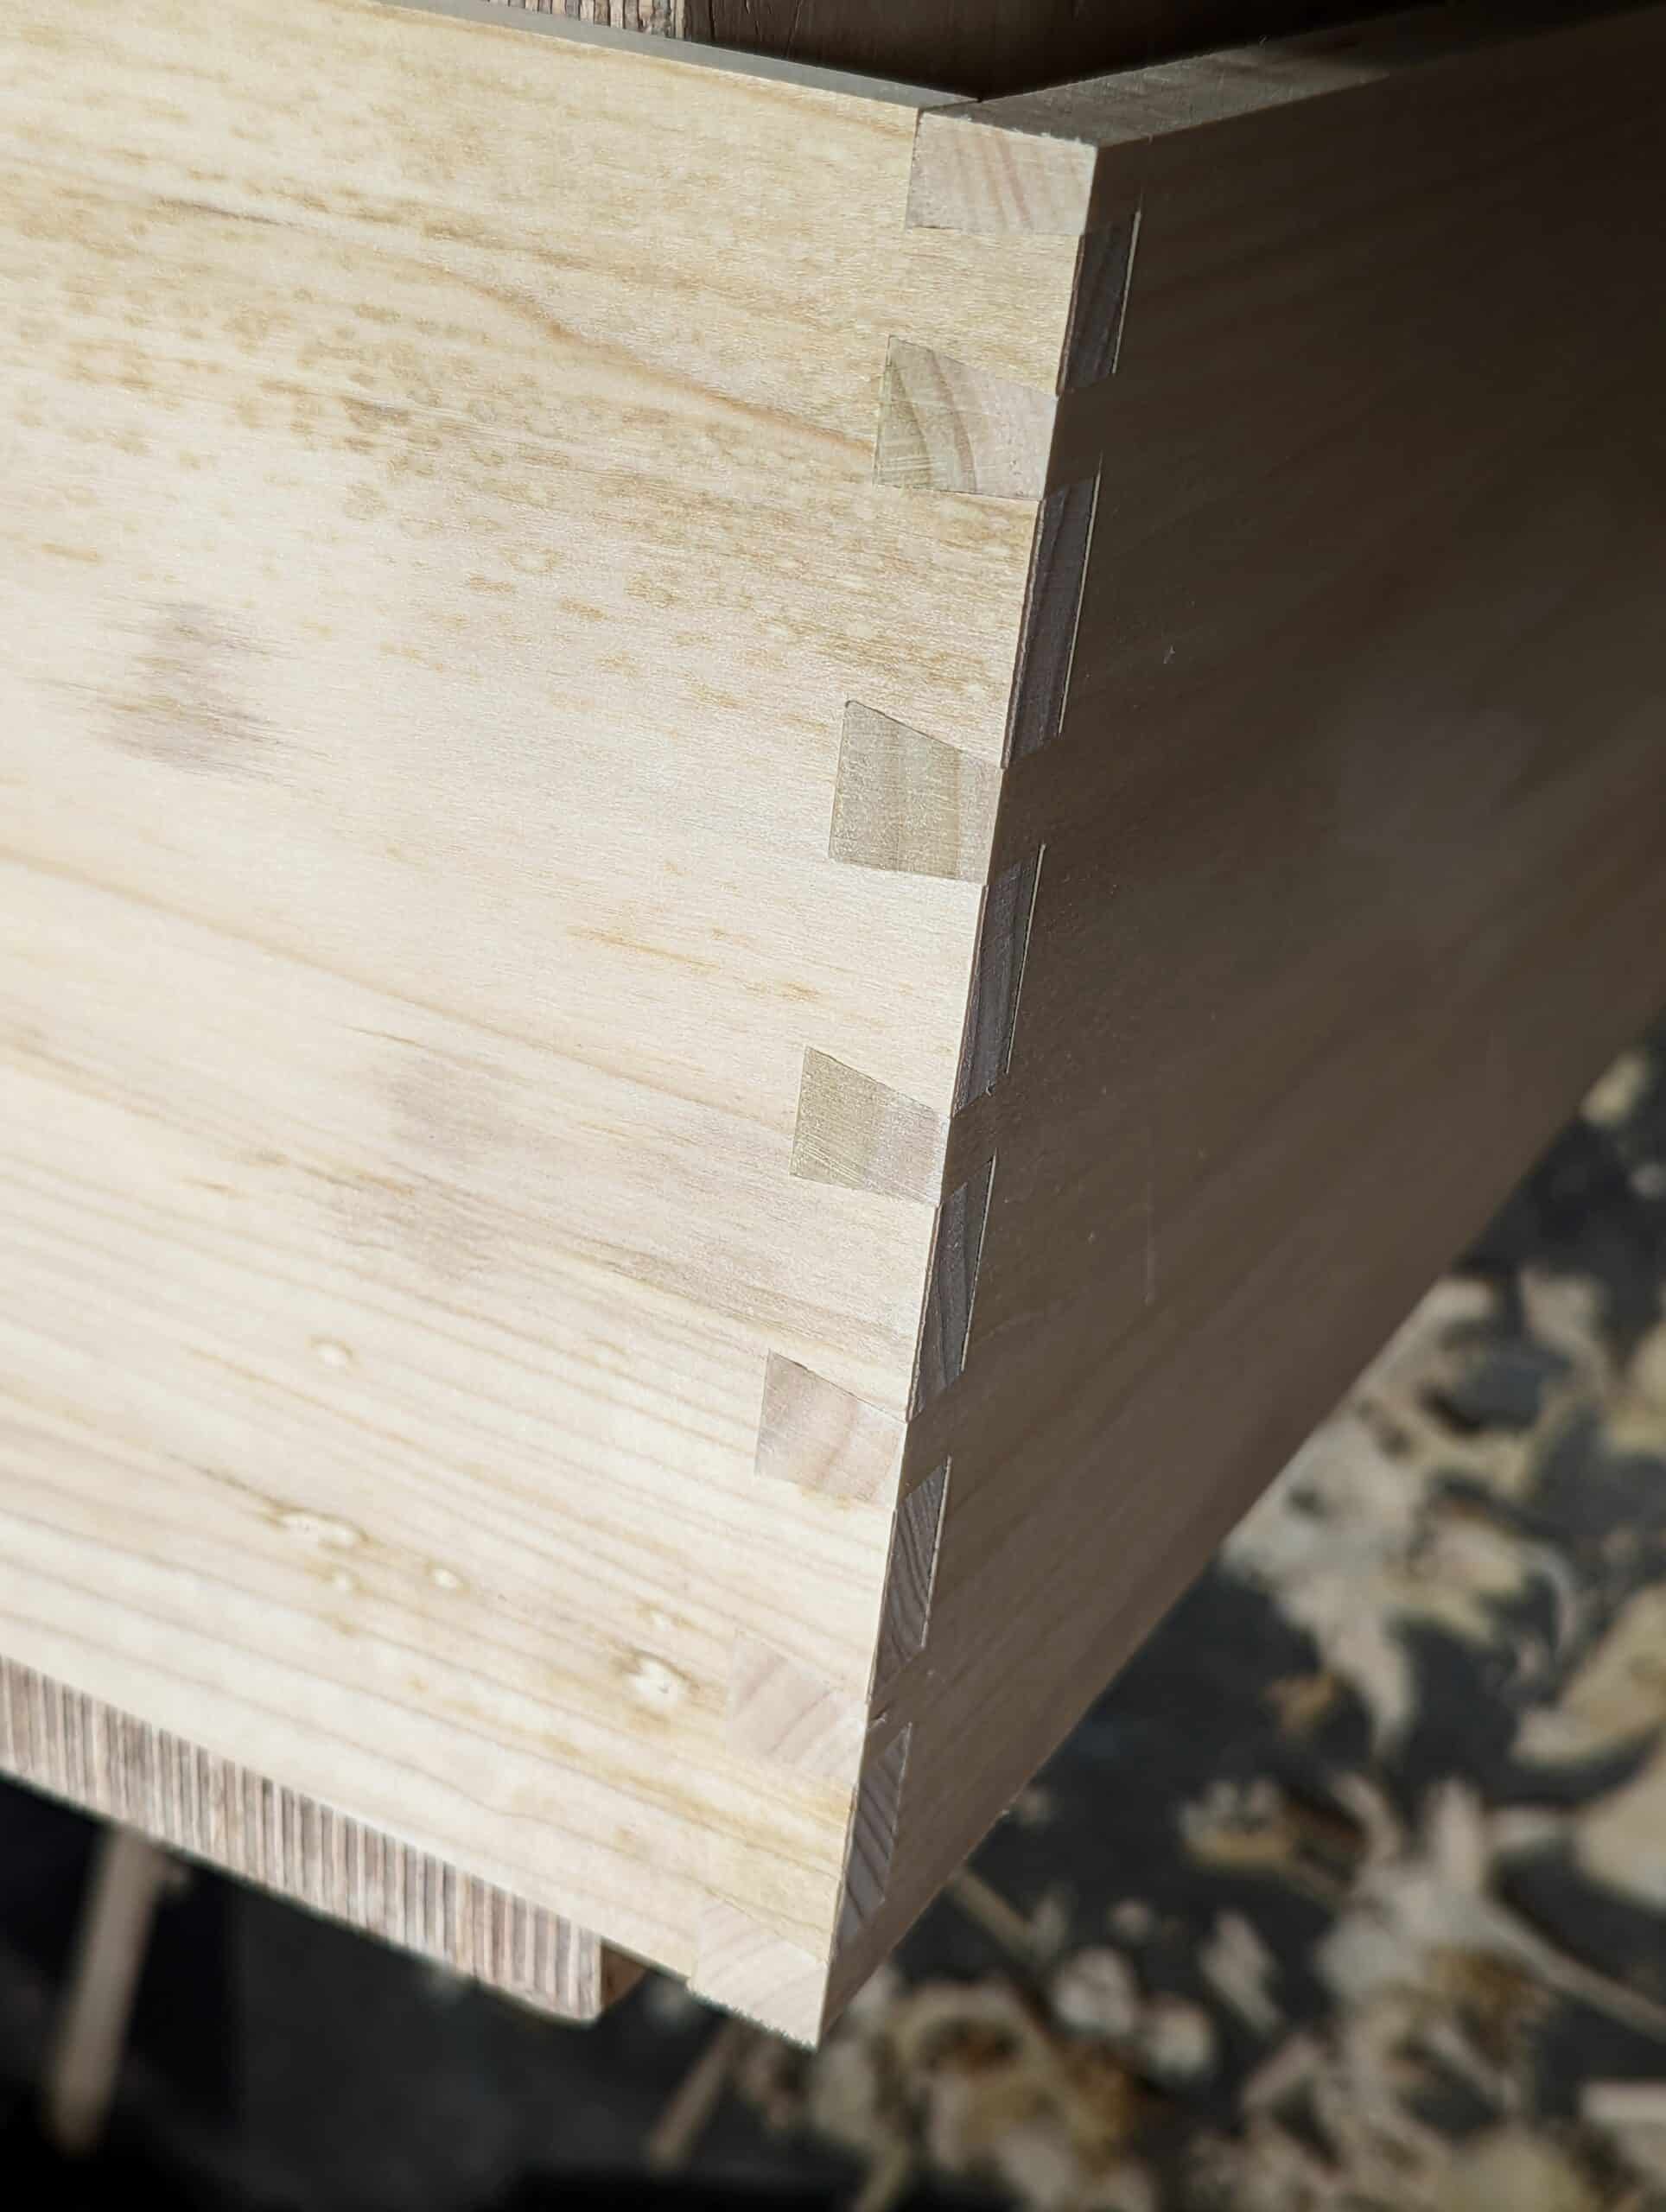
On the 4th and 5th of July, I am on stock prep and construction of the first of the four drawers. I have decided on through dovetails on all four corners of each drawer and each corner takes about half an hour per corner with the six-tail corner ones. Filming them takes longer for a variety of reasons and we still film the others to B-roll. By the end of Wednesday, the first drawer is together replete with the drawer bottom fitted and the grooved runners to receive the drawer bottom in place. I decode not to glue up just yet. I will do the glue-ups when they are al;l four made. No good reason really.
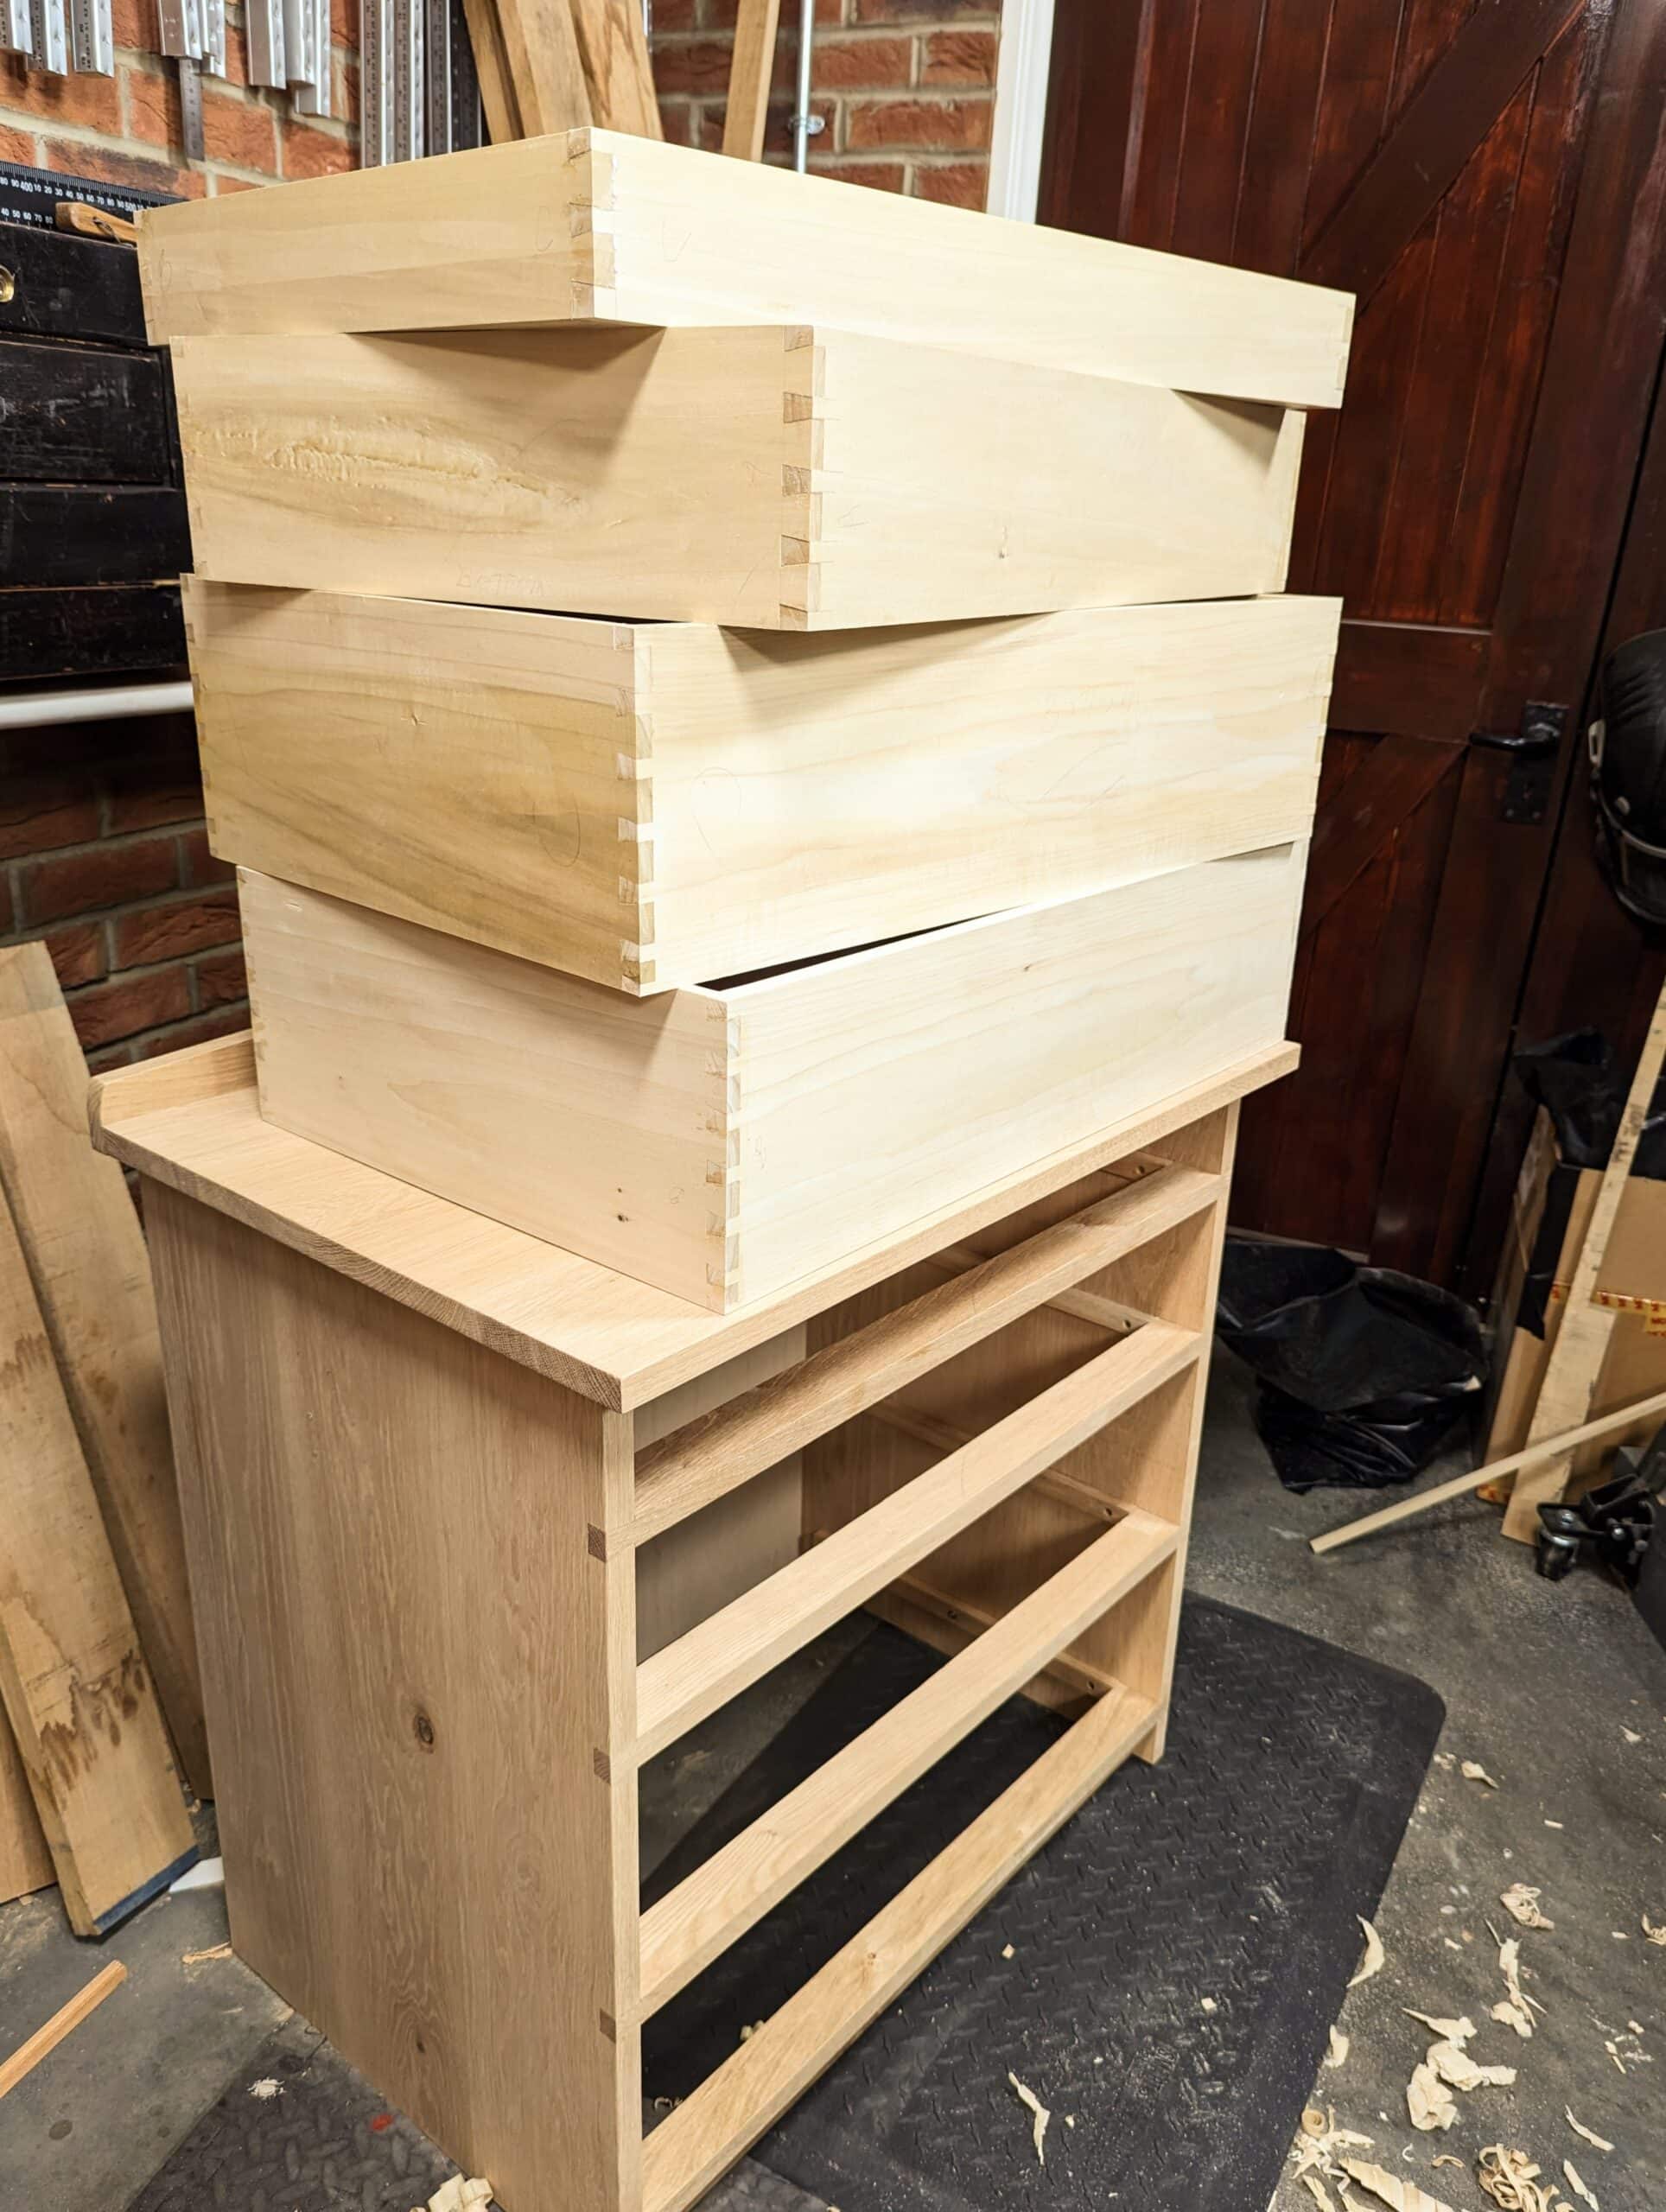
On the 11th of July, all four drawers are glued up with the drawer bottoms in place too. A total drawer make takes about half a day for me to do. There is no rushing and nothing urgent or frenetic about it. I enjoy the processes of everything more than just getting the job done. i work steadily with almost no breaks. I prefer working to food breaks and snacks so I rarely snack more than a few cashews or pistachios between my 5.30 AM breakfast and dinner around 6 PM.
On the 13th of July, the first drawer fronts come from more raw wood. It’s wood I bought maybe three years ago purely for the quarter-sawn shorts price. All four cost me around £20 though I did buy three times more than I used on this project.
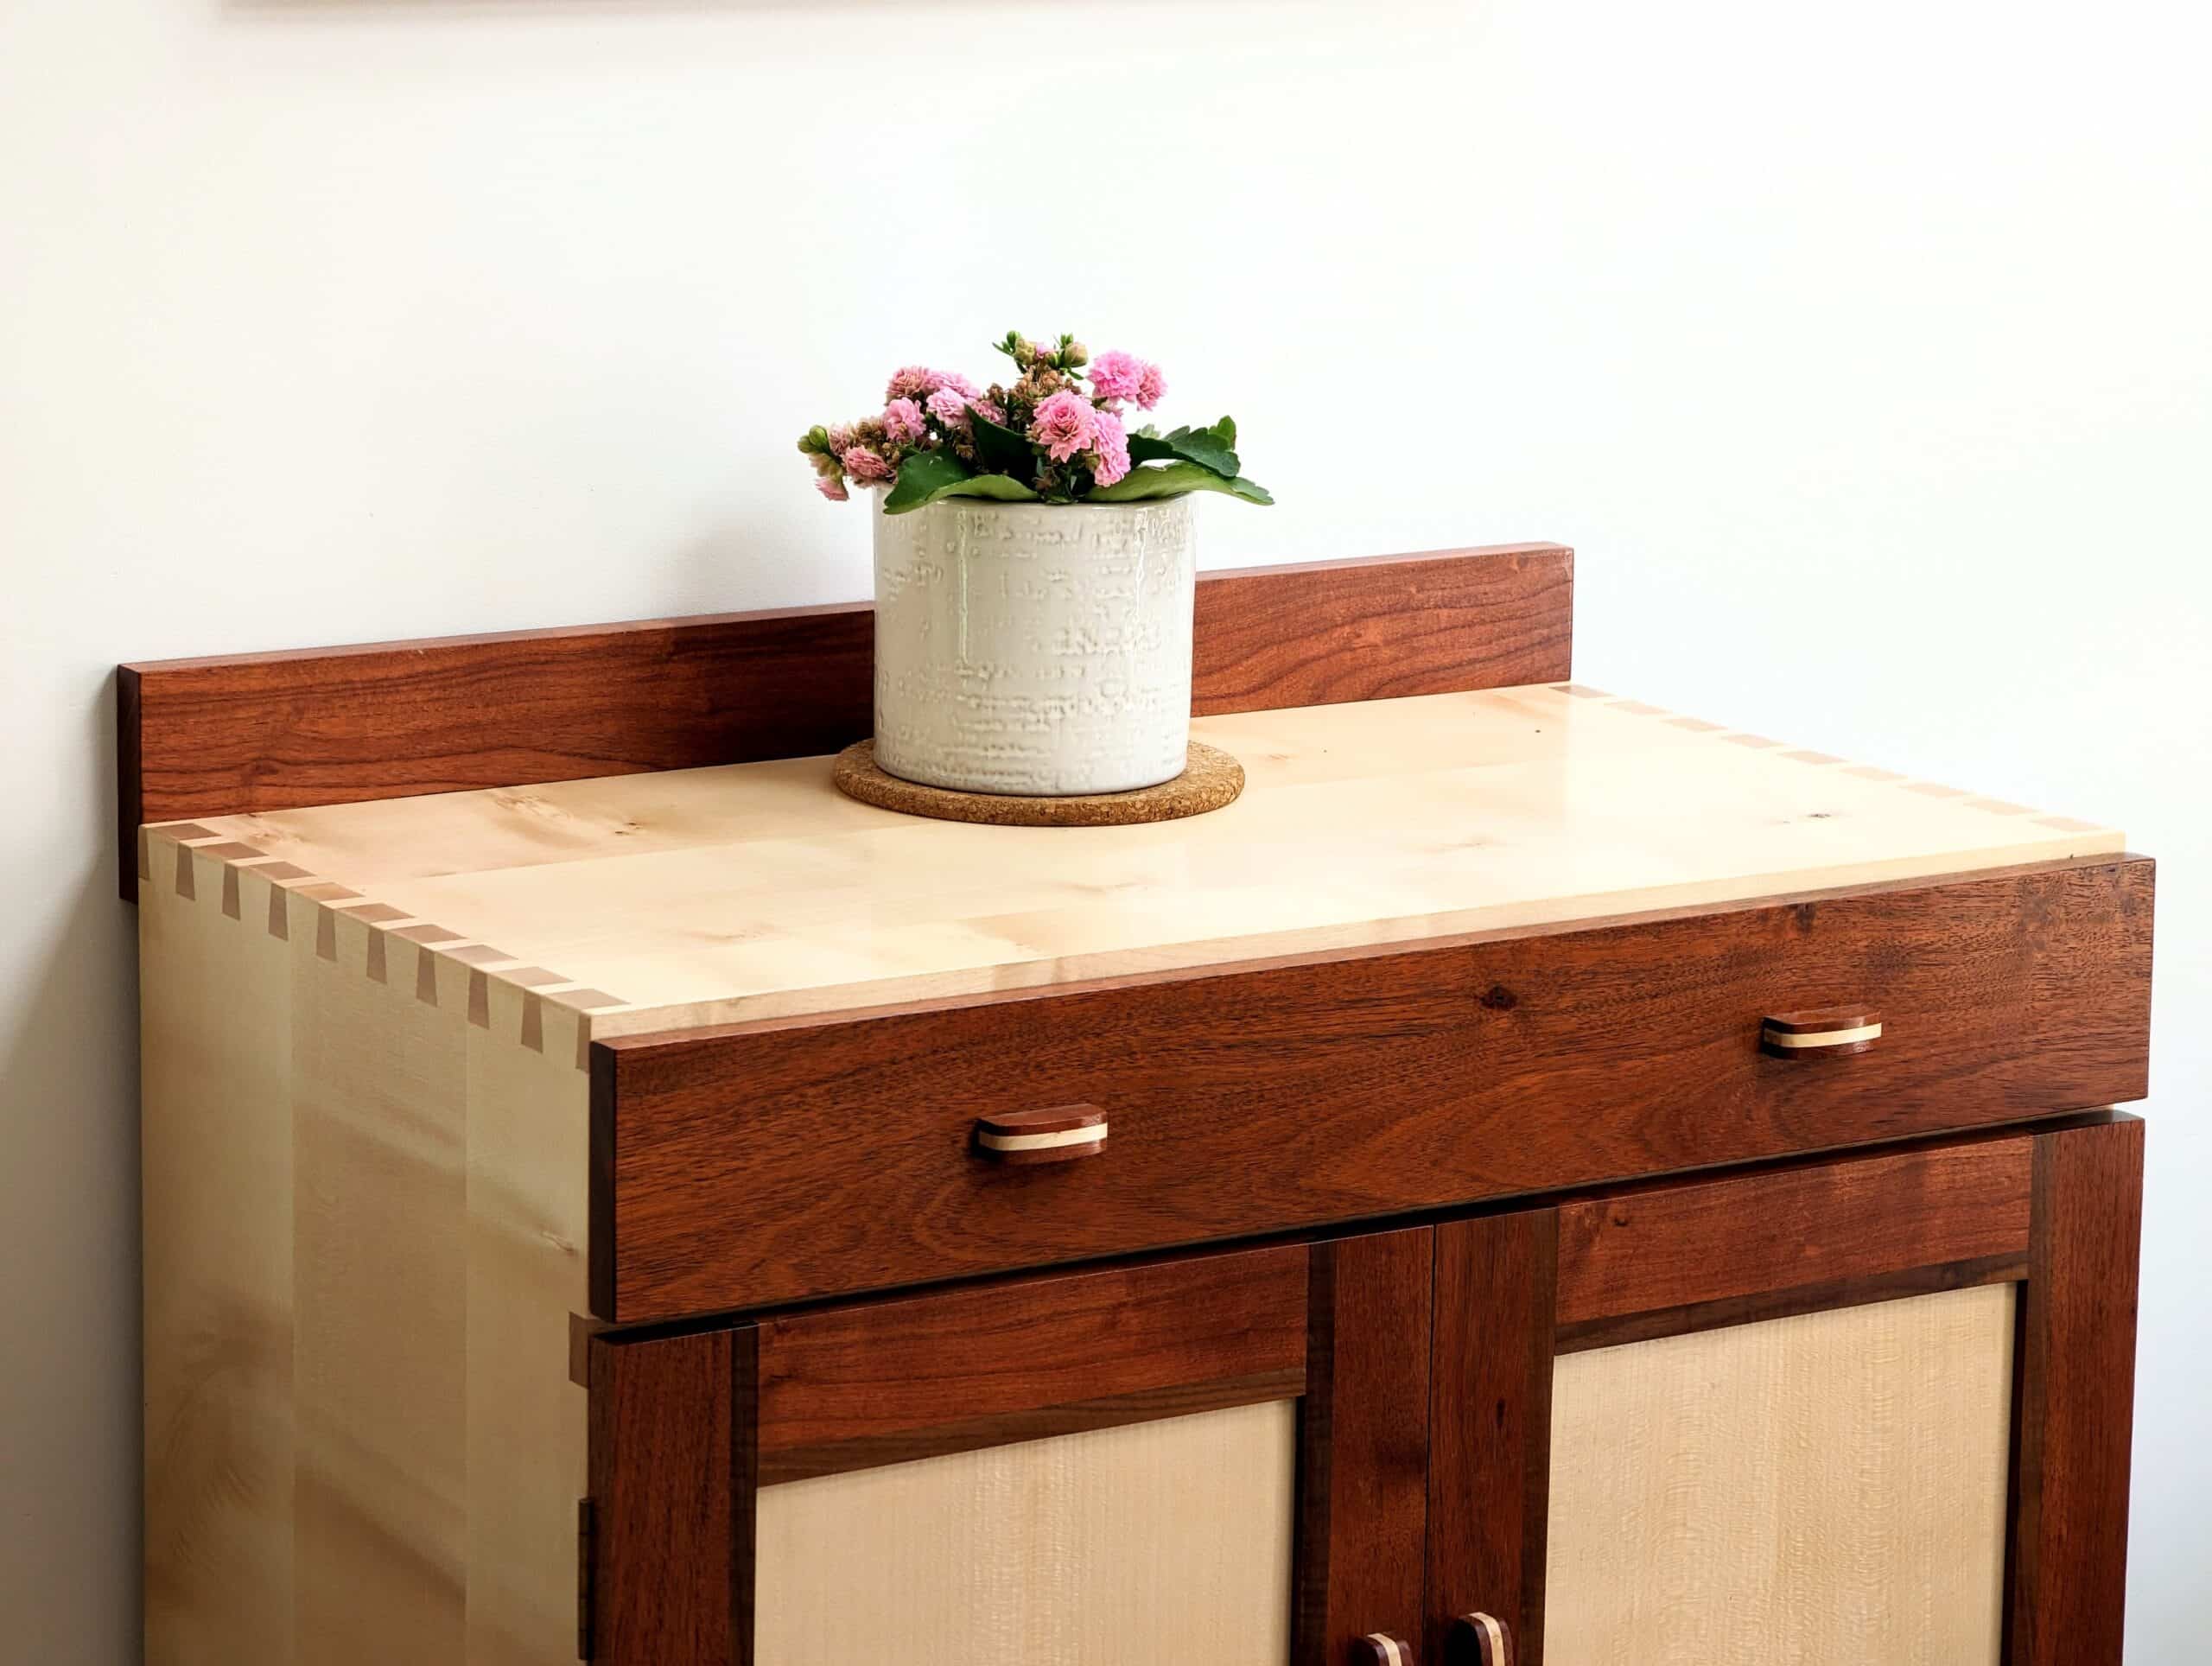
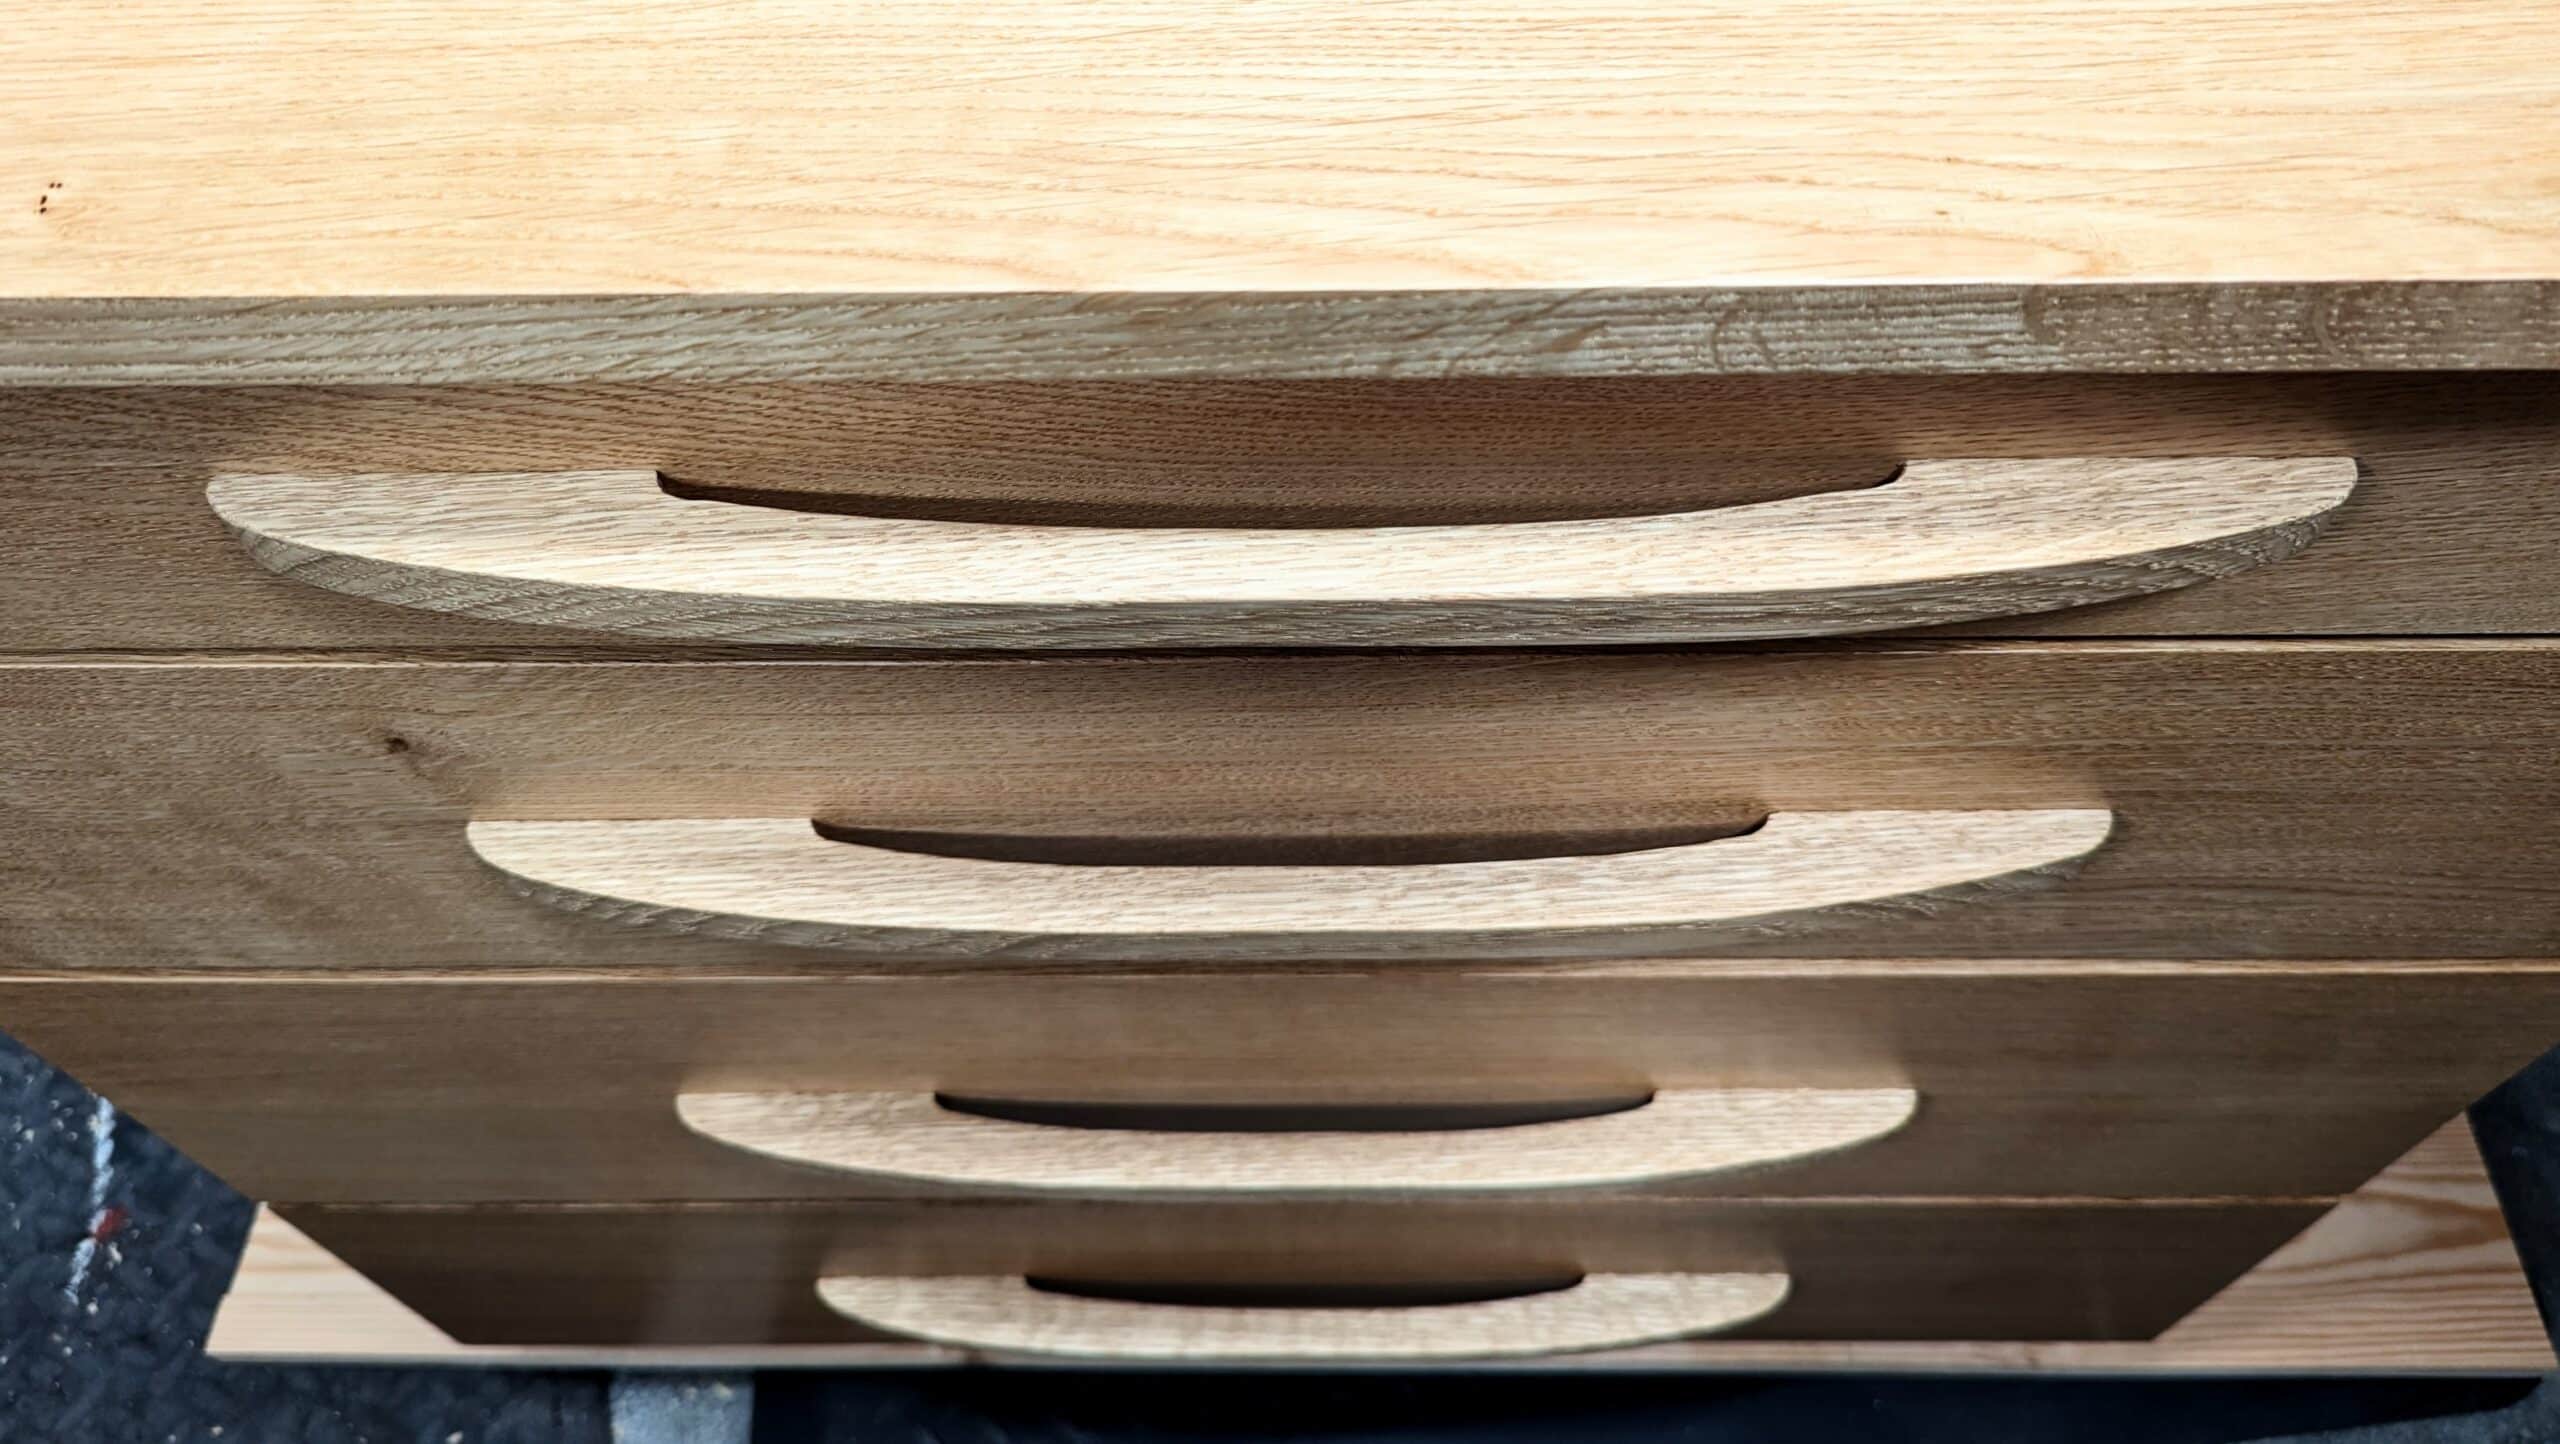
The colour toning seems at the moment not to be perfect (Thjat’s a ‘yet‘) but I feel it might come close naturally and with little if any input from me. I decided not to stain wood again a few years ago. It doesn’t mean I never will but I will only do it now if the balance of a piece will in some way be jeopardised. Usually, I can work with it gently and modestly, treating it eclectically. That fits who I am and want to continue to be. I think we try to harness nature and what occurs naturally through colour and texture in our lives and life far too much.

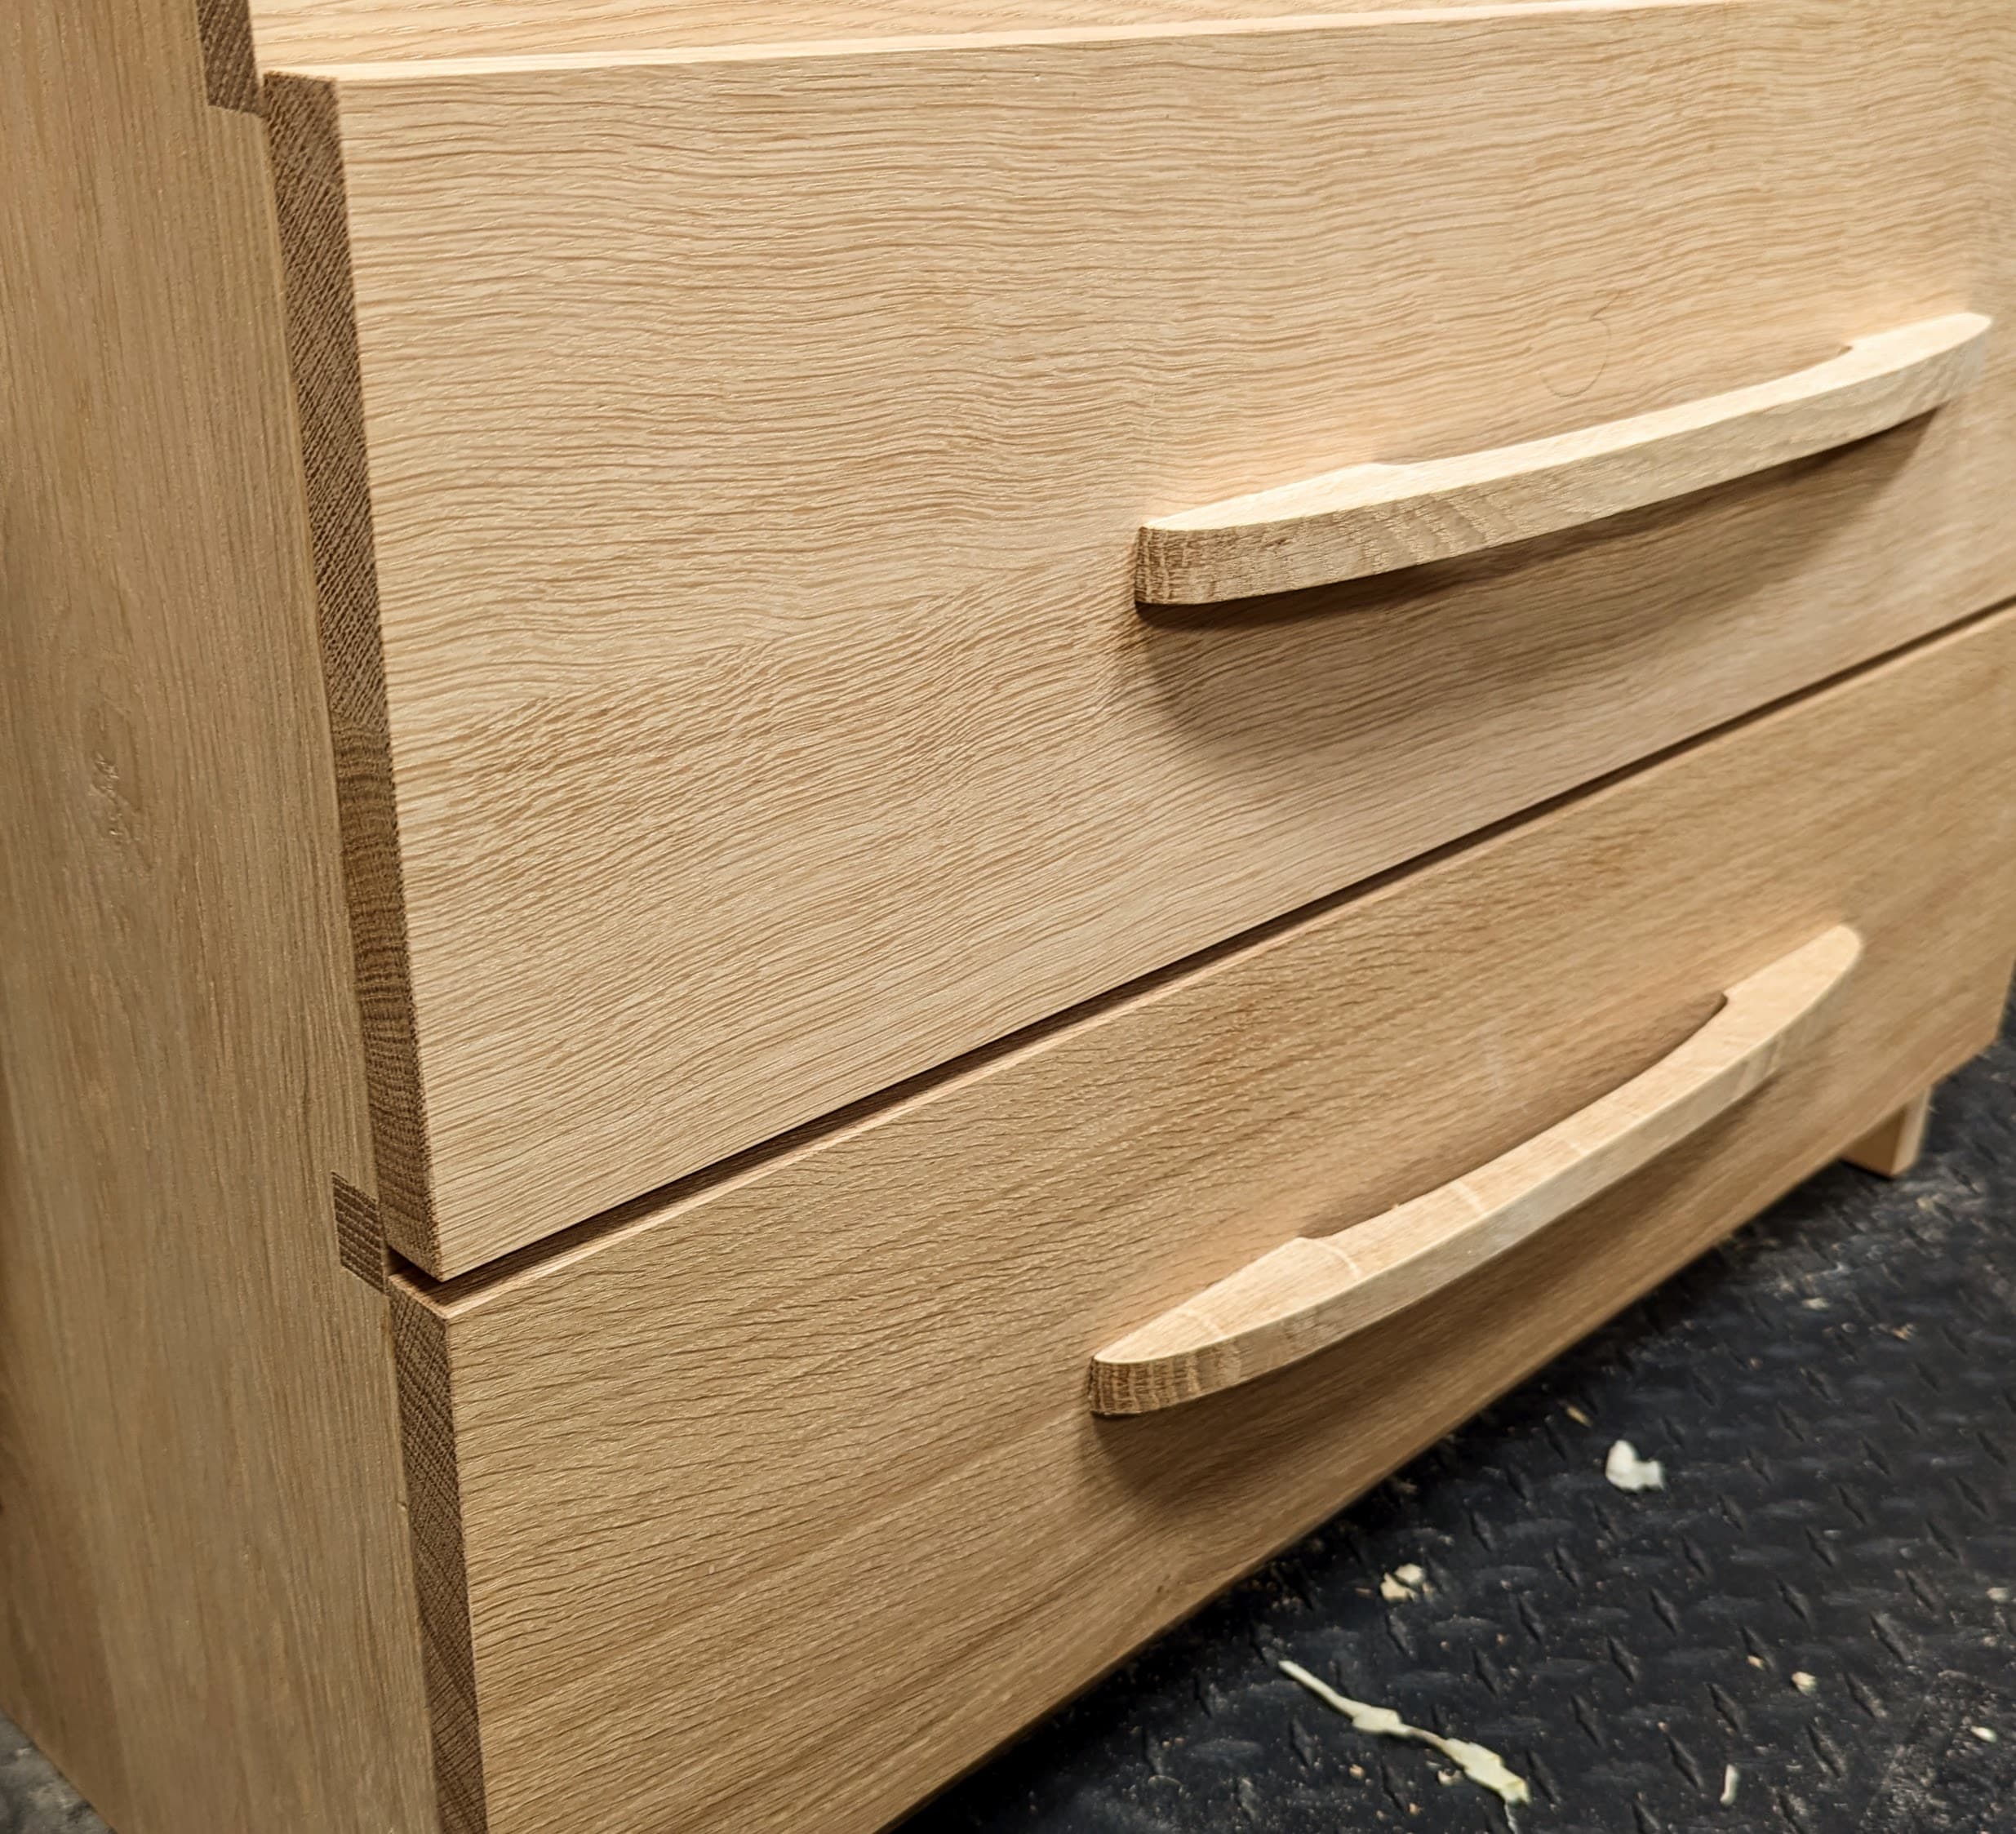
Templates are handy things to make and take little room to keep for future reference. I usually freehand the drawn shape and then come in with the tools to make what needs making as a template so it can be offered to the piece to see if we indeed like the shape.
Each handle is 15 to 20 minutes work to complete and, of course, they cannot be bought or sourced with the individuality I like for my work.
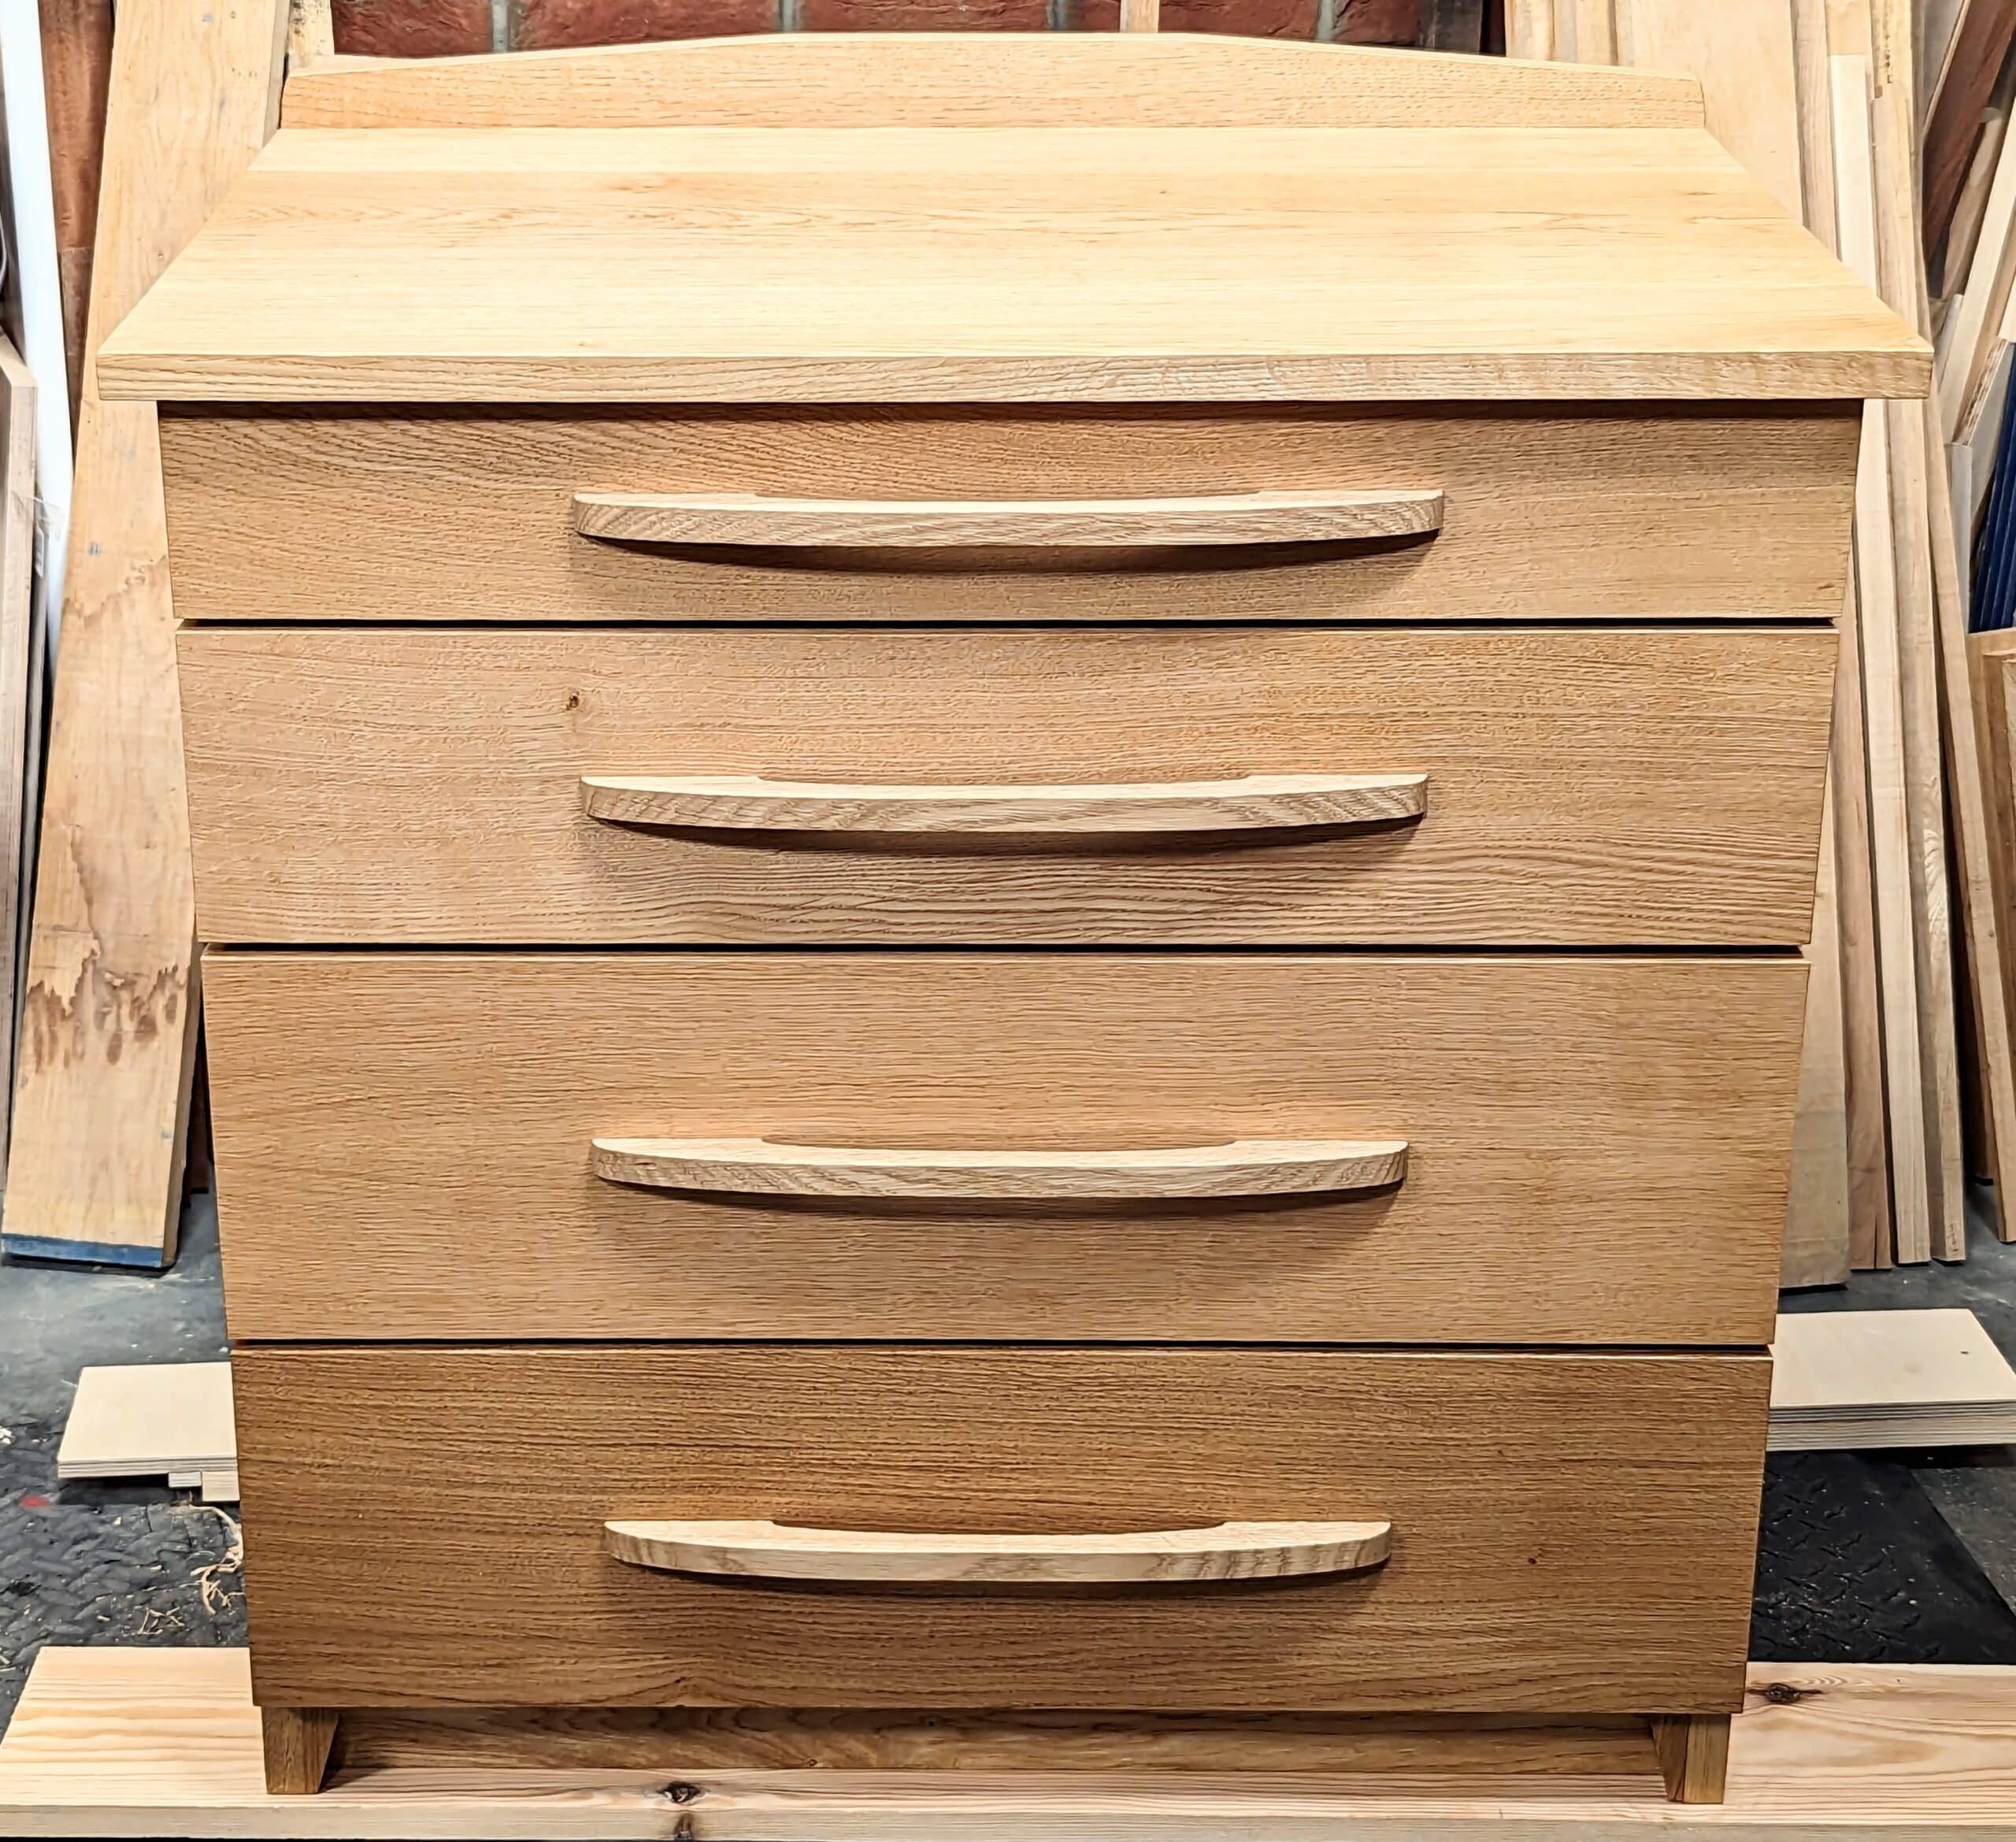
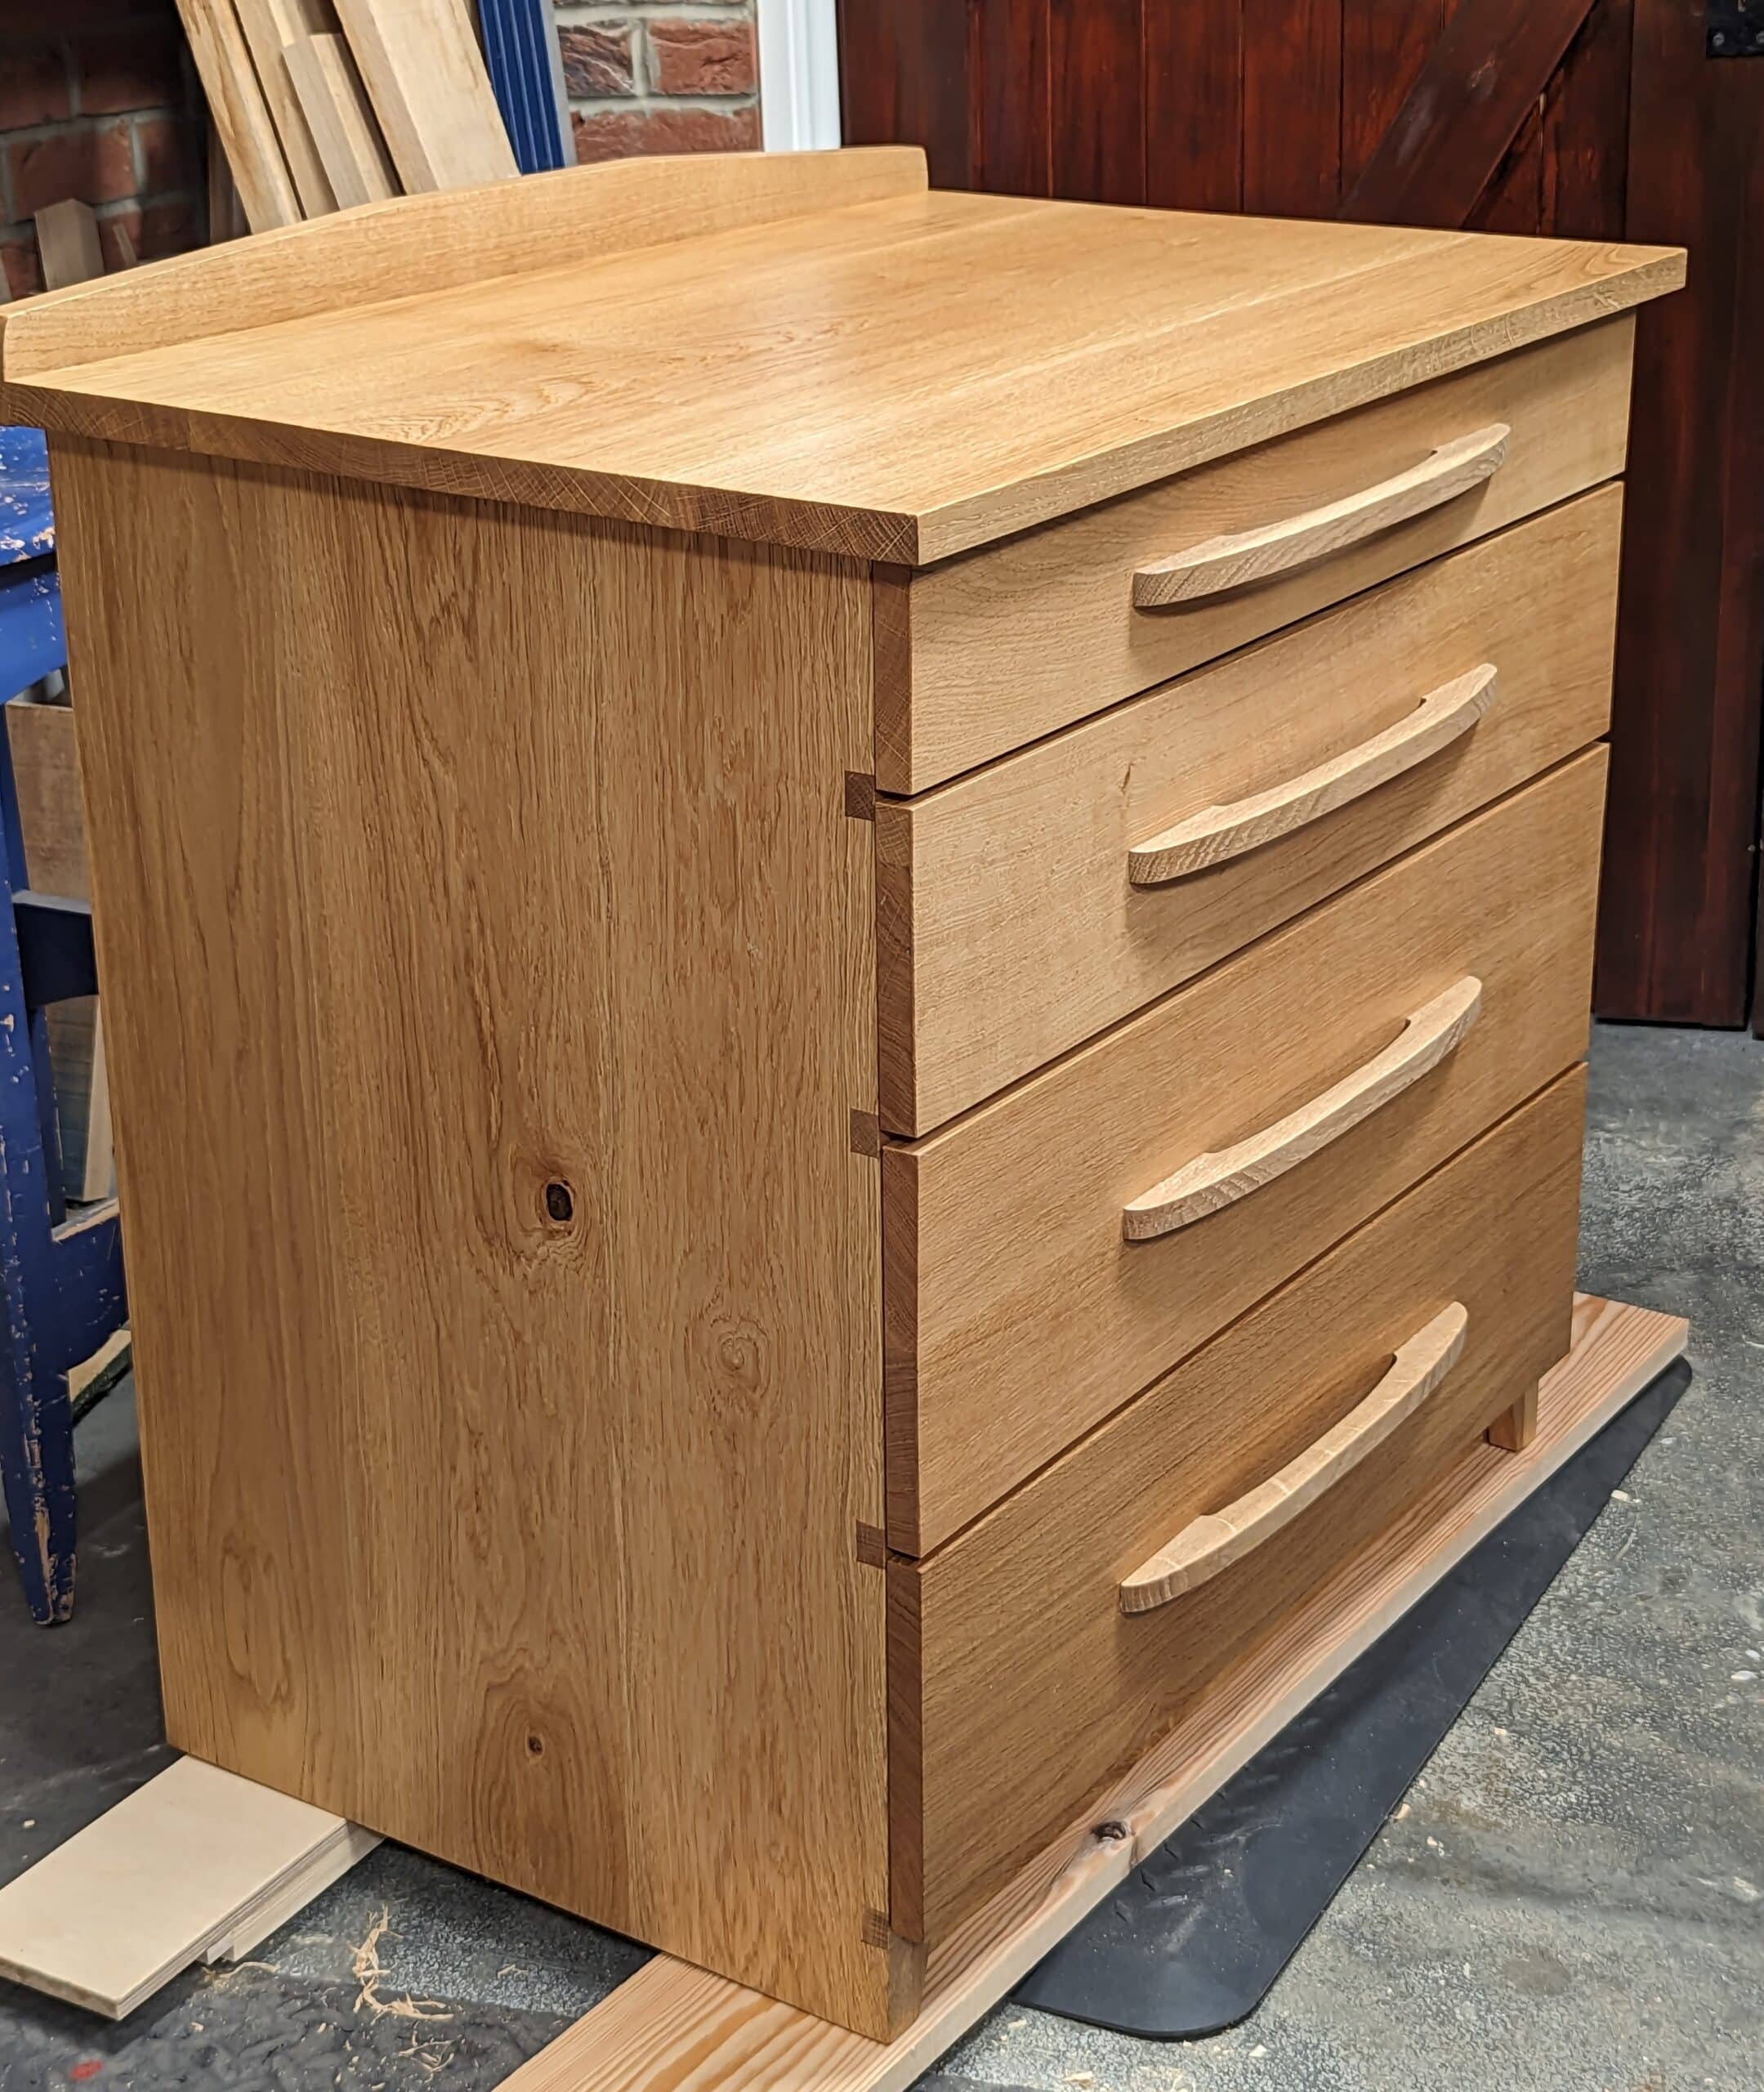
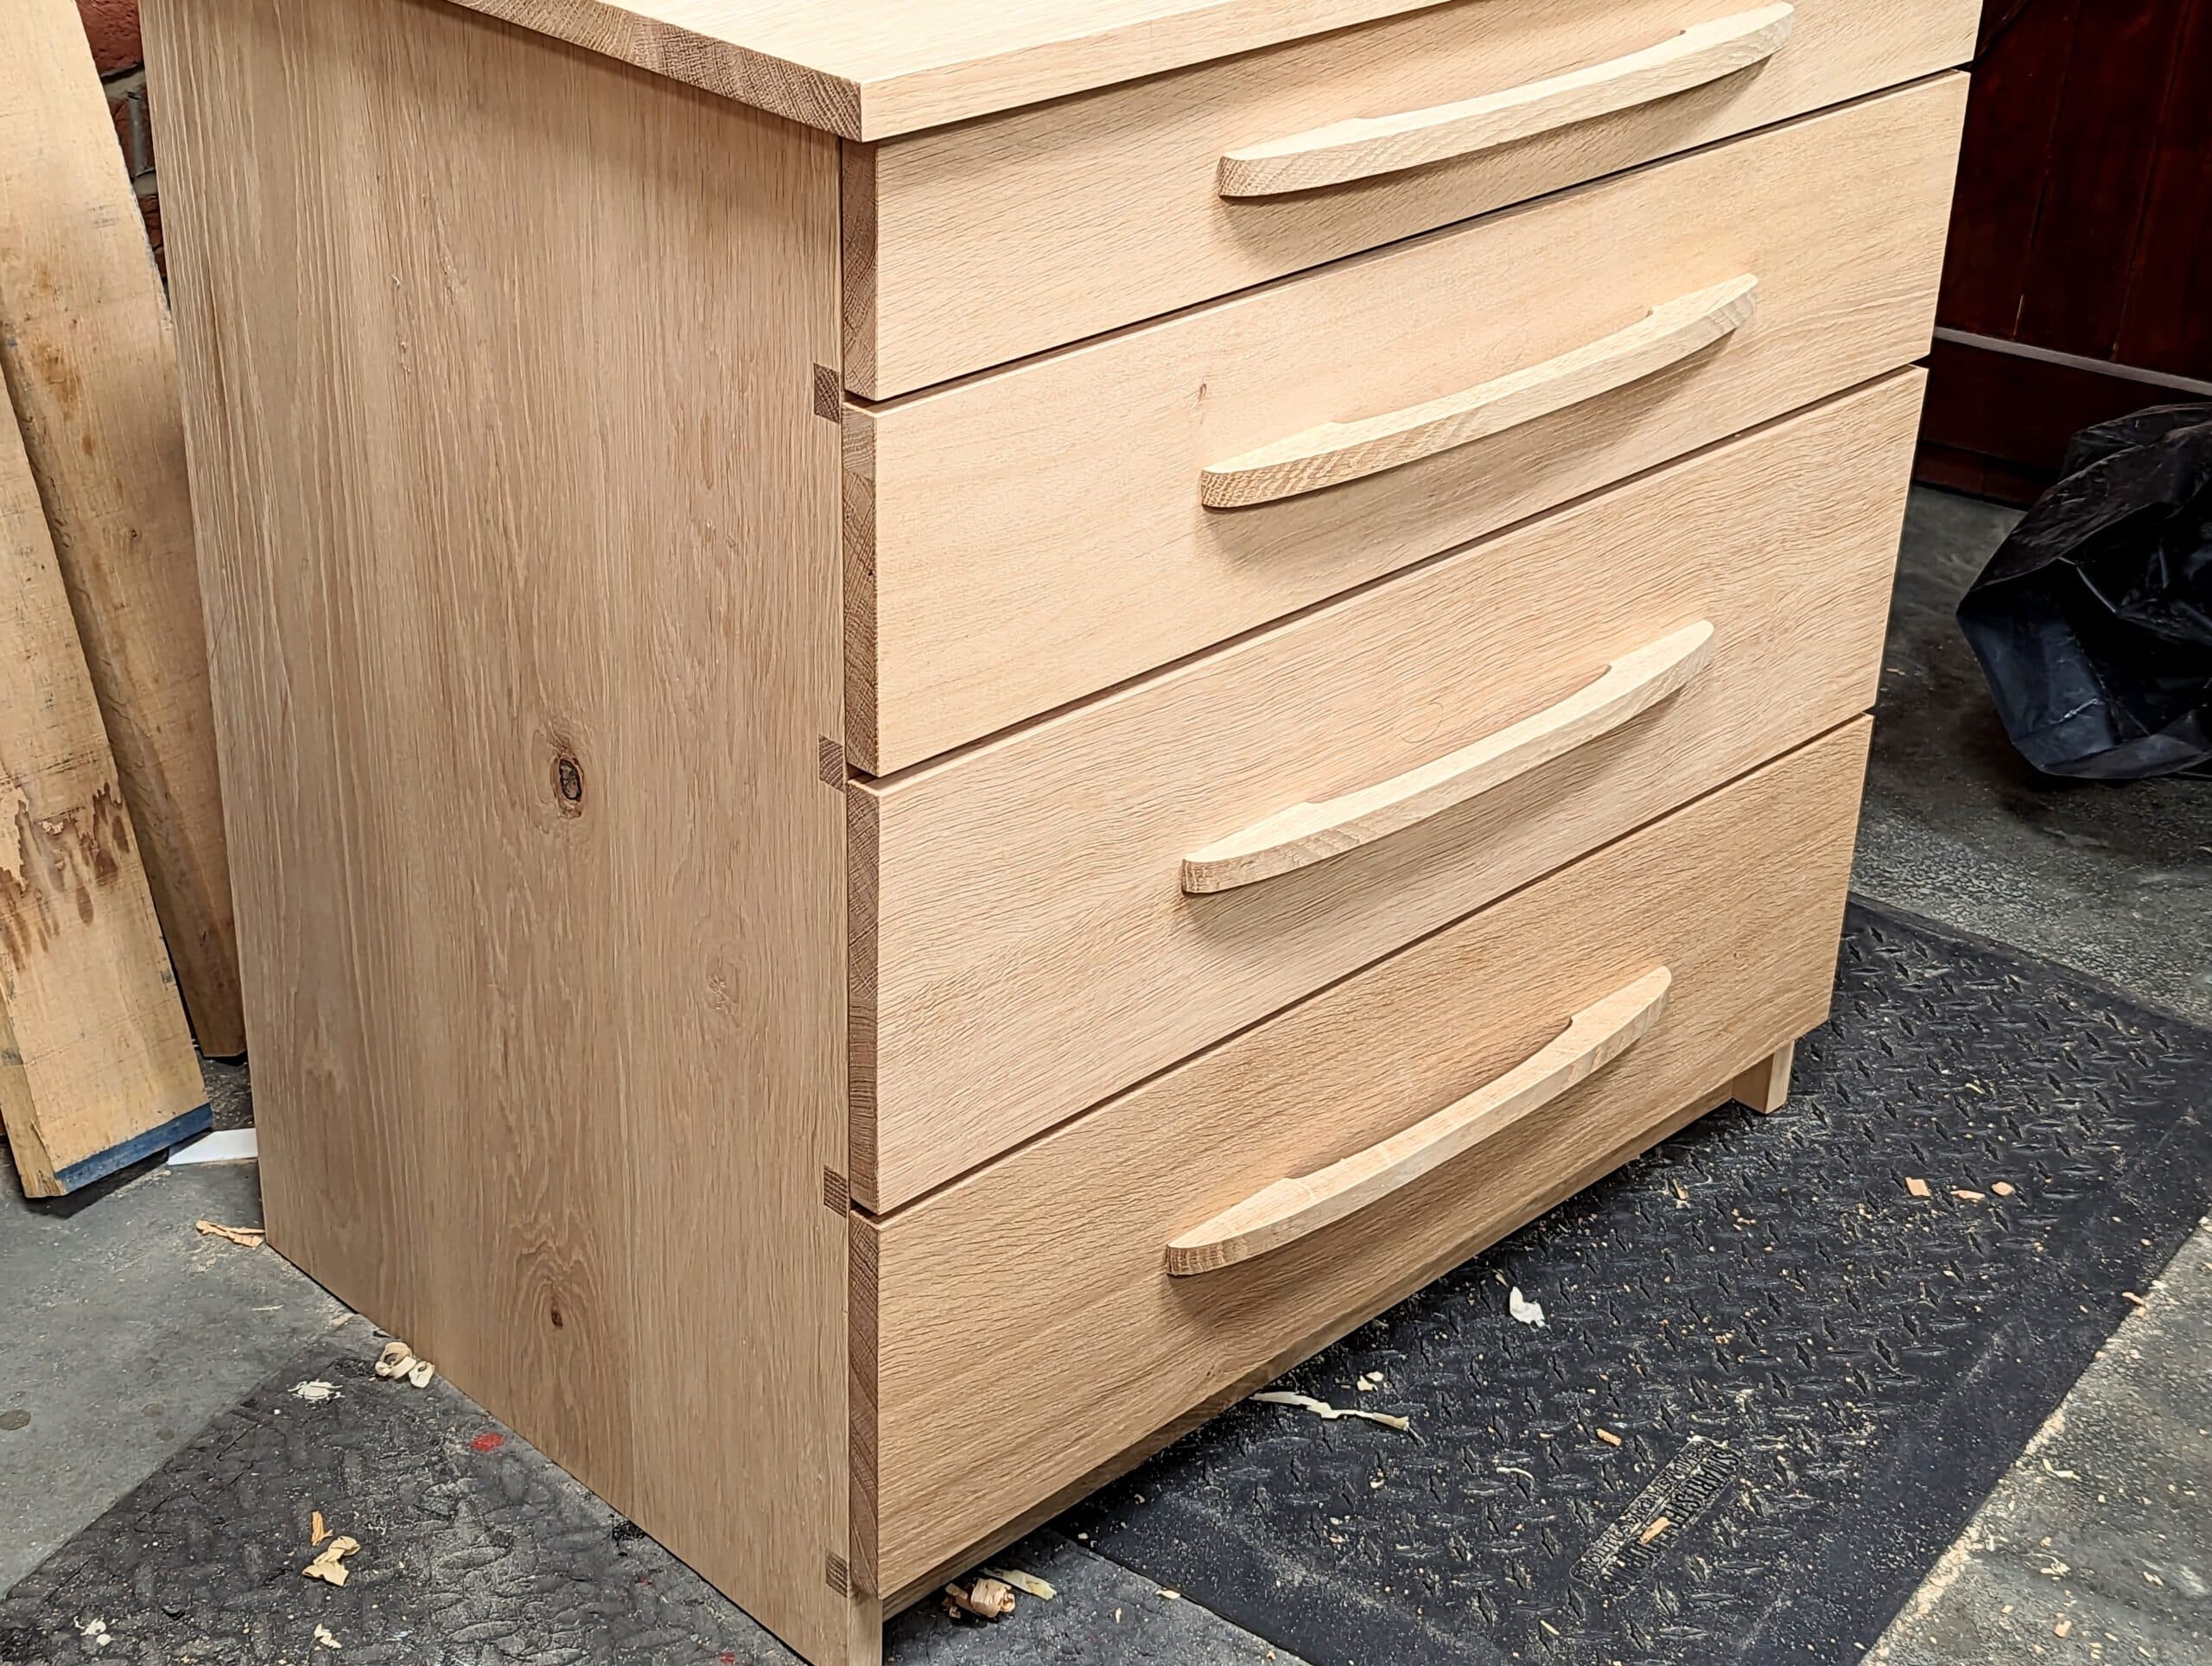
It’s Friday the 14th of July, just 17 workdays since I actually took the opening plane strokes for truing. In the final look, I am as happy as I can possibly be. The design, colouring and texture really worked for me. My wood cost me more than an IKEA chest of drawers already made and in some kind of oak facade but not by much. The warmth and love in the making will stay with me forever I think. But more than that, a few of you might learn about making chests of drawers and such from this series.
Hi Paul, a very nice finished product, once again. Can I ask what kind of oil you use(d)?
Thanks,
Rico
beautiful craftsmanship right here… love to see it.
this blog brings a tear to the eye. such exquisite hand toolery! i will never approach this level of greatness in any field…i am but a humble farmer at the foot of a giant! but i still like butchering wood lol!
Jeff, you took the words out of my mouth, I totally agree with you. This talented man humbles me in many ways, on a personal level and as a craftsman.
Nice Citroen C3 Picasso 2009-2017! It works well for transporting wood.
Thank you Paul for sharing the thoughts and insights that brings your artestry into reality!
It is one of life’s of small pleasures to start the day reading your blog, inspiration and hope for my next project.
I really like the gradual change in shade to the drawer fronts from top to bottom. Sets the whole piece off! Another beautiful piece. I really like your design. Thank you for sharing.
The reveals between the drawers seem larger than your typical design, not faulting it at all, the chest is beautiful. Just wondering if this was a design decision?
It was. They are on my original drawing and they give me parallel shadows outlining the drawers.
Paul
I enjoyed reading your chronology of the chest you finished. I bet you wished you still had the F-150 on your shopping trips to your lumber suppliers.
It’s all about perception really. Trucks seem well in the USA but not so here in the UK. Not sure why I feel that way but in the UK, with regular rain, I prefer to keep my wood indoors where it’s safe and less likely to get stolen.
my first time seeing your work and I’m in awe. if only my contractor showed half the attention to detail and craftsmanship you show here. it’s truly a beautiful process to see and you’ve given this wood such life. kudos, from Fort Worth.
dear paul, the curved handles made me think of a brief blog chat we had a few years ago.
please would you consider doing a brief video on using a compass plane? (eg stanley 113). how to set up/ hold/ sharpen/ adjust and use it ??
i inherited one but there is nothing around on how – or when – to use it properly. (think it was used for making grandmother clocks previously).
would be super grateful if you ever get the time to do this,
thankyou, cheers paul
I am sure that is possible, Paul, time allowing. The absolute non-negotiable essential with this plane is a sharp cutting iron and that can mean several sharpenings as you process the work convex or concave. I mostly reach for a spokeshave to do the same work although the compass plane will guarantee a near perfect radius if that what is needed.
Many thanks Paul. Will look forward to a video if you get time at some point. (I have always just used spokeshave as you have said so far for curves). Cheers Paul
Hello Paul!
I wonder if you could tell how the drawers are made?
In the pictures the drawers are through dovetailed in all corners. Does this mean the fronts are separately added afterwards, and if so by what means?
I am asking because I am in the middle of a project and have still to add some drawers, and so far I only know how to make them with half blind dovetails with or without rebates. In this project perhaps I could try a different approach – yours looks very nice to me.
As always, love your work and am amazed at how far you have got me these last years! I’m 73 and will keep at it ’till my hands give out…
Janne.
The drawer fronts are simply screwed to the sub-drawer front from the inside. They can be glued only if preferred but I have never had a problem with screws alone and off course, you can do both which will save clamping.
Hi Paul!
Thank you so much for all the videos and blog posts you (and others there with you!) produce. I’m learning so much.
I was wondering where the lumber yard is that you visit at the beginning of this blog post? Finding decent timber in relatively small quantities seems to be such a challenge to the uninitiated.
Many thanks!
Thank you for the kind words, Clive. I decided to no longer give out the names of suppliers or promote makers of products in general unless I really feel like they fill a gap no one else can. It would be unfair on the ones I don’t know of but are out there too you see. It’s much easier today to find suppliers than ever in the history of woodworking and it the wood hunting also makes woodworking more interesting..
Hi Paul,
I understand. That makes complete sense.
I will start exploring…😊
Kind regards, Clive
Thank you Paul, I will do that on my current project to try that method.