Remarkable Things
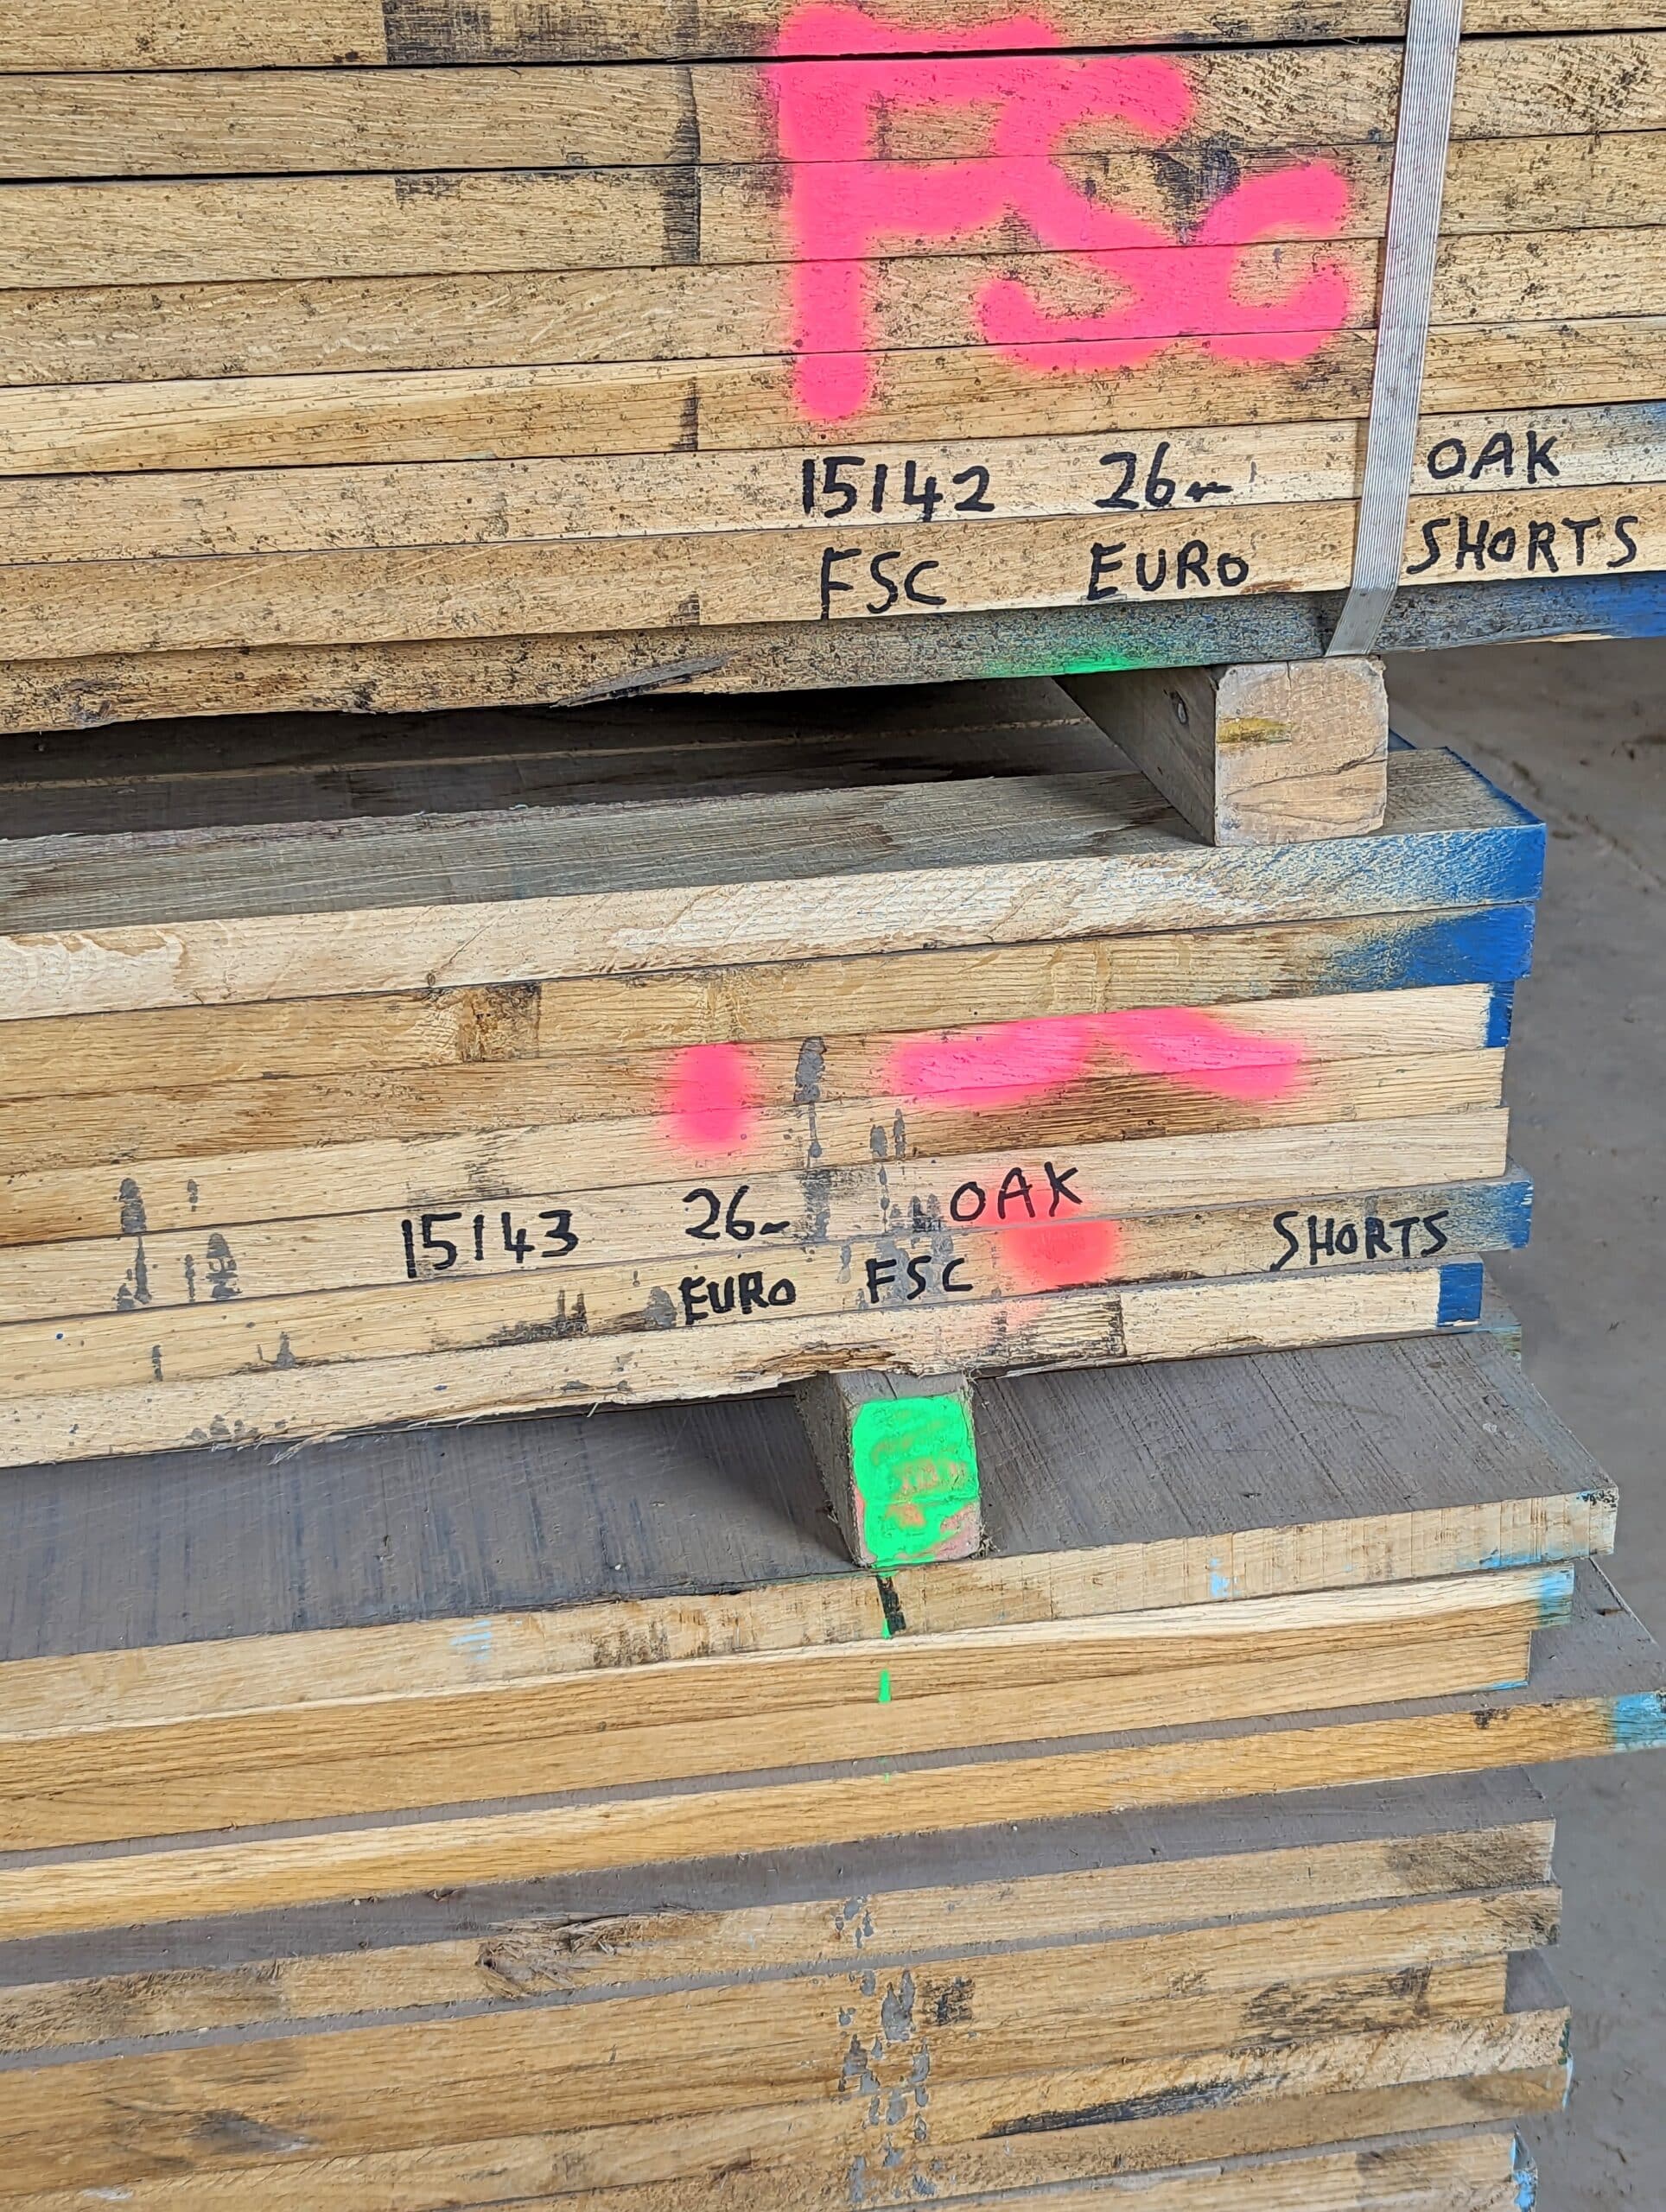
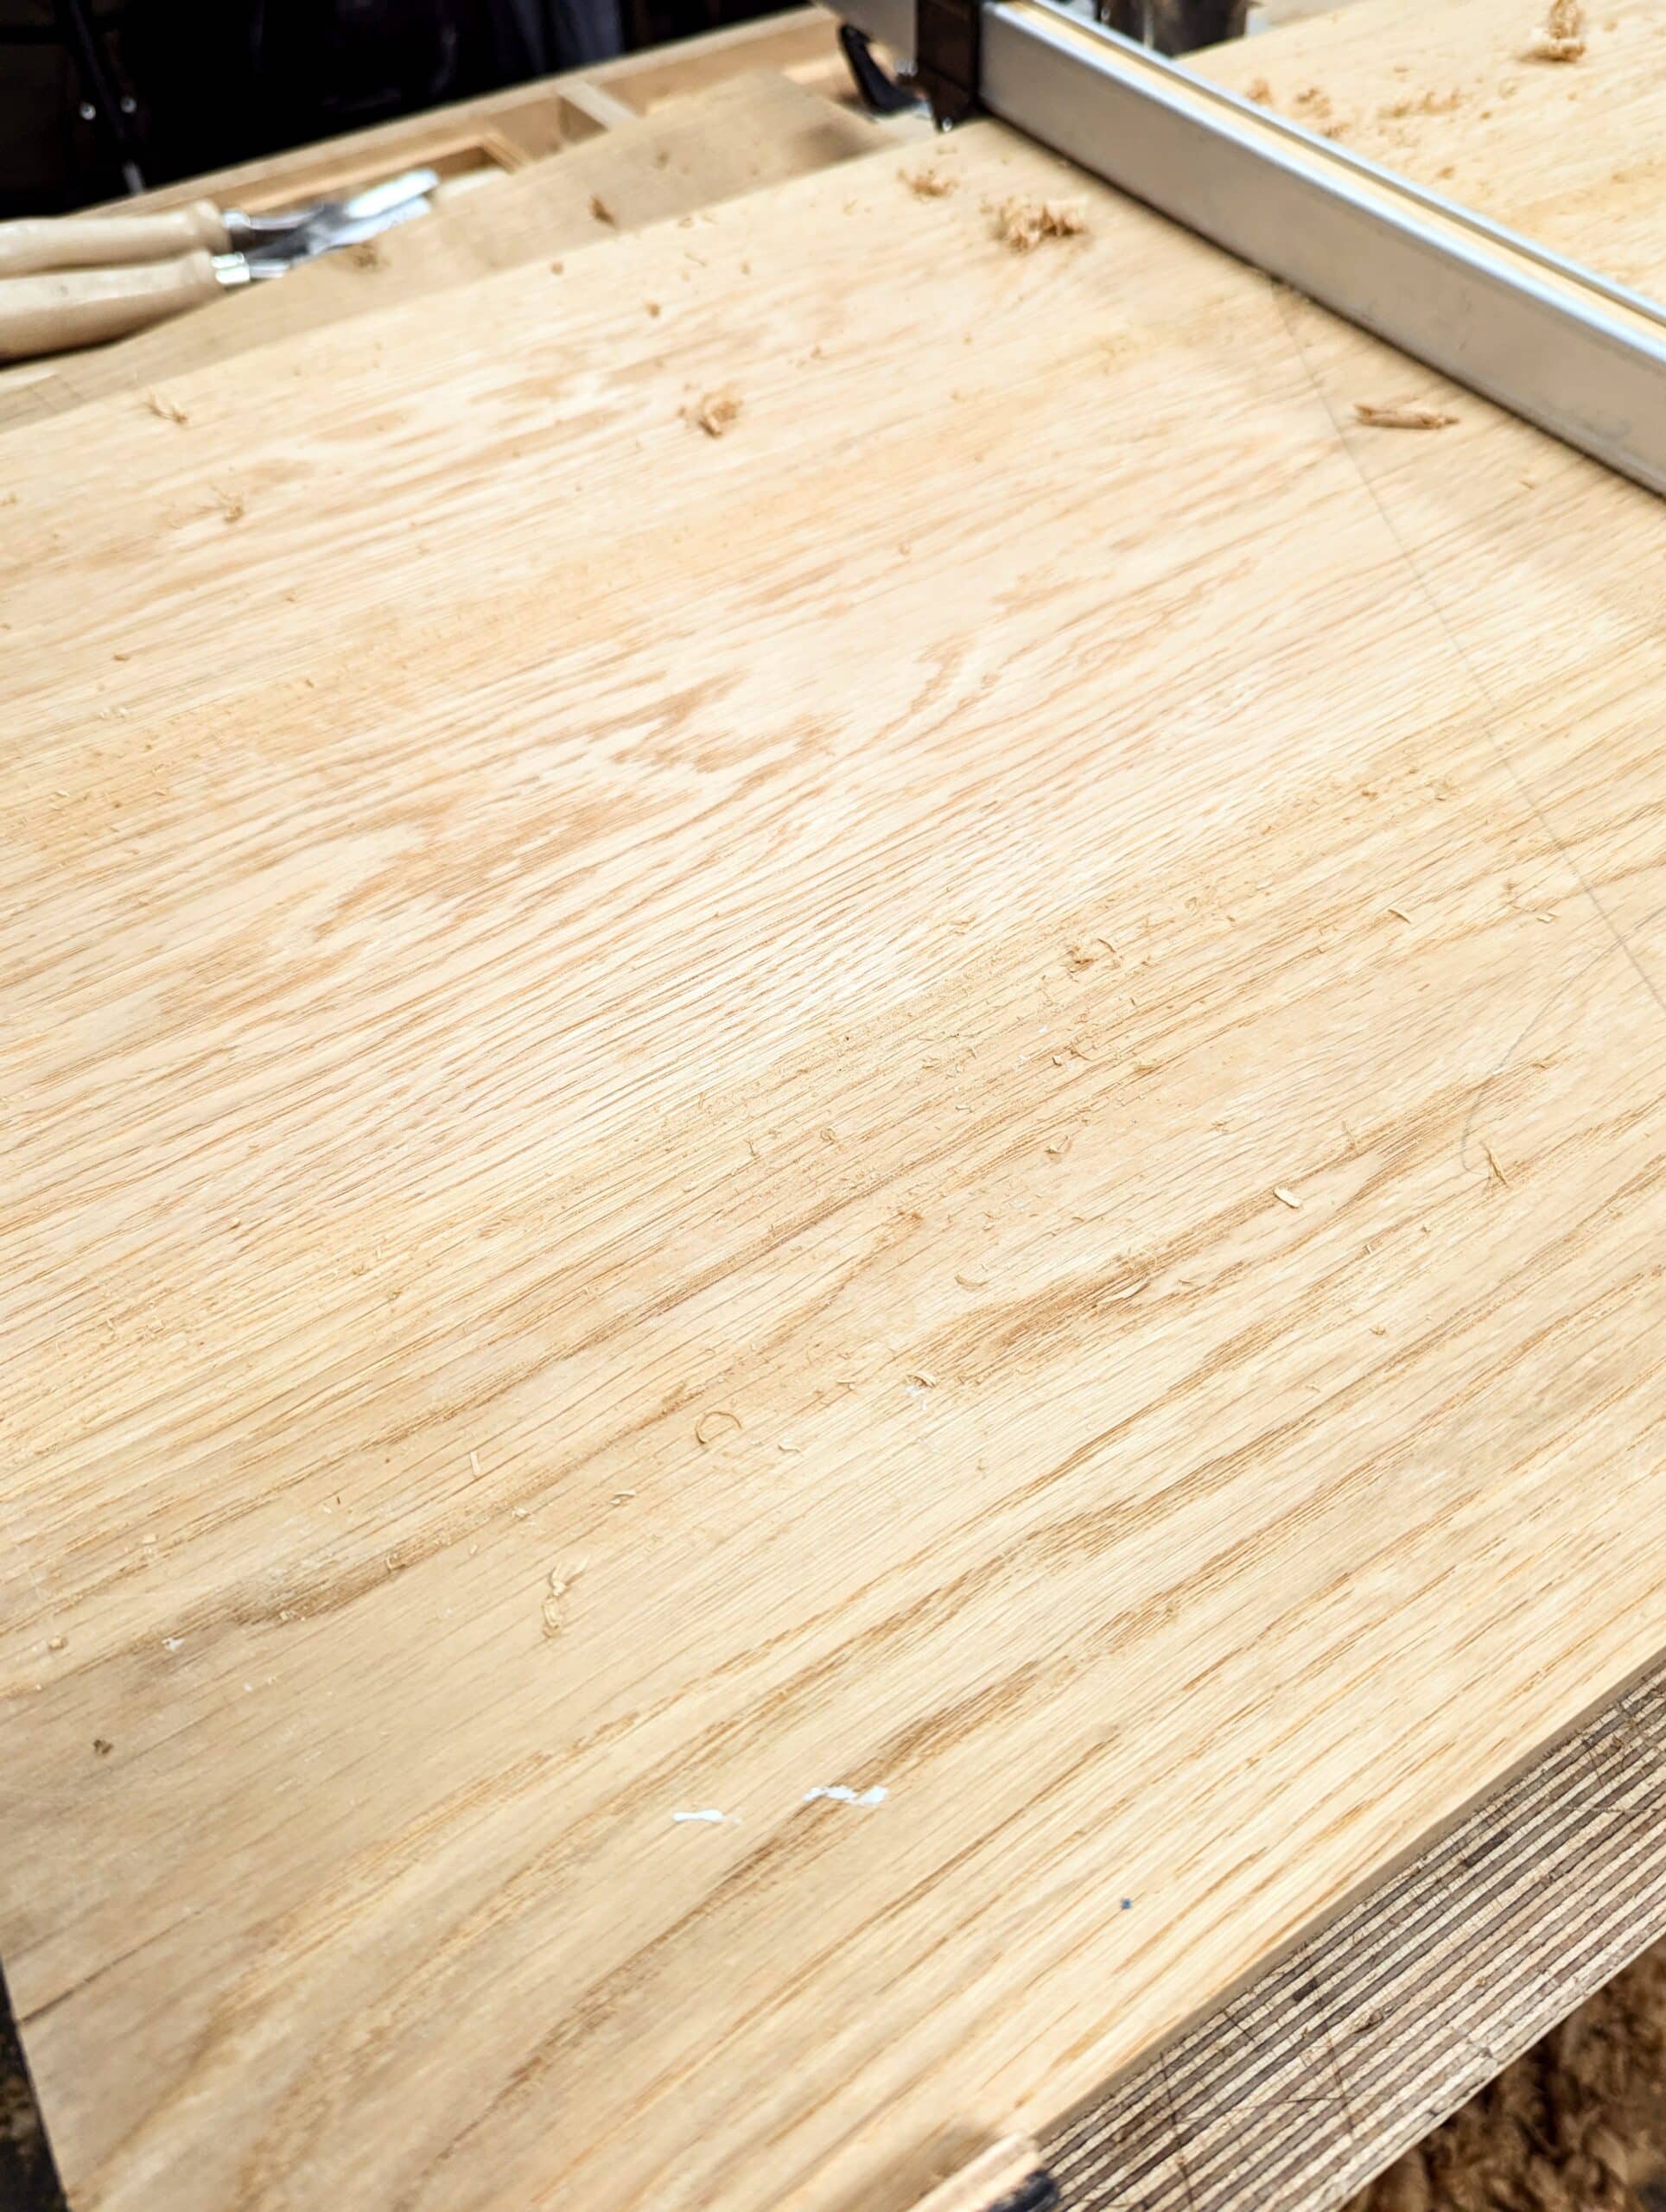
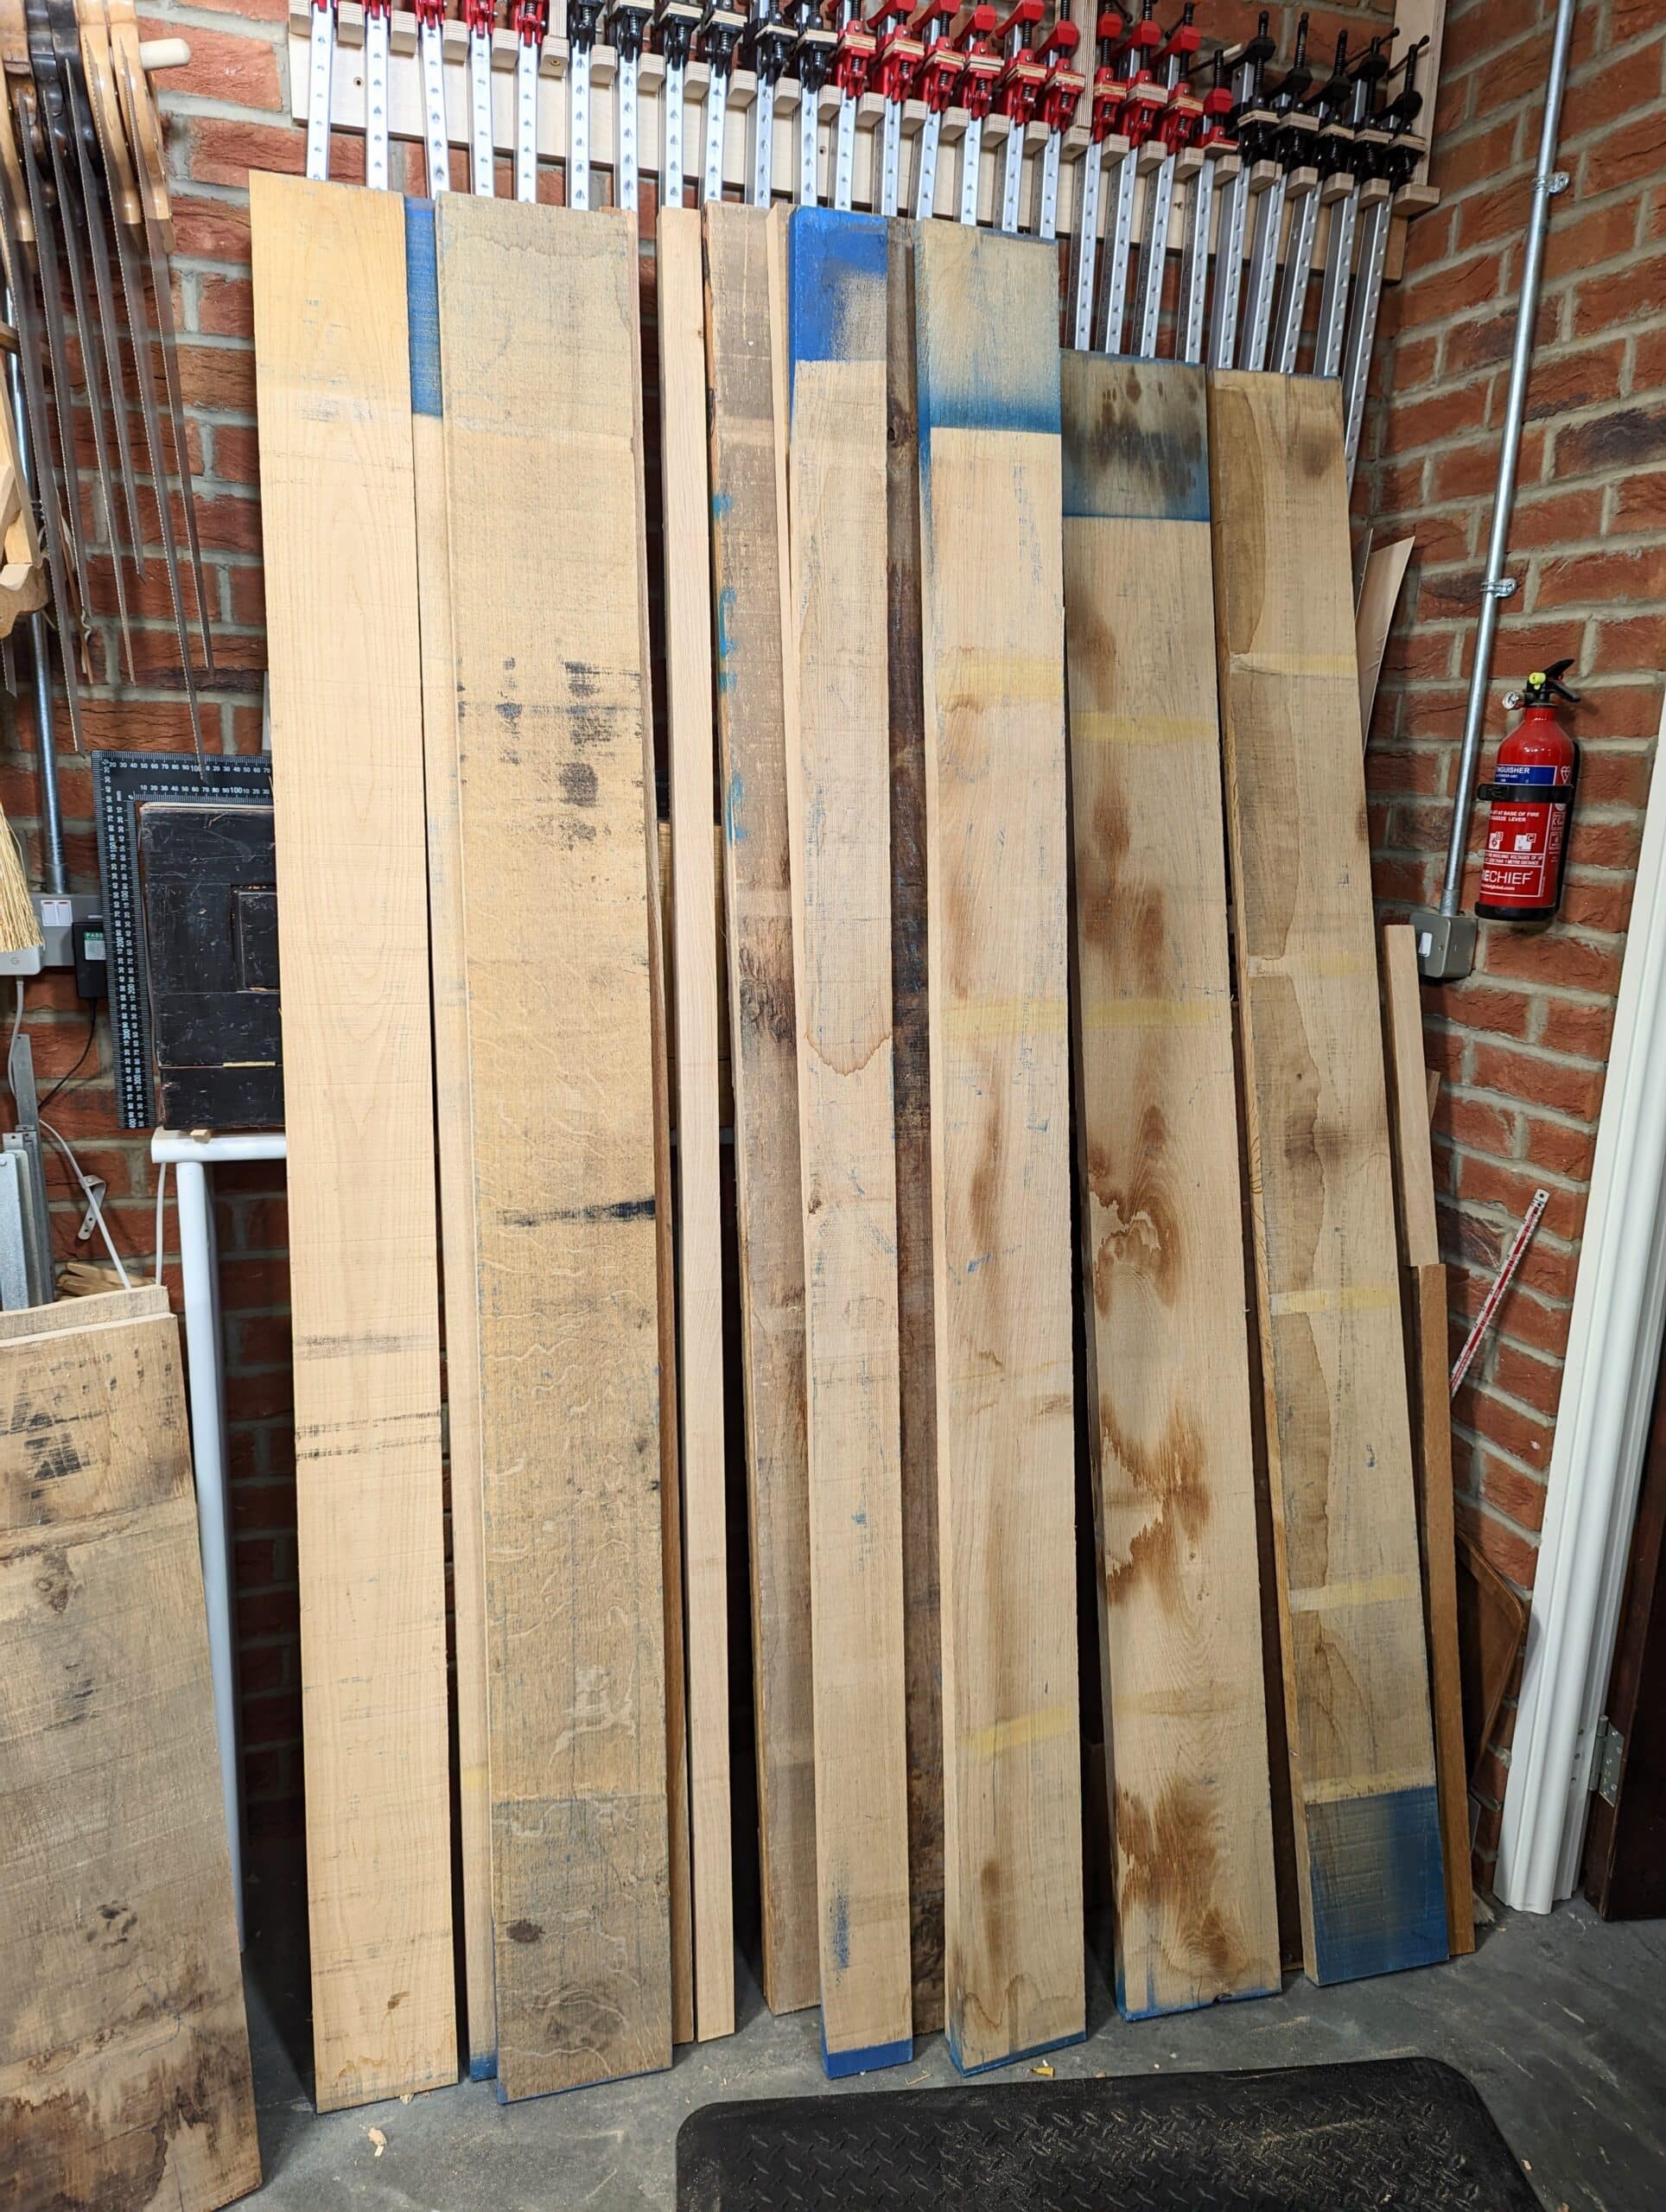
This week I milled my wood from roughsawn oak and some poplar too to make a chest of drawers. Oak is my primary wood and poplar the secondary. The drawer insides don’t need oak, poplar is lighter in weight and for bedroom drawers it will last well enough. I planned out the chest on paper and to scale using a scale rule in my sketchbook as I usually do. Doing this helps me to see proportion and also enables me to create a cutting list which helps minimise waste and means I get the exact size for each component. But I admit what goes down on paper might change in the doing of things, changing the final outcome slightly. My drawer sides ended up 7/16″ thick instead of the intended 1/2″ because I wanted to get two pieces from my rough wood which was dried down to 1 1/8″. Once my first flat face was levelled and trued I just managed the 7/16″ to the two boards. This is what we do in the moment.
What exactly accuracy is is how we judge things. Did my downsizing compromise my design or facilitate the work to make certain it happened? To make up for any loss by the thinner sides I will add strips of wood to groove and add them to the inside bottom edges. The grooves will take the drawer bottoms. I might have done this anyway. Accuracy is more the way we work. I coined the phrase it’s not what we make but how we make it. If accuracy is as I said how we work then how we handle ourselves determines the outcome.
Making my chest of drawers by hand meant not using thickness planers and tablesaws, power routers and such like that. My using a bandsaw does not give me the smooth cut dead parallel that I would get if I owned and used a tablesaw and then skimmed off a thou’ on a jointer and thicknessed it with a power planer. I once owned and used all of these for five decades. Thankfully they’ve gone. very freeing!
Thicknessing my wood for the main carcass, I hand planed the 6″ wide pieces down to 7/8″ and laminated them for the 22″ panels I needed. It didn’t take long. I then cross-cut the panels to length with a 22″ Spear & Jackson handsaw sharpened for a crosscut saw. This is a saw I love the most. I bought it for £17 from Amazon, touched up the teeth with a saw file and it takes a great and keeps a long-lasting edge to the teeth. Sharpening is one of the accuracies I speak of. I will not compromise sharpness for laziness and procrastination.
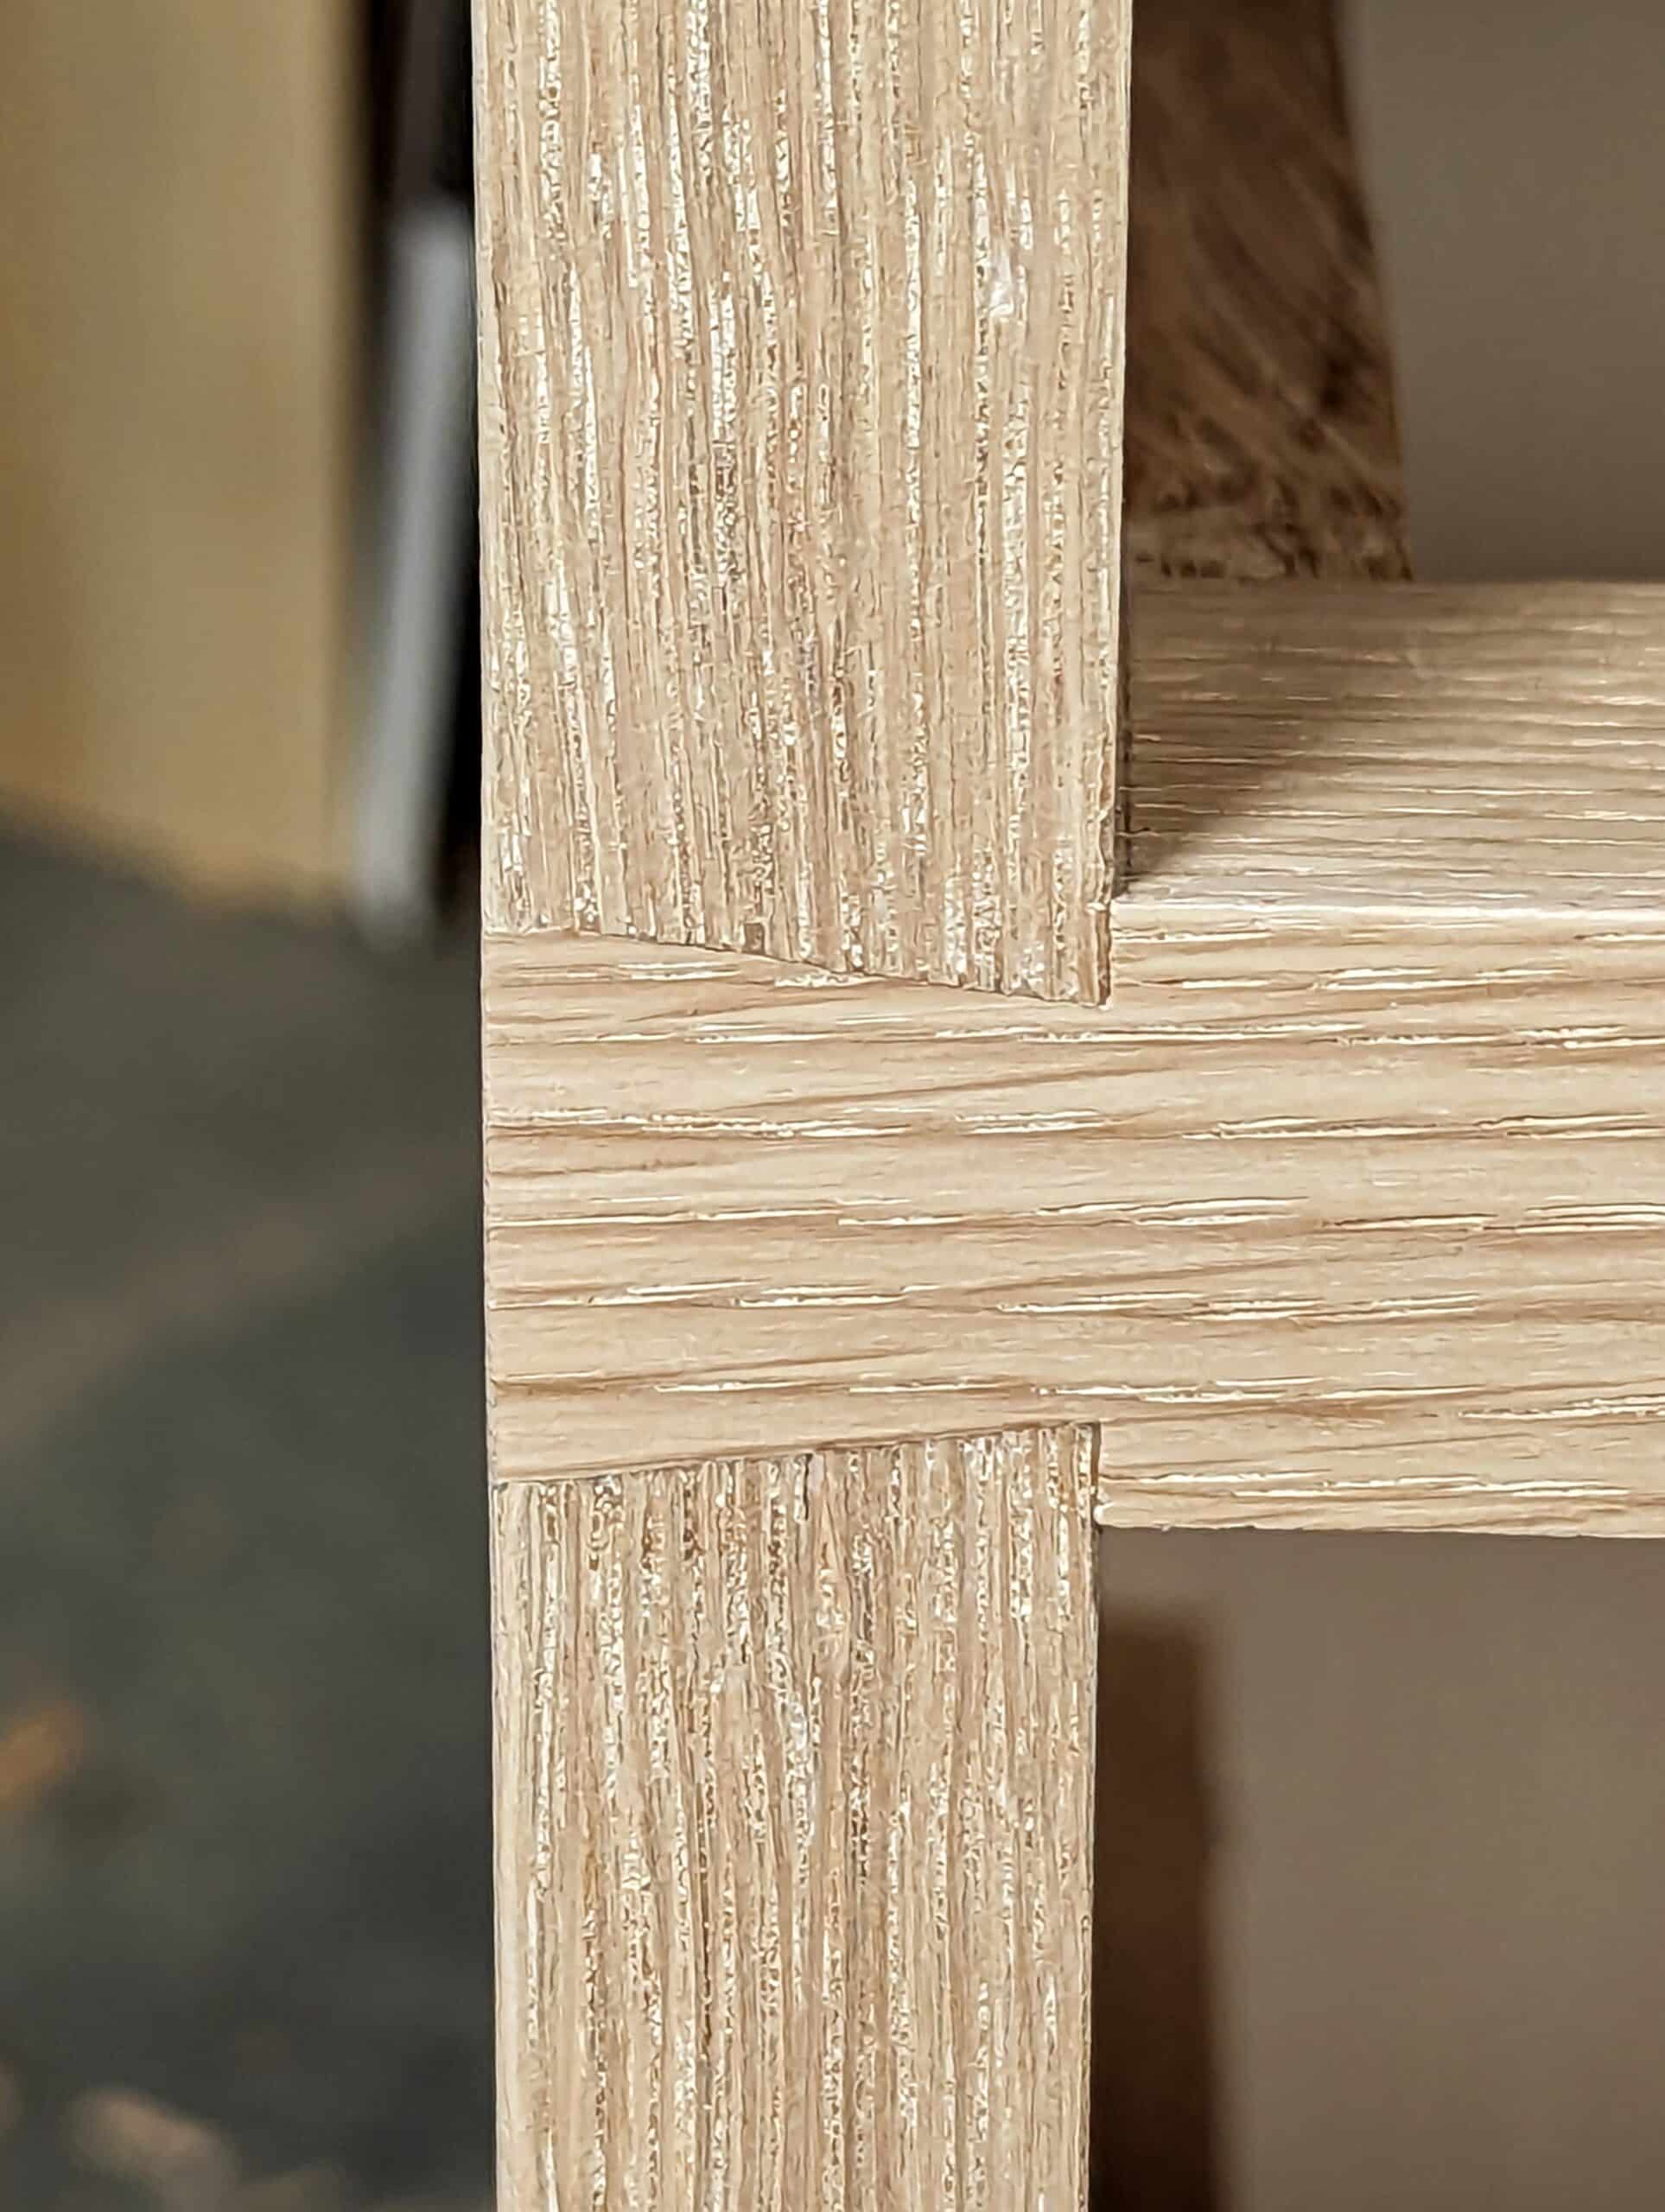
At the end of the day, I had panels sized, trued and planed ready for joinery. In this case, the joinery was two long housing dadoes cut 1/4″ deep by hand and routed with my own hand router. As I cut the dadoes the cameras were running and I have to say the work felt quite stunning. You’ll see it when you watch the series. I mean, without any guides and power equipment my dadoes came dead true and dead to size and took the sides with just a few hammer taps from my Thorex 712 38mm. Each measured tap drew the sides deeper in until that solid seating said no need for more.
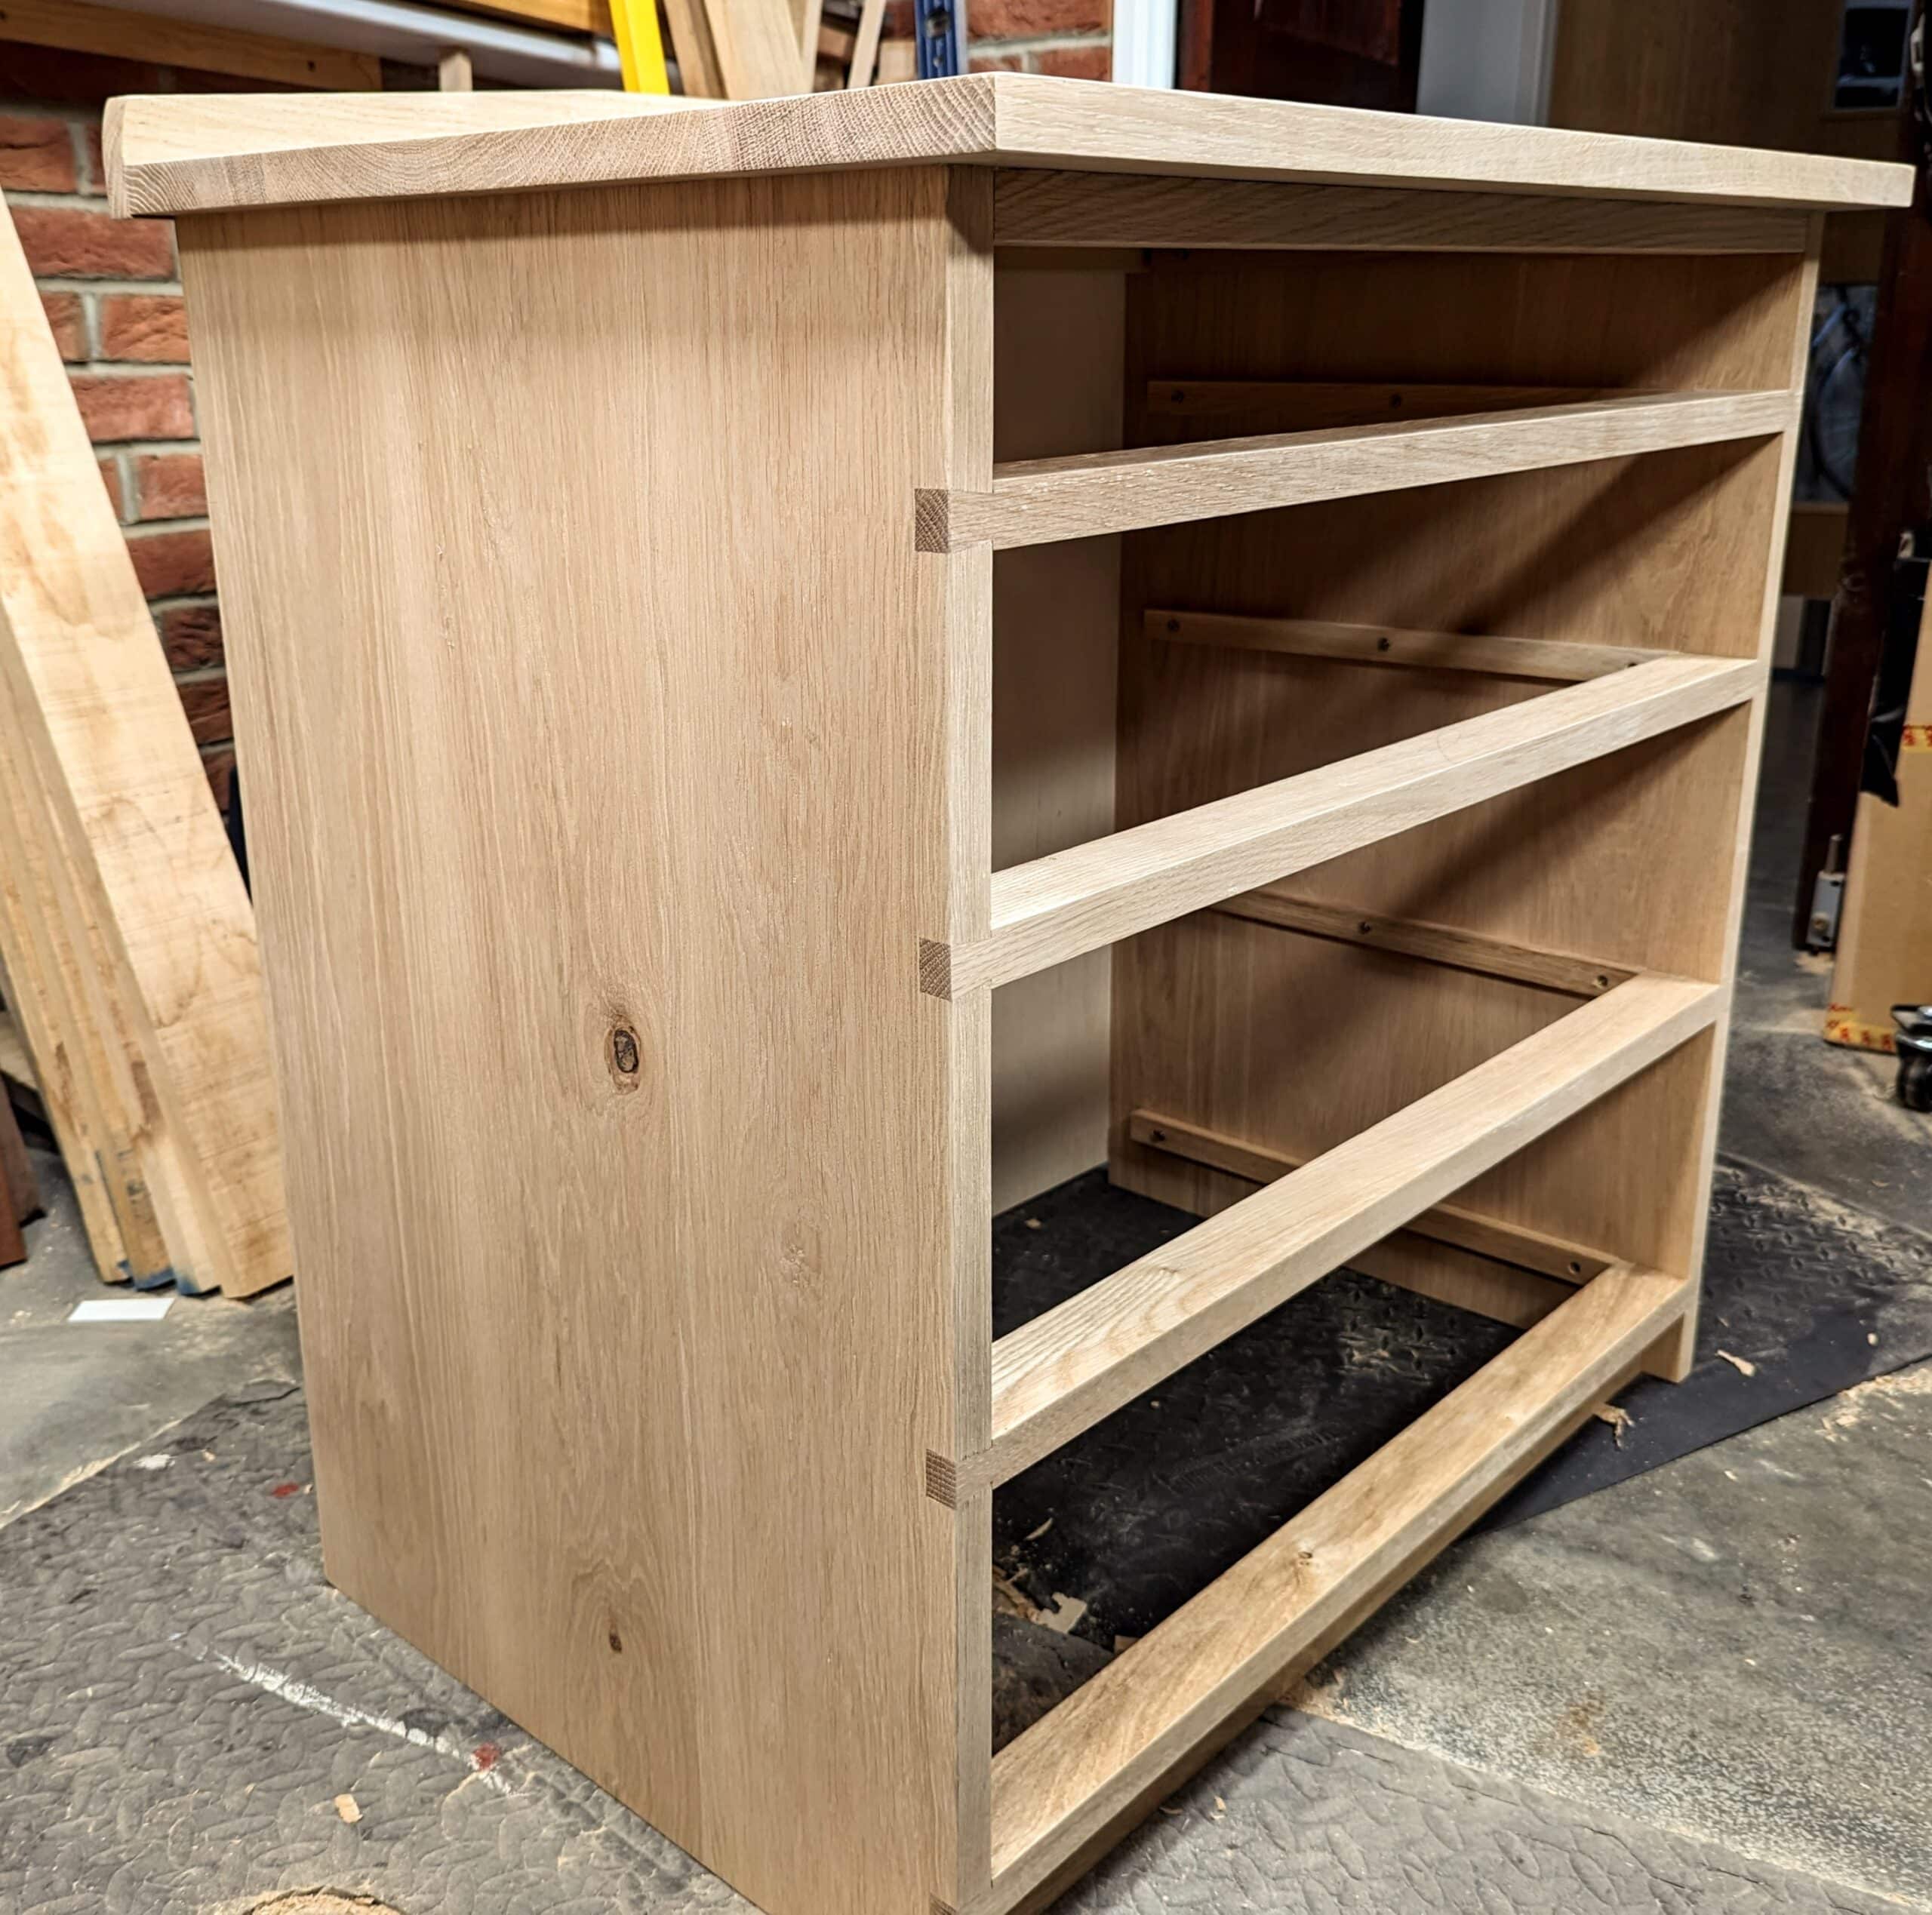
Now I had what I needed to cut the five dovetailed rails as dividers for my drawer openings. Taking the distance directly from between the panels gave me dead-on knife lines I could work to for the dovetail shoulders. It’s common practice to gang the five pieces in the vise and square the shoulders across with a knifewall. Cutting the dovetails is a breeze. The dovetails came straight off the saw with no need for paring and so too the tail recesses. Once tapped into place I did what I always do. I checked it by measuring corner to corner. I’m not really sure why. It could not be out of square.
The important lesson I have learned as a hand tool woodworker is that any discrepancy will inevitably telegraph into the overall outcome. Two shoulder lines out of square or distanced slightly differently will almost always send the whole marginally out of square or out of parallel, often both. It’s the small things that can make a big difference and with chests of drawers, we end up matching the drawers to what we created as openings.
The Hypercube
There was something in the seating
Where twenty interlocked angles held
First by compressed fibres
Followed by fibre friction
And then the swelled fibres
Locked tight forever by
Inner unseen cells
But known by the man maker
In an evenness that settled the union
And no words explained things because
Such work leaves no need for words
So I measured internal corner to internal corner
And they measured the same
To the smallest fraction of a tiny millimetre
And I asked myself why did you doubt?
Why did you check?
You knew inside your head it would be good
That the work would be true to itself
As you knew it should
And there the work stood
As art from its fourth-dimensional being
A hypercube with facets
Too numerous to count
But communicated to engage
And connect one to another to another
To a never-ending other
Just by the making of it
and the standing of it
A lovely poem to end. A very satisfying read. Thanks
Paul you can and do what many a person dreams of
can I ask you this please.
when you groove draw bottom support strip, do you groove both side of a section to be able to hold steady, then cut and plane to required thickness
please…..best john 2V
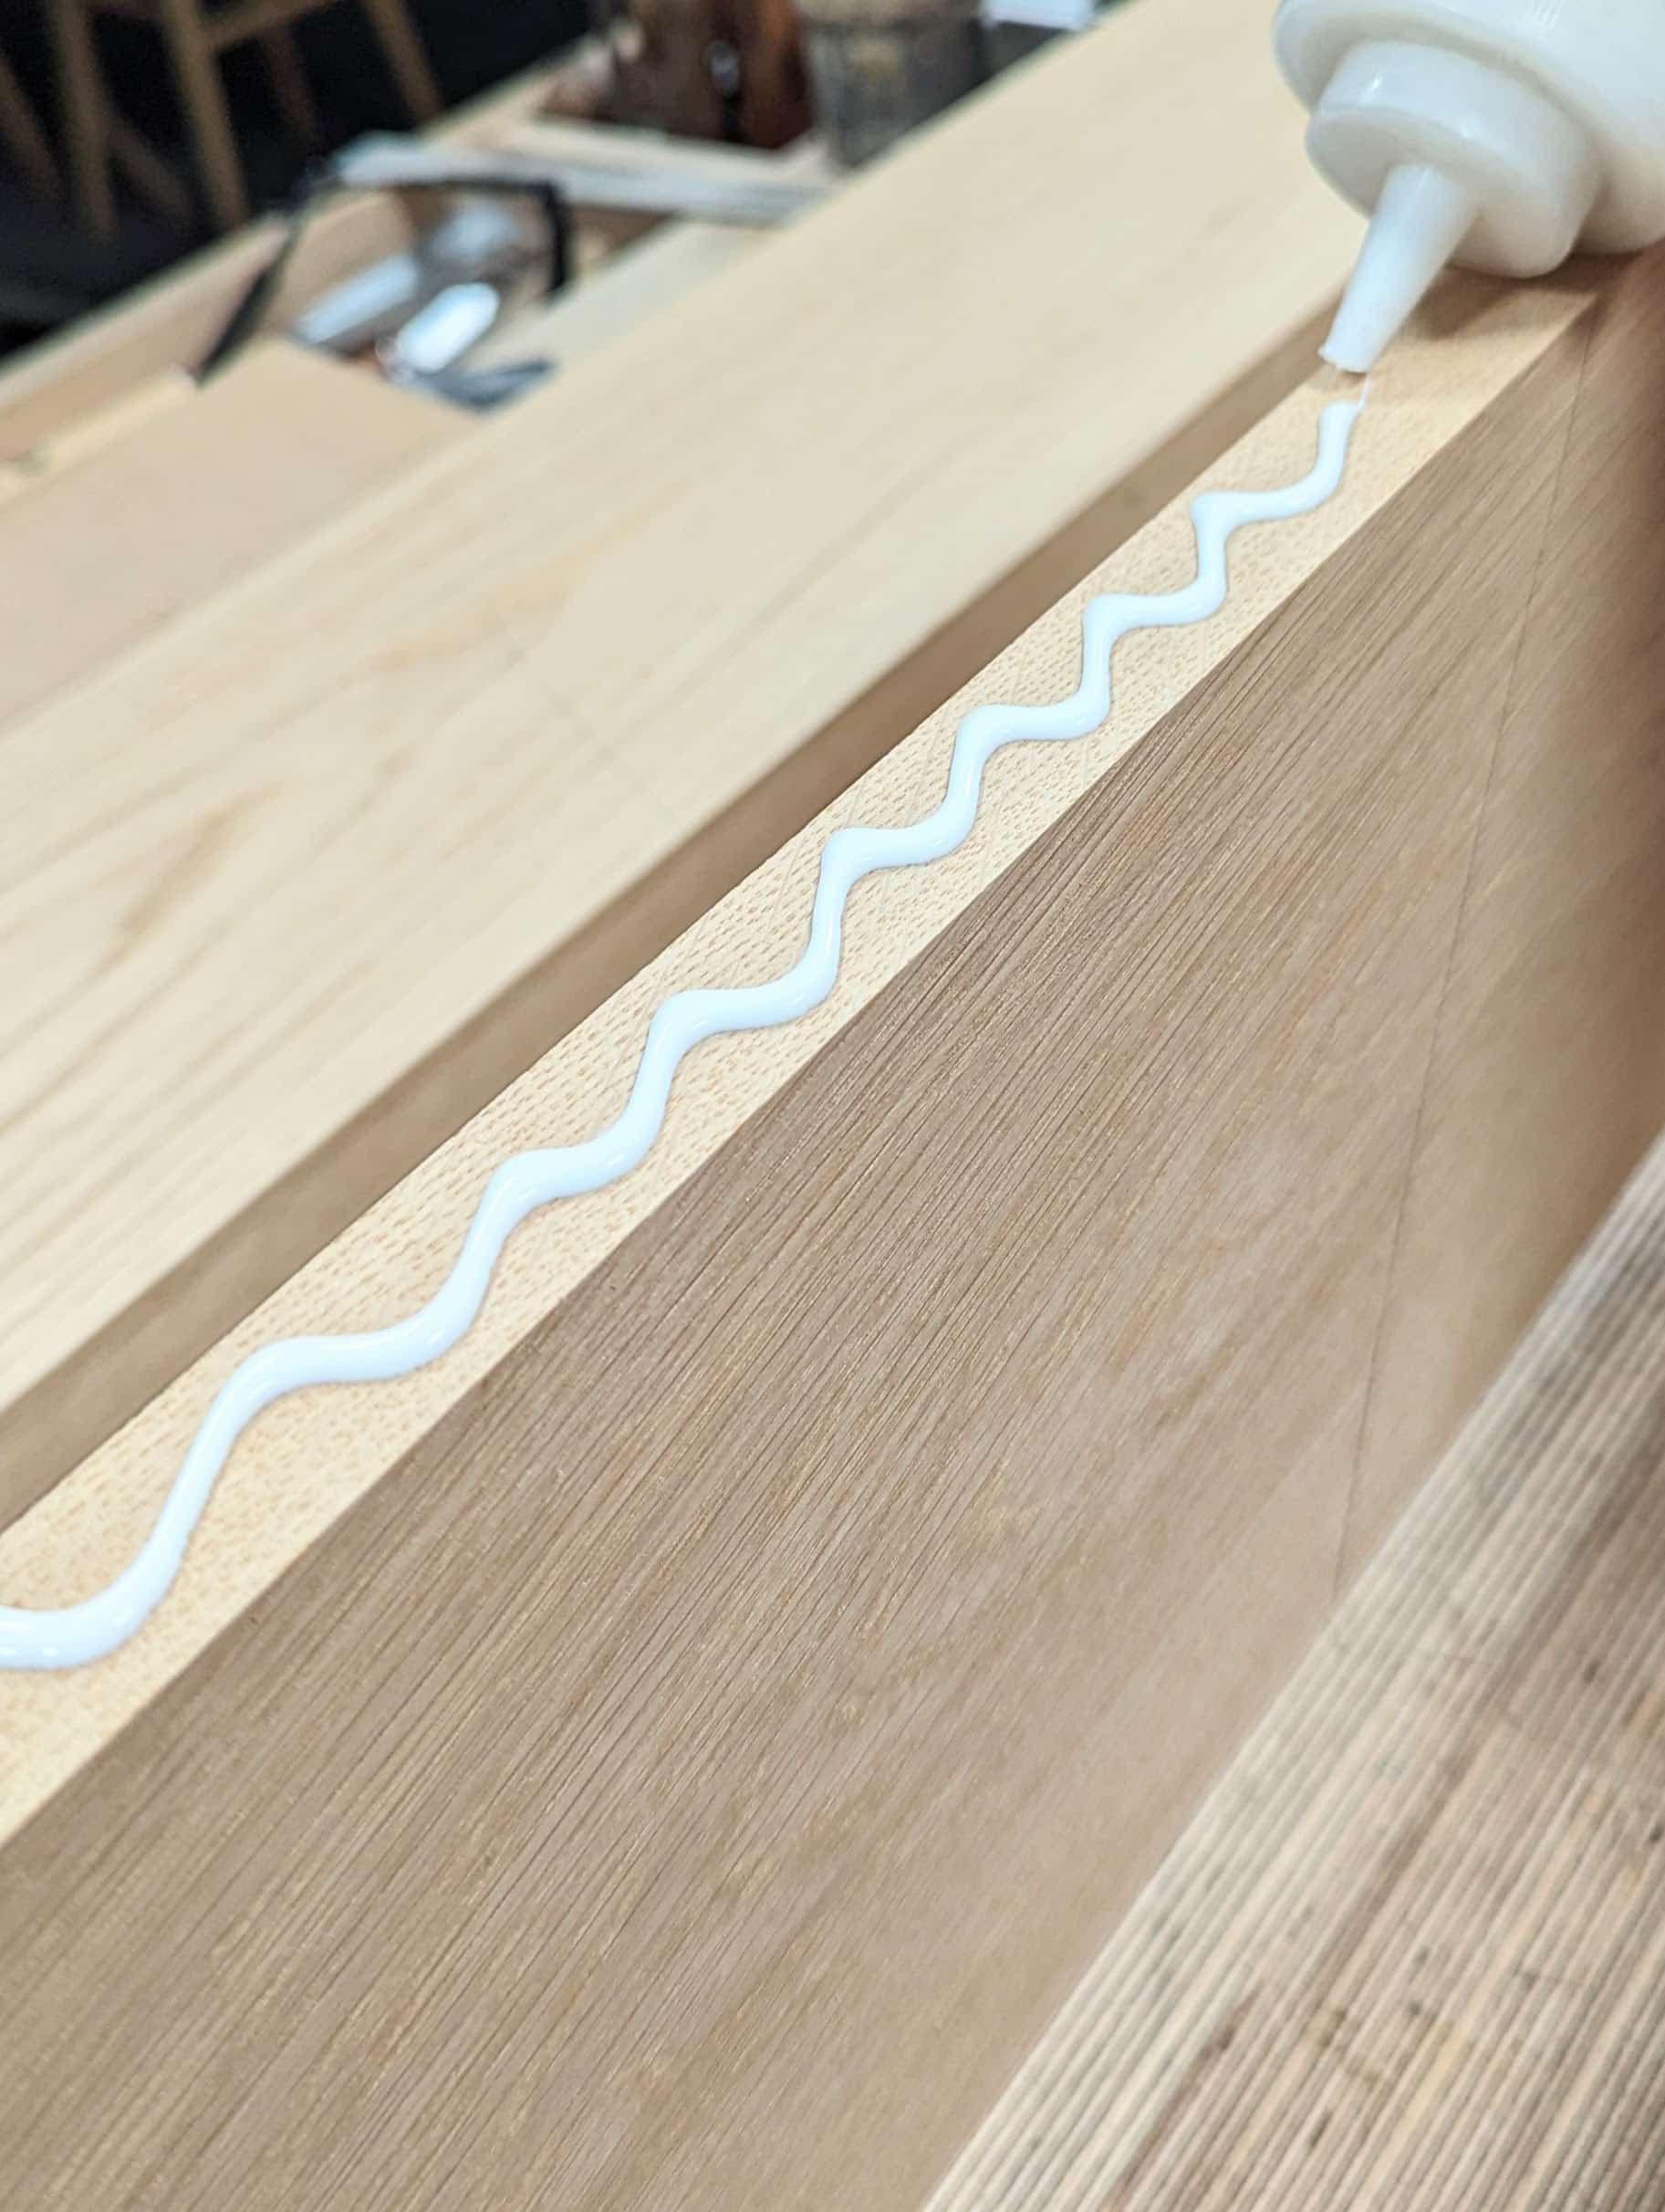
Yes, often that is what I do. I also might use a wider section and then groove and cut, groove and cut, groove and cut. Other times, on my current project, I will cut and glue the strips in place in the drawer with the dovetails as yet unglued, then I take the drawer apart and plough the grooves having made sure that the bottom edges of the drawer are planed flush while assembled but unglued. That way everything aligns perfectly.
great idea: adding some substance before ploughing.
Will the groove be deeper than the added strip thickness?
It can be but usually not. I do like plywood (as long as it is good quality) for drawer bottoms as it moves so little and has well-proven longevity.
Thanks Paul for sharing. Hearing your drawer sides were a sixteenth under desired target made me smile. I finished a shaker nightstand table not that long ago in a local woodworking class. For the top, I specifically purchased some really nice thick quilted cherry. When I resawed, it developed a slight cup. When I removed the cup, the boards were a sixteenth under 3/4″ thick. A little skinny for a top; however, I wasn’t going to waste precious figured wood because of it. In the finished piece it looks just fine. I did worry about it for a bit and then thought “what would Paul Sellers do in this case?” The answer was obvious.
Good morning Paul,
Your dresser is remarkable in its construction and beautiful! God bless you.
Every piece is a meditation.
An adequate fix for the dimension change of the finished wood. Knowing that the dimension was going to be less ahead of time could have been rectified with an overall 1/8 shift in the carcass, but things rarely go precisely as planned. The “once owned and used all of these for five decades. Thankfully they’ve gone. very freeing!” made me smile. One man’s bondage can be another man’s freedom. Not being paid for my personal projects and not having unlimited time to pursue those projects enables me to use those “bondage” tools in a liberating fashion. In my 4-1/2 decades as a home builder and remodeling contractor I’ve learned concrete work, framing, drywall, electrical, plumbing, floor coverings (sheet goods, wood, carpet, snap together), laminate (Formica type), roofing, steel construction, welding, painting, finish carpentry, other stuff I’ve probably forgotten. All those being done to a standard that is guaranteed and professional. My long awaited desire for hand tool woodworking started being fulfilled near the end of those decades. You have been inspirational, educational and like myself, not always right. None of us are.
Paul, I also went to thinner stock for a pair of desk drawers. I used grooved drawer slips to house the drawer bottom panels.
A relaxing read, as always. I appreciate “following” you as you work.
Nice piece and workmanship, Paul.
Can you please explain your practice of ganging the 5 pieces when prepping for the dovetails. My poor noodle did not understand or picture the action taken.
Thanks. Nick
Nick, take your first piece and place it against the cabinet opening. knife a mark where the piece meets the sides of the cabinet. This will be your shoulder position. Now set that piece on edge and place the other four pieces adjacent to it, also all on edge and with all ends aligned. Use a square to extend the knifed mark from the first piece onto all other pieces. Then individually extend those lines around each piece. This guarantees the exact same shoulder lines for all pieces. Hope that helps. I’m sure Paul will show that when the video comes out.
We often clamp like pieces together with clamps or in the vise to stop movement. With the ends flushed and aligned using the square we can then establish the knifewall cut or shoulder line across all of the pieces at once and thus guarantee the distance remains true to the distance and square across all of the pieces.
Thanks Paul. Mark painted the picture that I missed.
I could almost hear you saying : “precision”, “accuracy” (Acura)…
Matt
Thanks Matt. That helps. Once again, direct marking of wood from real edges beats too much reliance on our ability to read and accurately translate ruler marks to a repeatable task.
Nick
Hello Mr. Sellers, wish to ask you a question regarding dovetailing. Does it give any problem with splitting when you do a dovetail perpendicular to the grain as you did especially in softwood? For some time I was doing the same but had some problems with splitting near the edges where the pin would be weak. Else thanks for the article and for giving some hints on cabinet making.
If the pins were close together, yes, that would be the case but with long grain between the recesses over 3″ it’s not an issue.
Thanks, Paul. I will keep it in mind when designing new cupboards.
look at Paul’s posts dated 12 and 13 September 2022.
I really enjoy and appreciate all that you share here. Fascinating to hear and see different ideas and approaches to wood working. I have a question. In a previous post you were measuring bandsaw blades, would you share the brand of ruler you were using?