Making a Curve-soled Plane – The Cutting Iron
Making the cutting iron.
I bought a piece of O1 flat-stock 3.5mm (1/8”) X 38mm (1 1/2”) X 460mm (18”). these sizes correspond to imperial conversion. 4mm x 40mm x 460mm may be a near alternative in metric availability. This is a common high carbon steel used for tool making and you can use it to make many different tool types including knives, chisels and cutters draw knives or travishers.
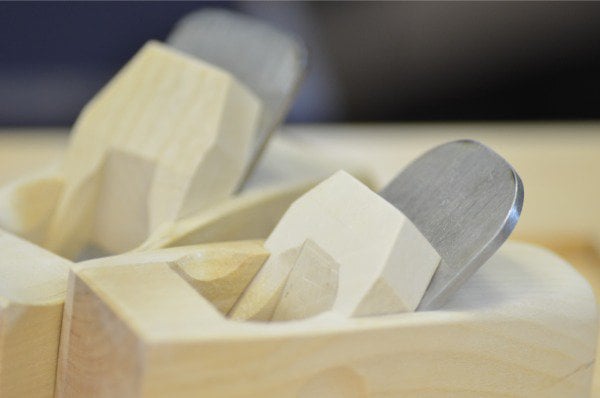
It’s an inexpensive way of replacing blades for planes and spokeshaves or for making inshaves and such. Adding some heat for bending and shaping and a few bends on the horn of an anvil will give you curved blades as needed. The steel is not hardened on arrival. You will grind and shape first and then harden and temper the steel after all of the shaping and grinding work is done. Also, let no one convince you differently, O1 steel is perfectly acceptable for making tools from. there is little benefit to using harder alloys. This is not necessary for any hand plane or chisel.
To make my iron I used my wooden bow saw with a metal cutting blade to cut the steel; a hacksaw is just fine for this too. I find that hacksaw blades are lesser quality than they once were. They dull quickly, even on mild steel, so I make my blades from bandsaw hacksaw blades that have harder teeth and last a hundred times longer than conventional hacksaw blades. They also have great teeth. 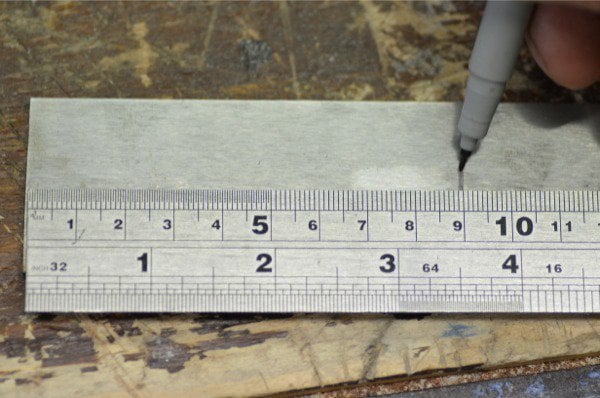
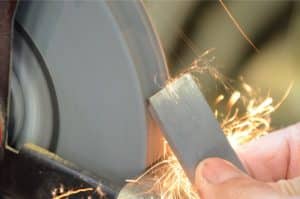
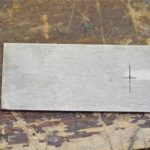
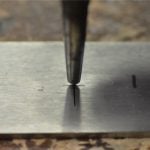
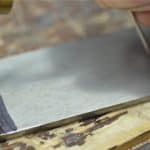

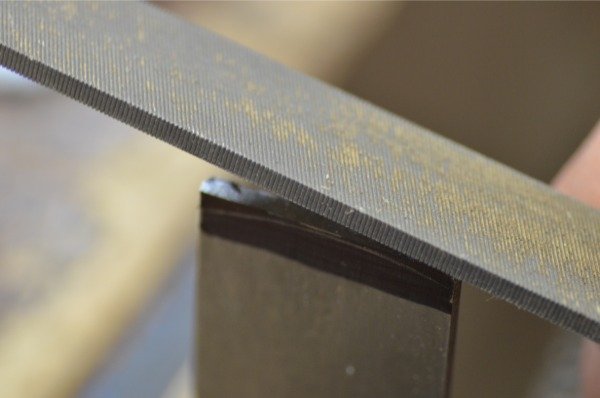
I also shaped the opposite end of the blade so that it was semicircular. This makes the plane more comfortable in the hand. Before filing I removed the hard corners with the bowsaw.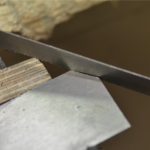
I then angled my blade in the vice and filed in the bevel. Again, you could use the grinding wheel. Present the blade at an angle to the face of the wheel and rotate to the profile into the wheel at an angle of about 30-degrees. 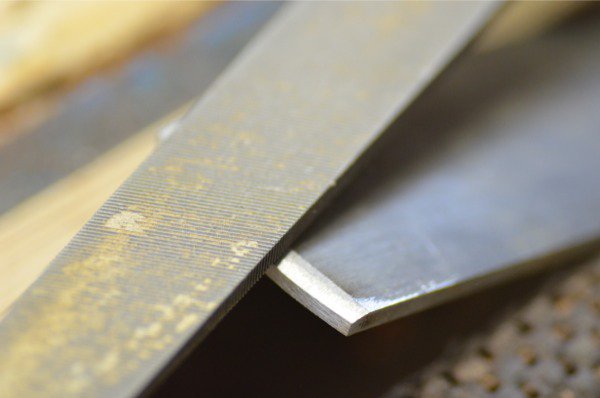
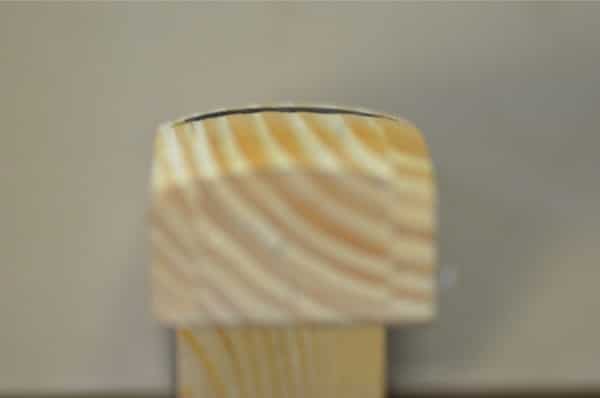
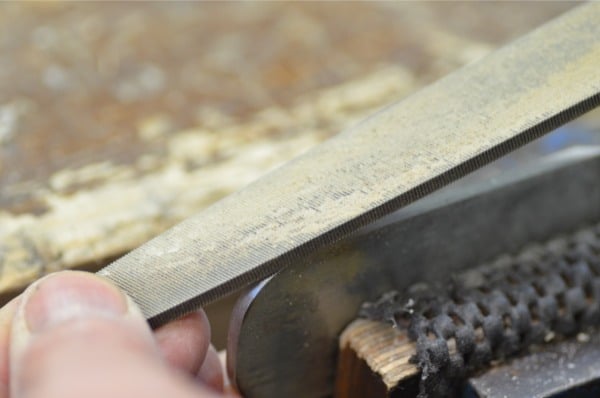
To harden the iron I used charcoal in a charcoal barbecue pit, but you could use a coal fire or a blow torch of some kind. A little extra air from a hair dryer increases the temperature quickly (No, not the heat from the dryer, the forced air) and soon the steel reaches the cherry red I need to quench it. Not all steels are created equal and depending on the steel you are using, it may take a hardness straight away or not. I have never had a problem but it can happen. I heat until the steel reaches cherry red and then plunge into used engine oil. To test for hardness, try a file on the steel. If it glides of it is now fully hardened. Now I temper the steel in the oven by leaving it in there at 300-degrees for an hour. Remove it and cool in warmish water and the steel should be hard but sharpenable.


Hi Paul. This is a great series. Thank you for posting and explaining this excellent how to build your own curved sole plane. I have a couple of questions… where do you buy the o1 steel stock? During the grinding stage you state that you plunge the iron to prevent overheating, are you plunging into oil or water at that point. Also, is used engine oil a requirement at the end or will any engine oil suffice? Thank you from Canada.
MSC sells almost every type of steel or metal for that matter. Plunging during grinding is only to keep the steel cool so you don’t burn your fingers and not part of the intentional hardening process. I keep a cup of water permanently by the grinding wheel for when I have to grind. I use used engine oil for plunging. Peanut oil works too and smells nicer in the plunge and is less likely to flash. I have had success with water for hardening, but there is a reason this is oil-hardened steel and not water or air. Just use a leather glove, and tongues or a pair of vise grips when you plunge. It is unpredictable when you plunge so at e as many precautions as you can.
What a great set of posts! Here are a few things I learned in a plane making class with Tod Herrli that might help.
1. For laying out the blade, we skipped the compass and just loaded the blade into the plane body, then scribed from the sole. Paul shows this for refining the edge, but you can just do it for your first line. It is faster and it works for *any* shaped plane sole. Also, a circular sole will not have a circular blade profile. It will be elliptical because of the bed angle. No need to worry about all this if you just trace the sole *with the iron bedded* so you get the right projection.
2. High tension hack saws work great. If the work squeaks and vibrates, adjust the vice to minimize. A bit of candle wax on the blade (or probably Paul’s tomato can) can help. High tension hacksaws look like this: http://www.amazon.com/Stanley-15-113-12-Inch-Tension-Hacksaw/dp/B00002X224
3. I was taught that the oil quench can cause the oil can to flash and erupt violently. Keep your face away, work where that won’t be catastrophe, and where a fire isn’t a disaster. Don’t skimp on the oil in the can and have a deep enough can so that the oil only comes part way up. For whatever reason, Tod showed me peanut oil. Maybe it just smells better?
4. When you grind the profile, get the shape before the completed bevel. In other words, you don’t want to grind heavily on a thin edge, so get the shape, then the final bevel.
5. Tempering will probably leave a straw color. Look at the packaging for your O1 steel. The label will probably tell you the tempering temperature for that steel.
Hope this helps and isn’t contrary to what Paul is saying. We used gas cylinders to heat the O1, so I’m excited to hear about the charcoal. That will be so much cheaper and easier. By the way, O1 is what Tod uses for all his planes. It isn’t “second best” or “just good enough.” You can get it from MSC supply in the US.
Paul- Is there going to be a curved-blade sharpening post?
Yes, Ed, I will be showing how to sharpen. You know, you can skip the hardening process if you are prepared to sharpen a few times. I have done that at times, when I only needed one seat or bowl.
Fahrenheit. I never switched when i returned to the UK. Imperial and Fahrenheit makes much more sense to me.