Questions Answered – Advice Needed on #5 Stanley Planes
For more information on planes, see our beginner site Common Woodworking.

Question:
Hi Paul,
My name is Jamie. I’m 18 and just starting out in woodwork (specifically Luthery, however I really enjoy all kinds). I was wondering if you’d be able to help. I am looking for a number 5 plane and really don’t know where to start. I know you have a beautiful collection and probably have some useful information to help me. My options are to either purchase a cheap hand plane like Silverline. Or pick up an old stanley and restore it. Restoring does scare me a fair bit but I’d give it a go. I thought i’d ask if either you’d advise restoring, or would you advise buying new. (if you have a number 5 for sale for me to restore, please let me know!) I think car boots are going to be my best option. But would love too hear your opinion.
Thank you for being such an amazing inspiration.
Jamie
Answer:
Hello Jamie,
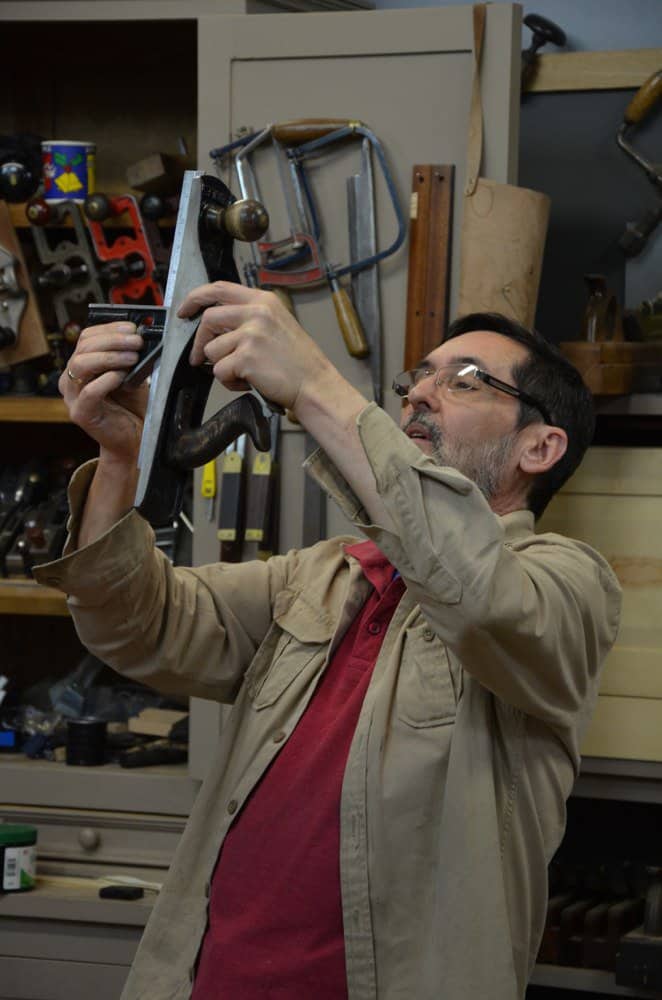
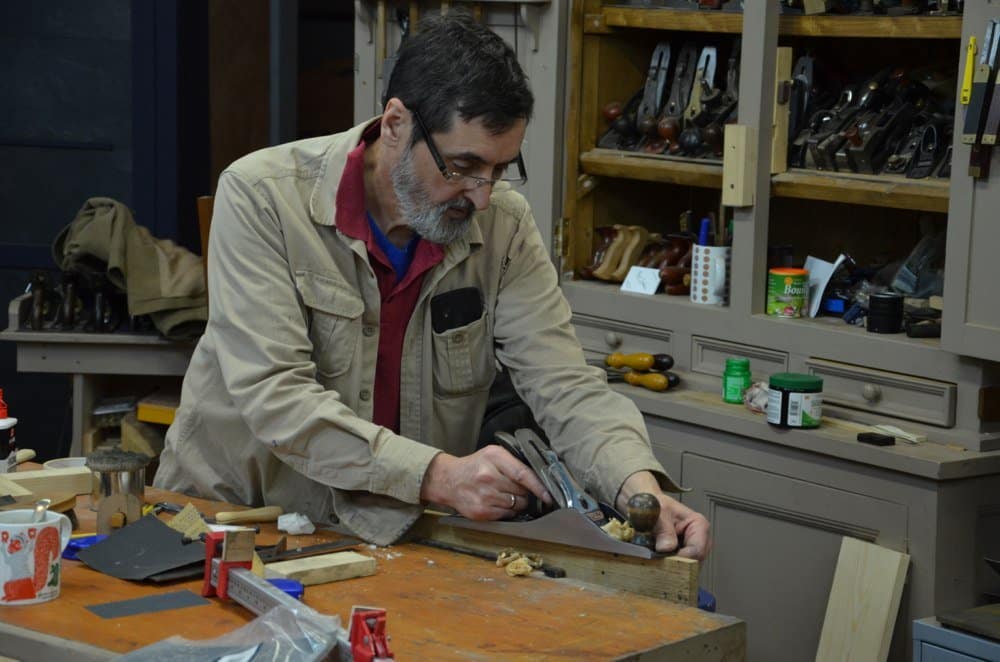
Thanks for the question. It’s unlikely that I would ever advise someone to buy a new plane over a secondhand or older model because in functionality, older made Stanley or Record bench planes work just as well as any of the new ones once they are restored if that is indeed needed at all. They are reliable lifetime planes too. Not sure about Silverline products. I feel less inlined to recommend them generally. It’s not that I necessarily prefer old planes or that I am nostalgic. I just prefer using what’s available and well proven. Hundreds of thousands of users through a century and half can’t be wrong surely. The other issue surrounding your question is that we tend to put off learning what we feel uncomfortable with. I understand that, but really, there’s not much to truing up and fettling the Bailey pattern bench planes and included in those is the #5 jack plane.
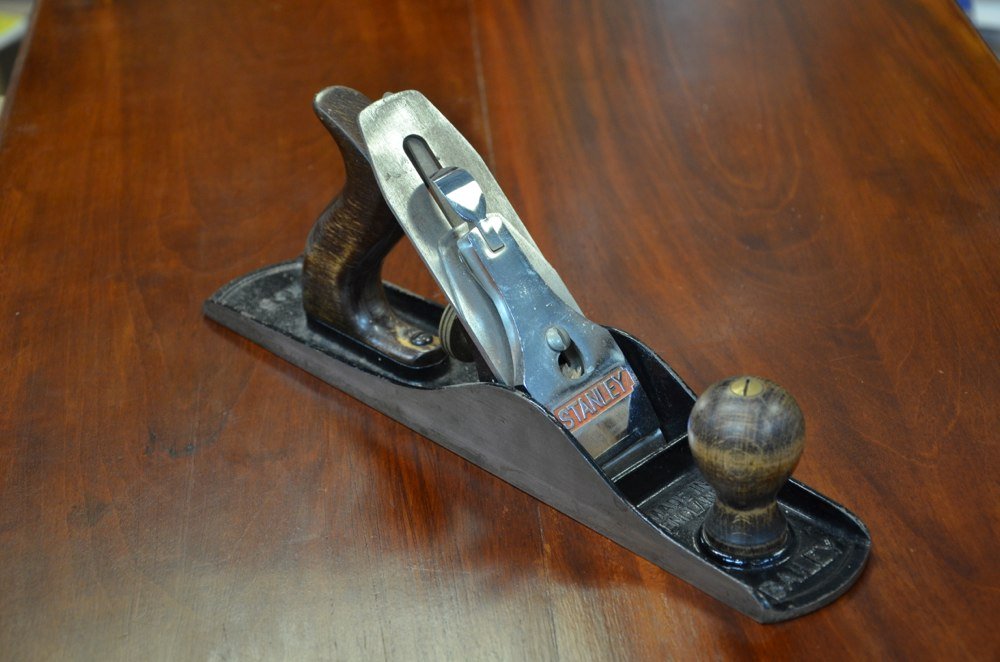
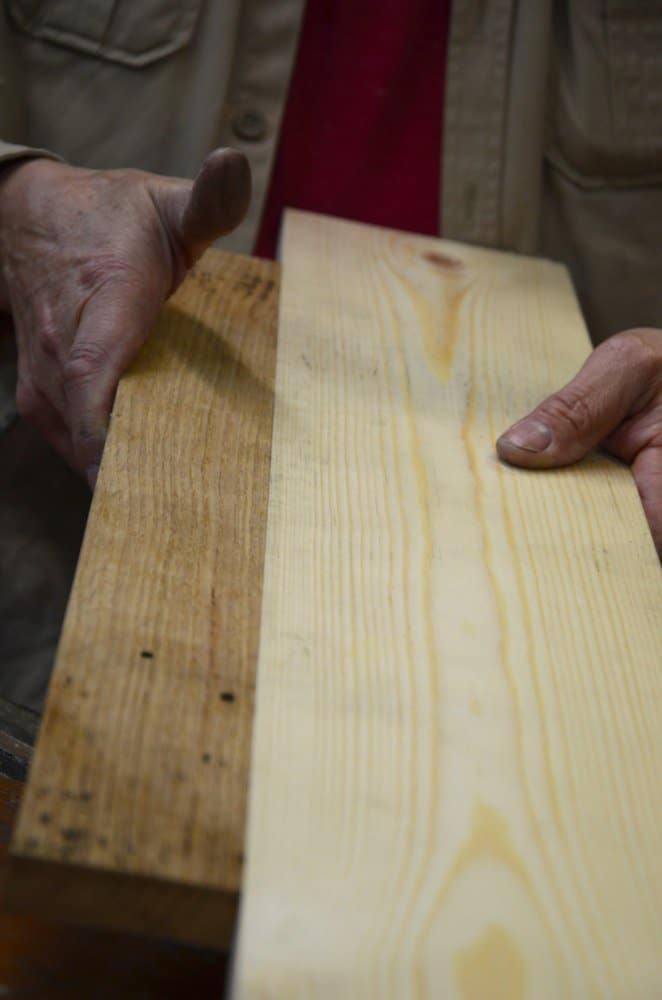
A #5 jack is excellent for luthier work and will straighten and thin all of your stock for fronts, backs and sides and it will do that within thousandths of an inch as needed. The jack plane measures around 35.5cm (14”) long and has an overall width of 64mm (2 1/2”). More than sized for making guitars, violins and cellos too.

Here are the steps for restoring your #5. Don’t be intimidated by your thoughts, anyone can do this. It’s not particularly demanding or skilful. More sensitive than anything.
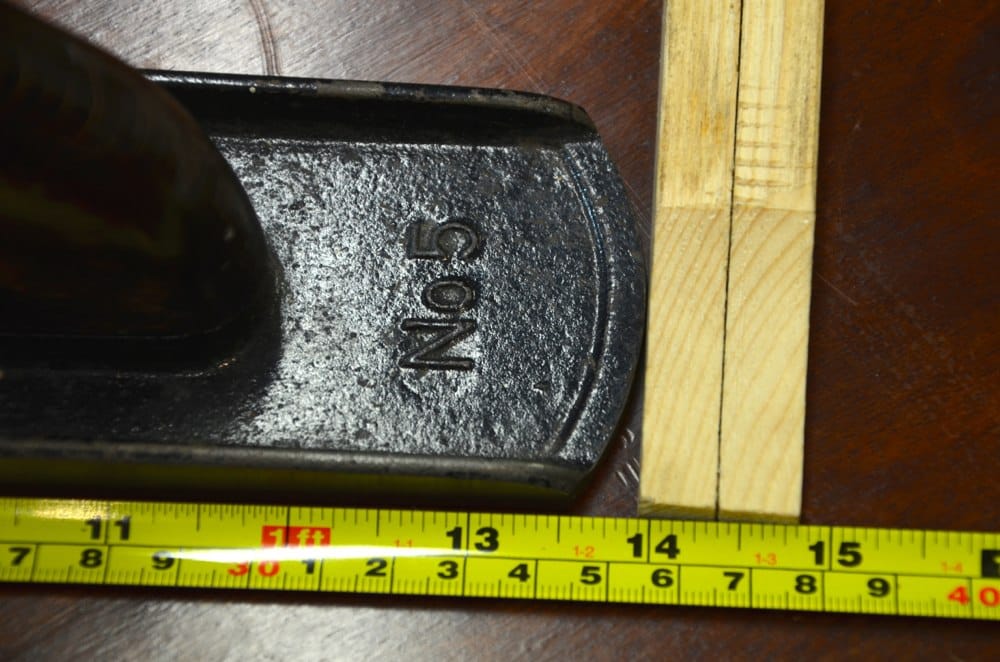
My #5 is a typical eBay find. The sole isn’t flat at all. Almost make a good boomerang.
It’s also hollow across it’s short width too and at first you’d look at the pictures and think it would take forever to flatten. In actuality this one took me about 15 minutes so don’t be daunted and though the eBay find might not be as bad as this one, it’s not unusual to find one as bad as this one.
In fact it’s quite common to find planes hollow across the width because many joiners use their jack planes to plane narrow boards of wood, MDF, melamine faced pressed fibre boards and much more abrasive stuff such as plastic laminates and plastics too.
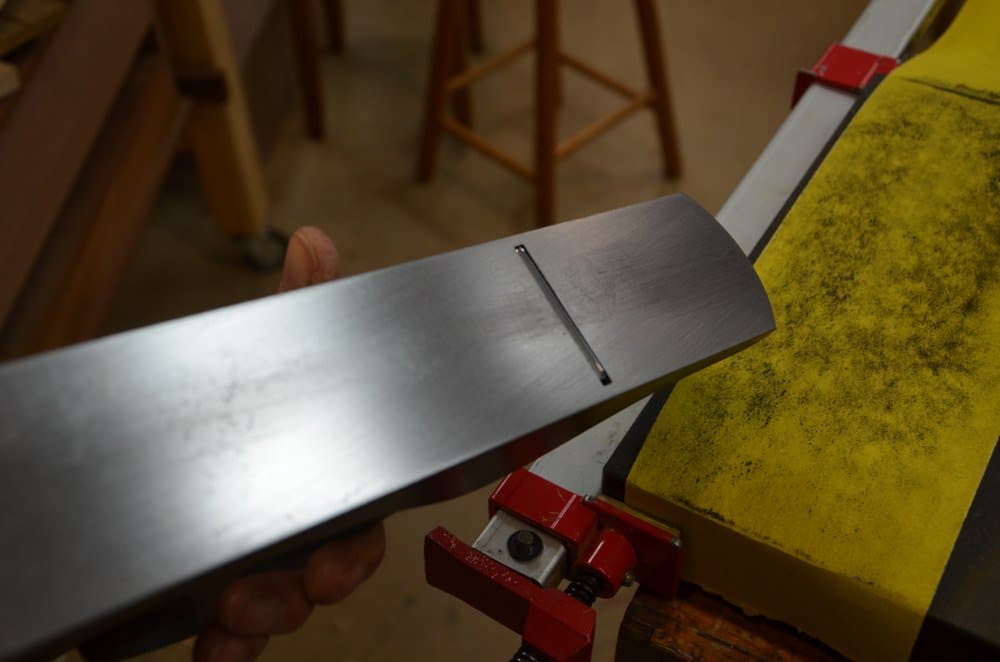
I happen to own a proven dead flat granite slab so placing 140-grit abrasive paper on the block gave me the right start. You can use float glass or even a tile if you test it for flatness first. Sometimes, machine tables are close enough too. I have used wooden 4” x 4” lengths of wood and MDF. Choose your flattest surface.
I used 4 feet of 140-grit abrasive paper 4” wide for the first level major abrading and then polished further to 600-grit. Plenty fine enough.
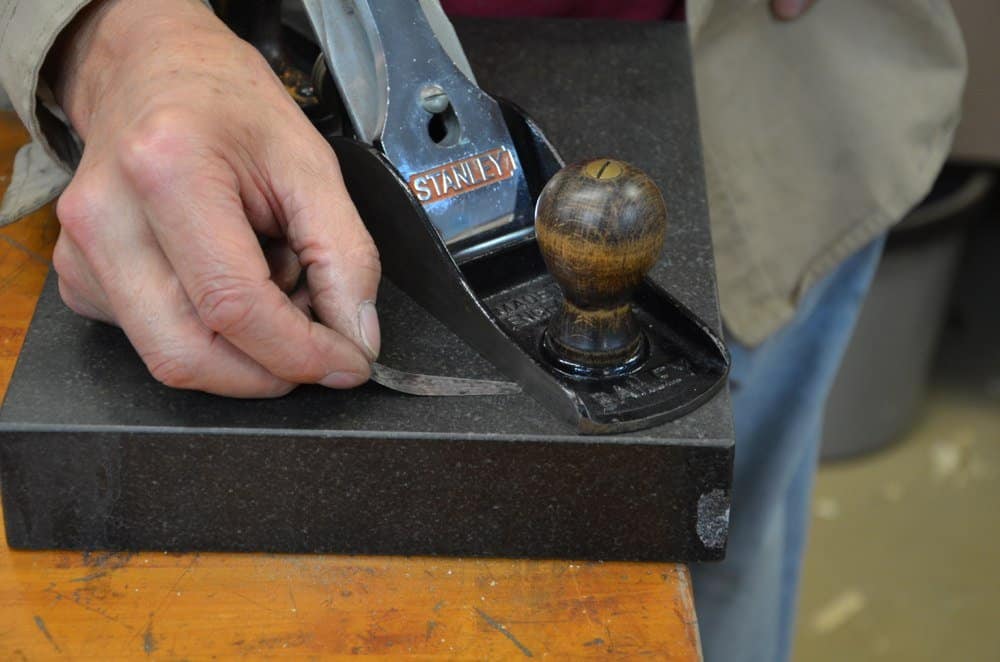
Make sure you keep the lever cap locked in place at normal pressure with the blade retracted. This keeps the sole in tension and so maintains as closely as possible how the plane will be in its final tensioned state during use.
It’s not necessary to abrade to a finer level, but you can if you like. Wood is surprisingly abrasive and soon undoes what polish you might attain. I went to 600-grit straight from the 140.
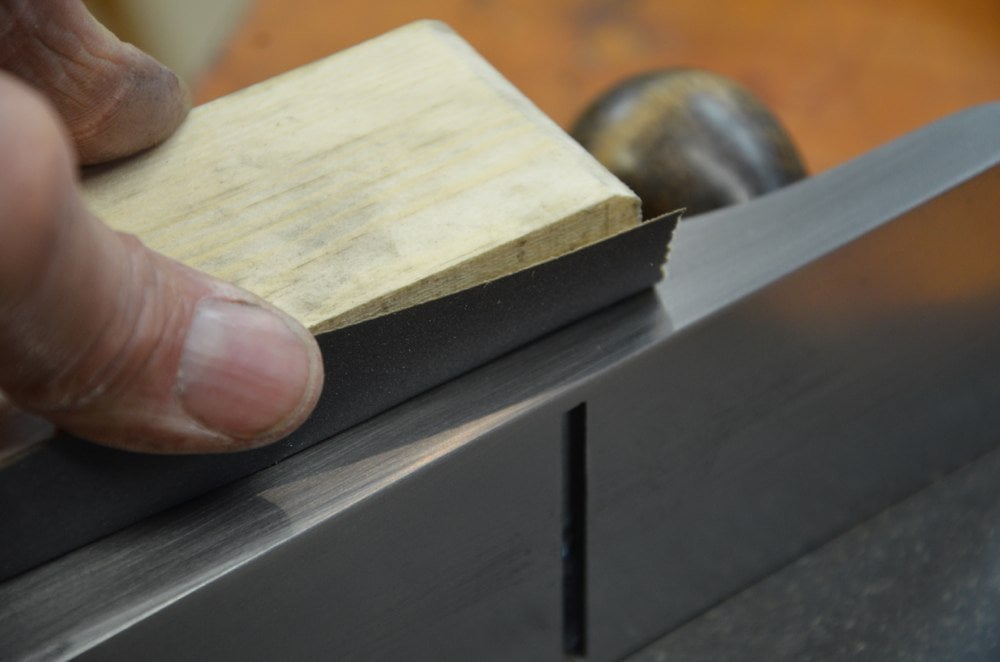
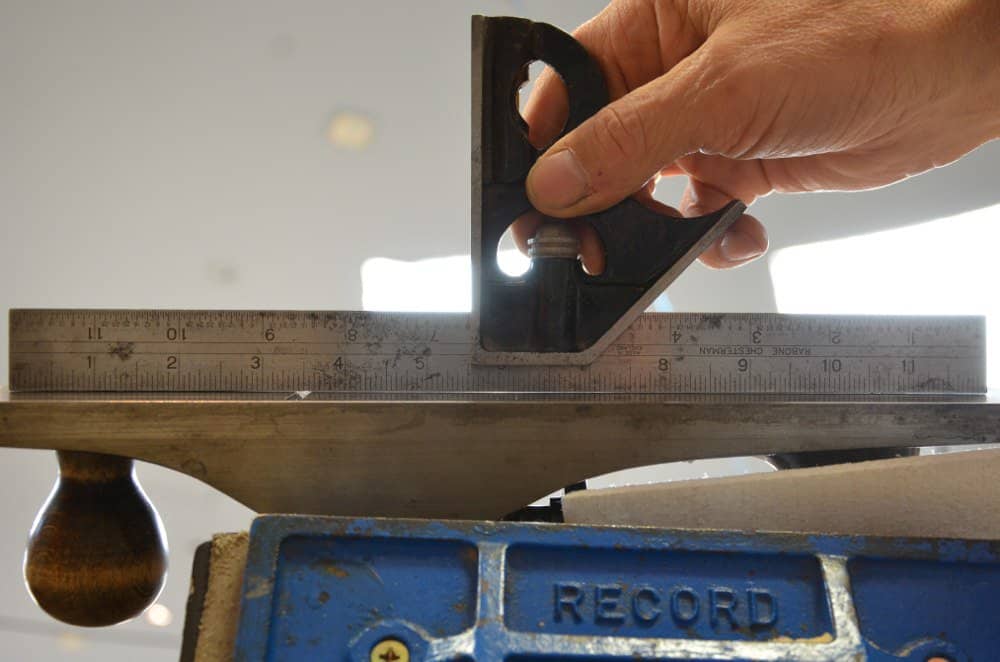
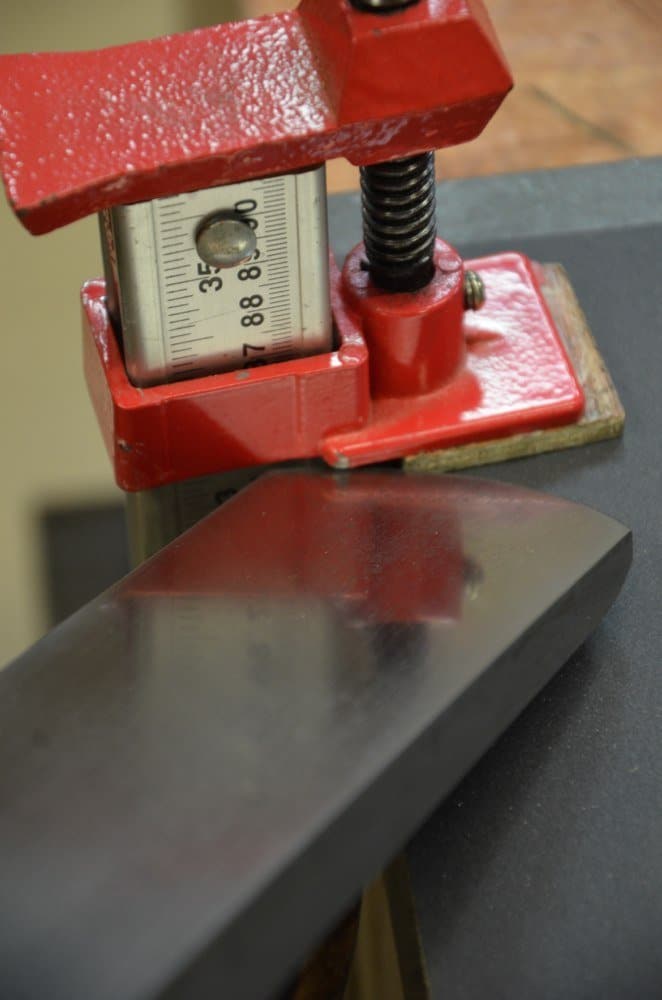
I cleaned up the sides with abrasive paper but it’s not necessary to square the sides to the sole.
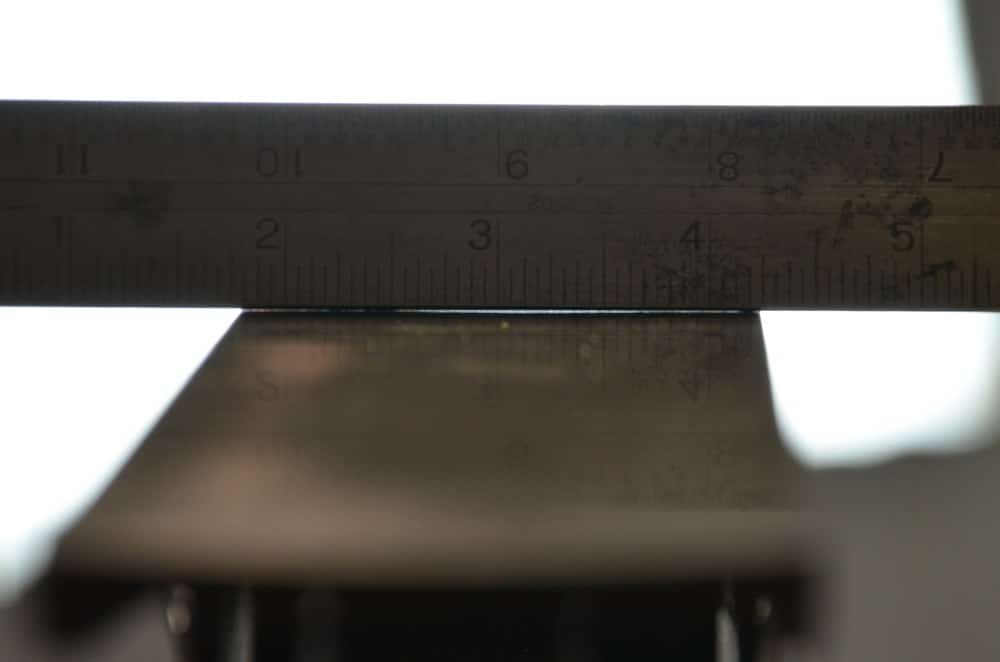
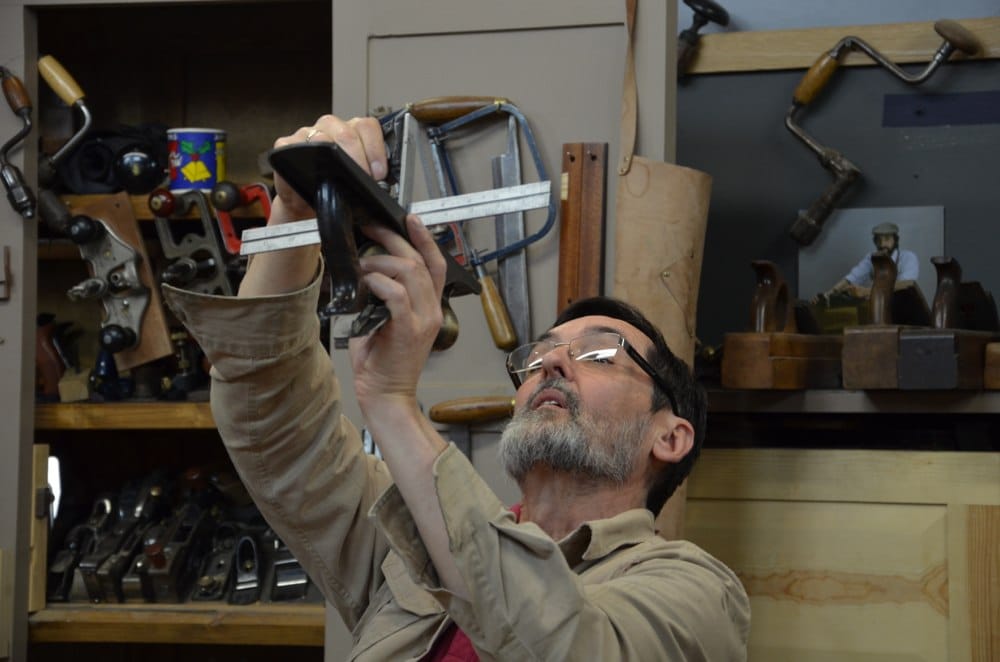
Using the light and a true straightedge is usually enough to check for flatness. I first offered mine to the light and even fractional glimpses of light is not necessarily more than a thousandth of an inch.


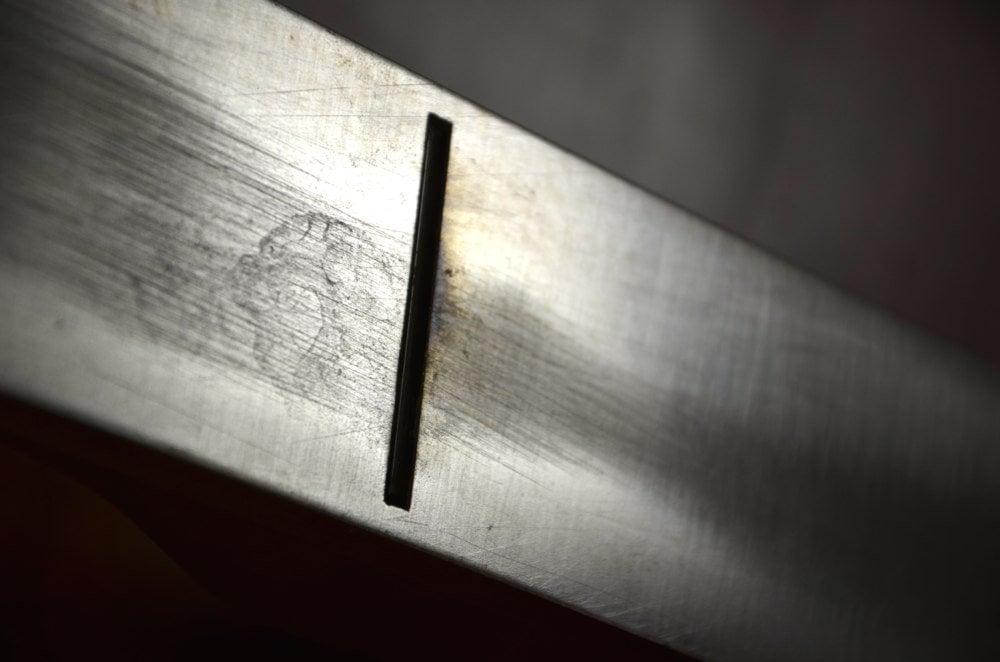
I used a 1/1000” feeler gauge on my test slab and the gauge penetrated only around the rim where I had bevelled the outer edges as I always do.

To additionally prove my surface flatness I plane two boards independently and placed the edges together and they joint line was perfect.
Hi Mr Sellers!
Great post as usually!
Can You tell us some quick tips (beyond the wooden tote/knob) “how to the to distinguish pre 1970’s?”
Thanks!
Hi Paul.
Thank you for your kind answer for restoration of the old planes. You wrote
‘I cleaned up the sides with abrasive paper but it’s not necessary to square the sides to the sole. ‘
Do you explain why it is so? Most other people say that the side have to be square to th sole. I also thought so and when I learn with Japanese plane I was trained to do so, too.
Shon
Why don’t you tell me why you think the should be square then. I can’t think of one reason. I don’t mean just near to square but dead square you understand.
When I think about squaring the boards, we use jigs or flat surface and some stoppers. Then one side of plane is on the surface and the sole is contact with wood that we want to make square of flat. I think if the side and sole is not square, the wood surface is not flat or square with the other side that contact with the lower flat surface or jig. I wish I can make a figure. But I think you know what I mean. Do you mean even in this case we don’t need to make square the sole and side?
Thanks for jumping in there Shon. The reality is that the sides of the plane are usually fairly close. In western woodworking we rely on developed senses to feel for squareness and this can be more accurate than you think. I know this is true of Asian woodworking too. To square stock we apply pressure points to the plane that compress the fibres under the plane and this then allows us to remove thousandths of an inch to correct discrepancies. When we use jigs as guides for the plane as in the case of a thicknessing jig or a shooting board we do so to remove skill and risk. In such cases we then use the lateral adjustment lever or, if using wooden planes, we tap the plane iron until we achieve squareness on a scrap piece of wood. Hence no need for a square sided plane generally. Also remember that all metal planes flex in their length. That means that they can be ‘bent’ during use. The side ‘wings’, the upstands on the sides, can also be bent so we must be careful not to bend these when we work them along the shooting board by applying unnecessary pressure if do use shooting boards and such.
Doesn’t the side need to be square to the sole for a shooting board to function properly?
That’s what I mean.
You use the side-to-side adjustment lever to compensate (Paul has mentioned this before). That’s what I do. The only downside is that it takes me a couple minutes to re-adjust it to normal planing. My solution was to adjust my 4-1/2 for shooting, since I don’t use it nearly as much as my 4.
Thank you Paul.
When I see some of the materials in the internet, some people say that the sides must be rapped to be square.
When I tried this before, it was really hard work to gain good square in some cases.
So I asked you the questions. In case of metal planes, we can easily change that with lever.
I also thought so. Otherwise we cannot make square. As you said, we can just plane and check the square again with rulers, too.
I also trained in that way. The feeling is more exact than jigs when we trained our body well.
When I learn with Japanese wooden planes, I was trained to make square the planes.
I think it is also reasonable because wood is easy to handle.
Thank you again.
I think it is so simple to get wooden planes dead square so why not. Metal planes? Some people have others straining at a gnat. They are legalists in every sense of the word in my view and make mountains out of molehills.
So I like your teaching. I think your methods are simple and reasonable. Those are com from your long experience and cleverness, I think. Thank you again for sharing your knowledges.
From S. Korea
Hi Paul,to answer that question I would recommend having the sides square to the surface for shooting end grain on a shooting board.
That’s really unnecessary as adjusting the lateral adjustment lever enables you perfect squareness with the slightest tweak with not other issues that negate the accuracy or functionality. That was the way it was done with wooden planes too, prior to lateral adjusters being installed in metal planes.
Hi pual if you have the lads email address I would be more then willing to send him a number 5 plane.
I emailed him and he just found one. Alls good.
Ok thank you for the fast response.
This was really very kind and generous of you. Kudos to you!
Hi Paul.
I noticed you didn’t advocate pulling the frog out and cleaning the screw threads, fixing any rock in the frog etc – Is that because you’ll only go that way if there’s trouble?
I’ve found that on the whole out here in Australia (or at the very least in my neck of the woods) the tools we get are pretty beat up and need a fair amount of fettling to get them just right, often including frog seating being packed with wood dust and the feet rocking slightly etc.
We do clean up all the areas and we have written so much on this in my blogs and made films on it it would only be repeated yet again here.
Yep. This has all been covered numerous times. Search on Google. ‘Paul Sellers plane restoration’ …….I’m still waiting for more info on the last tool box build. You’ve left us hanging Paul after a few blog entries then nothing. I don’t wanna start until I see how you made the lid in particular. Do I have to wait until next year for this? Also having trouble finding any dimensions for your stools. I have your book and dvd. I ended up trying to guess and went looking for pine but can’t get any in that thickness for the top. What diameter are the stools? I made mine about 210mm. Had to laminate two boards to make 30mm thick which I’d prefer not to. I didn’t think sourcing timber for a simple stool would be this difficult.
Yes, you are right about the box, we decided to make it a video and I got into two or three dozen other issues and lost the thread as I have a habit of doing these days. So apologies all round. Actually, your the first one to bring this up so I wonder if anyone else is interested. Re the stool. Are you talking about one in the book or on my blog or on masterclasses? I don’t think I could work it out.
I don’t think it’s a lack of interest. You put out so much great info ‘I’ lose track sometimes. I’m not surprised you do. One of the main things I take from woodworking in general and your blogs in particular, is patience. So I patiently await the toolbox conclusion.
Thanks guys, Mark.
Hi Paul,
I think there are many people still interested in your tool box. But perhaps many people like I hesitate to ask for it because they don’t want to be impertinent against you. There is so much information you gave to us, and so much we can learn. So I think we should be patient even when it’s sometimes hard 😉
Yes, sometimes I do think that it’s easy to forget we’ve made five films, taught three classes from 2 to 6 and 9 days in a row and written 20,000 words in 26 articles since then. And 99% of that is free. Oh, well.
How do you address flattening a plane sole that is convex along the length? Much like edge planing a board with a hump in the middle, it seems the plane would just ride the curve along the sandpaper. I’ve had this problem with a few planes and ended up spot sanding the highs through repeated sighting against a straight edge.
I haven’t ever had a problem just flattening humps out at all. If you find you are having an issue, the chances are you are possible ‘bending’ the plane as you rub it long the surface of abrasive. The longer the plane the easier it is to do this. At one time I had an apprentice using abrasive paper on a dead flat block. He would rub away and check himself and I watched him. I realised that he was applying so much pressure on the knob and tote he was pulling the two together and thereby flexing the sole so it bellied with each stroke. Each time he checked he found the plane hollowed. I told him to relax and even take his hands off the totes and span his hands onto the sole only front and back and within a few minutes he was flat. `perhaps somehow you too are flexing the plane sole. `try relaxing a little and test frequently.
Dear Mr Sellers! Thank you for the post. Info was very useful. Not all joinery fans have the opportunity to buy a new planer.
Hoi Paul, Re. “…. it’s not necessary to square the sides to the sole. ” Is that still true if the plane will be used on a shooting board?
Also, what size/type plane do you recommend using with a shooting board (#4)? Is longer better? Is there a type/size that you particularly recommend or recommended against? Would you use your favourite/best/least favourite/worst plane for this task? 😀 Wooden plane/block plane/etc.
Never mind on the first question – I see now that you already answered this question above (it is still true). But would be interested if you had any thoughts on the second question (which plane for shooting?).
Something with a bit of mass is good. Depends what you’re shooting mostly. I use a 5 1/2 but only coz I have a few and they aren’t being used for much else. A number 4 works well too. Practice with a few sizes till you find what you like. But as I said mass is good. Don’t worry about length of the plane on a shooting board. And sharp!!! Make sure you know what sharp is before mucking around with any plane or shooting board. Or any woodworking really.
I literally pick up whichever is close to hand. As long as the plane is sharp, any will do for me as it is more about sharpness than anything.