Laminating Thin Stock – Clamps From Scraps That work
Making a narrow strip clamp for laminating.
This clamp is as quick and simple to make as it gets, it works really well and costs pennies or scraps alone to make half a dozen to exact size a project.
In this case my project is around 4” and so I use wood 6 3/4” long. This allows for 1” either side of the recess, the width of my stock wood to be clamped and the wedges made from 3/4” stock. Pine or some other softer, straight-grained wood is ideal, but almost any wood that splits will work.
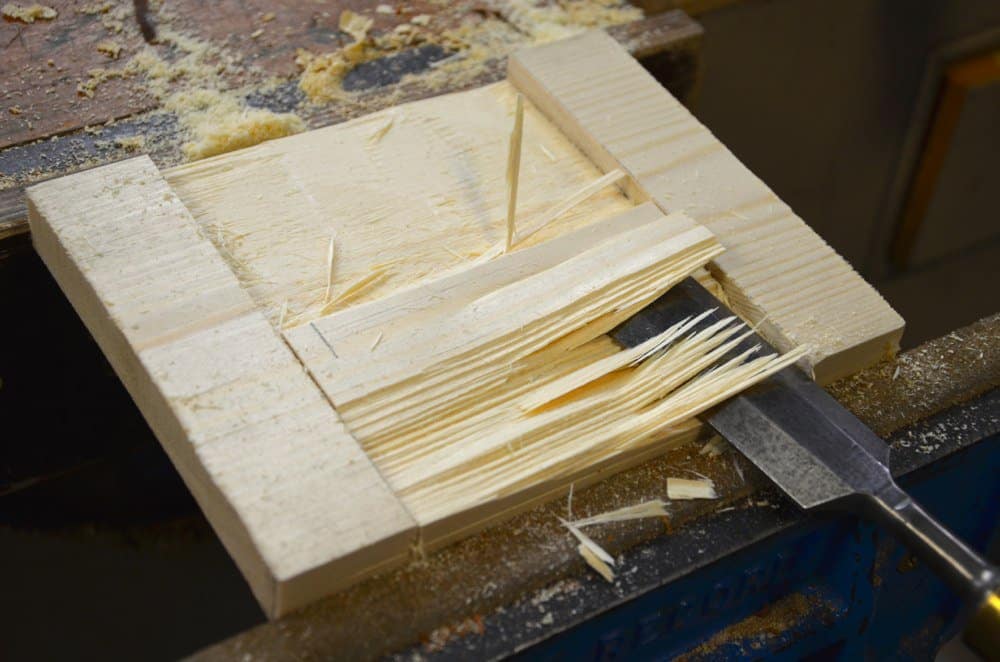
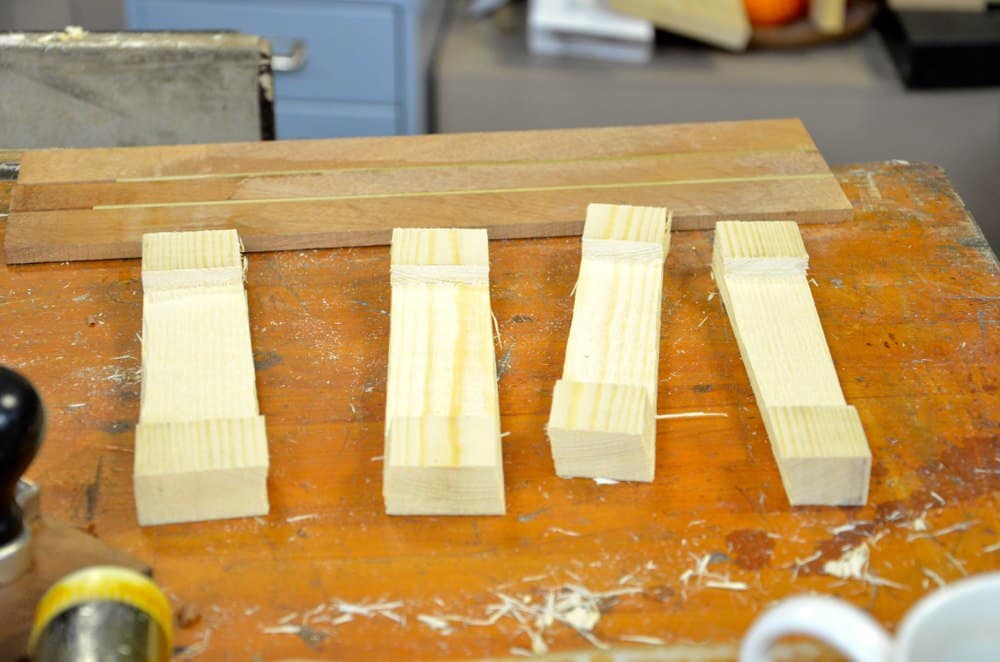
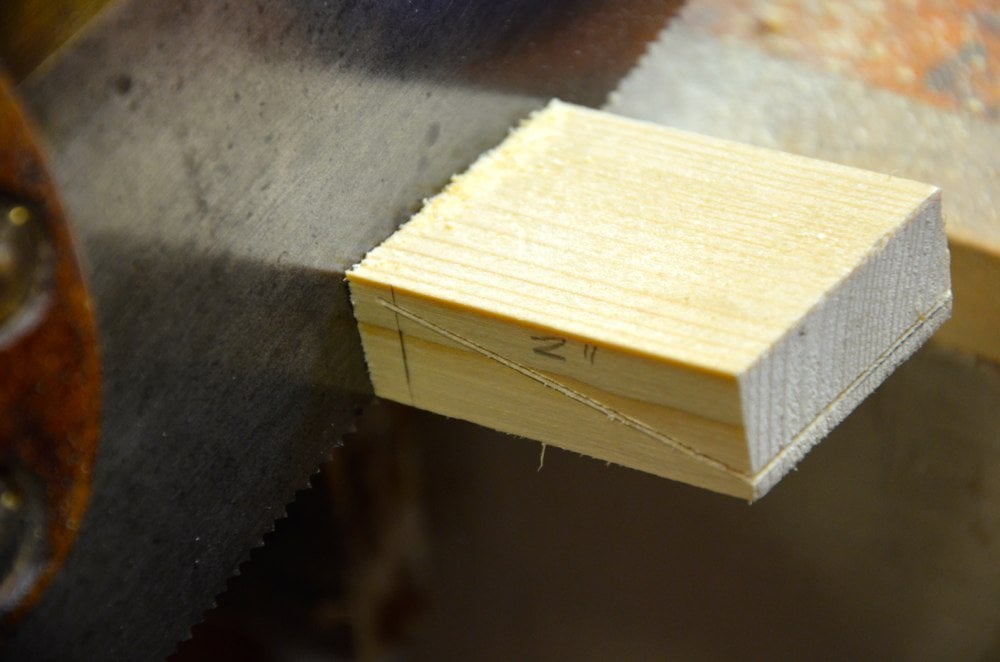
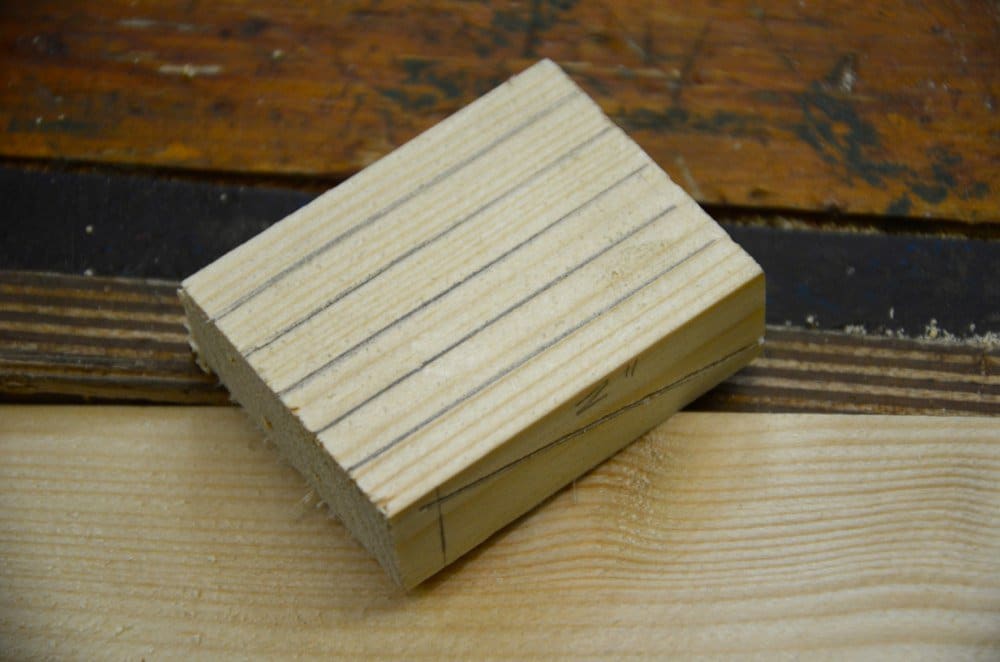
First cut lines one inch in from each end across the board and at a depth equal to or slightly deeper than the thickness of the stock to be glued up. In my case my stock is 5/16” thick. I saw down the lines and then pare out the waste to just above the gauge line I made.
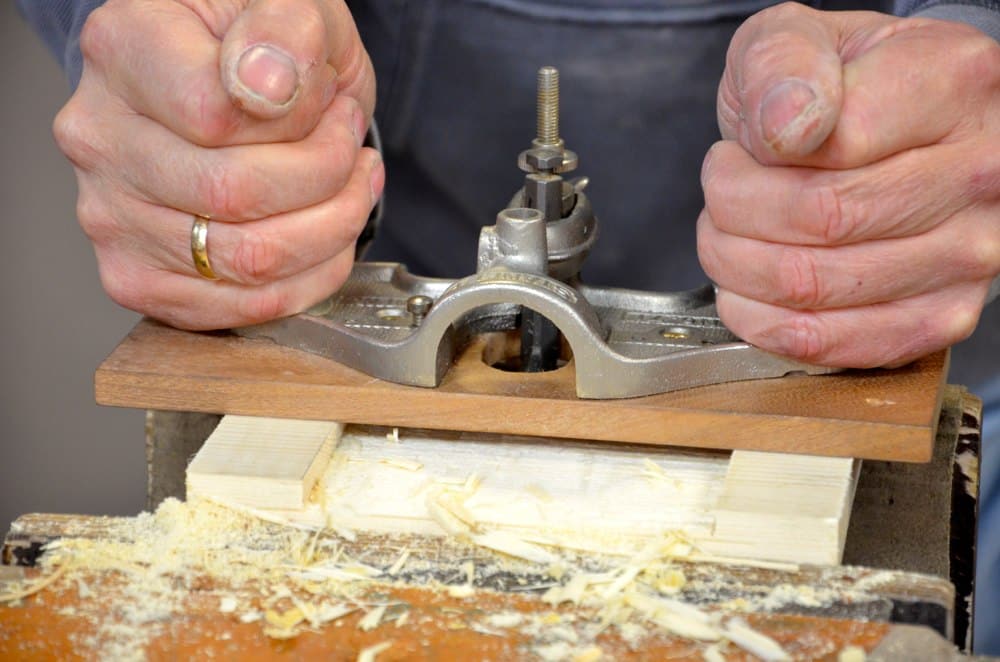
Now I route down to the final depth with the router to give the evenness I need to seat my material against.
For my next step I simply spit my board into sections. These could be as narrow as say 3/4” and need be no wider than 2”.
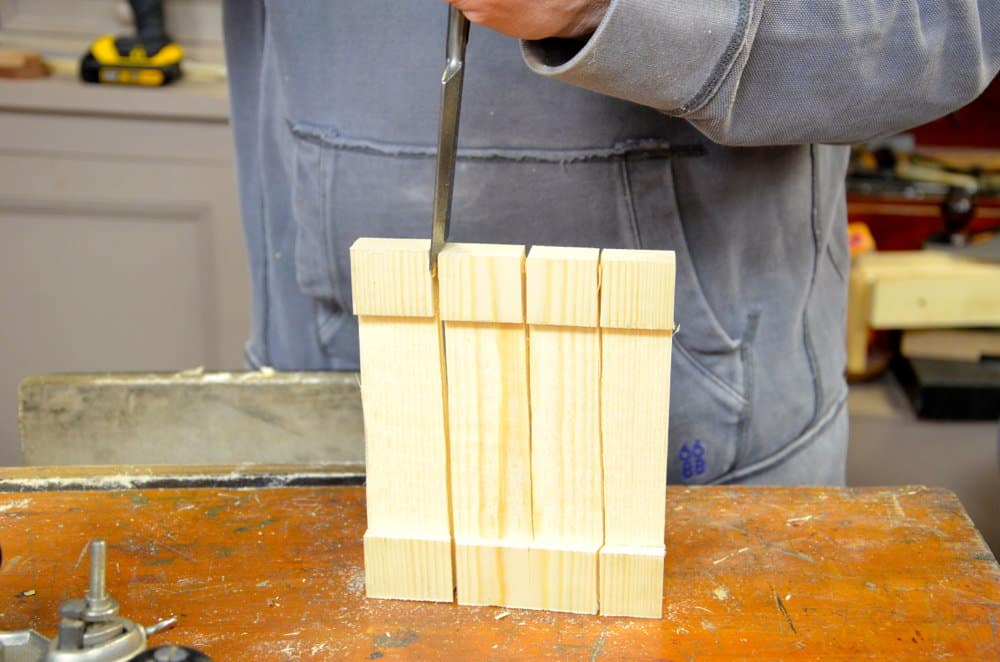
I could saw them for neatness if it bothered me but usually `i will throw these in the fire for warmth because they are made from scrap wood and custom sized to my work.
Making the wedges
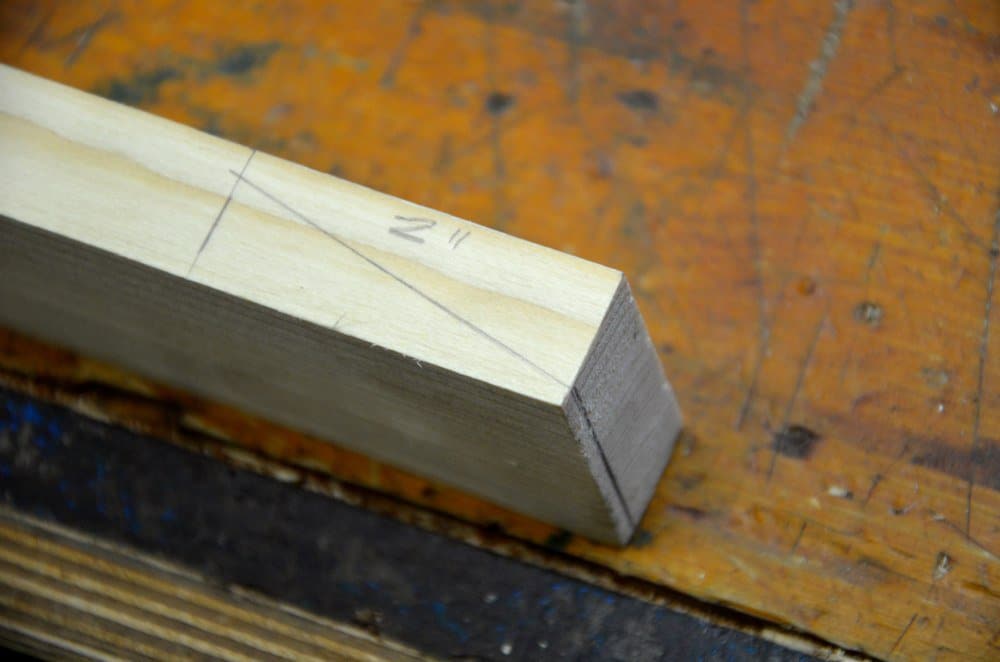
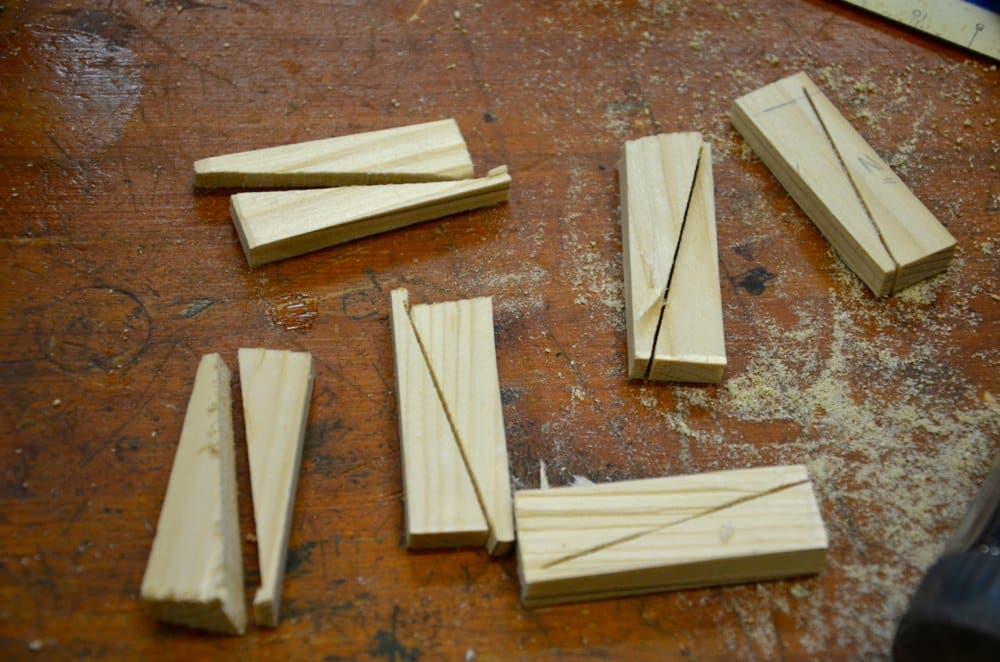
Now I make my wedges. For this I need only a few sets or pairs. My wedges are 2” long and I cut them as shown from basically a 1 x 2. The angle is not critical at all, longer wedges work better than shorter, stubbier ones because they slide more easily.
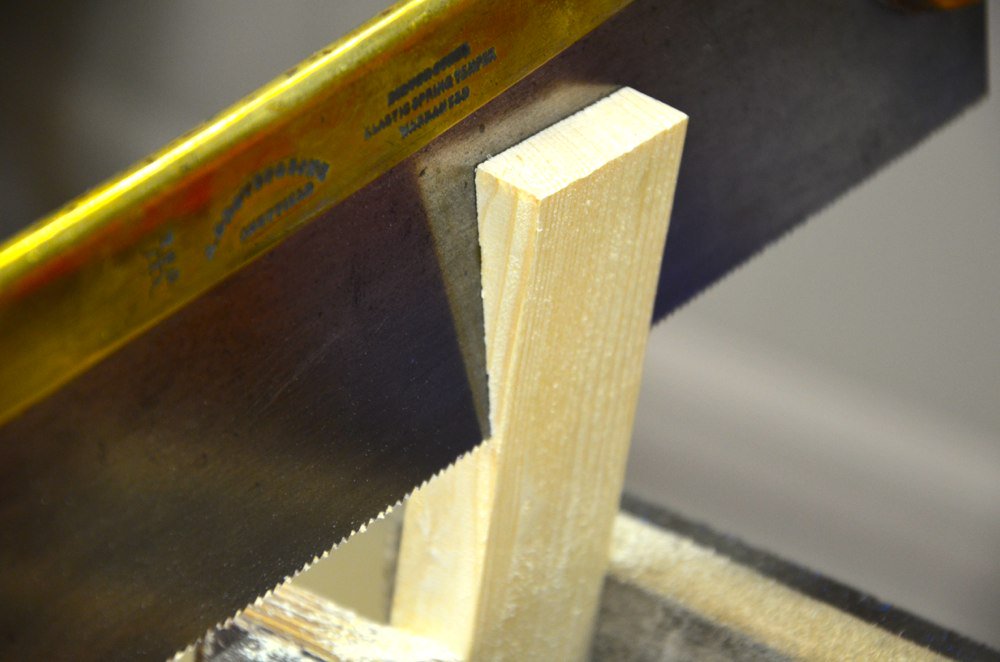
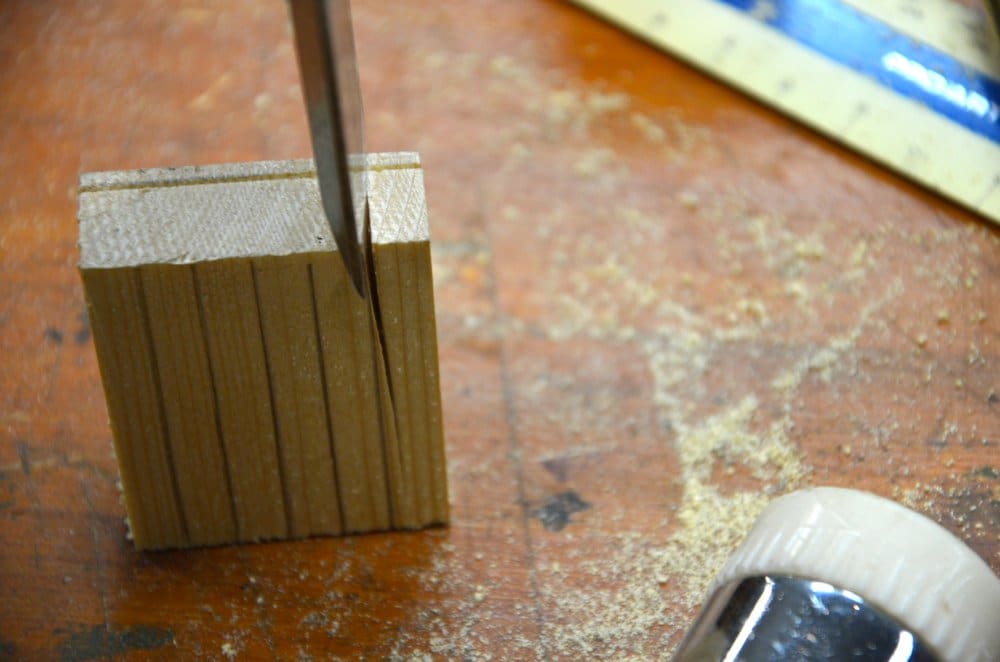
The wedge cut stops on 2” but I crosscut slightly longer so the two pieces remain together.
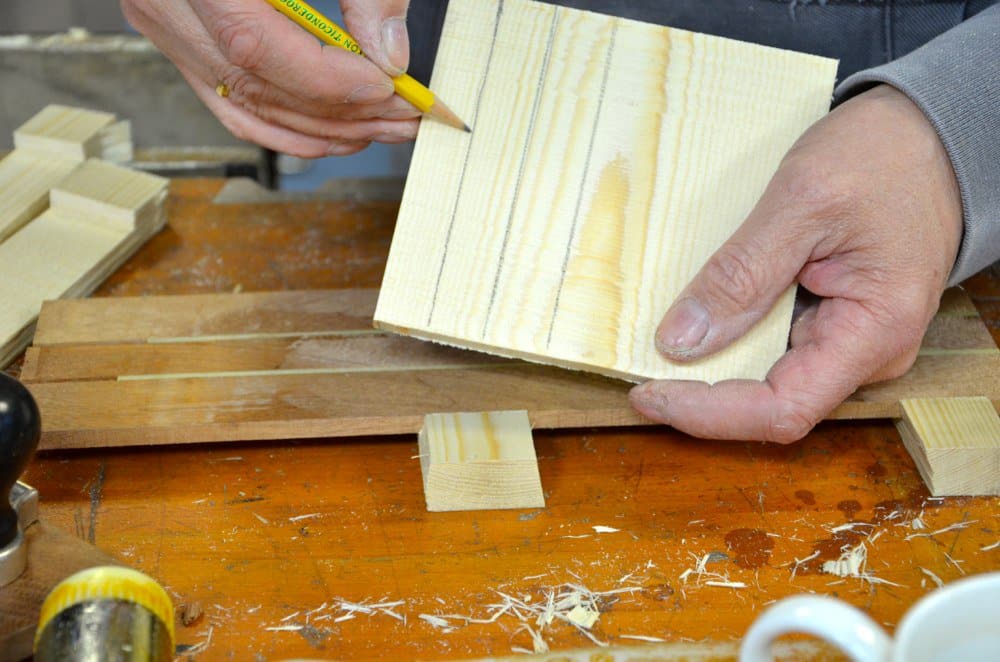
Now I mark (for you to see, otherwise I just eyeball and split cut) and split my wedges with the two halves still together along the 5/16” lines.
All the wedges are approximately the same size and the angles the same also so any two will work together.
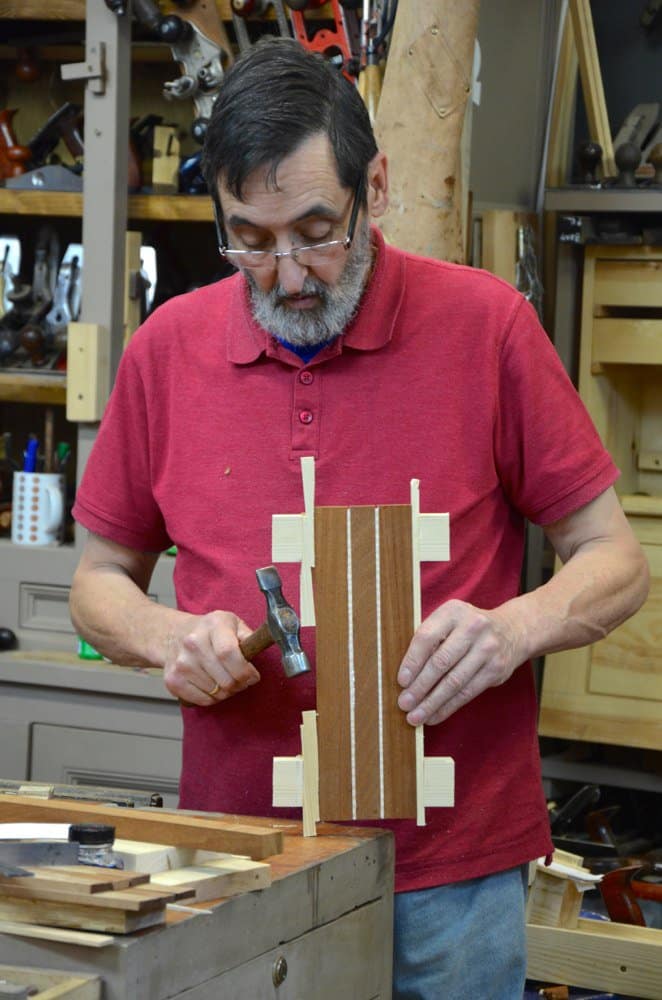
To set up for wedging I choose my boards for position and grain orientation and then insert the wedges alongside to the last piece, make adjustments for alignment and slide the wedges against one another until light pressure causes the glue to come from the joint line.
In this case I laid three clamps on the bench spaced as best I could gauge and the flipped over to apply the other two. Tighten as best you can with the tap of a hammer if possible, otherwise finger pressure is enough.

its so simple i cant believe it to be honest .i kept bowing thin glue ups and resorted to the fact of having to glue thicker stock only to plane flat after. its the correct pressure and alignment that makes it work i assume ?. love it .
Great idea. While reading this post It dawned on me that I have spent a lot of time watching woodworking videos. So much so that I am better at watching woodworking then I am at doing woodworking. That’s not right.
Paul another great and very useful jig, thank you for sharing. I will be making a few different size’s for sure.
Steve
If you don’t have wood of sufficient thickness, or don’t own a router plane or other means of flattening the recess, you can simply glue or tack two blocks on each end of a longer bottom piece to create a recess of whatever size you need. Carry on from there with the wedges, etc.
I know exactly what Terry (see above) means. If you come home with a woodworking job to do, it is much easier to sit down and watch Paul ripping down a 6′ plank exactly to line than to go to the bench and try to do it yourself. And very satisfying to watch a gouge “fizzing” as it cuts across the grain of a limewood carving.
Very therapeutic. I am turning into an expert ARMCHAIR WOODWORKER.