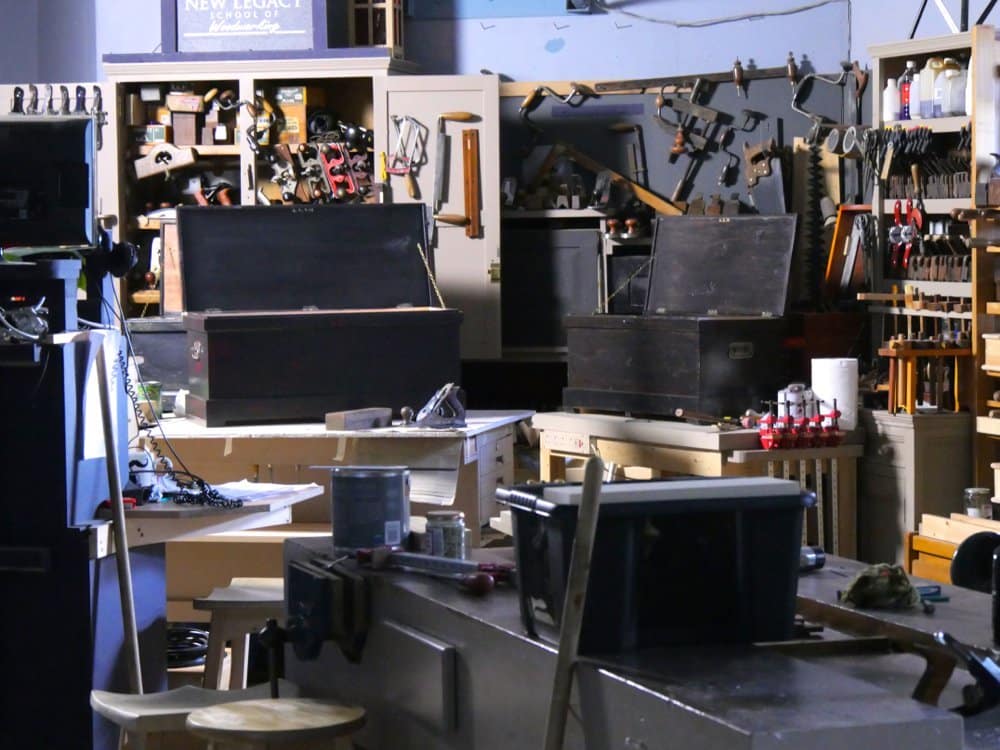
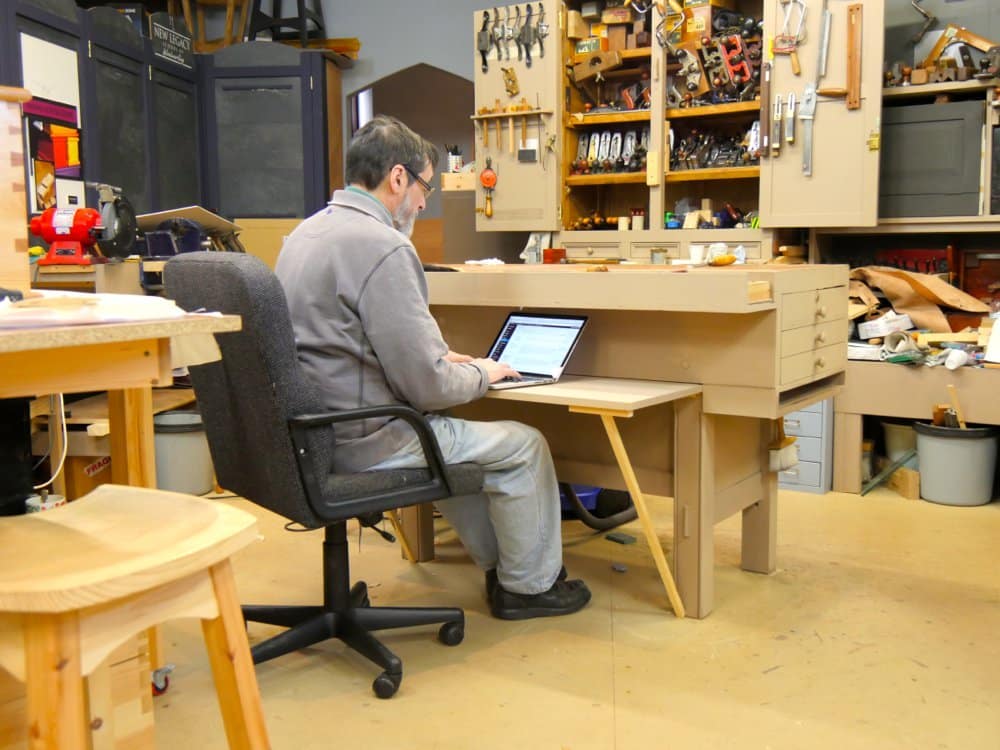
My creative workspace seemed softer this morning when I arrived. It’s funny how it does that; takes on different shades as I work through the hours of a day and the days of a given week. It changes according to task really, but I am obsessed about dust even though I barely use machines any more. People often tell me that you can’t make a living without them but that’s not really true at all. I would like to show you pictures of a man’s walking canes when he sent me pictures inspired by the blog I did on starting your own business a year or so ago. They are just stunning. He hand carves a scroll and has called them by his name. He made his first $5,000 from making his own design into a reality. I decided not to post pictures because I don’t want others copying his designs. He has a winner with it though. When I need a cane I know who to call. Anyway, mostly it’s about a made up mind. With a made up mind you can achieve unbelievable goals. Just be realistic. In a given year I may use my machines for perhaps six to ten days total now. I can expand on how I do that one day. But I still try to stay on top of dust even from only hand sanding and vacuum regularly to make sure every ounce of dust is extracted frequently enough to stop film build-up on any surface. That’s very different than the ten bench workshop of my apprentice days. Back then the dust extractor and shaving removal was me and a wide grain shovel and broom. I swept between the benches when demand was high, which varied but could be two to three time a day. When a voice shouted, “Boy!” I jumped, grabbed the broom and started sweeping. At the end of any given day the shavings were thick. I mean thick, thick, thick. Long ribbons trampled under foot, flattened and kicked out of the way throughout the day. Often they were redwood, but other times they were meranti or kerruing, makori, mahogany, sapele, parana pine, oak, sometime sycamore or ash. Even after machine planing every surface was always hand planed but we did use a strafe sander that had no extractor and the men stood there with only a surgical mask as protection. It was a miserable machine. The machine shavings were bagged and sold for horse bedding and chickens, but in the wintertime they stoked the boiler for heat and I was the boiler man too. So, that’s me rambling a bit really. Sorry.
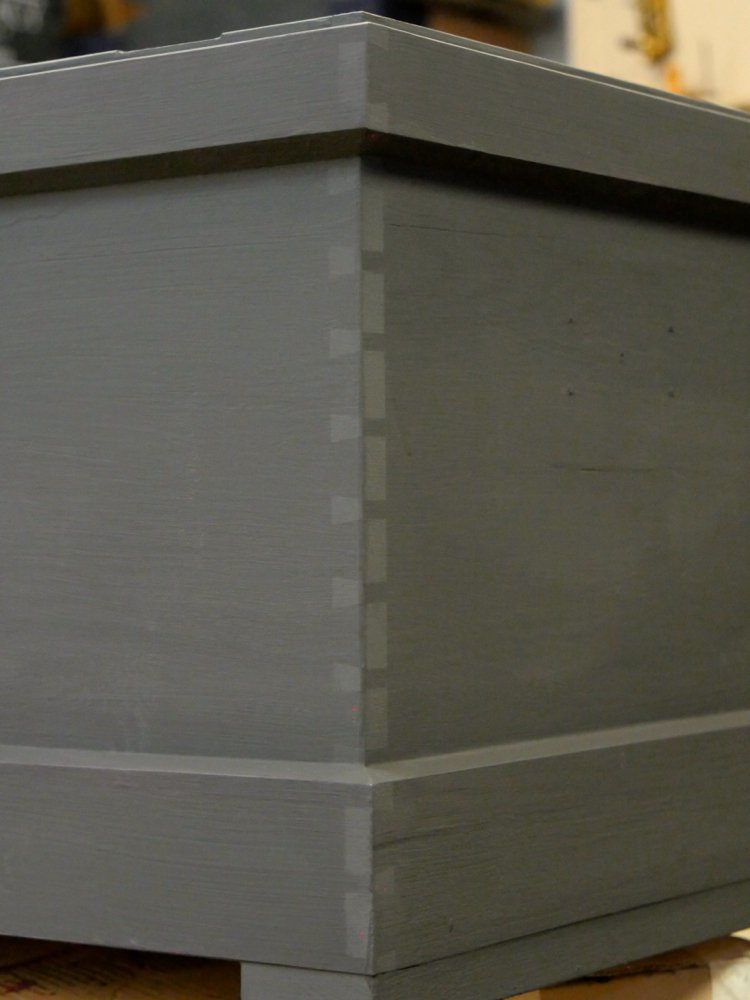
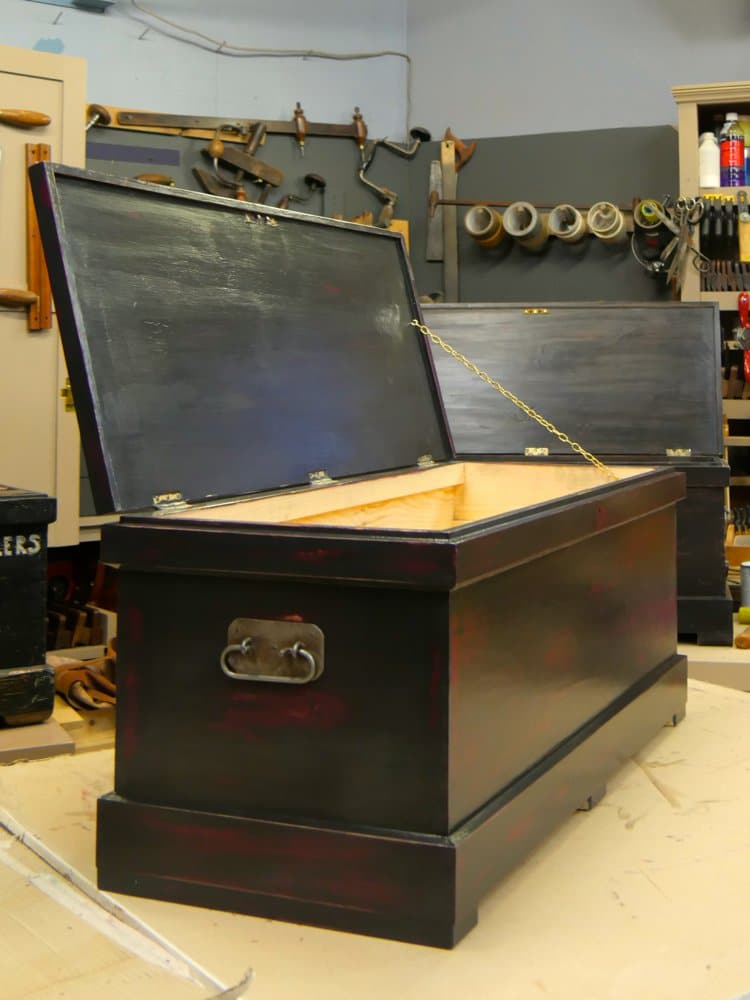
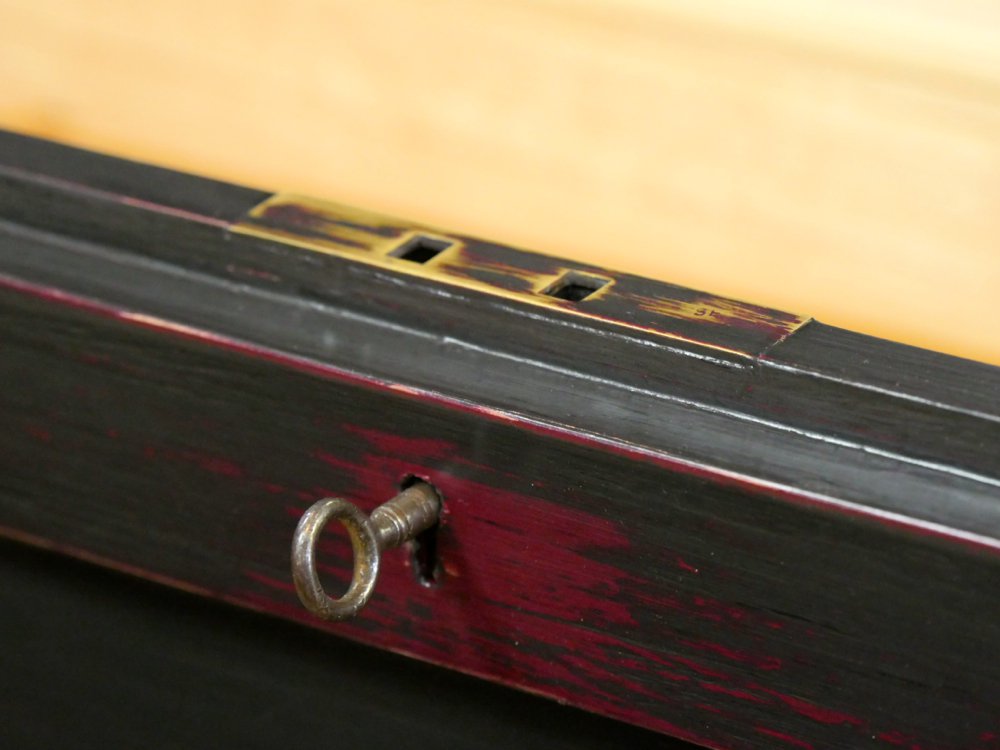
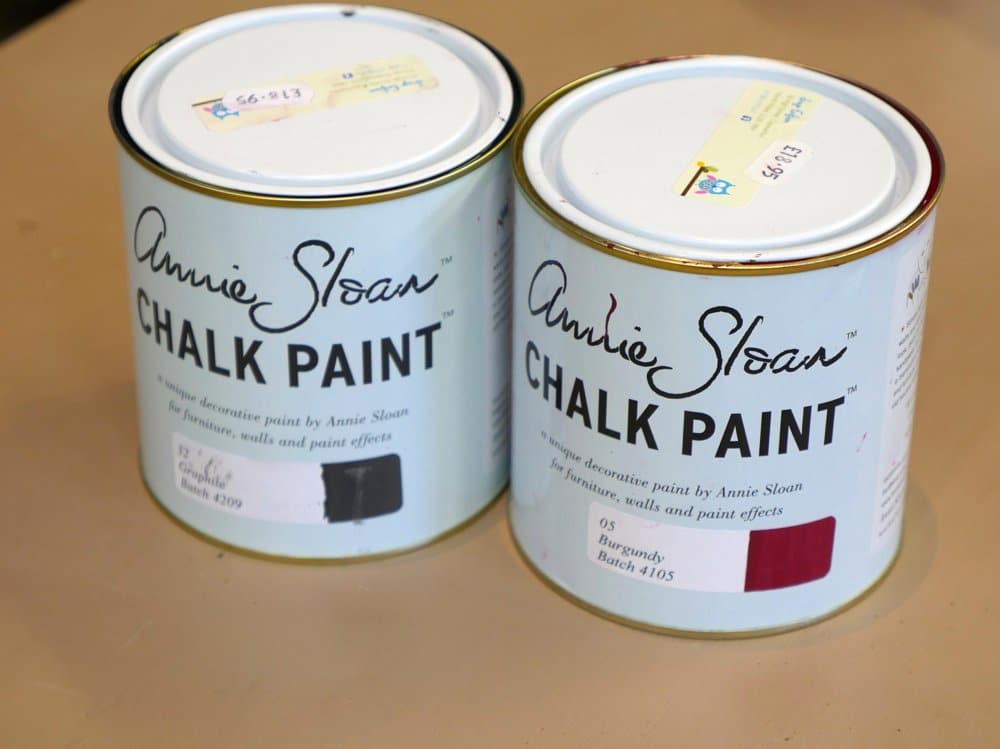
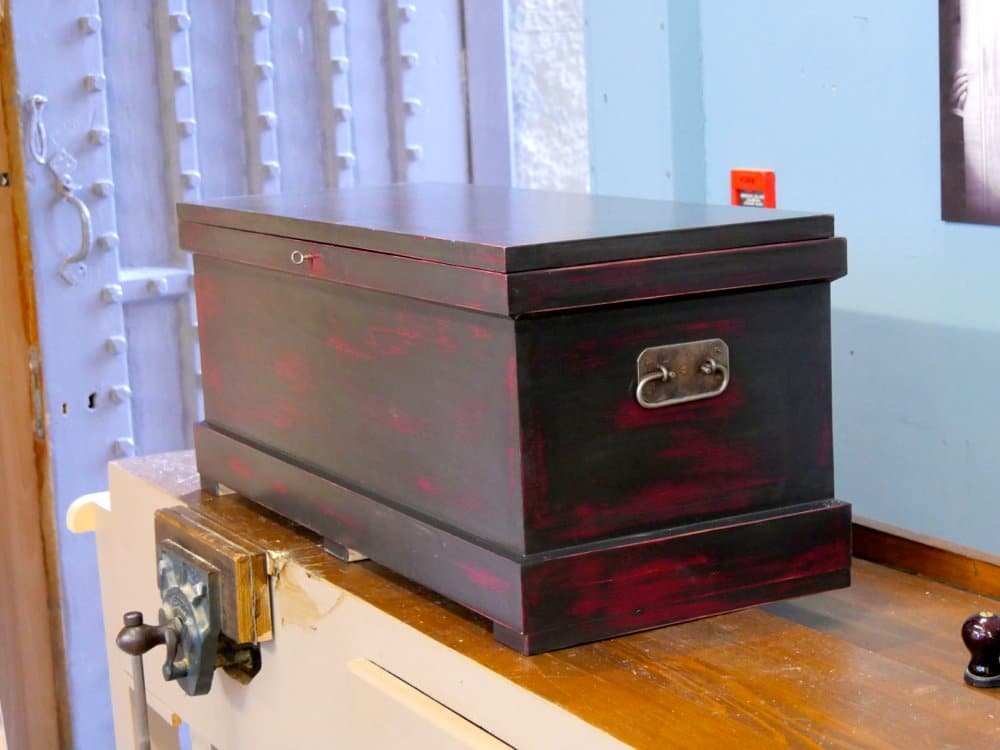
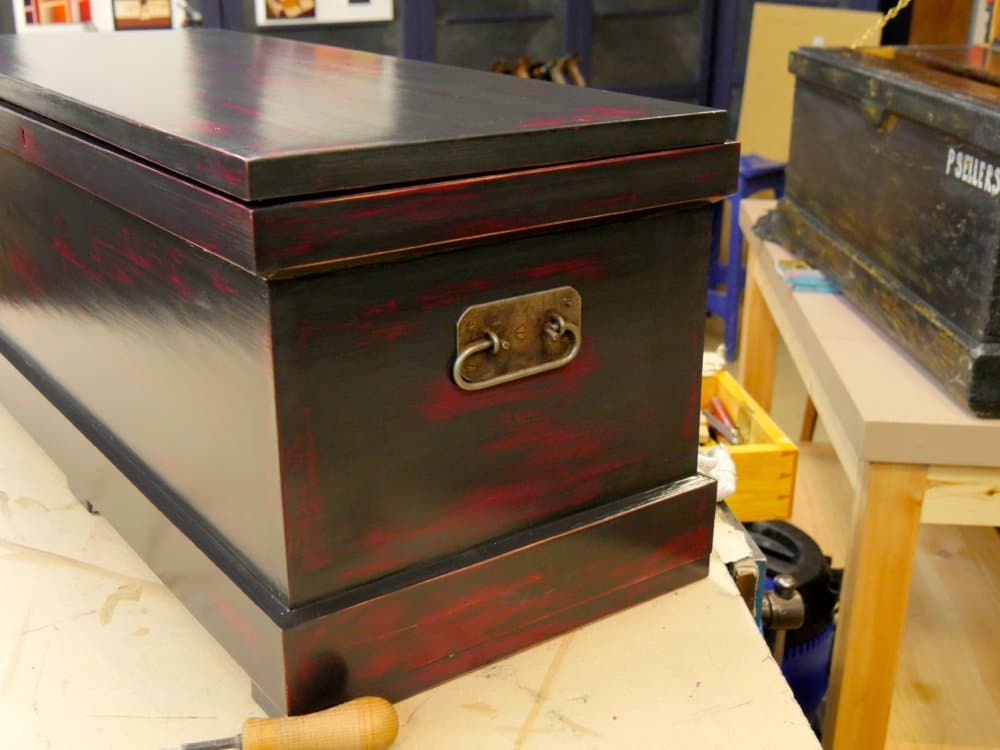
We finally coated the toolbox with its final coat of wood finish in paint and clear coat as a top coat and the end result really pleased me. We got the last coats on to film yesterday too. Its now a video in progress and the dynamic of painting is explained thoroughly using chalk paint and a water-based top coat or three. It’s an amazing finish really and I love the way these new finishes are working out these days in that they give variety of options we never used to have and clean up under a water tap simplifies everything all the more. I like the fact that you can create your own stains, mix other colours in a second and you effectively deny the solvents access to the drains and waterways of the world. This water-based topcoat is the best, and I mean the very best I’ve used too. It feels like shellac when done, soft and smooth, but the application is very different. It’s extremely durable, even for floors, and promises a long life too. I have one more step to go, a trial, a test to complete if you will.
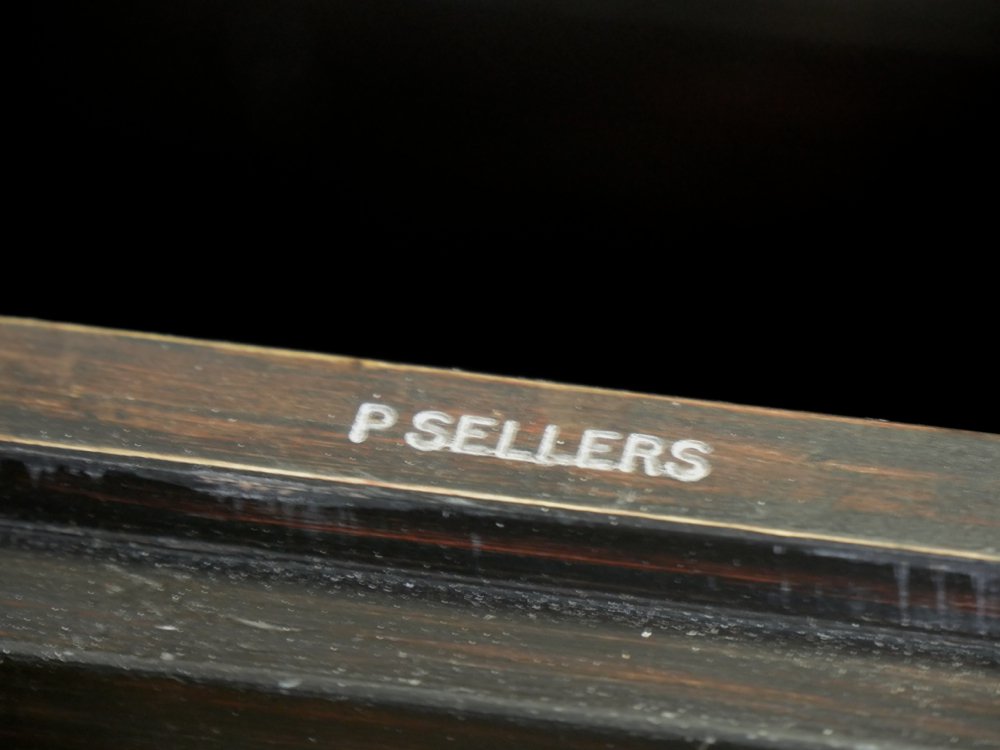
Overall I am pleased with the way the building of the toolbox has gone so I stamped my name on it with my new name stamp from Ray Iles. I know those following the build on woodworking masterclasses are enjoying it too and I’ve seen some great results from those who made it following my blog from a few months ago.
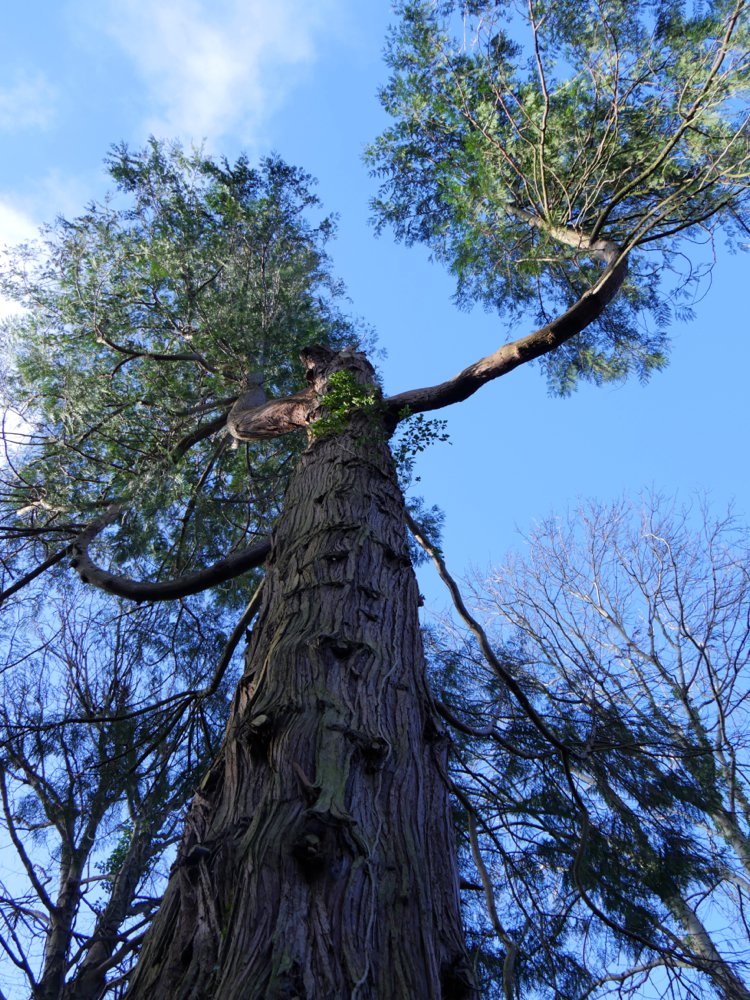
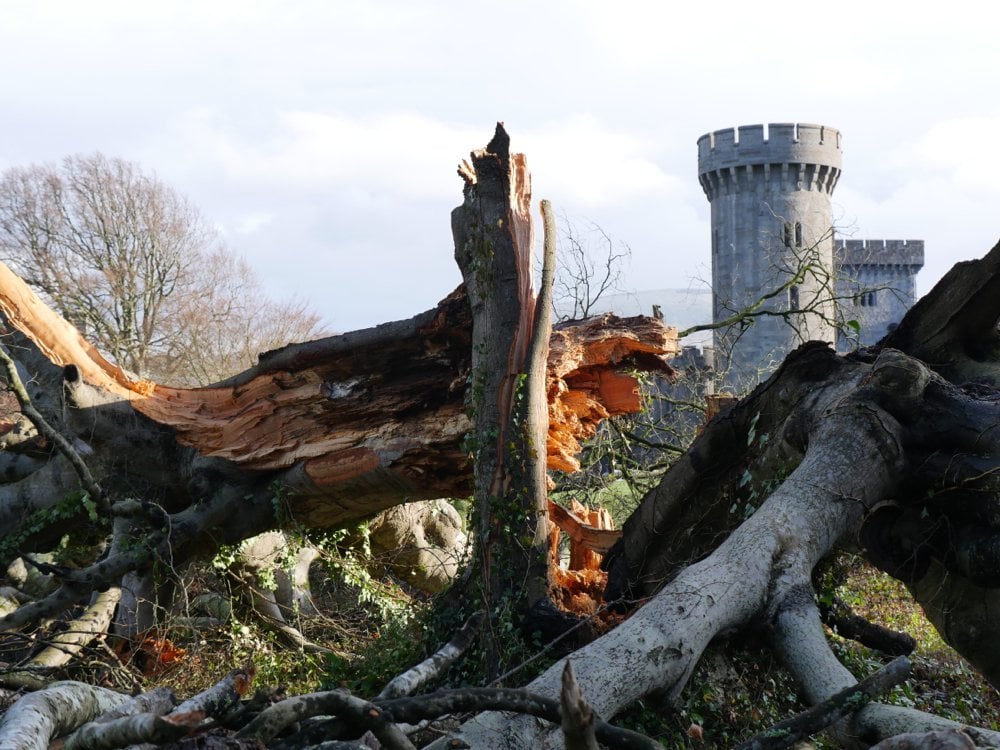
I took my evening walk through winter-bare woods this evening; it’s good to close out a week on unsteady feet scrambling that way.Sanity of sod under my feet and snowdrops hanging like bright, wintery-white luminescent lights builds and my mood changes to take a little rest. A few minutes looking at my wood in the raw, first in the sky and then to the ground below, reminds me how important my Source is. Here’s a giant minus a limb and so too a downed beech cleaved through the middle to reveal the true causes of demise inside. Somehow I like the natural culling cleaved-through its 4-foot mass resting on rottenness now lying amidst more lost limbs. New growth will soon arrive to replace them and the perpetuity of wood and the life-breathing tree continues to clean our air and provide for our future.
13 Comments
Hello Paul,
Lovely pictures, I’ve started to pick up logs for spoon carving. Whilst out and about I have managed to pick up some Ash, Field Maple and Robinia…Robinia has a lovely colour to it.
I was thinking of starting to mill my own timber and just wondered if you would be able to shed some light on the subject. What kind of kit would you recommend and what steps would you take to fell a tree and convert the trunk/log into planks to be air dried. Have you converted a trunk by hand before?
All the best,
Mark.
Splitting and riving is practical. You basically decide what lengths of wood you will be working with and add a few inches. Cross cut the stem or limbs to length plus the inches and then split the log in two with steel wedges and a sledge so that the log splits along its length and falls into two halves. Then you split the halves into quarters and the quarters into eighths and then seal the ends with latex paint for drying or use straight away say for spoons and bowls, bag up over night and dry slowly and work over a period until dry.
Thanks again Paul.
Hi Paul. I really enjoy reading your musings and reflections upon your apprentice days. Please keep it up!
LB
Hi Paul. I agree with woddawg. Don’t apologise for your ‘ramblings’ about your experiences of days gone by- they’re really fascinating! More please!
John
Hi Paul, Such a beautiful place to walk! I’m anxious to see the techniques involved in using the chalk paint; just a beautiful finish. I’m still just using shellac for most of my projects. I took delivery this week of a Hake brush and can see why you are so fond of them for shellac.
The whole water-based paints system is so much easier to work with. No more horrible solvents which, these days, are so difficult to dispose of – and they dry so quickly.
I’d love to see your recommendations for makes of water-based varnishes and gloss paints if you know of any good ones.
Paul I have not heard of Chalk Paint before and curious if it is a vailable in the States. I plan on using Milk Paint and then put a coating or two of clear shellac on my box.
Gary where did you find the Hack Brush ? I have been looking but have not found any yet.
Steve
It is. It looks and feels very like milk paint but comes ready mixed. Annie Sloan is one I recommend. It’s thick and can be thinned which makes it good value for money. I think Annie Sloan has hundreds of US outlets so here’s the link to get you started.
Steve, I found a Hake Brush in the Art Section at Hobby Lobby. It was very reasonably priced, plus, you can print or bring up on your smart phone a 40% off coupon, which makes the price even better.
Hello Paul – this post made my heart smile. I have been blessed to have walked the grounds you walked and photographed. Many thanks for sharing…..
I like it fine when you ramble, keep up the good work.
Paul I too love walking in the woods and looking at nature’s wonders. You have a way with works so keep it up.
Kirk
Comments are closed.
Privacy Notice
You must enter certain information to submit the form on this page. We take the handling of personal information seriously and appreciate your trust in us. Our Privacy Policy sets out important information about us and how we use and protect your personal data and it also explains your legal rights in respect of it. Please click here to read it before you provide any information on this form.
Want a roundup of Paul’s latest posts each week? We’ve got you covered.


Hello Paul,
Lovely pictures, I’ve started to pick up logs for spoon carving. Whilst out and about I have managed to pick up some Ash, Field Maple and Robinia…Robinia has a lovely colour to it.
I was thinking of starting to mill my own timber and just wondered if you would be able to shed some light on the subject. What kind of kit would you recommend and what steps would you take to fell a tree and convert the trunk/log into planks to be air dried. Have you converted a trunk by hand before?
All the best,
Mark.
Splitting and riving is practical. You basically decide what lengths of wood you will be working with and add a few inches. Cross cut the stem or limbs to length plus the inches and then split the log in two with steel wedges and a sledge so that the log splits along its length and falls into two halves. Then you split the halves into quarters and the quarters into eighths and then seal the ends with latex paint for drying or use straight away say for spoons and bowls, bag up over night and dry slowly and work over a period until dry.
Thanks again Paul.
Hi Paul. I really enjoy reading your musings and reflections upon your apprentice days. Please keep it up!
LB
Hi Paul. I agree with woddawg. Don’t apologise for your ‘ramblings’ about your experiences of days gone by- they’re really fascinating! More please!
John
Hi Paul, Such a beautiful place to walk! I’m anxious to see the techniques involved in using the chalk paint; just a beautiful finish. I’m still just using shellac for most of my projects. I took delivery this week of a Hake brush and can see why you are so fond of them for shellac.
The whole water-based paints system is so much easier to work with. No more horrible solvents which, these days, are so difficult to dispose of – and they dry so quickly.
I’d love to see your recommendations for makes of water-based varnishes and gloss paints if you know of any good ones.
Paul I have not heard of Chalk Paint before and curious if it is a vailable in the States. I plan on using Milk Paint and then put a coating or two of clear shellac on my box.
Gary where did you find the Hack Brush ? I have been looking but have not found any yet.
Steve
It is. It looks and feels very like milk paint but comes ready mixed. Annie Sloan is one I recommend. It’s thick and can be thinned which makes it good value for money. I think Annie Sloan has hundreds of US outlets so here’s the link to get you started.
Steve, I found a Hake Brush in the Art Section at Hobby Lobby. It was very reasonably priced, plus, you can print or bring up on your smart phone a 40% off coupon, which makes the price even better.
Hello Paul – this post made my heart smile. I have been blessed to have walked the grounds you walked and photographed. Many thanks for sharing…..
I like it fine when you ramble, keep up the good work.
Paul I too love walking in the woods and looking at nature’s wonders. You have a way with works so keep it up.
Kirk