So, On Making Tools
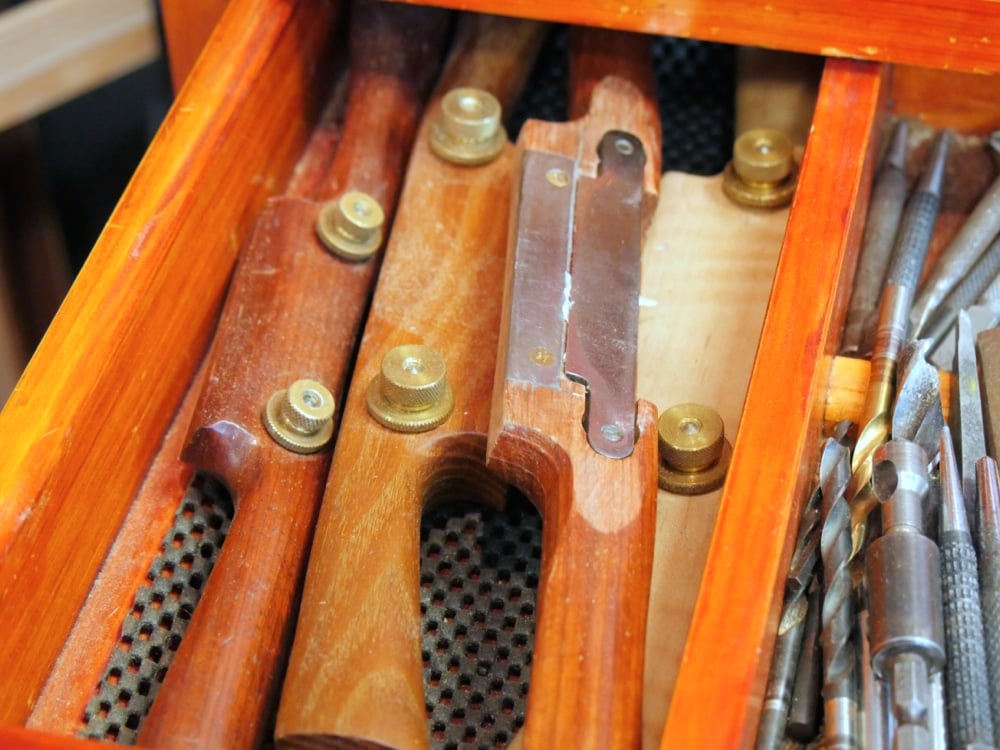
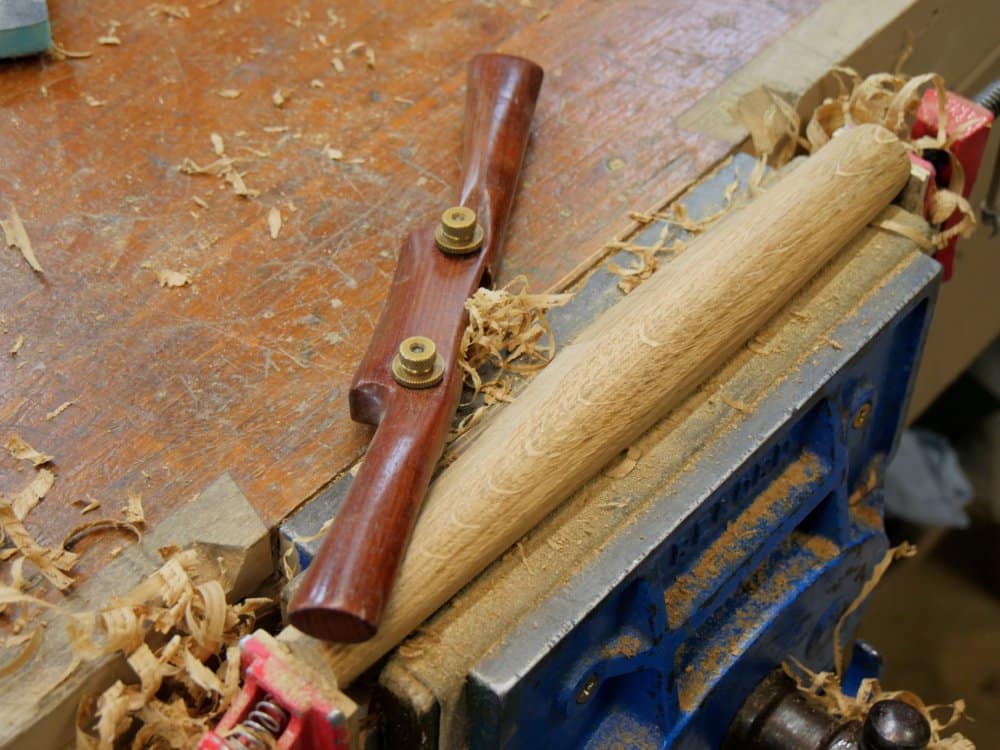
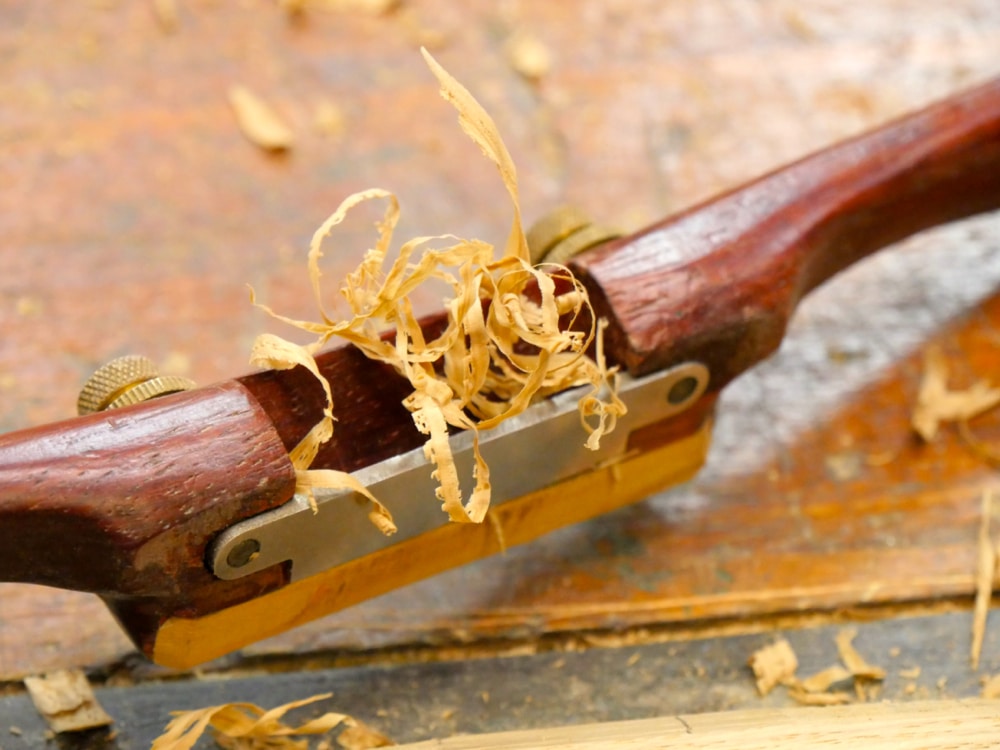
There’s something about making your own tools, even when you buy the parts from say Lee Valley Veritas or some other resource provider because you’re a woodworker and not a metal worker—not quite yet! Knives and mallets, peeled from a chunk of wood become really special to you. It’s far from second rate to be making your own tools. Few things give greater reward and those with wooden parts take care of the parts we don’t have casting facilitates to make. Also, wood on wood is especially good. Don’t forget that and it’s not an old fashioned nostalgic idea either. Believe me.

When I was almost 16 I made my first moulding plane. A simple enough project now but back then I was uncertain if I could do it. The need was simple enough. When a window frame is made from wood alone we must use drip grooves on certain parts of the sashes and also in the inner corners of the frame itself, to break any possibility of capillary attraction between all parallel or touching surfaces. Simple! It was this measure that prevented the transfer of unwanted water from the outside weather to the inside surfaces of the frame. Remember that these were the pre spongy, squashy rubber days for window and door seals and it worked fine. What I didn’t have was a a plane to make the channels when channels were missed by the machinist or a frame or sash needed hand work because it wasn’t a large enough run to set up for machining.


Buying your tools is not always the best beginning as this story from my past is intended to illustrate. It’s the same with buying new tools because they work straight out of the box. Now then, my reason for saying this is because postponing the learning curve is just putting off you must master as soon as you can. Buy a new and working plane or spokeshave or whatever to get you going. It’s a good plan, but then buy secondhand ones and watch your growth take on wings or even rocket fuel. Its the fastest way to really grow.


All mine are used spokeshaves Record versions all well worn and a beech wooded version that is more challenging to adjust. I am looking to pick up the Ron Hock kit now that you have shown the benefits and the effort involved does not look that much for what you get.
Paul, thanks for this. I don’t yet have a spokeshave (nor a plough plane etc, etc). I looked at the Veritas kit and it’s quite a bit cheaper than buying a spokeshave ready made. You do have to provide your own wood blank and shape it to suit. Is such a task within the bounds of a relative beginner using just chisels, rasp and file?
For us beginners, the tool making videos are equally or sometimes more important at this stage than the project videos.
Thanks again,
Andrew
Yes, I would say so. LV Veritas technical writers are the best instructional writers who take you step by step through the process. Full instructions and drawings come with the kit.
Your videos on making or rehabbing tools are among my favourites. There is something about using a tool that you’ve made, or you’ve honed and made your own, that just can’t be beat. Your first set of not quite right tools become like your first car, not perfect, but with personality, something you understand and can relate to.
Love this story.
Paul, I had tried to make my own spokeshave with VT kit, it was a about 5 years ago. I failed to drill holes to hold blade at correct position. It resulted in further distance than the dimension between bolts on the blade. I have tried to repair once and failed again. I have kept it as unfinished one.
Is there a way to drill at the right points?
Yes there is. If you screw in the posts so that the conical points just protrude past the face, then you can align blade, press it onto the wood and you have the exact positions. Be encouraged – don’t give up.
Recently I went back to New Zealand to visit my family. While I was there I did a small job or two in every house I stayed at. At my Dad’s I cleaned up a rusty disposable hand saw, fixed a bent punch with a file and proceeded to cut strips of timber and shape them to block off gaps in a veranda roof where birds were getting in. At my Mums I pulled down an old strip of fencing that was in the way and sharpened her ax removing nicks so she could split firewood. At my sisters I got a Stanley No.4 iron flattened and sharp using Paul’s method on an oil stone I found lying about. What a wonderful holiday I had and it’s all thanks to you guys for sharing you knowledge!
Well, that’s my kind of holiday, Mike.
Paul,
Is there any substantial difference in the making of the rebate plane video skills and the hollow plane you mention above?
Thanks,
Dave
The hollow I needed was made in the conventional way where the blade slides into the angled bed from the throat and the wedge is enclosed all four sides, so it is different and especially as I used only chisels and not floats.
Is there by any chance some good literature or instructional video on the making of these planes? I guess the body work isn’t all that complicated, a bit like the making of a rebate plane. What confuses me is where to start as for the moldings themselves. Where to start? It seems like every respectable woodworker owns about two dozens of these convenient tools, and for the purpose they serve it makes alot of sense. Should I aim for such a high number? I have read somewhere that one or two sets of hollow and round moulding planes was a good place to start, but again, which size? And to shape these mouldings onto the plane, should I use chisels, gauges, mother planes, plough planes rebate planes, files… oh dear, I’m lost in there… I don’t mind the work though… I have a piece of O1 flat stock just waiting to be cut, ground and tempered, and I have two long boards of strait grained beech wood that I’ve retrieved from a dump. I just don’t know which planes to make!
I don’t think many people are interested in moulding planes too much these days. I own them and use them but they are so readily available here in the UK via ebay it’s hardly worth the effort. It’s becoming less and less that moulds are used too. People lean toward more modern lines. I disagree that H&Rs are a good place to start. These are very limited in what they can produce. We used them mostly to replicate short runs of moulding for say a missing stretch of skirting board or architrave. I love having my collection and still buy them when I find one that looks in good condition but of the hundreds I own I use them very minimally. If you have an interest in making some then that’s what I would do and just enjoy the process. I made my first one when I was sixteen or so.