On the keep-it-simple theme
Had I at fifteen been told to make my workbench I know it would have been intensely gratifying. I know too that I could have done it. But waiting a few years and allowing the process of work to change me did something to me. I matured, grew in knowledge and strength. The men had stopped their mocking and jealousies ceased. Today I see how that learning phase equipped me and stood me in better stead. I picked out my wood differently and knew what to look for on my own. My hands and arms were calloused and harder and the tools obeyed each stroke and demand. Building a workbench like mine is simple enough and yet it’s far from simplistic or over simplified. I have made it in different forms but always followed the same basic patterns because others seemed to counter my quest for simplicity.
I’m glad we filmed the one I made for YouTube in the back garden a few short summers back. It was so real working from two saw horses that way and now we’ve had millions of views as a result of it. Emails each week tell me that my bench now stands on every continent around the world and hundreds if not thousands have been made by men and women and even young children. That’s what makes much of my work simpler without being simplistic and it’s what the real woodworking campaign was all about a few years back. You know what? It’s worked.
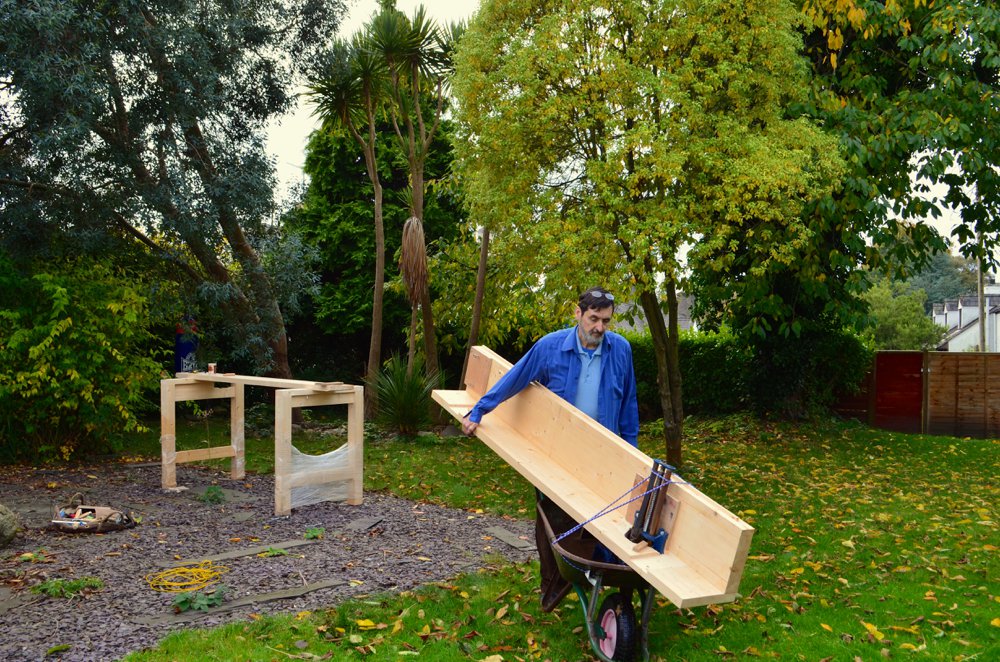
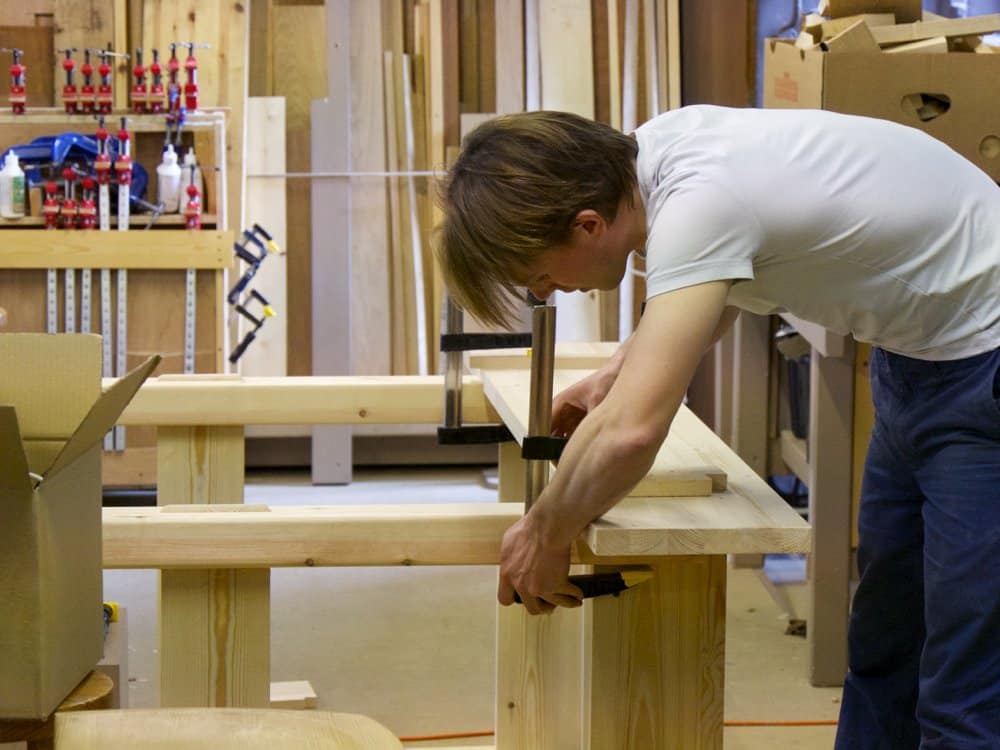
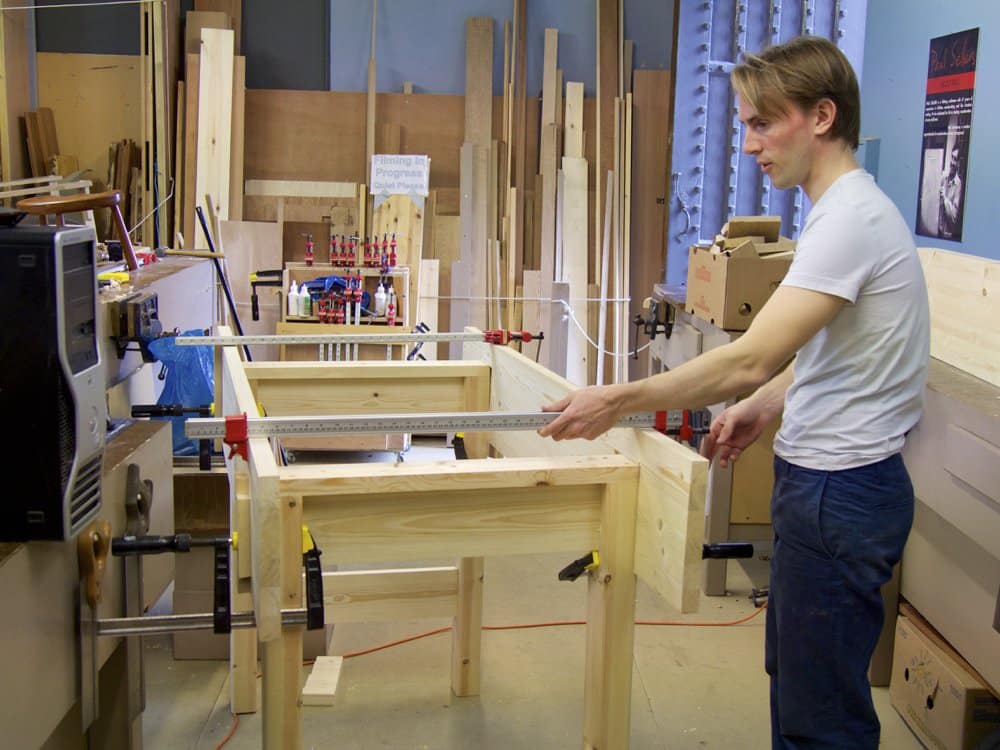
Watching Sam make his bench at the bench as it were has been fun for me. Perhaps he too was supposed to wait a few years too but I think not. In a few years he may want to make another, better, more sophisticated one, but this period of mentoring is about him learning through each project to skill-build rapidly in a way no other enterprise or education system offers. I work at my bench, take pics as he works and get on with my work. The shame is I could take ten people like Sam and watch them from my bench in the same way. It’s an easy enough task for me to do that. I’ve done it on and off for decades.
Here’s what I want to say. Building a workbench is a rite of passage for every woodworker. The YouTube series worked to that end. It has of course been free and it was a strategic quest to expand woodworking knowledge to a massive audience. All our techniques and methods of work videos are free on both YouTube and woodworkingmasterclasses.com too. What we’ve developed was advantaged by the digital age and yet was not so much difficult but needed determination. The bench wasn’t complex, fancy, made from exotic hardwoods or anything like that, far from it, but it really is a well-proven design. For me, workbenches need to be dead real. As Sam shapes the parts and fits them, planes, them hand routs them and cuts wedges and stuff like that I have a sense of something happening in the spirit as it were.
Take a piece of iron and tumble it between the anvil and the hammer face to make a simple square nail can be a reward in itself. Leather worked with an awl, some waxed thread and a skiving head has the same effect, but when you make a tool or a bench and you see the square nail becomes a square awl and the leather a bit roll for you augers, something shifts. Clay on the wheel remains clay until it’s fired. Glaze it and it changes all the more. Vitrified, it now holds the content of all that’s poured into it. A rite of passage challenges you and that’s what an apprenticeship should do. Something that transforms a being from one thing into another. The bench is a small portion of it. My apprenticing people is radically different. It’s high-demand in a different way. When a man or a woman chooses this path I give them all I can for a year or so. This parallels five years in a commercial setting. They become changed in tangible ways. This then becomes the foundational stone of their future. Everyone needs a foundation on which to build. Not any foundation, but a solid and sure one. Otherwise what you build often crumples under the subsequent stresses and strains that always accompany growth of an artisan working for lifestyle. You can’t get this in college or university because the dynamic is different, the rhythms are different and the goals are different. Living craftsmanship isn’t selling work for approval but resting in a secure knowledge that you are a craftsman whether you sell or not. Money never measures success in any real way. Contentment becomes a reality when your work is your calling. Discovering this is critical to wellbeing. You stop chasing pipe dreams and the illusions that brings. Work is a most honourable reality when you know its your calling and there is no substitute for it. You can’t buy it with weekends off, vacations rarely work that well or at least the way we think they should and though rest is important it’s more important to find the right rest which isn’t a concept but a reality. So relational work is not abstract but tangibly held and felt and sensed. You can own it in the sense of possessing it. That’s what you can’t get from watching or reading. This is what work is for me. I know, many might see me as privileged and indeed I feel that, it’s true, but it also means I had a vision for what work should be to me and my family and could also mean for everyone. I held on to it and still hold on to it. I worked for it, when I feel challenged about the future I go back to the foundation of calling I found and feel settled again. It’s not necessarily easy at all, but it’s contenting for me now. So I write not as a writer but as a furniture maker, unskilled in making films but as a furniture maker and I train not as a teacher but as a woodworking furniture making man. Now it’s my turn in my time of life to help others to work for it, find it and live it.
Paul, again you have written a wonderful paean to craftsmanship. I am going to build one of your workbenches here in Ohio one of these days. Thank you.
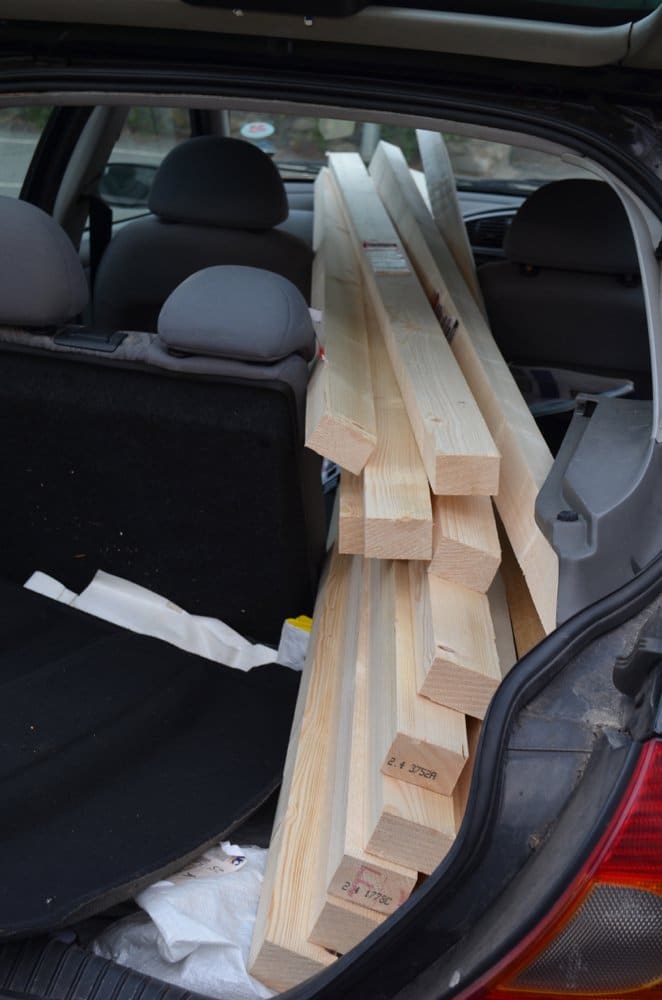
PS: Paul, I notice that your wood seems to have a very different ratio of width to depth, when looked at from the end, versus the nominal 2 x 4’s sold here in the States. I seem to remember you mentioning this in the your workbench video series. Here in Ohio the 2x4s are planed down to 1.5″ x 3.5″ (I’m not sure they were ever actually 2×4 even before planing). What actual dimensions do your 2x4s come in over there in jolly old England?
2×4’s are 4×2’s here. They measure 1 3/4″ by 3 3/4″ unless they are US std sizes at 1 1/2″ by 3 1/2″. There is no stick frame housing here, but there are stud walls that can be either 2×3’s or 2×4’s depending on specs.
Thank you. Now I am intrigued to know what house walls are made of over there, if not 4x2s or other “sticks” ?
No, I am not saying some internal, non-structural walls aren’t made with studs, many are. Also, interior walls are often breeze block (cinder block US) or Thermalite block.
Thank you. Almost everything in Ohio is made with 2×4 walls outside and inside. Almost never cinder block (too hard to insulate) except in commercial buildings.
That’s what thermalite brings to the insulation. Millions of holes of trapped air bubbles. And the inside walls are plastered with half inch of plaster on the blocks or bricks and then skimmed over the whole surface with a skimming plaster that is troweled out to a hard wearing long lasting finish glass like finish.
I have never seen nor heard of thermalite blocks until I just now googled them. Very interesting – we must be in the Dark Ages over here in terms of building technology! lol
Dear Mr Sellers.
After I made my woorkbench, last year (with recycled/reussed pine wood)- directly inspired by your videos – I was able to do several diferent projects even with out a vice.
Why? – Because of confidence, because I had a proper workbench and because that wookbench was what You just had wrote. A kind of passage ritual to me!
Thank YOU!
Thanks for the foundation Paul. The bench is great as well 🙂
Soul, is substance in the sense, which corresponds to the definitive nature of one’s being.
You are wood working, your efforts are helping many also be Wood Working.
After attending a few of Paul’s courses I made my own bench according to his design. I made it too low, and now have it chocked up. This isn’t ideal as it reduces its stability a bit. Ah well, a lesson learned! So I see myself making another in a few years time. A wonderful thing to make, thank you Paul.
Mick Alexander.
Lol, im actually building one right now. Really enjoyed it, should be finished tomorrow, weather permitting. Its only 5 foot but I think it’ll do me nicelly. Thank you very much for your videos an insperation .
What, no F-250 parked in every driveway on the Isle of Anglesey? I do appreciate your efforts to show how to accomplish various tasks with the minimal of effort. I nearly threw the remote at the TV set when Norm turned to his $15,000 sanding machine to level a surface.
Thank for your words, are an inspiration.
Regards.
Got your letter today and want to write back shortly. Thanx for writing.
Yep your bench videos really hit a chord. So many people mention building the Paul sellers wok bench on the forums I visit. Congratulations on doing such a great job. Just today I met some one on the train who I had not seen for years he mentioned he had just got interested in wood working. I showed him a jewelry box I had made for my daughter all using hand tools. I told him to check out this Paul Sellers bloke on the internet he taught me all I know!
Hello Paul,
First post here and I’d like to thank you for all the youtube clips you’ve posted up front.
I stumbled upon one of your clip some time ago which had me instantly hooked and been watching them on and off since.
I live on the other side of pond and like to tinker with wood as sort of relaxation after work. For this reason and a few others, I find the use of hand tool so refreshing and nostalgic at the same time. I also will have to confess that there are moments that I am not too certain if I am working with a hand plane to shape a piece of wood or just to make that thin shavings after shavings…
I am currently in the process of putting together a small work space on the corner of my garage and been watching and reading your posts and few others to build myself a solid woodworking bench I want.
I loved the way you put together one on the youtube and I think I will incorporate a lot of your design on mine – material and space permitting.
Though, probably because I don’t know any better, one question that’s been nagging in my mind is the use of skirt on your bench.
I find it to be a bit puzzling when I am trying to understand the use for it as you don’t seem to use bench dogs on them to handle long stock nor seeing them built with relatively thin (compare to it’s width, that is) glued up strips which I think might warp after time, it would make more sense to use a thick plywood if it was to be a reference face during an assembly. It seems a bit of an overkill to use it just to hang a few hand saws too…
I happened to get a hold of good length, 20″x5″ – what is called “Gluelam” here for a price cheaper than the Stanley knife you are using on the video. So I am going to use it as my bench top material and I am debating between Roubo type of side/legs or one with a skirt like the one you built.
Many thanks in advance,
Troy
My 2 cents worth: Troy, my workbench is built with a plywood top (16mm+16mm originally and recently thickened, +12mm +12mm, to better accomodate a 9″ vice & holdfasts, giving a total depth of more than 56mm or 2.2″ “in old money”). The skirts help give the bench excellent rigidity – they provide a degree of cross-bracing – compared to my old bench. However, my bench skirts are quite deep and prevent the use of many common inexpensive clamps, which is a source of frustration. It’s a good bench & cost me very little (with the 2 extra layers of plywood recently added, total cost is still under £50 + another £45 for a new 9″ vice) but there is no great woodworking in it, just screwed together. Were I to make it again, I would use proper woodworking joints – or try to!
Where I in your position, with the “Gluelam”, I would go for the Roubo. You pretty much have a Roubo bench top to start with – and that is perhaps “half the battle”. The woodworking will likely be challenging (unless you add width laminations to simplify the leg joints) but look on it as that: a worthy challenge. Cutting those leg joints would be an interesting – and the end result “a lifetime bench” to will be proud of (or that might haunt you if you do it badly :D). You will learn a lot. However, if time/energy/ambitions is short, whack some skirts, legs and a vice on and you are “off to the races”! 😀
Making your workbench made me so happy. I love everything about it – the anticipation, the build, my modifications, using it. I know that if I built a another today it would be quicker and I’d learn something new but it wouldn’t be any more solid.
Jack