Watching a man grow
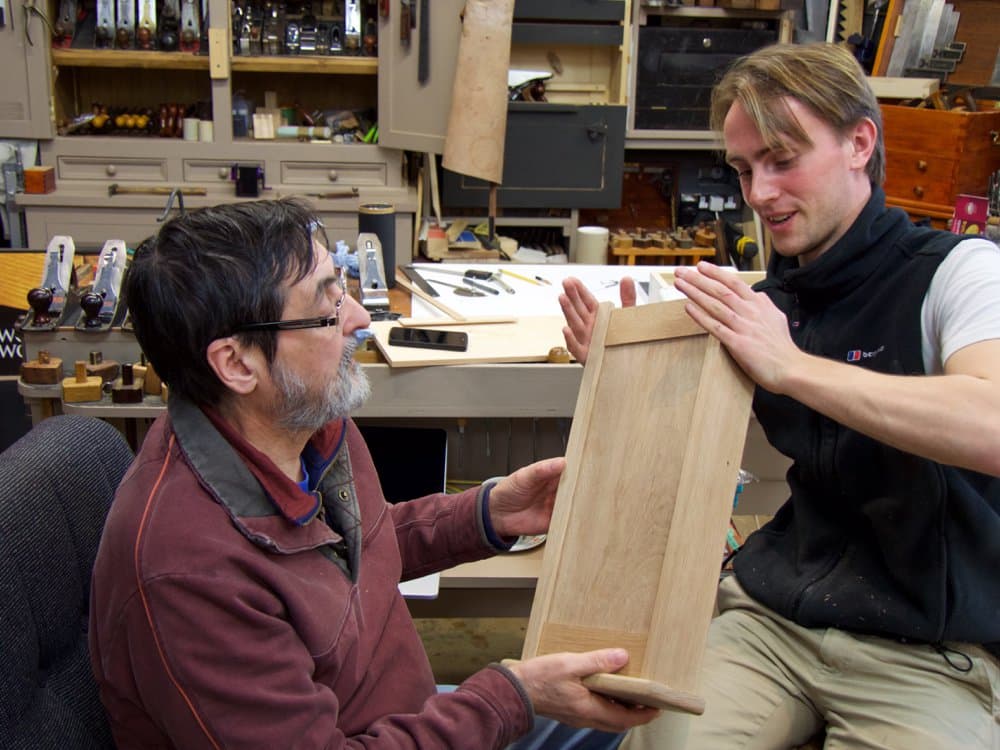
Sam came to us in February by way of the nine-day course you might remember and we became friends. I invited him back as a result of our getting to know one another and he will be with us for a year.
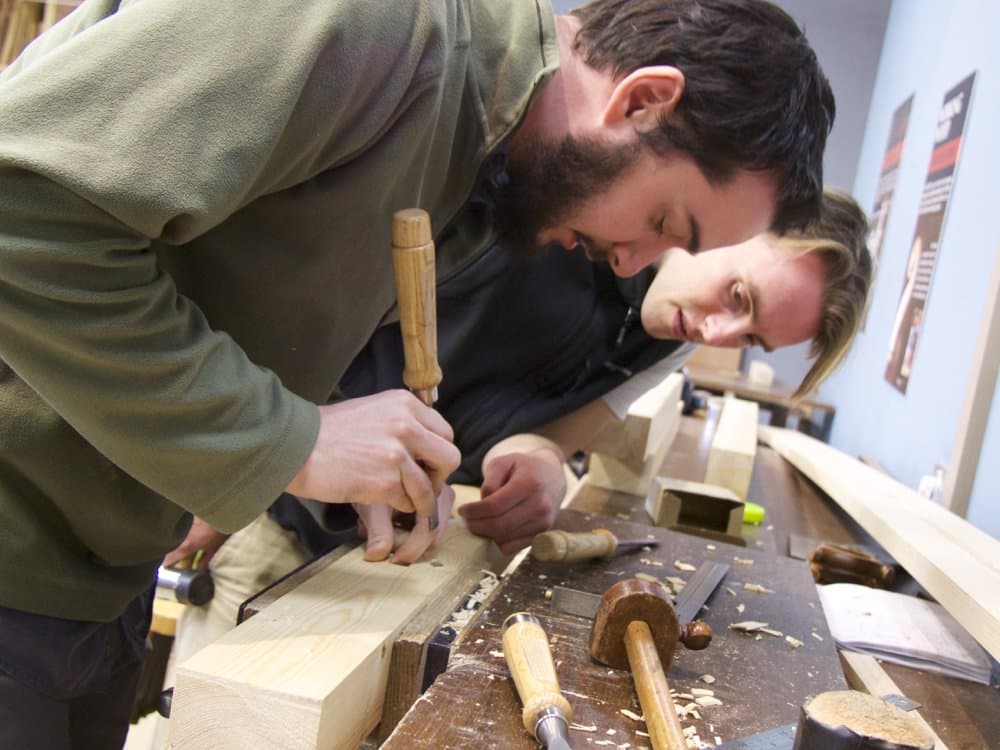
When you begin an apprentice you must release him or her from the normal parameters of industry and industrial processes to provide space and time for growth beyond economy. Speed and efficiency comes as a result of such freedoms. This is the life of the lifestyle woodworker emerging into his own lifestyle development and not the lackey of industry. 
this is a model of apprenticeship that I wish was available to all, not to use it as cheap labour for a couple of years then bring in the next batch of shelf stackers when they old ones need a 25 pence per hour rise because of their age, I think this country (UK) is doing a disservice to the meaning of apprenticeship,i hope sam realises how lucky he is (i’m sure he does every day)
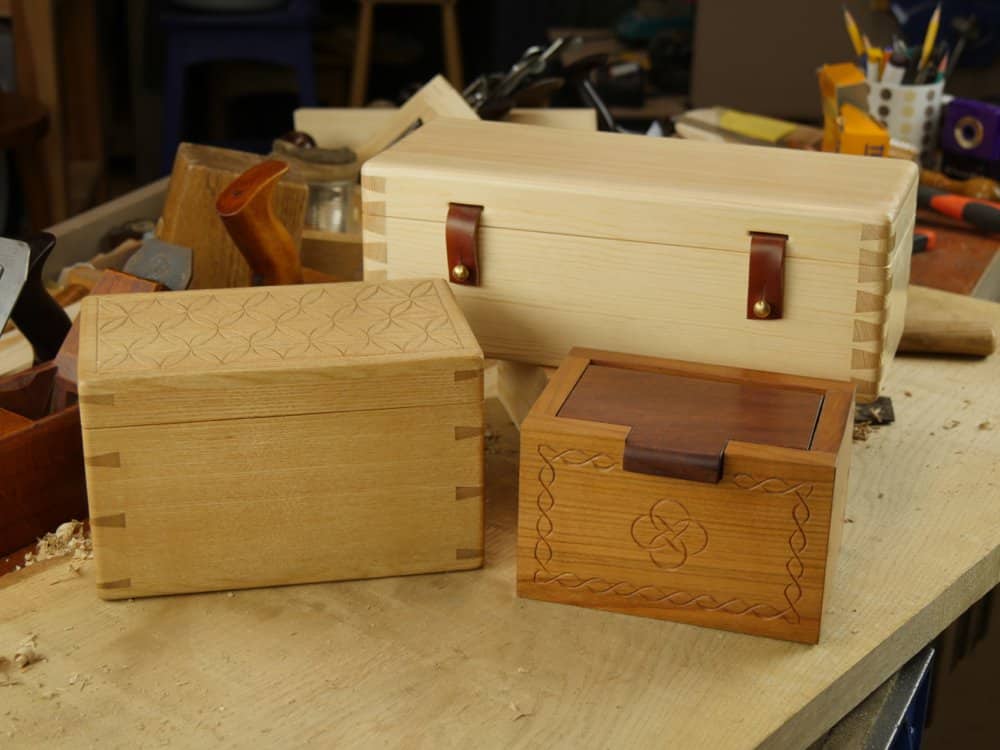
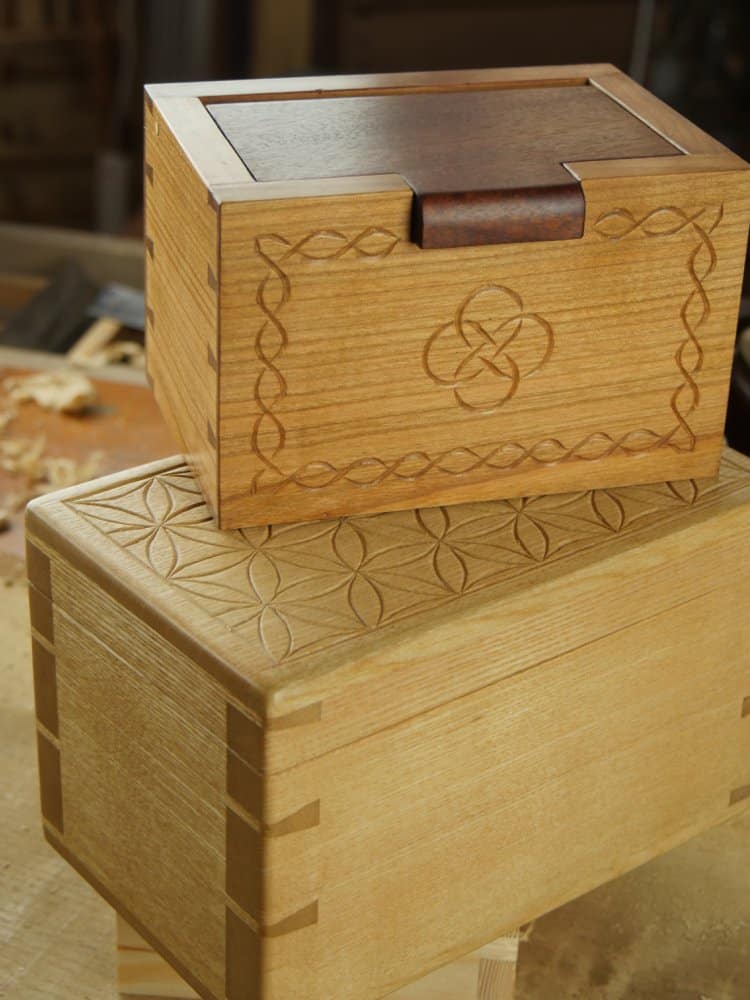
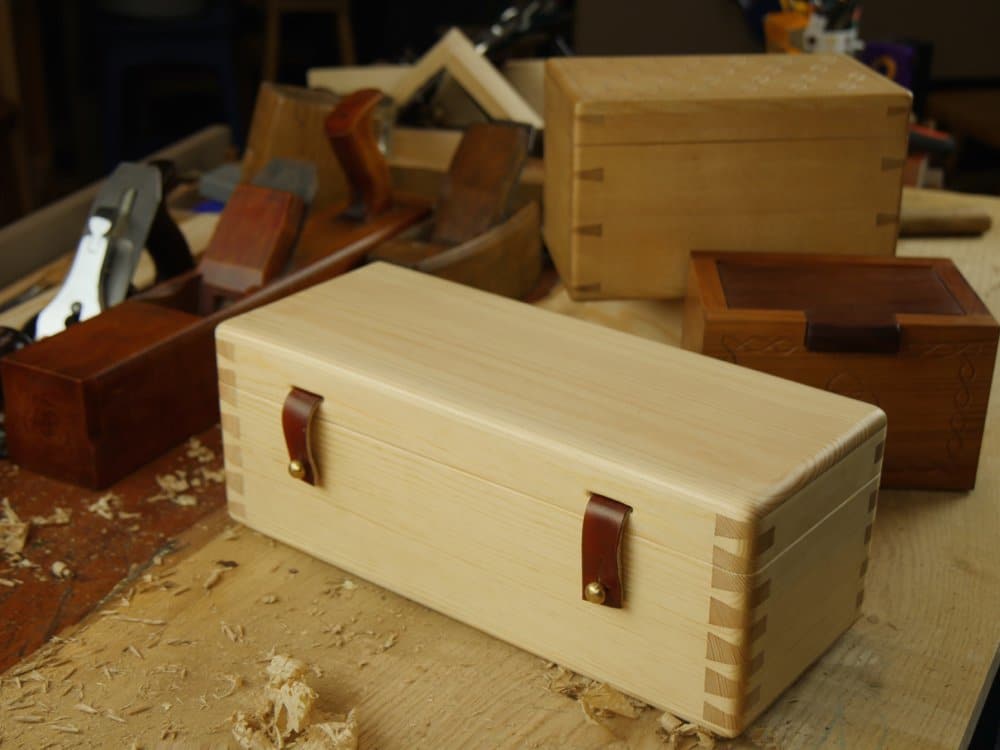
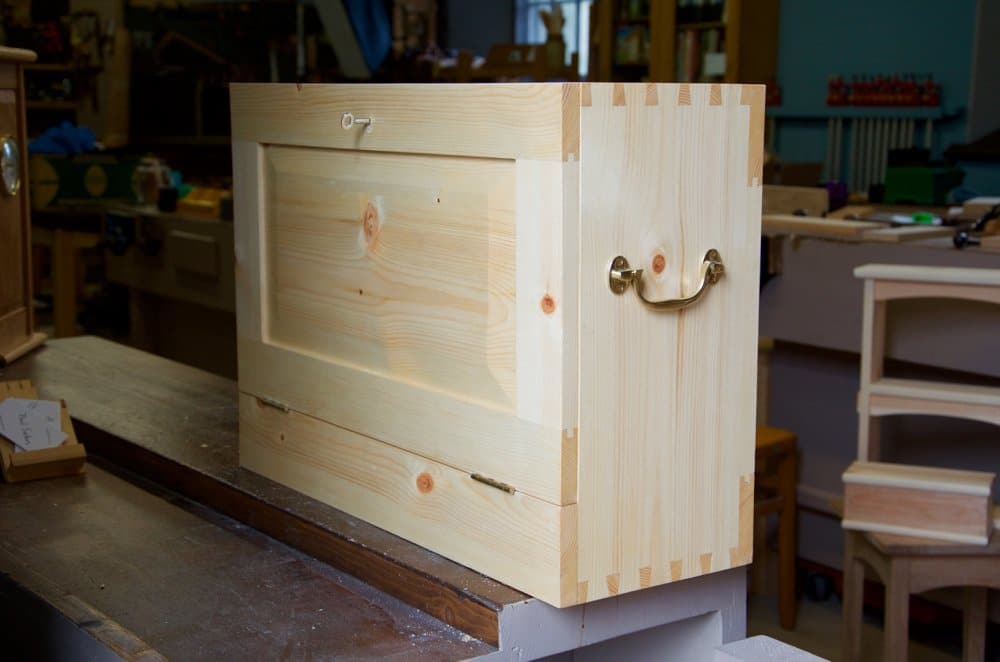
It’s amazing watching John and now Sam go through their apprenticeships. The quality of Sam’s work has blossomed in a few short months. The boxes are grand. He’ll do good things, I think.
I speak as an ex- teacher. I think that there is a good case for allowing students to leave school at 14/15 to start a proper apprenticeship. When I got a degree it was rare, now I am often served coffee or in shops by graduates. If I was starting now, I would not go the graduate route.
i was brought up in a village that still had a blacksmith and a carpenter. The later was virtually retired. i was offered the position of being apprenticed to the blacksmith. often wondered if I would have made that work.
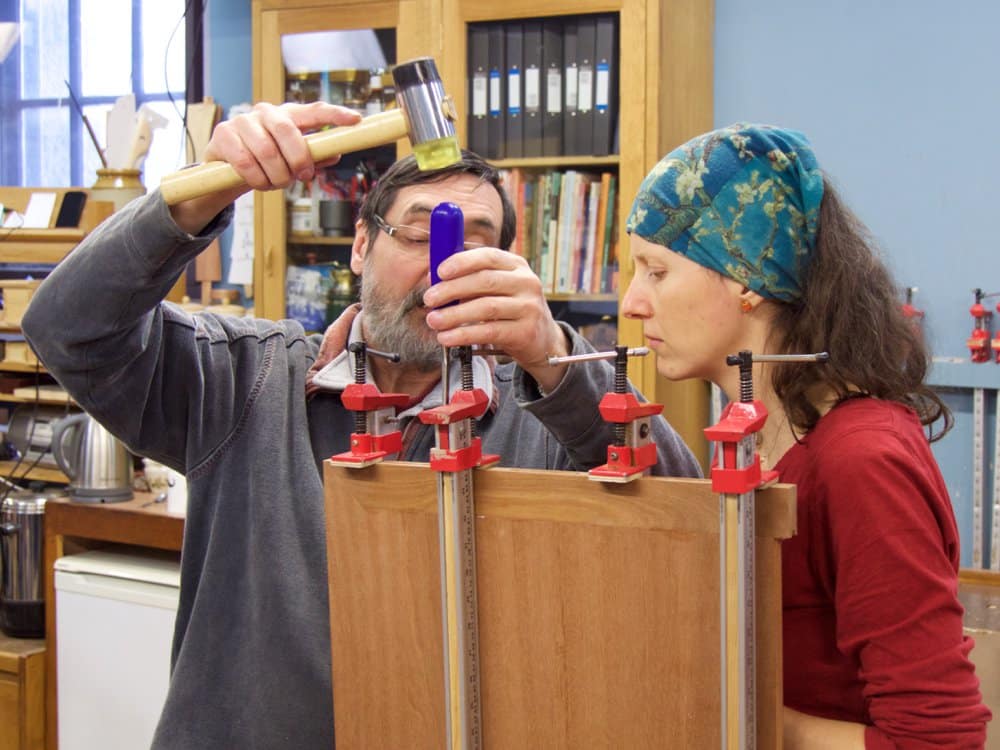
Seeing the sash cramps in the final picture links with what I have been doing. I am making a variant of your workbence design. I have started with the leg structures rather than laminating the top first. Up to now I have managed without sash cramps (only have a pair of cramp heads that fix to a drilled board). Thinking about how to avoid the expense, and having rejuected other options, I have made my own based on metre lengths of threaded rod, i have several. I cut some aluminium bar 3/8 by 1 1/2 ” into 5″ lengths. Then drilled close to each end. Attached a similar sized piece of wooden batten to the aluminium using double sided tape, then extended the holes through the batten as well. Then it is simply a matter of threading the rod through each end of 2 pieces of aluminium and adding a washer and nut to each end. Worked well when pinching up the leg structures. For the top laminations, I think that I will buy 2 24″ sash cramps. I think using these to hold the pack intitially will make life easier. I can’t claim that I invented this system. I saw something similar described in a magazine a long time ago. I think in that case woden blocks were used rather than the aluminium. This idea may help others out. As I had all of the parts, all it cost me was a bit of time to cut, file and drill the parts.
Really love and appreciate what you are doing Paul. thanks for sharing!
Thanks for taking the time to share too. i appreciate the feedback, Kieth.
What can I say, Paul. I wish that there were apprenticeships here in Austin, TX. I would be the first in line. I love watching your masterclasses on youtube as well as reading your blogs here on the site.
You are a true inspiration to me and if I become half the fine woodworker you are I would consider that a true blessing. Hopefully someday I’ll be able to pass on the love of fine woodworking to my 1 year old son. I wish that we’ll cross paths someday in the future.
Thanks again for everything you do, Paul!
Paul, I totally agree with all that has been said in the previous comments.
I wonder whether you could give an insight into a technique that I’m guessing was used by Sam in the making of the lovely boxes; this I think would help all woodworkers venturing into hand made boxes. Looking at the photos I’m guessing that a groove was run round the inside of the box to receive a base (and/or a top) rather than a ‘plant on’ base as per the Shaker dovetailed candle box that I made on your course. I guess that this was done using a plough plane. How do you do that when you have dovetails to cope with where you can’t run the plough plane the full length of the sides…..? Do you also need a plane with a fence that can be swopped from one side to the other to do the other end of each side? I have in the past used a table mounted electric router to cut the stopped groove and but now, having ‘seen the light’, I won’t use this router method. Could you help me and I’m sure thousands of others by explaining the method.
If you have covered this topic in your previous blogs my apologies, I haven’t found it yet.
Kind regards,
Chris Bailey
You will notice that the grooves he used are on the half lap dovetails only and not on through dovetails. You work within the half laps and have no problem as long as the groove is the same depth or less than the half lap dovetail because it is inside the dovetail and not visible from the outside.
Thank you Paul. There are always so many golden nuggets in your writings. Removing the economy for a period of apprenticeship — a beautiful investment in someone’s life.
I do hope you’ll come to Texas again sometime!
I may be there early in the new year.
Wonderful work Sam! Paul I really appreciate your personality and quiet nature, so many these days are so loud, obnoxious, and arrogant. Thank you for sharing your knowledge and thoughts.