Building a Tool Cabinet

Here is the introduction video to the new series on building this tool cabinet. The drawing is the outline but there are many hidden details too many to list that are designed specifically for training. Here is the brief intro:
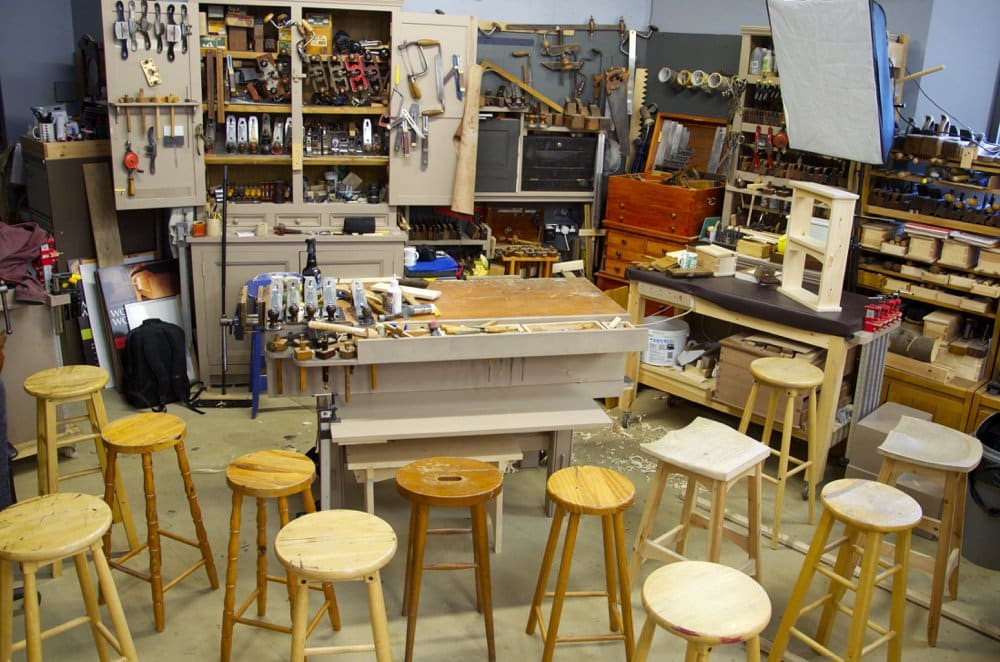
For years now people have asked me for a video series on building a version of my tool cabinet, the one behind me on woodworkingmasterclasses and of course the one you see in my blog the days when I write. I must say that the different places I keep my tools have become favourites to me and important to my sense of wellbeing. I am glad I built the boxes chests and cabinets and they are well used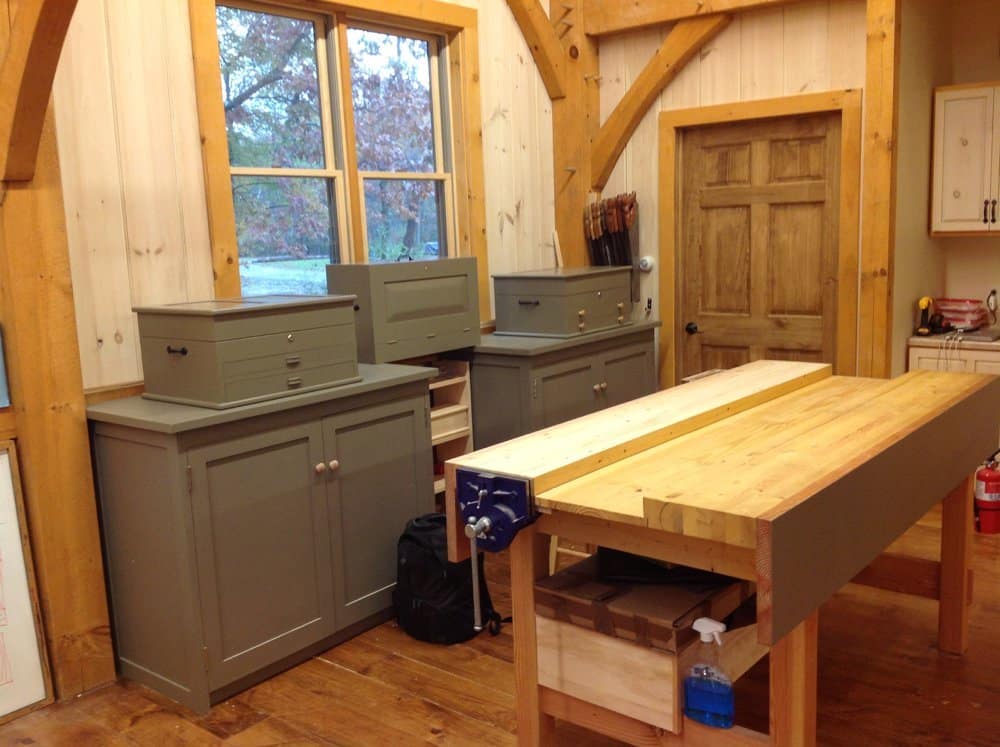
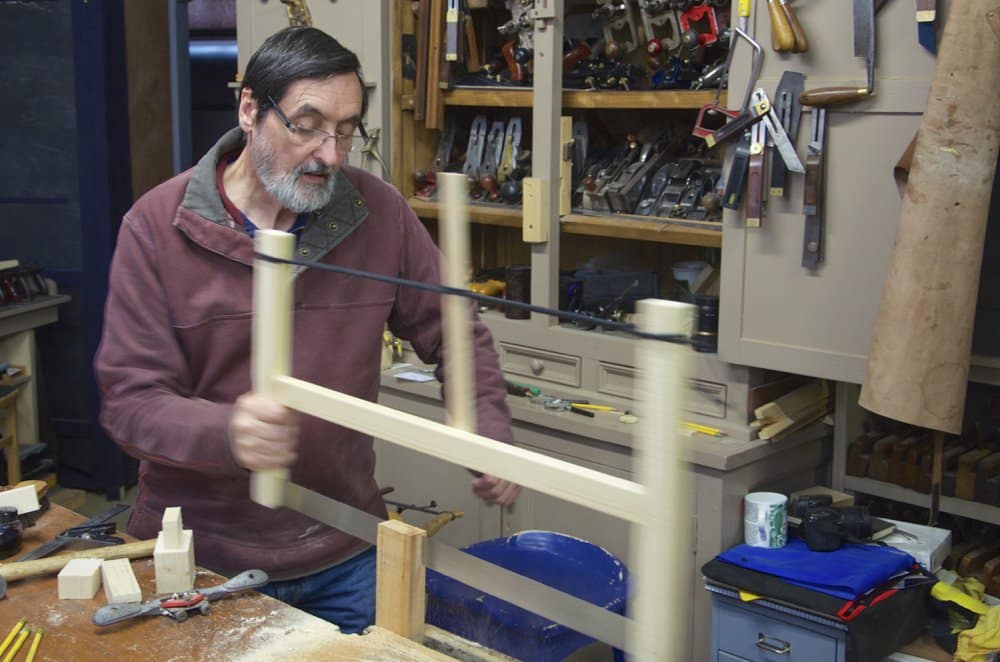
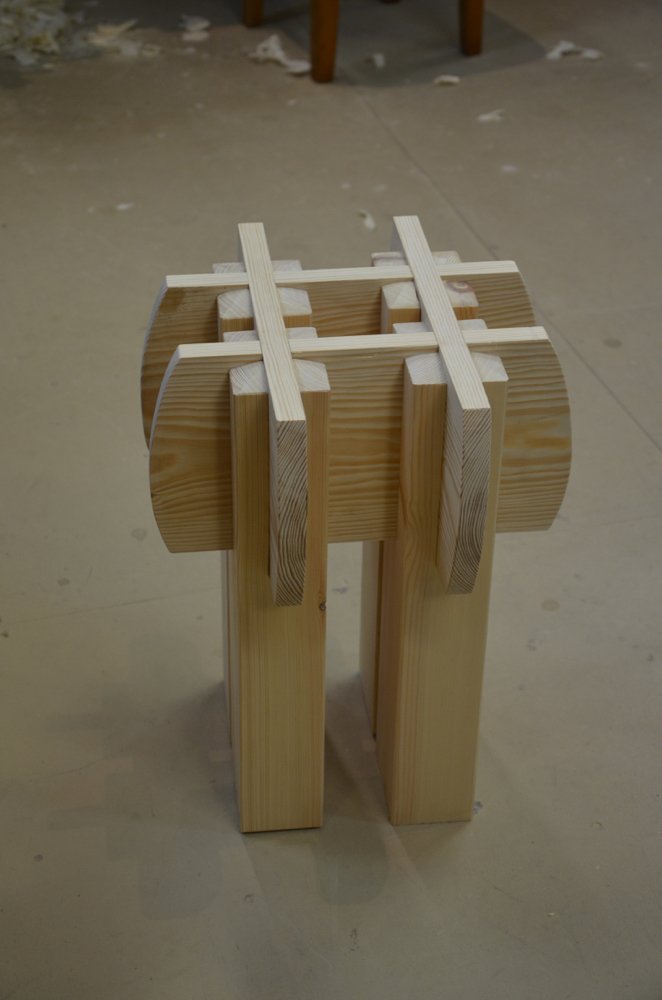
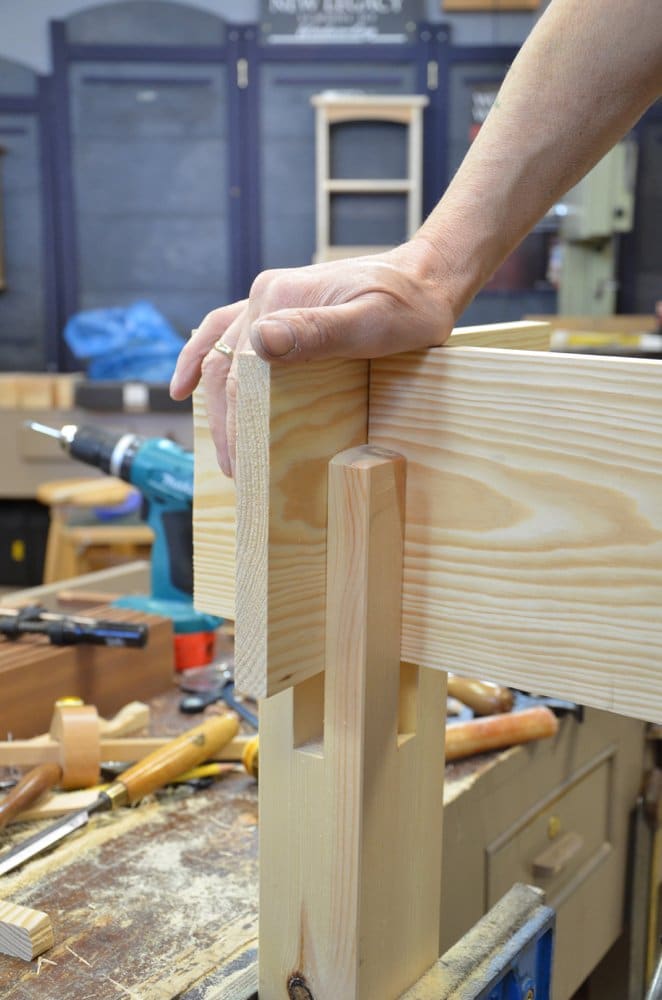

We just completed building a collapsable assembly table. Not perhaps what everyone wants but the methods we used are unusual and can be made into a collapsable picnic table for a deck or patio or a kingsize bed. The joint is an amazing simplicity.
The new series starts on Wednesday. We will get more detail through woodworkingmasterclasses.com so if you are a member you will automatically get the updates as we progress and of course that is where the cutting list will be for those of you planning on following the build and building your own. It is not up yet but finalised details are in process now.
Great project, looking forward to this one. Many thanks
Thanks
Similar to Japanese joinery, no screws, no nails.
The one I made 40 years ago is 60″oa width X 30″ oa height which is a problem now for me to incorporateda saw till in it, but hopefully I will get some good idea’s from yours to incoorperate in mine.
Steve
Hi Paul
The Tool Cabinet video series looks really interesting.
I understand I can take out a premium membership at £10 per month to be able to access the videos, but not quite sure how this works.
Could I just subscribe for one month and have access to the complete series.
Or would I have to subscribe for a number of months and if so how many.
Or will you make the videos available for a once of payment.
I accept that these videos cost a lot of money to produce and am happy to make my contribution to the cost (I don’t expect to get it for nothing) but just not sure how.
Thanks – Martin.
You can subscribe for a month and get started and then cancel and rejoin nearer to the end and watch the bCk issues you missed as well as any others that grab your interest.
Paul,
Thanks for the quick reply.
Did not appreciate I could cancel and re-join at will and still have access to back issues.
Thanks for a great hand woodworking resource, long may it continue.
What a wonderful project! Thank you, Mr. Sellers!
You may find that you don’t cancel it however, there’s a treasure trove of great stuff that I personally find myself going back to time and again.
I’m planning to build 2 beds for my sons (twins) using the same joinery. It’s amazing that my project is so similar to the photos.
Paul, thank you for everything. You are THE man. Hope to meet you one day to say thank you in person.
Hello Paul, This will be a great learning project for sure. Ive been practicing cutting dovetails for a little over a week now, Not on a project . I want to get them down pat before I start another project I cant finish. My problem has been joinery” Hand Cut” I can cut them all day long with Machines, Ive put them on hold for a while until I learn how to build without using them. Anyway my question is I started on pine and now Im using cherry scraps” not from my main stock”. But Im having a hard time . I cut the tails first and then the pins just so you know, but there coming out to tight every time. So , If I’m cutting the tails first and the cuts are not perfect off the line a little on the vertical side,how can I try to clean them up. Should I even try to clean up the tails or should I go ahead and lay out and cut the pins and then try paring the pins to make them fit.? Obviously ,the cherry is not as forgiving as the pine was.So my pins are not fitting. I dont know what I should do so I was hoping maybe you could shed some light on the subject for me. Thanks for everything. I would say Happy Thanksgiving but that’s not a holiday that you would celebrate over there, Is It? Cheers
Chris
Mr Sellers. I am trying to find the video on the tool cabinet but can’t seem to find it. Was it removed from youtube?
Regards, Jan Willem Kooi
No, it was never a youtube project but a woodworkingmasterclasses.com project.