The Garage Workshop Begins
I am ready to commission my new workbench and then too at the same time my new garage workshop. A garage without a bench is a lonely place and a bench without a garage is too exposed. Now the two together, that’s a perfect combination. Where to start?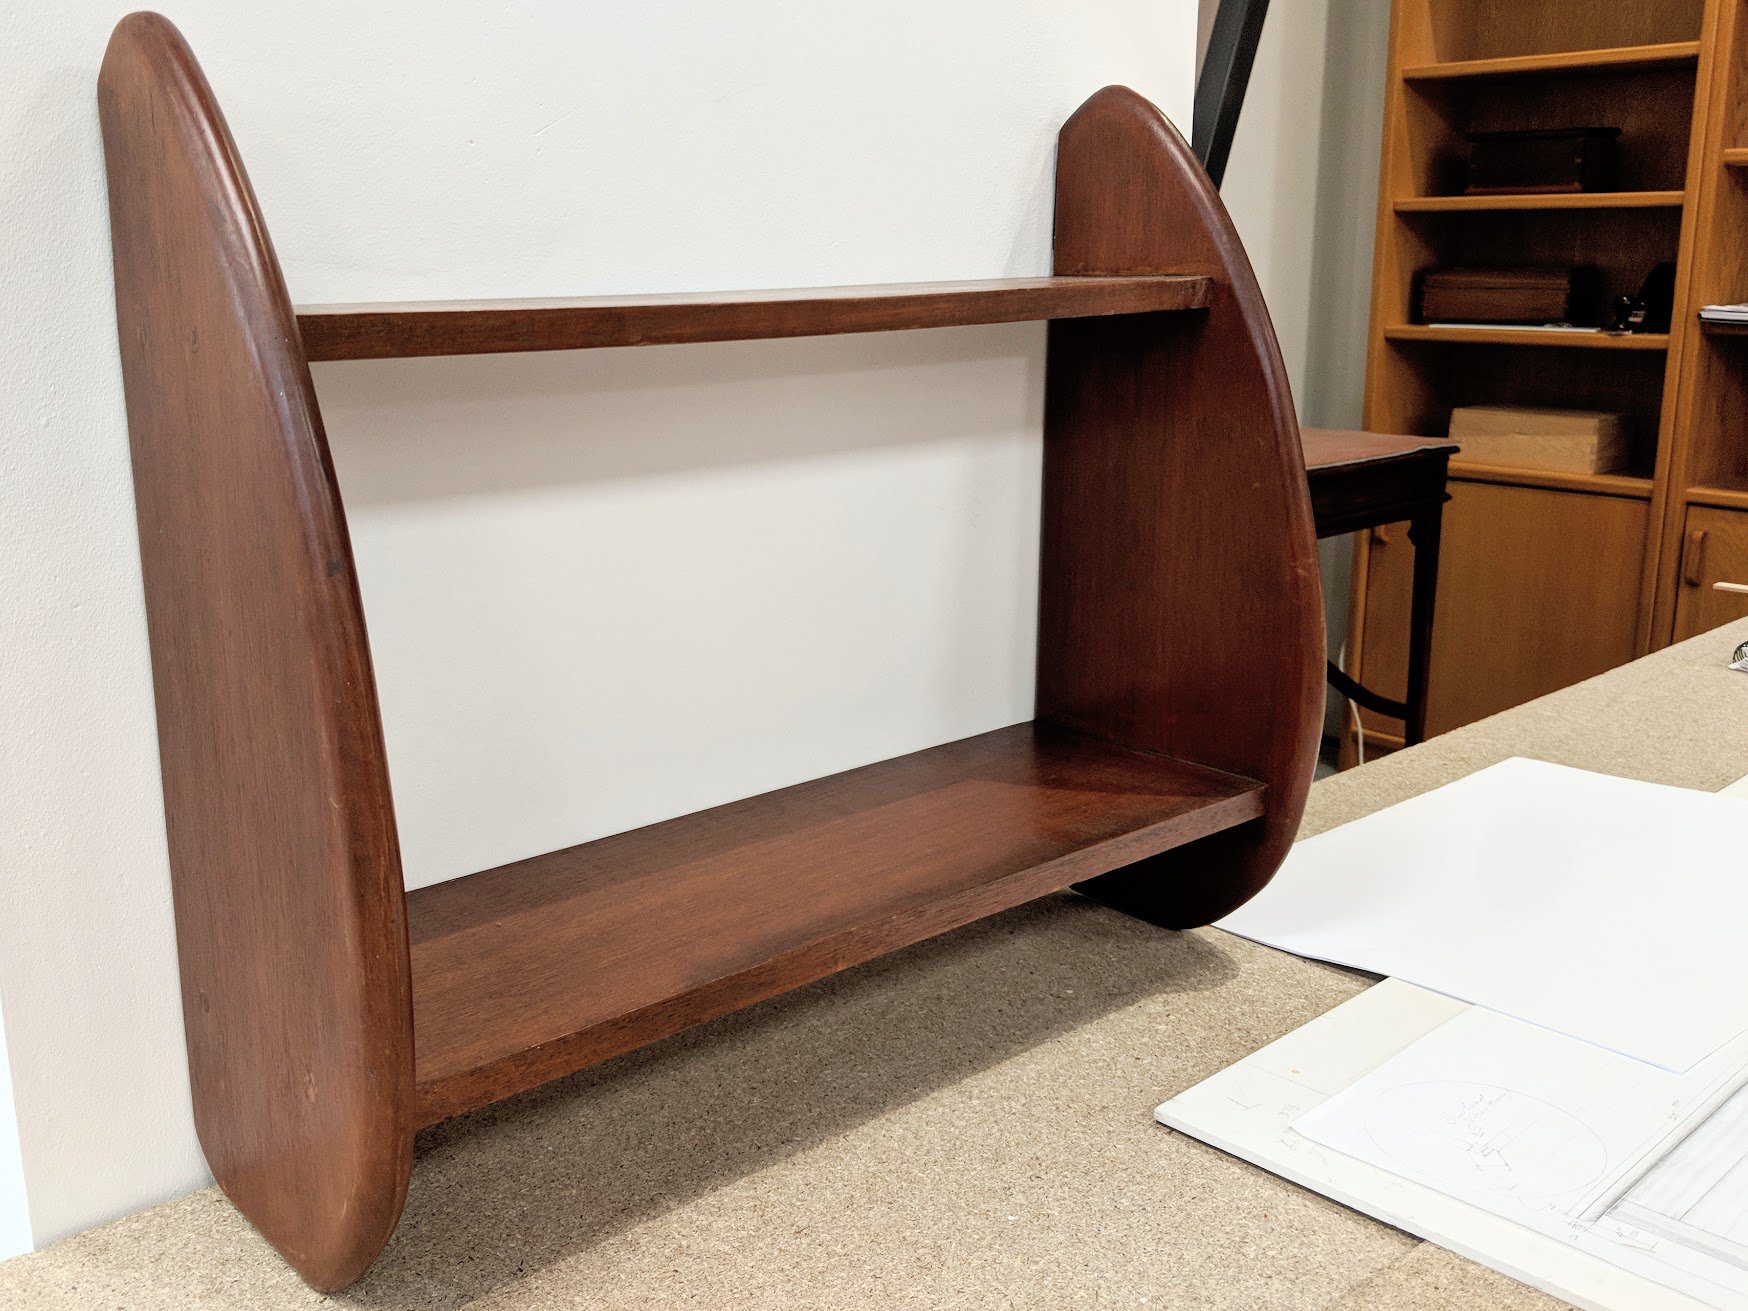
Well, I haven’t a lot of choice at the minute as I need to start the next project for filming. The design is one from the early 1960s and my reason for wanting to make it is it was a great introduction to woodworking and good for skill building. It’s a distinctive design that is not to complex but looks it. I was 13 when I made mine and when I gave it to my parents they just loved it.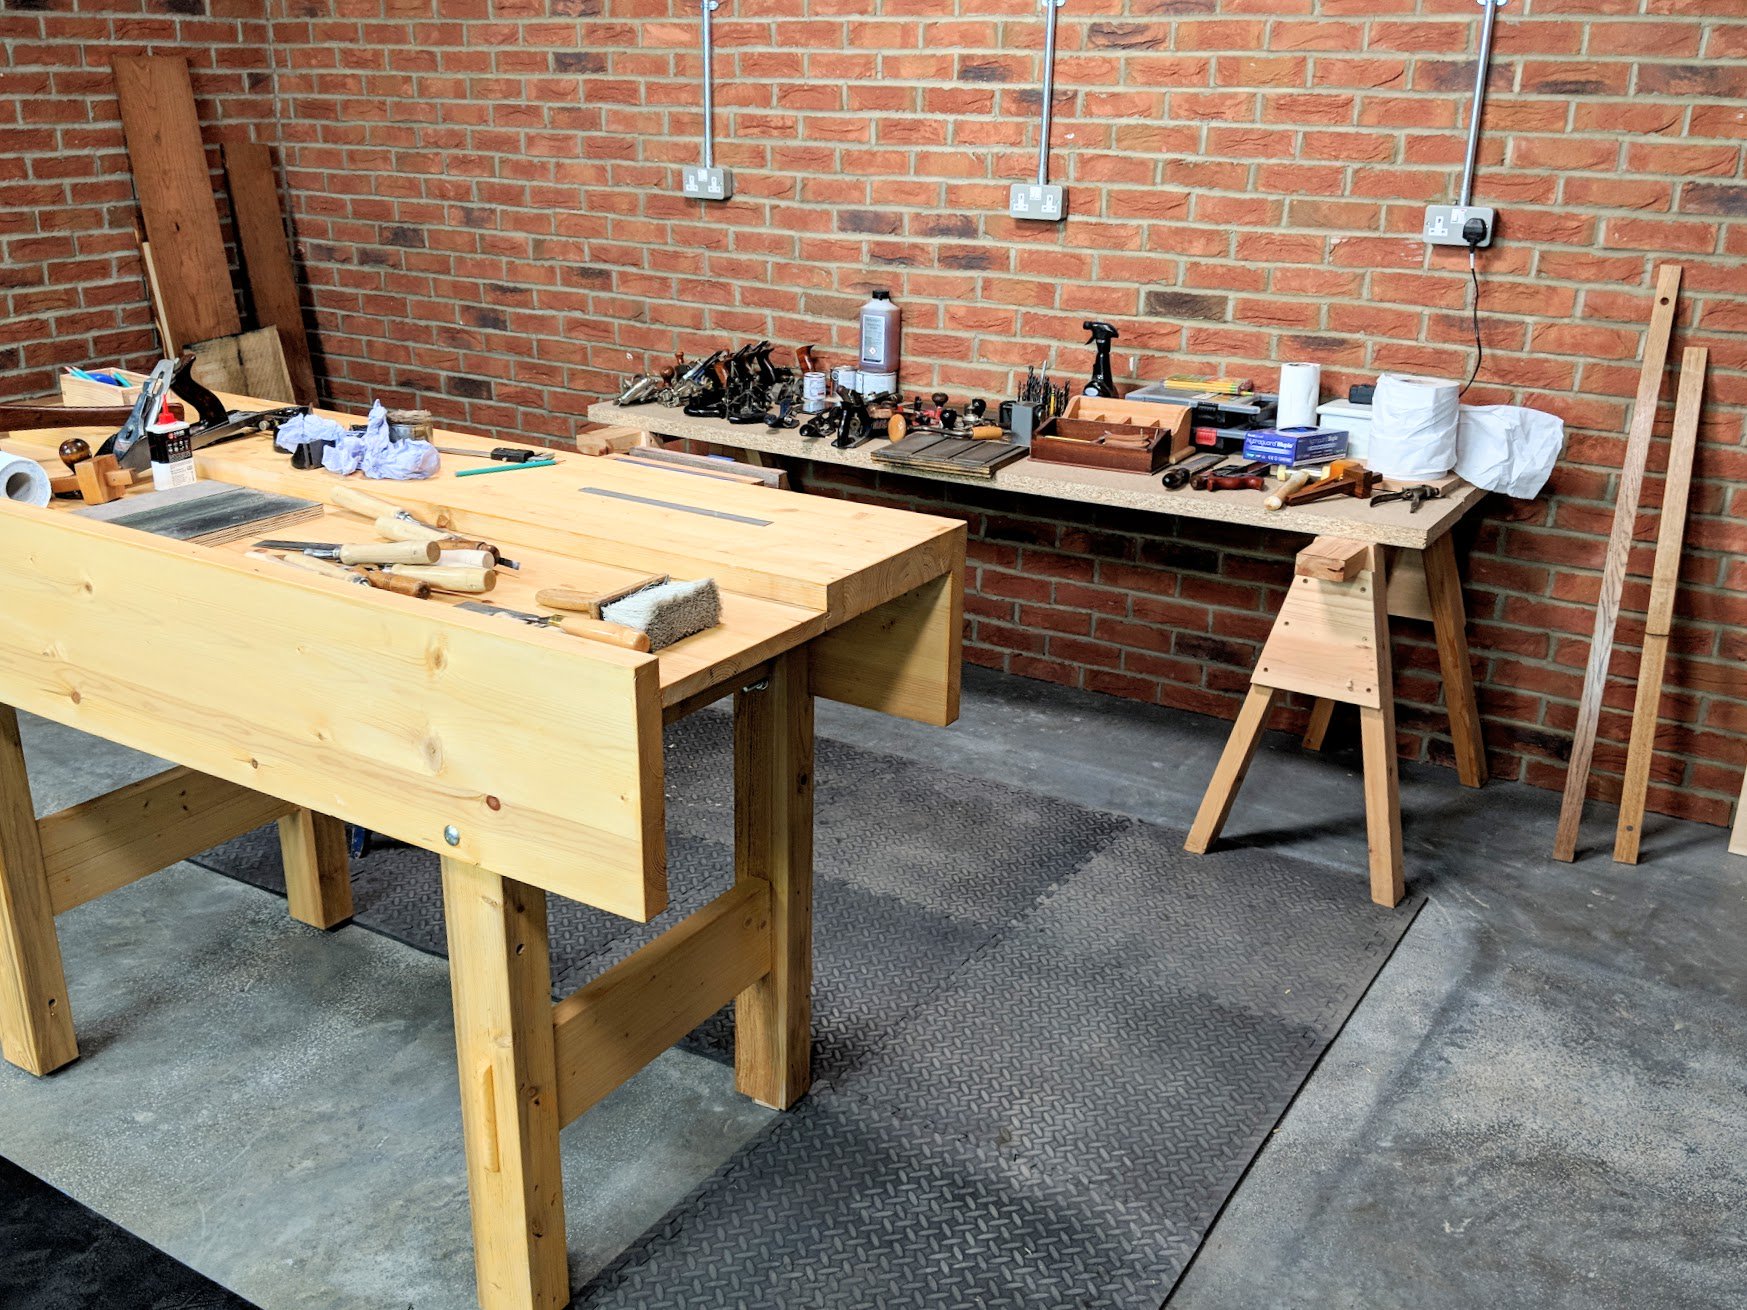
Currently I am preparing to put in my wood storage to stock up the new garage. I have a good idea of what I want which is a smaller version of what I have used for the last ten or so years. I have the 3/4″ plywood I will be using for some aspects of this and of course the saw horses and trestles I built for masterclasses will give me temporary staging. I’ll be using them for cutting panels to make the racks from. I’ll be going to pick additional wood and I’ll be showing you what I am looking for be that pallet wood, milled wood from the timber (lumber) store or the hardwood retailer. We’ll be taking all of this one step at a time.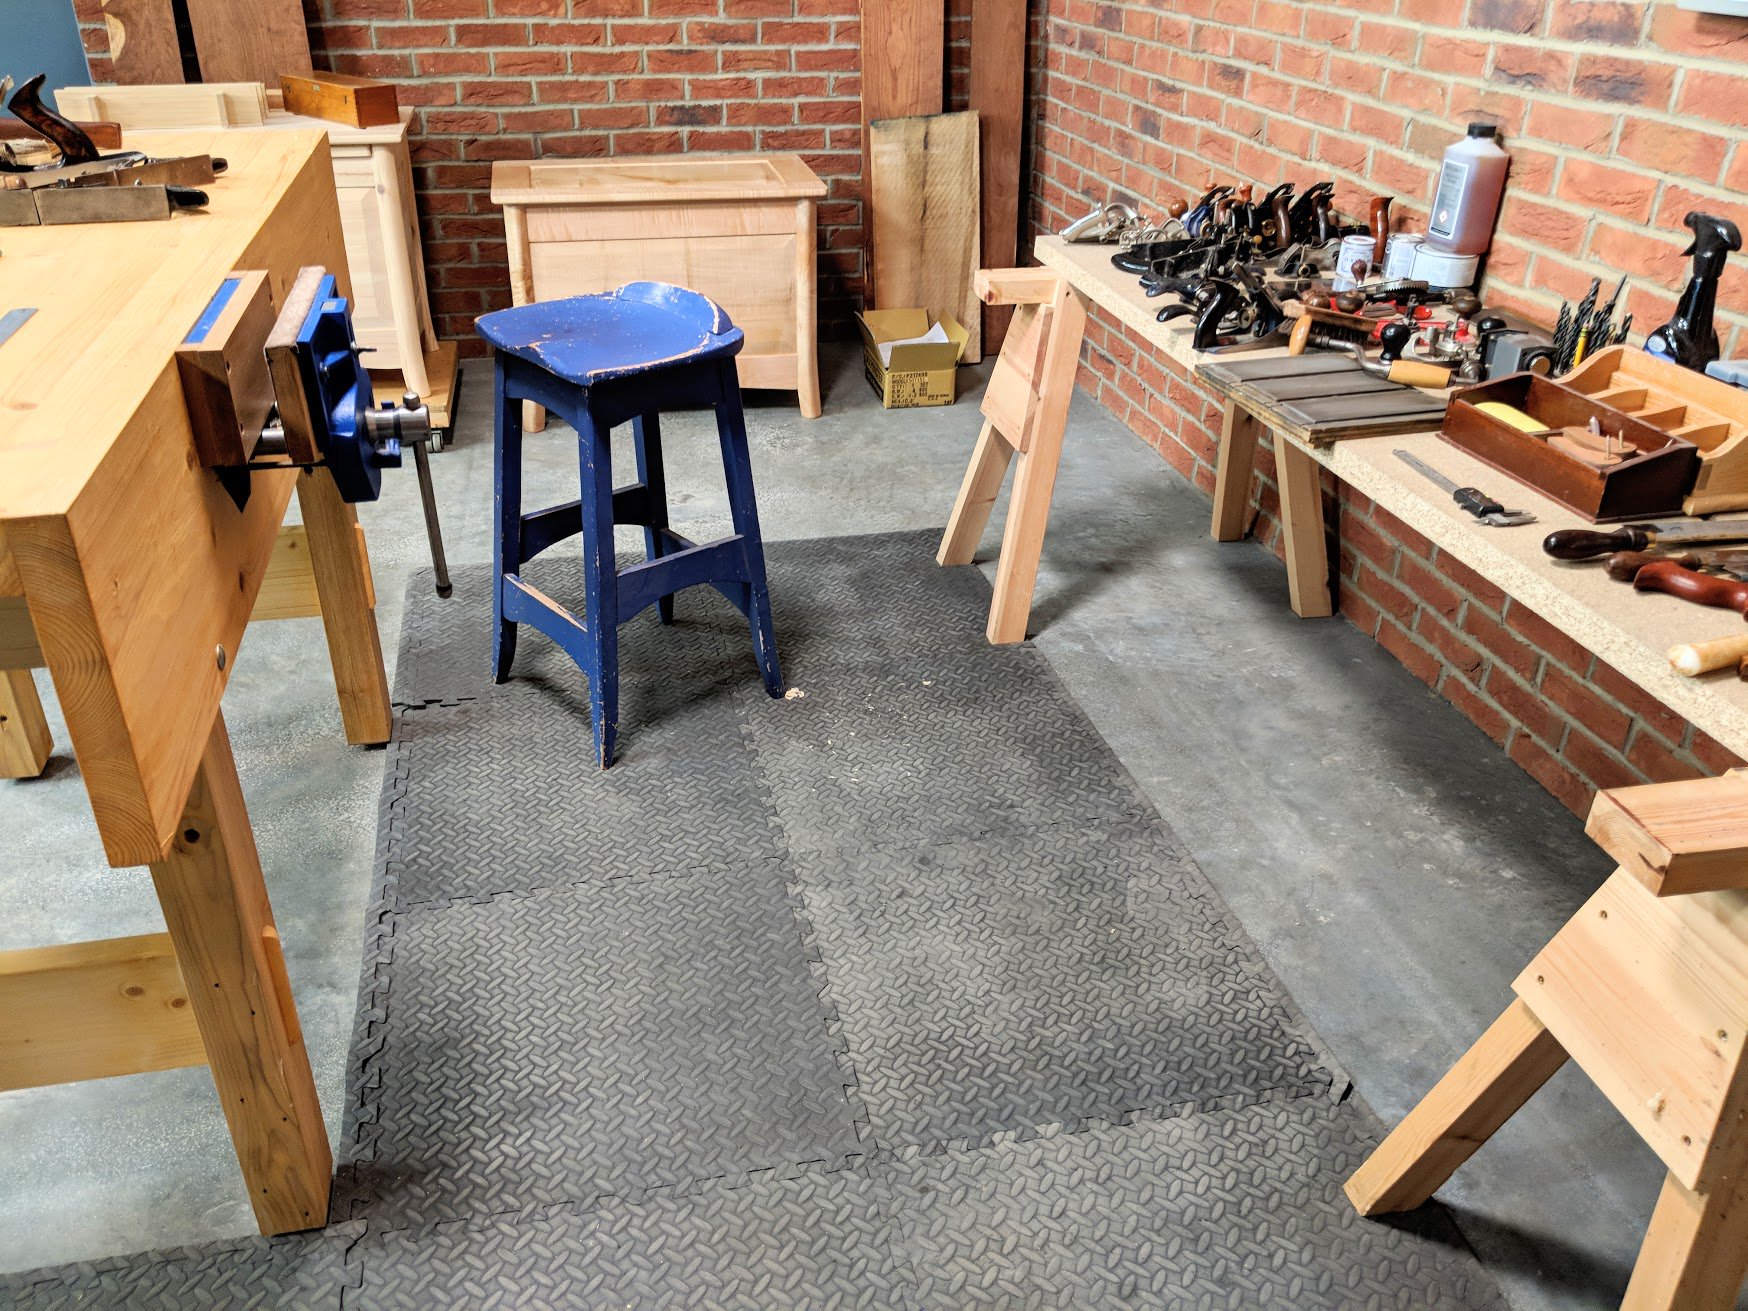
The critical area in any limited space is almost always a healthy amount of foot room to work. Depending on the project, that means gearing up for the final glue-up assembly. the process of getting to that point is rarely a problem because you’re generally working on smaller components that get built into the whole. In my home garage shops I’ve usually worked out how to pivot-move the bench away from the wall so I can move it around more easily than just dragging or thrusting it. I have also installed retractable wheels which work surprisingly well on a level and smooth floor. be that wood, concrete or plywood That’s what I am going for again. Not only does it mean the bench can be manoeuvred easily to anywhere but it also helps for filming somer aspects of the work I am involved in too. I also find it useful for my own photography.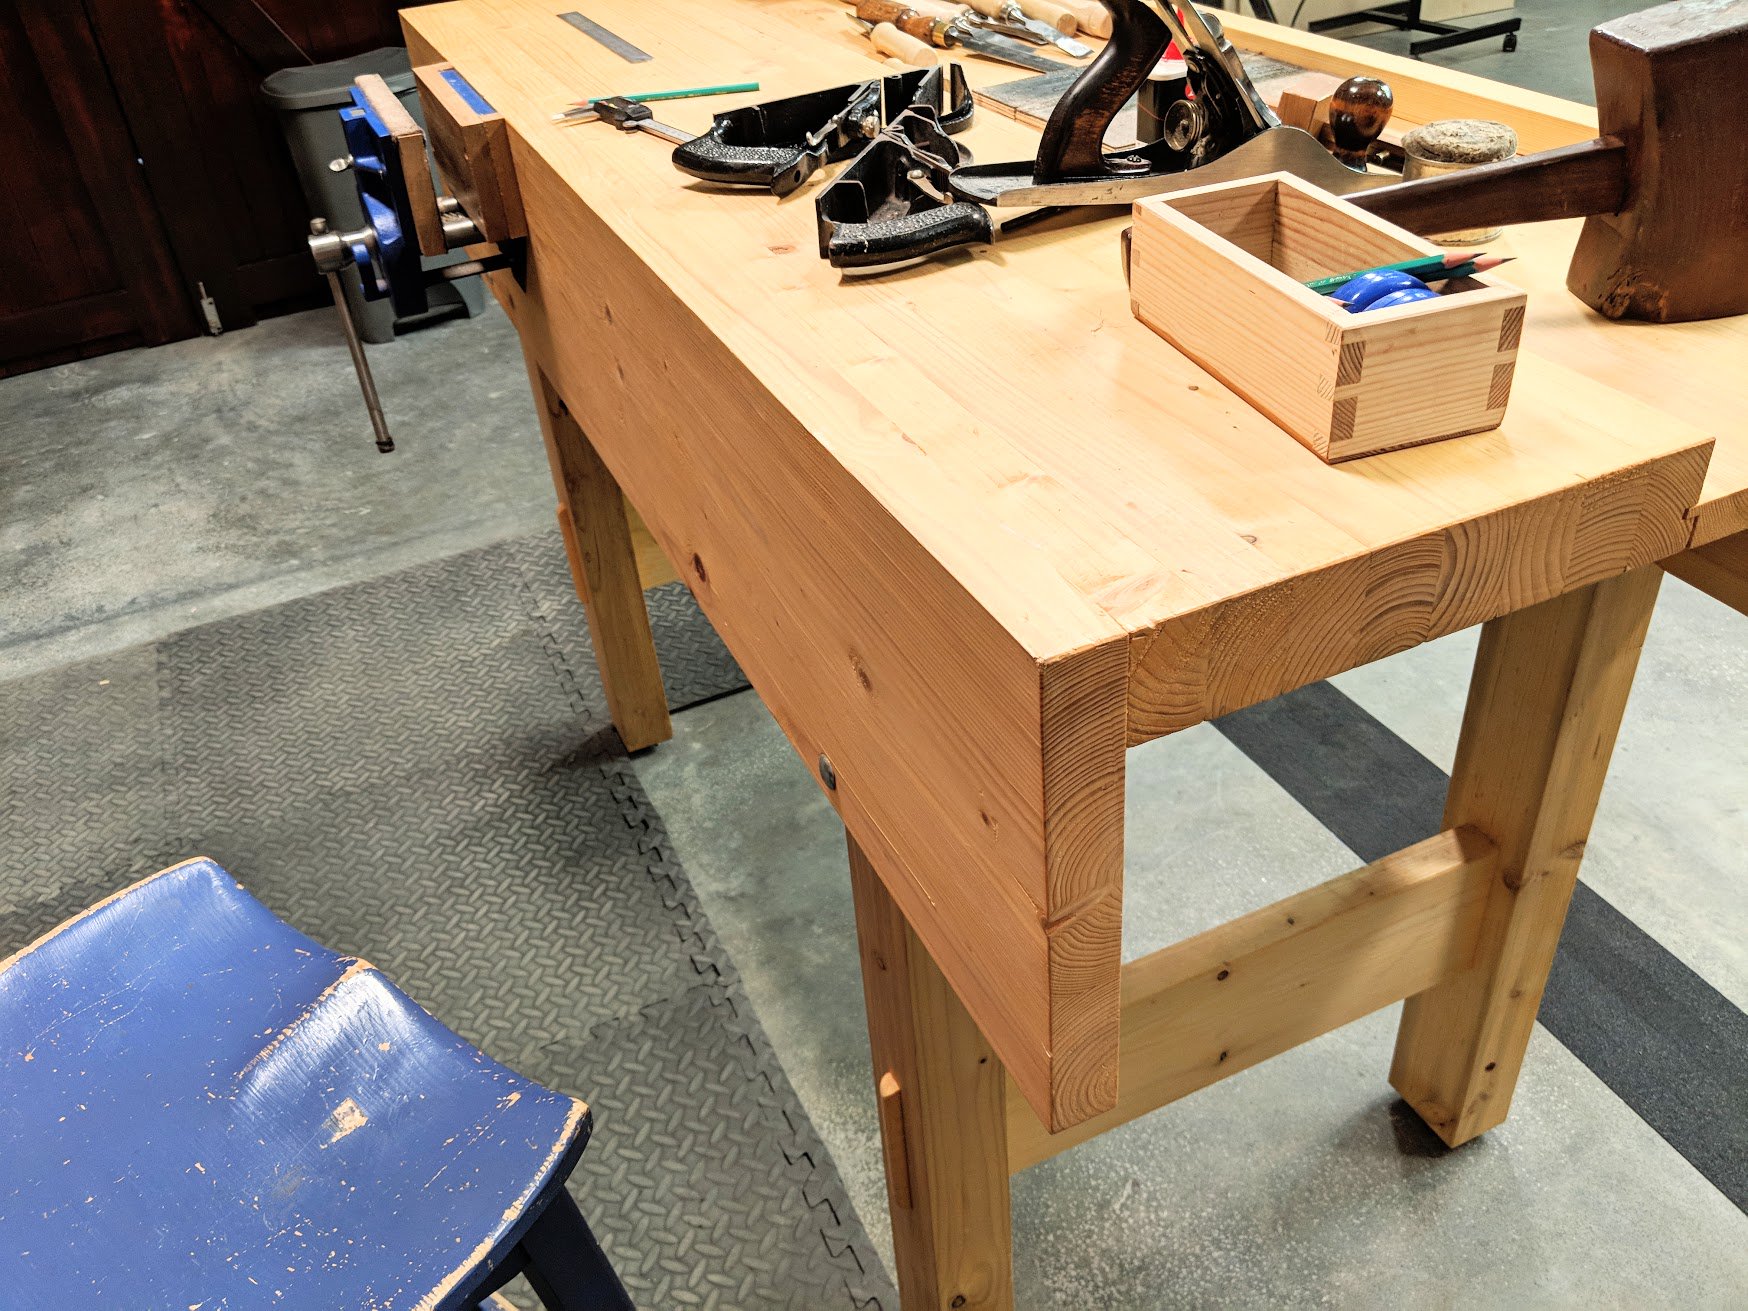
Today is actually the first day we film in the new garage. Everyone is excited including mer. One thing I want everyone to understand though. I am not waiting until I have everything perfectly in place before I start making again. That’s a luxury I don’t have, have never had, have never wanted and still DO NOT want. Here is what I am filming in and with today. Quite the luxury for some I should think, more basic for most though. With what you see here, I can make almost anything I have ever made over the past 5 decades.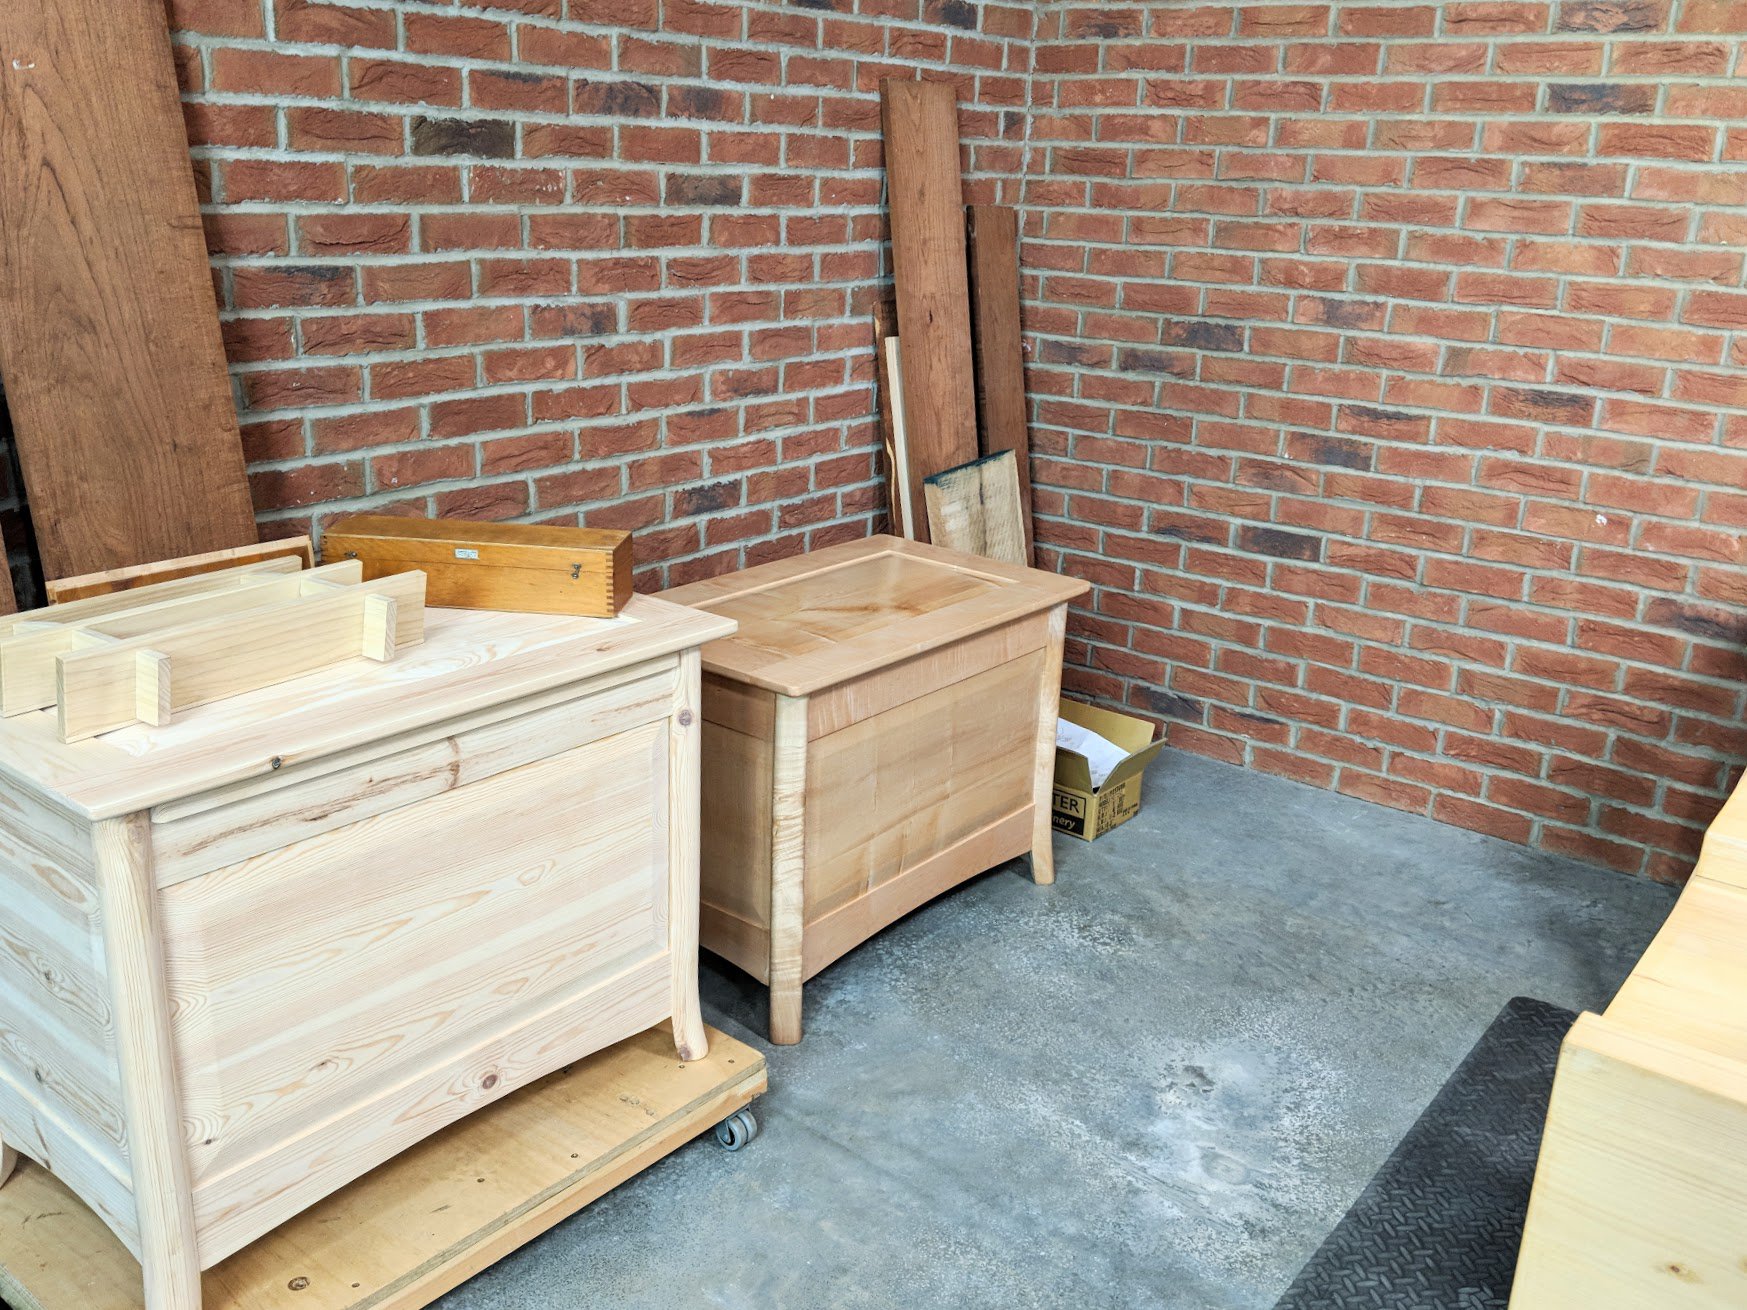
I am going to introduce two important elements of woodworking. One is a very surprising plane adaptation and the other is the reason I am here doing what I do today after a 53-year career of solid, daily woodworking using hand tools AND…loving every single challenging minute of over five decades doing it.
Who was it that said to me, You will never do it???” Well, actually, it was my woodwork teacher in 1963. He said, “Don’t do it!” How very wrong can you be! Go do it!
Hi Paul,
I’m interested in the retractable wheels. My shop is quite generous but also very multi purpose so everything is eventually going to be on wheels except for the big metal lathes. I have a kind of high bay that I can move things into and out of anything from auto repair to welding and more frequently hand woodwork gets moved into this area depending on what I’m doing.
The huge advantage for hand work I find for one off woodworking jobs besides speed is essentially no dust. All I get is lovely shavings – bags of them that go in the garden. Anyway all that dust reduction keeps the other parts of the shop, electronics, mechanics etc. clean while I make things I never considered doing in the past quickly by hand.
Hello Ian,
Paul wrote an article on his blog regarding the castor wheels: https://paulsellers.com/2015/02/lift-off-add-some-sidekicks-for-greater-movability/
I wonder if they are the same or if he’s still using them…
I am still using them and just bought a second set for my new bench.
Rocker sells the caster plates that will allow you to use the same set of four casters on multiple benches/tables if budget is constraining factor – amazon sells the same casters as rockler under name of Powertec 17000 for $10 or so less per set of four – incredibly easy to install
Ok we get to look behind the bench. Where are the saws? You always teach down to your right and pull up a saw. Where is it?
I’ve wondered if they’d hang on a post or stick in a slot in the workbench.
You’ve neglected to let the woodpeckers loose on your bench aprons. Where ever shall you put the bangy holdfasts and twisty gizmos?
All right, who propped the heel of one plane onto the side of another? Metal on metal…..?
I know you are joking but, just in case, they are not actually touching.
I’m putting mats around my workbench this summer. Are the ones in the pics a pain to sweep because a lot of dust or shavings stick to them? My shop isn’t spotless by any means.
They are not a problem in any way… except in a first world country I suppose.
Another option is 8×4′ horse-stall mats (made of recycled tires). Cheaper than the interlocking mats and higher density. But also very heavy. Don’t attempt to buy online, but rather find a tractor or horse supply depot nearby. Same issues with sweeping the dust though.
What really helped me was my recent addition of black gorilla tape along all the jigsaw puzzle seam lines. This unifies all the components, stops lifting and prevents any separation.
I do a lot of my longer rip cuts on a sawyer bench. Knee height with a gap between the two halves of the top. Maybe Paul could make one of these as a project rather than always upright in the vice. I know you have been doing this for ever Paul, and have your techniques but it always looks awkward to me.
Ah, yes, but it’s not awkward at all really. And stowing additional equipment for small occasional use in a smaller garage space becomes problematic.
Hi Paul,
I made a book case identical to yours while in Grammar School. It won a cup for the best piece of the year. Like you I gave mine to my parents but I believe after they passed away I recycled the wood and made something else. I didn’t realise the design was so popular.
Hi paul, i’ve noticed that you have a nice set of tressels, and wondered could you show us how you made them as one of your first projects. I’m trying to make some for myself but making a right pigs ear of it. Unfortunately I don’t have the luxury of a shed or a garage and trying to make mine down a narrow alley on a black & decker workmate. Thank you and keep up your good work.
Hi Paul
Do you have working instructions to make the blue stool shown in the photo.
Paul, I am currently building my first workbench thanks to you, (currently laying out the mortises in the legs) and during the process I have fallen in love with wood working and the tools that go along with it. Seeing your new workshop is just a garage with a bench (like mine) is so inspiring, i cannot wait to read more on how you optimize your space and cannot wait to make my first project!!
A million thanks,
-Dylan
Well the warm weather is here. Completed my woodworking bench. Styled on your but permanently fixed legs. 7” vice fitted. Set of 3 draws also. Completed lathe bench with free standing draws on castors. Doubling up to support my scroll saw. Space is a premium in a garage.
Dear Prof. Sellers,
I noticed earlier that you are storing stock wood in your garage, yet I’ve read much about conditioning the wood for its final destination (aka indoors with air conditioning). This is an issue in the humid parts of the world, where one works in humidity but the final destination will be in air-conditioned space. What is your advice on storing wood in such places?
I have more questions, but I’m going to space them out over time.
Best regards,
-Brian
I have written on this previously in different places. In my workplaces through the years I have learned to invest a little time and money to create a good atmosphere and by that I mean lower levels of moisture where ingress of damp from any source is minimised as much as can be. This current workshop is completely sealed from the outside except of course for the prevailing atmospheric moisture which can be difficult to control when the doors are open to keep a breeze coming though. My wood is acclimated to what is a steady relative humidity and if I’m making a project that will be subjected to lower humidity in its final environment I try as best as possible to make certain my moisture contents are as low as possible. In times past I have taken wood to its environment, i.e. the home f the customer before making the project and storing the wood there for a period of a few weeks. Using a moisture meter helps greatly in establishing exactly what the moisture levels are at the commencement of the work. On the one hand shrinkage is the main issue of concern, but swelling by moisture absorption can be an issue too.
Thank you for your patience.
I do have a (cheap) moisture meter, and I will begin sticking it into all my stock.
Best regards,
Brian A