Ramblings again
I’m glad that the Sharpening Narrow Blades article from last week went well for everyone. A questioner asked me about the difference between hand sharpening freehand and using a guide to get the angle as in a more recognisable wheel-supported Eclipse type; whether the cutting edge was different or whether `I could maybe customise the outcome for a particular type of cut. Two main differences are the outcome I always strive for that are important to me. Whereas square ends should never be allowed to drift too far to the left or right resulting in a skew, it is not so critical as many might think. Freehand can even indulge a skew a little for good reason, even on or especially on narrower chisels where there could be a benefit to it for an internal corner, say, where the pins and tails are ultra-small and rely on as much internal precision as possible for full connection. My first benefit is the speed of sharpening free hand. It takes me twenty times faster to where I want to be and back in the zone of making to make me efficient throughout my work. My ability to freehand gave me the edge over those using machine-only methods in many key areas like inlaying small sections, hinge recesses, truing up the fit of a drawer or a door into its opening, even cutting dovetails that were not on a big scale but still essential on one-off production pieces like say my TV stand here.
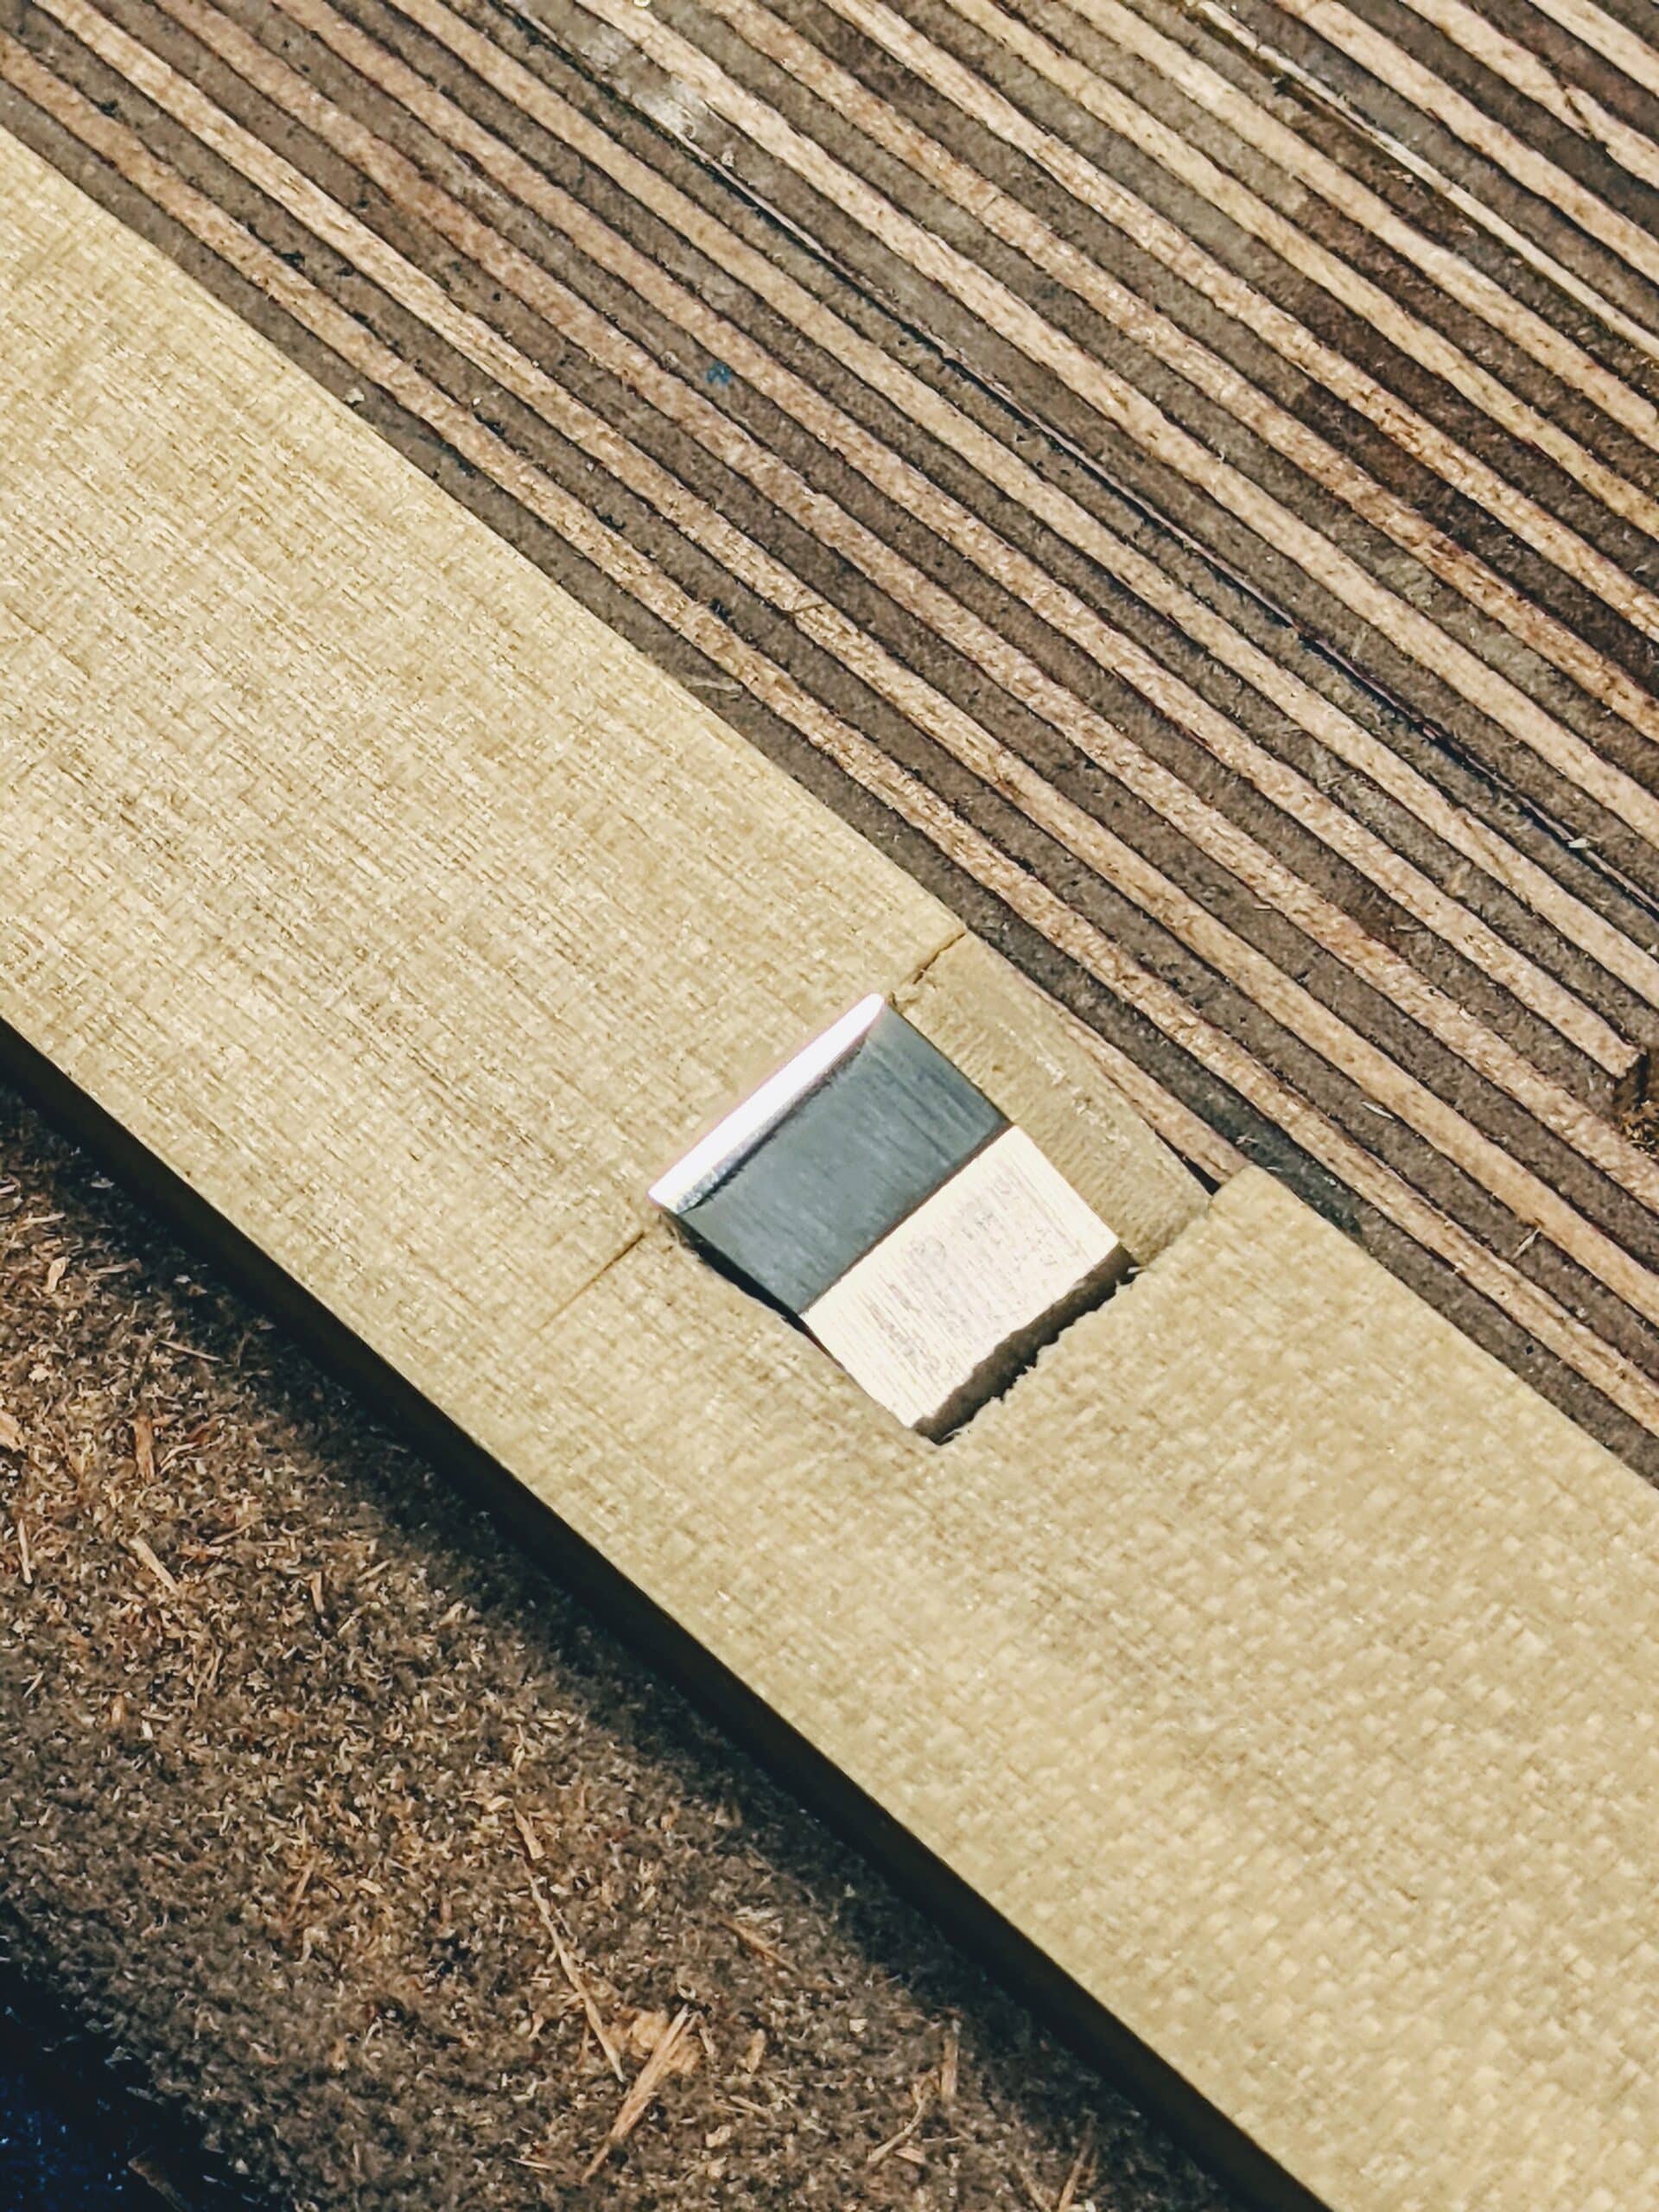
Then there is the type of bevel I love, the long camber from around 30-degrees at the cutting that drops to a 20 in a continuous, elliptical quadrant-bevel. No step change and no resultant stopping yet no changes in quality of cut whatsoever. In my world of making and making all day long to sell my work, these simple steps freed up my time by a significant amount. Though many people are not on that type of production schedule, they are often time-strapped and simple procedures like this can free up fifteen minutes in an hour if adopted. I think I never saw the men I worked under or with using any kind of guide. But I do also think that there is a place for it too. Training wheels, mostly. Watching people set up their guides is often painful to me. I think mostly it’s because they are just a few steps away from mastering what it takes to be competent free-handers; just a few periods of the self-correction it takes to establish what you need to freehand your sharpening forever and a few slants here and there is part of the discipline it takes to become super-efficient.

So, why did I design my jig for a two-bevel cutting edge? These smaller blades are difficult to freehand and the major bevel being taken down first gets the bulk of the metal out of the way and establishes the squareness a plough plane needs for squared-off groove bottoms. Narrow chisels too soon go off course simply because of the narrow width and the lack of resistance you get with wider tool blades. Once done, you can sharpen several times at the 30-degree only position then go back in to take the main bevel back down to the cutting edge to start over. That’s more than likely every two years on something like a 10mm plough plane cutter.
I guess it mostly helps to counter the early disappointments for many woodworkers and not just those new to the craft. More than that though, here I am, in the saddle, passing on my knowledge and skills in the realness of life and living in woodworking and I can’t say that I too don’t drift now and then and for a while. It is a quick and guaranteed solution to a problem. I like that.
I’m not too interested or impressed by scientific proofs of academics of my personal efficacy in working here at the bench. They rarely off too much to us of much value because our knowledge at the bench, in the vise, day to day and long term is mostly experiential. My settings of the cap iron, distances from the cutting edge, the depth of cut, the slight skew of the plane to the left, to the right, unskewed square-on, things like that, change the science of it second by second and minute by minute. What makes these micro and macro adjustments work cannot litererally be evaluated or measured by any degree of accuracy; my adjusting becomes incredibly accurate even though nothing I can do can actually measure what `I am actually doing to achieve such perfect pitch. That’s why the science doesn’t keep up with craftwork too often. Currently, at least, it cannot measure the exchanges we make there at the bench, wood in the vise, tool in the hand, switching and changing as we acknowledge resistance at every point of contact.
The two ways of knowing both have their own levels of importance, one is academic, the other, experiential. In my world, the effect of making with tools in the hands is worth a million times more than mere head knowledge. And it’s this too that makes the difference between a machinist assembler and a maker of parts using your whole body and mind to make. Experiential means to climb a mountain or ride a bike on a journey beats watching a video or reading a travel mag. That’s about as close as it gets, and my planing yew or cherry and walnut is a constant transmission of wood and tool properties that can never be described or merely watched. All I need the words written for are to say that cherry, yew and walnut all plane in radically different ways but there is no substitute for knowing this at the deeper level of actually planing, sawing, chiseling, axing splitting and shaping and shaving the wood with two dozen or so tool types. My working and the way of it needs no validation by any third party simply because the outcome of my work, how I work and the methods I use are so productive, effective and efficient. They are proven by the outcome of made things through many centuries. Also, I know the difference between wooden and metal-bodied planes by my working of them on the wood. If I can stimulate enough woodworkers to experiment at the bench with one bought on eBay or at a garage sale, I am happy. Do I have to tell them then about a Japanese hand plane or a European one, both of wood? No, not really. What of a North American mass-made one, high-end or no, or an ancient Scottish one for that matter? Well, I have used most but not all of them, but my telling is saying to others, ‘experiment and try and find out more for yourself ‘, and this is what I encourage others with. Of course, picking up any plane of any type takes much adjustment to manage the nuances of them. I have done this over my half century working daily with wood and picking up tools along the way. Consolidat that into days and weeks and my experiments might number a many months and even years..I’m into nuts-and-bolts answers right here at the bench in the vise and on the wood. My time passing on my knowledge disallows distractions that, although perhaps interesting to some level, offer little value to teaching and training, making and experiencing wood working and working wood!
Thank you Paul. As always your words resonate in my heart. I am making my first project from one of your books and I can’t wait to pass on this knowledge, this trusting of our head, heart and hands to create something beautiful to my students.
Jon
Thanks Paul.
Do you think it would reduce folk’s apprehension with free hand sharpening if they owned some sort of grinding wheel? That way, if they somehow messed up the blade, they could easily get it sorted out?
One of things that I think makes you so credible and popular to us is that you’ve done this for 55+ years and made a living at it. Experience like that is valuable. Oh, and you teach well. There are others I’ve watched on the internet who may be doing an interesting project but just don’t teach or present it that well.
I would never really recommend a grinding wheel just to correct an inaccurate bevel and especially on these narrower cutting irons and chisels. You grind of so much more steel than is needed for one thing, and any inaccuracy means the cutting bevel will usually still work well enough. Just start to correct the beverl each time you sharpen. It does not need to all be done at once.
Thanks for sharing your knowledge Paul!
I’ve always used a guide, but I have ventured off into the world of freehand sharpening. So far so good.
Sharpening a chisel/plane iron with a guide can really become a chore when the 30 degree bevel starts to grow. At some point, the bevel must be reground at 25 degrees then the 30 degree bevel can be reestablished. I find this process very disruptive to my workflow.
Do you think bench grinders are essential? Is there a way to create a scrub plane without one?
I definitely would not be without a grinder myself. I use them for much of my metalworking and even plane irons if they are really bad, not my own but bought-in ones usually.
Richard,
I don’t own a bench grinder and get on just fine. I don’t do any of the metal work Paul talks about though, so pretty much anything I do with metal can be done with a little extra time just using a file. A cheap belt sander can also work for those occasional tasks. In short, if you’re not doing much metal work, sandpaper, files, hacksaws can do the majority of the things you need. When you ask about whether you need a grinder to make a scrub plane, the answer would be a question: how often do you create a scrub plane? If it’s once a decade, then consider whether you actually need one. You could even borrow one I’m sure. Obviously, if you think that the making of a scrub plane would then move to lots of other metal work, like turning old files into chisels, or whatever, and you want to go in that direction, then a grinder will quickly pay back the investment. Then you need to decide if you want to make a small forge too…..
Grinders are relatively inexpensive for the DIYer compared to other power equipment. I own one that cost me £30 12 years ago and it still goes strong with its 8″ coarse wheel. Having said that, I did make almost all of the cutters, 16 of them, using only a hacksaw and a flat-file, 10″. That all worked just fine. Grinding hardened steel is another issue and a grinder does work well where a file just glances off the cutting edge.
I hollow grind everything I can now. I consider a hollow grind a benefit where I can manage to do one. Which is all chisels and plane irons. There is some equipment outlay for hollow grinding tools decently though. Most bench grinders do not come with an adequately adjustable tool rest to accomplish the task properly. I’ve tried to freehand hollow grinds and that goes poorly for me. If you do a web search for adjustable tool rest mine is one of the top returns. I should have watermarked the images. Who knew? Seems like I’m slipping. Now I am in the third column. I used to be in the top 5. Mine’s the one with an orange cord in the picture.
Thank you Paul,
indeed, “experiment and try and find out more for yourself”. I believe an implication is that it is nice to have some non-critical tools, good but not very expensive, because if at first one doesn’t succeed, try and try again. And the risk to ruining an expensive tools should not be an obstacle to experimentation and learning.
As a hobbyist, for many years my only chisels were a set from Footprint, Sheffield. And the 6mm in that set did not hold an edge. Had I known what I now know (this was in the 90’s), I would have bought a good 6mm chisel straight away, but as it were, I had to learn freehand sharpening (with a jig I would have used more time sharpening than chiseling!).
Incidentally, once I had sharpened away substantially more than one centimeter of the chisel, it started to hold an edge.
Baard
There is (was?) a document on the Narex site that warns that one has to sharpen their chisel some times (a mm?) before reaching the best edge holding.
A belated thank you Sylvain,
I went to a website that seems connected to Narex (google “fansite narex”), and it does mention what you
said: “Narex chisels are ground before being hardened, so you may find that edge retention improves significantly after the first
couple of honings, this is completely normal and once the first couple of millimetres have been sharpened away you will begin to
experience what a pleasure Cr-Mn steel is to use.” As I understood the information, this is a consequence of isothermal
hardening. I do not know if this is what caused my problems with the Fasttool 6mm chisel, the steel is rather soft. What I do
know, is that I exaggerated! I went out and measured how much I had sharpened away, around 7mm, not my prior claim
of “substantially more than one centimeter”.
Even 2mm should be more than enough, Baard. And sharpening Cr-Mn, Chromium-Manganese, is no different than sharpening most any other tool-steel type, so to describe it as something, “you will begin to experience what a pleasure Cr-Mn steel is to use.” is just a silly and distractive thing to sway you away from noticing what is a perfectly natural occurrence with some steel tempering outcome. 7mm is a lot of steel to lose to get to a viable edge retention too, in my view. Maybe the steel was not hardened correctly?
Dear Paul,
my thoughts exactly. But I learnth free hand sharpening.
Thanks, Paul. I always appreciate your thoughts. They are like a refreshing draught of water drawn from a deep well of experience. I do want to add that any academic worthy of the name will take seriously the experience of expert practitioners such as yourself.
Thank you for informing me of the usefulness of a little skew in internal corners. I never thought of that before (but expect I shall!). Previously I only met the skew chisels used in turning.
Thanks Paul,
This question is off topic a little, but I was hoping for a word of advice before I commit. I was planning on converting a stanley No. 3 to a scrub plane following your method, I was wondering if there is anything I havn’t thought of that might make it less worth while than finding and converting a No. 4 as you recommend? The reason being that I have an old No. 3 sitting that I never reach for over my No. 4.
Thanks,
Ross
Number three planes will get increasingly rarer in the coming years as they are the ideal plane for those with small hands be that man, woman and child. If it’s in clean condition you could consider doing it up and selling it for £50 and buying in a lesser number 4 for £20. My best scrub plane is the converted 78 Stanley. Once converted, this plane hogs of more wood than even dedicated, purpose-made scrub planes.
Thanks for the advice, I will do that. I already converted an iron for my woden 78 following your guide and it works brilliantly for me, I just wanted something a little less aggressive to have to hand!
Get another iron for your 4 and make it slightly cambered. Not nearly as much as a scrub, but a bit more than a smoother. Maybe a millimeter or so at the edges. Set the cap iron well back (2-3mm from the edge at the corners). That thing will remove wood FAST!
I have a Record 4 that came with a rather cambered iron like that. Works great for semi-roughing a board, and when set up as a smoother I get glass-like surfaces. It is great for squaring up an edge in two strokes, using the camber to my advantage.
I do have a very slight camber on my Stanley 4 I use as a dedicated smoother, but nowhere near the Record iron. It is fantastic for cleaning up the surfaces after the initial donkey work has been done with the planer/thicknesser, and to bring the boards to final dimensions. With glass-like surface finish!
Wood is wood but different to each other, time is practice and yes the sharpness of an edge is not always perfect a few swipes of a plane, an edge does not cut as well as the first, so again sharpen look and feel the tool think, a few moments practice and suprise the edge remains longer stronger … but don’t stop there sharpen again… Thanks paul your word resound in my head.
Paul,
I went out to the shop last weekend and started to move a rough cut piece old cherry that has a bad split. “Why do I keep moving this?” I thought. I decided to make two perfect boards out of it using only hand tools. I succeeded and in the process found and corrected a major skew in the iron of my number 7 plane. The knowledge and skills you have taught me are getting used well. I had such a good workout getting those boards S4S, I felt great. I decided to sell my old 6 1/8″ jointer to free up space in my shop, I don’t need it anymore. Thank you!
My experience with an Eclipse style guide from Henry Eckert Toolworks (import to Europe worked well, American ones were sold out) is that it takes around 30 seconds to grab it, insert the tool and adjust the angle via distance (made lines on the benchtop). It also works great to make rounded edges for plane irons. Furthermore, there is a guide for spokeshave blades what is a big plus.
However, quite often I had the issue that no burr occurred on a chisel even when using a course diamond plate. So just recently I started trying freehand sharpening. Experiences: (1) It feels well and you feel great (if it works out of course), (2) It is not much faster but just going there and start without any tool grabbing etc makes you go sharpening more often resulting in much more fun with woodworking when working with scary sharp tools. (3) So far only sharpened 10 times or so freehand however each time had a burr quickly and suspect did not just increase the angle. (4) Chisels less than 12 mm are difficult for me but we have Paul’s guide now. (5) Interestingly you can also have skew when using a guide. Still a miracle to me but maybe using the guide makes you less sensitive.
Looking back on quite some frustration with guides the last years it was one of the biggest step ahead in my woodworking development to star sharpening freehand.
And thanks Paul for feeding us with the good stuff!
The guides helps you maintain a consistent angle to the stones, that’s all. The skew and even a camber on your irons comes from the pressure you apply to the blade. I have the Veritas guide with the wide wheel, and it is no problem creating a camber on the plane irons by applying the pressure on different parts of the blade (across its width). This is even mentioned in the user’s guide.
Same thing with chisels, even freehand – but I think you nailed it when you said that the guide makes you less sensitive. Because you rely on the guide guiding. Use the pressure to your advantage, even when “freehanding” it. 🙂
Freehand sharpening is just looking for struggle. Guides make sharpening a cut and dried operation. Boom, boom, boom, done. No esoteric maintain the angle through the stroke nonsense. Just push the guide down the hone. You literally can’t go wrong. Well, I suppose someone can mess anything up. Using a guide works for me though. I just wish I could fit all tools into a guide.
This is a sad thing to say, really, Paul. It is certainly not, “looking for struggle”, as you say, but simply giving up. I would just hate for thousands of people to listen to you and never develop the skills I have relied on throughout my work-life and had established within a few weeks of starting my apprenticeship at age 15. I believe everyone can take out the interim steps it takes using a guide for the rest of your life and it isn’t really, as you say, “boom, boom, boom, done.” at all. In other words, you are saying don’t such develop skills, muscle memory, etc, etc. I strongly disagree even though I would encourage anyone who really has faithfully tried and found it more than they seem able to accomplish. Perseverance is key and not giving up without good reason produces what’s really needed.
My good reason to use a guide is efficiency and consistency. Freehand sharpening is certainly a good skill to learn. There are tools that won’t fit in a guide. You may not have a guide in some circumstances too. Then freehand is your only play. But if it does fit and I have one then I’m using a guide. The guide I have sets up pretty fast for me too. I can agree that everyone should learn how to freehand sharpen. There is intrinsic value in appreciating the process. I am not going to be a slave to it though.
My scrub plane is a 1990’s stanley #4. Yes the one made in England with the plastic handle and tote. It‘s gaping 1/4 inch mouth required no further filing. Flattened the sole with 120 sand paper and rough casting marks of the lever cap on a x-coarse diamond plate. These planes are cheap and make a great scrub plane.
Paul, as you mention converting a # 75 in a scrub plane, I have a question:
As the # 78 has a flat machined face, how would it perform as a shoulder plane?
This would be a cheaper alternative.
read twice # 78
I don’t understand: “Then there is the type of bevel I love, the long camber from around 30-degrees at the cutting that drops to a 20 in a continuous elliptical bevel”
It’s how craftsmen did it for centuries, as in the drawing.
I would not put much stock into what people have done for long periods of time. Progress is a slow process but it does happen.
Losing the simple skills of basic sharpening is progress in reverse. In other words, not progress at all.
look at the 1st picture on the blog
“SHARPENING CHISELS—FORGET WEAKER MICRO BEVELS”
dated 29 January 2012
And, indeed, as in the drawing.
If you’re worried about the strength of an edge then grind it at the optimal angle. Which is 30°. Any shallower and you’re gaining nothing and losing strength. This has been experimentally proven using instrumentation. It surprised me to learn that. It is what it is. For whatever cosmic reason 30° is the magic number. I used to try to sharpen below that thinking the edge I got would be sharper. They really weren’t. A good 30° is really as good as it gets. I know how that goes against common logic. Not everything is quite how we may think it is though. Limit yourself to 30° and see what results you get. You may be surprised too. It’s wicked sharp.