Planing veneers
Planing wood along its long axis, from the bottom to the top of the tree, is generally straightforward enough; wood grain dips and dives in places, but most of the time a simple flip around of the plane to the opposite direction cures the recalcitrant and tames the fibres with a skew here and a cant there. Of course, it doesn’t always work just like that and we are talking about more solid wood – veneers are quite different. Choose the wrong direction where any sudden rise in the grain opposes the cutting edge even for a fraction of an inch or centimetre and that stoke you take can shred the veneer and that’s because there is no substantive adhesion to the sub-wood as an anchor. Even so, mostly it’s always best to glue the veneer down to its new undergirding first and then apply whatever plane to improve or reduce the surface. If in doubt it’s always best to use a scraper. Sometimes, reduction is not going to work because the veneer needs thicknessing to marry to an adjacent piece before attaching – not always so easy a decision. And so it is in woodworking; like wood, life comes with knots in it and most knots cause diverse dipping and diving in the wood fibres emanating far beyond the epicentre of the former branch rootedness in the whole.

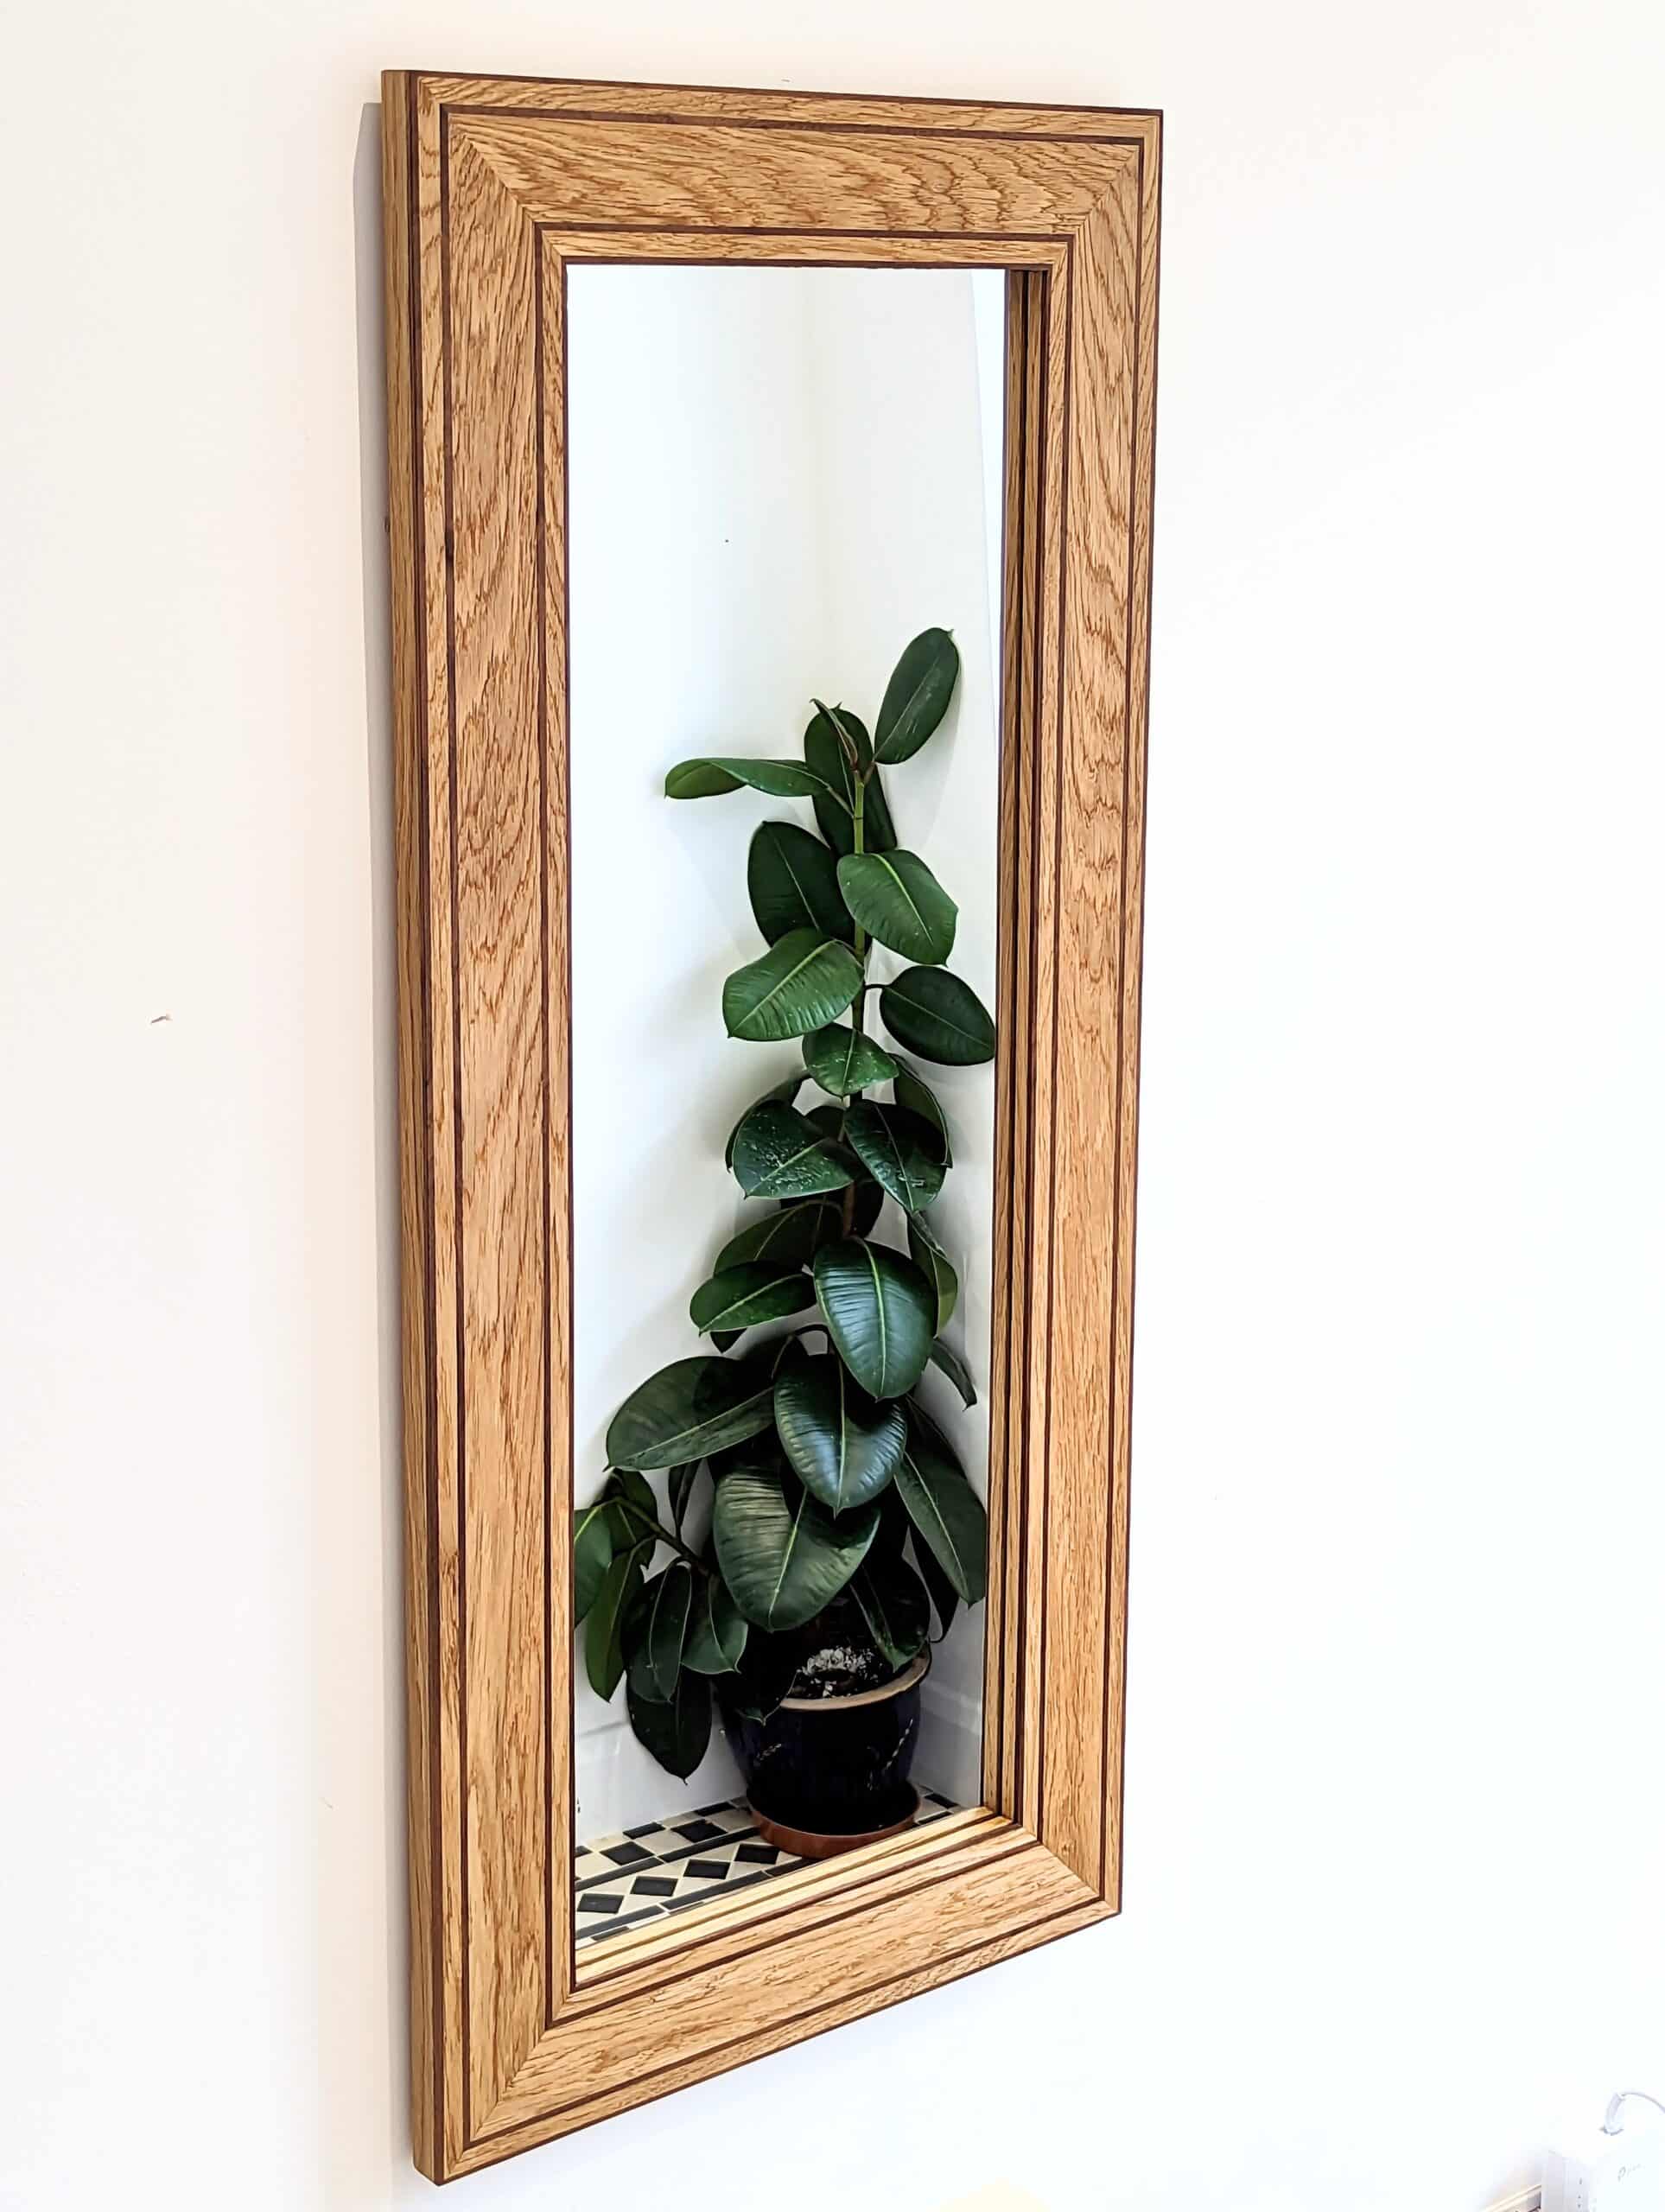
I wanted to develop a range of picture and mirror frames that changed the status quo from mouldings using traditional coves and beads and even non-conventional ones to textures caused by the choice of grains be that by orientation, wood types, colours and fibre textures yet work towards a simpler flat face for wood grain to speak for itself without using any shadow.

Moulding seemed all the more to me to link work to concepts of past eras – a past following Greek and Roman traditions that then spanned the world in iconic head-of-state edifices created to express status and the superimposing of dominance by nations be they American, French, English or whatever. I know: that’s quite the distance from Paul’s picture frames but mouldings do date work and somehow manage to push current work to take on a traditional past-look when I’m excited to be creating new and individual concepts rather than copying just because, well, we own a power router and a cluster of router bits begging to be used.
In my designing, I always find my own development as a crafting artisan because it costs me. I want to design what doesn’t yet exist beyond mere form. So stable with four corner legs is almost always the same but adding a corner bracing from laminated oak, tenoned in and locked in place with a fox-wedged spread of the tenon at 45º, was uncompromisingly mine. Can I too claim the tambour look in multiple kinds of wood for panelling, drawer fronts and doors.? Who knows? I’d never seen it done anywhere elsewhere in life.

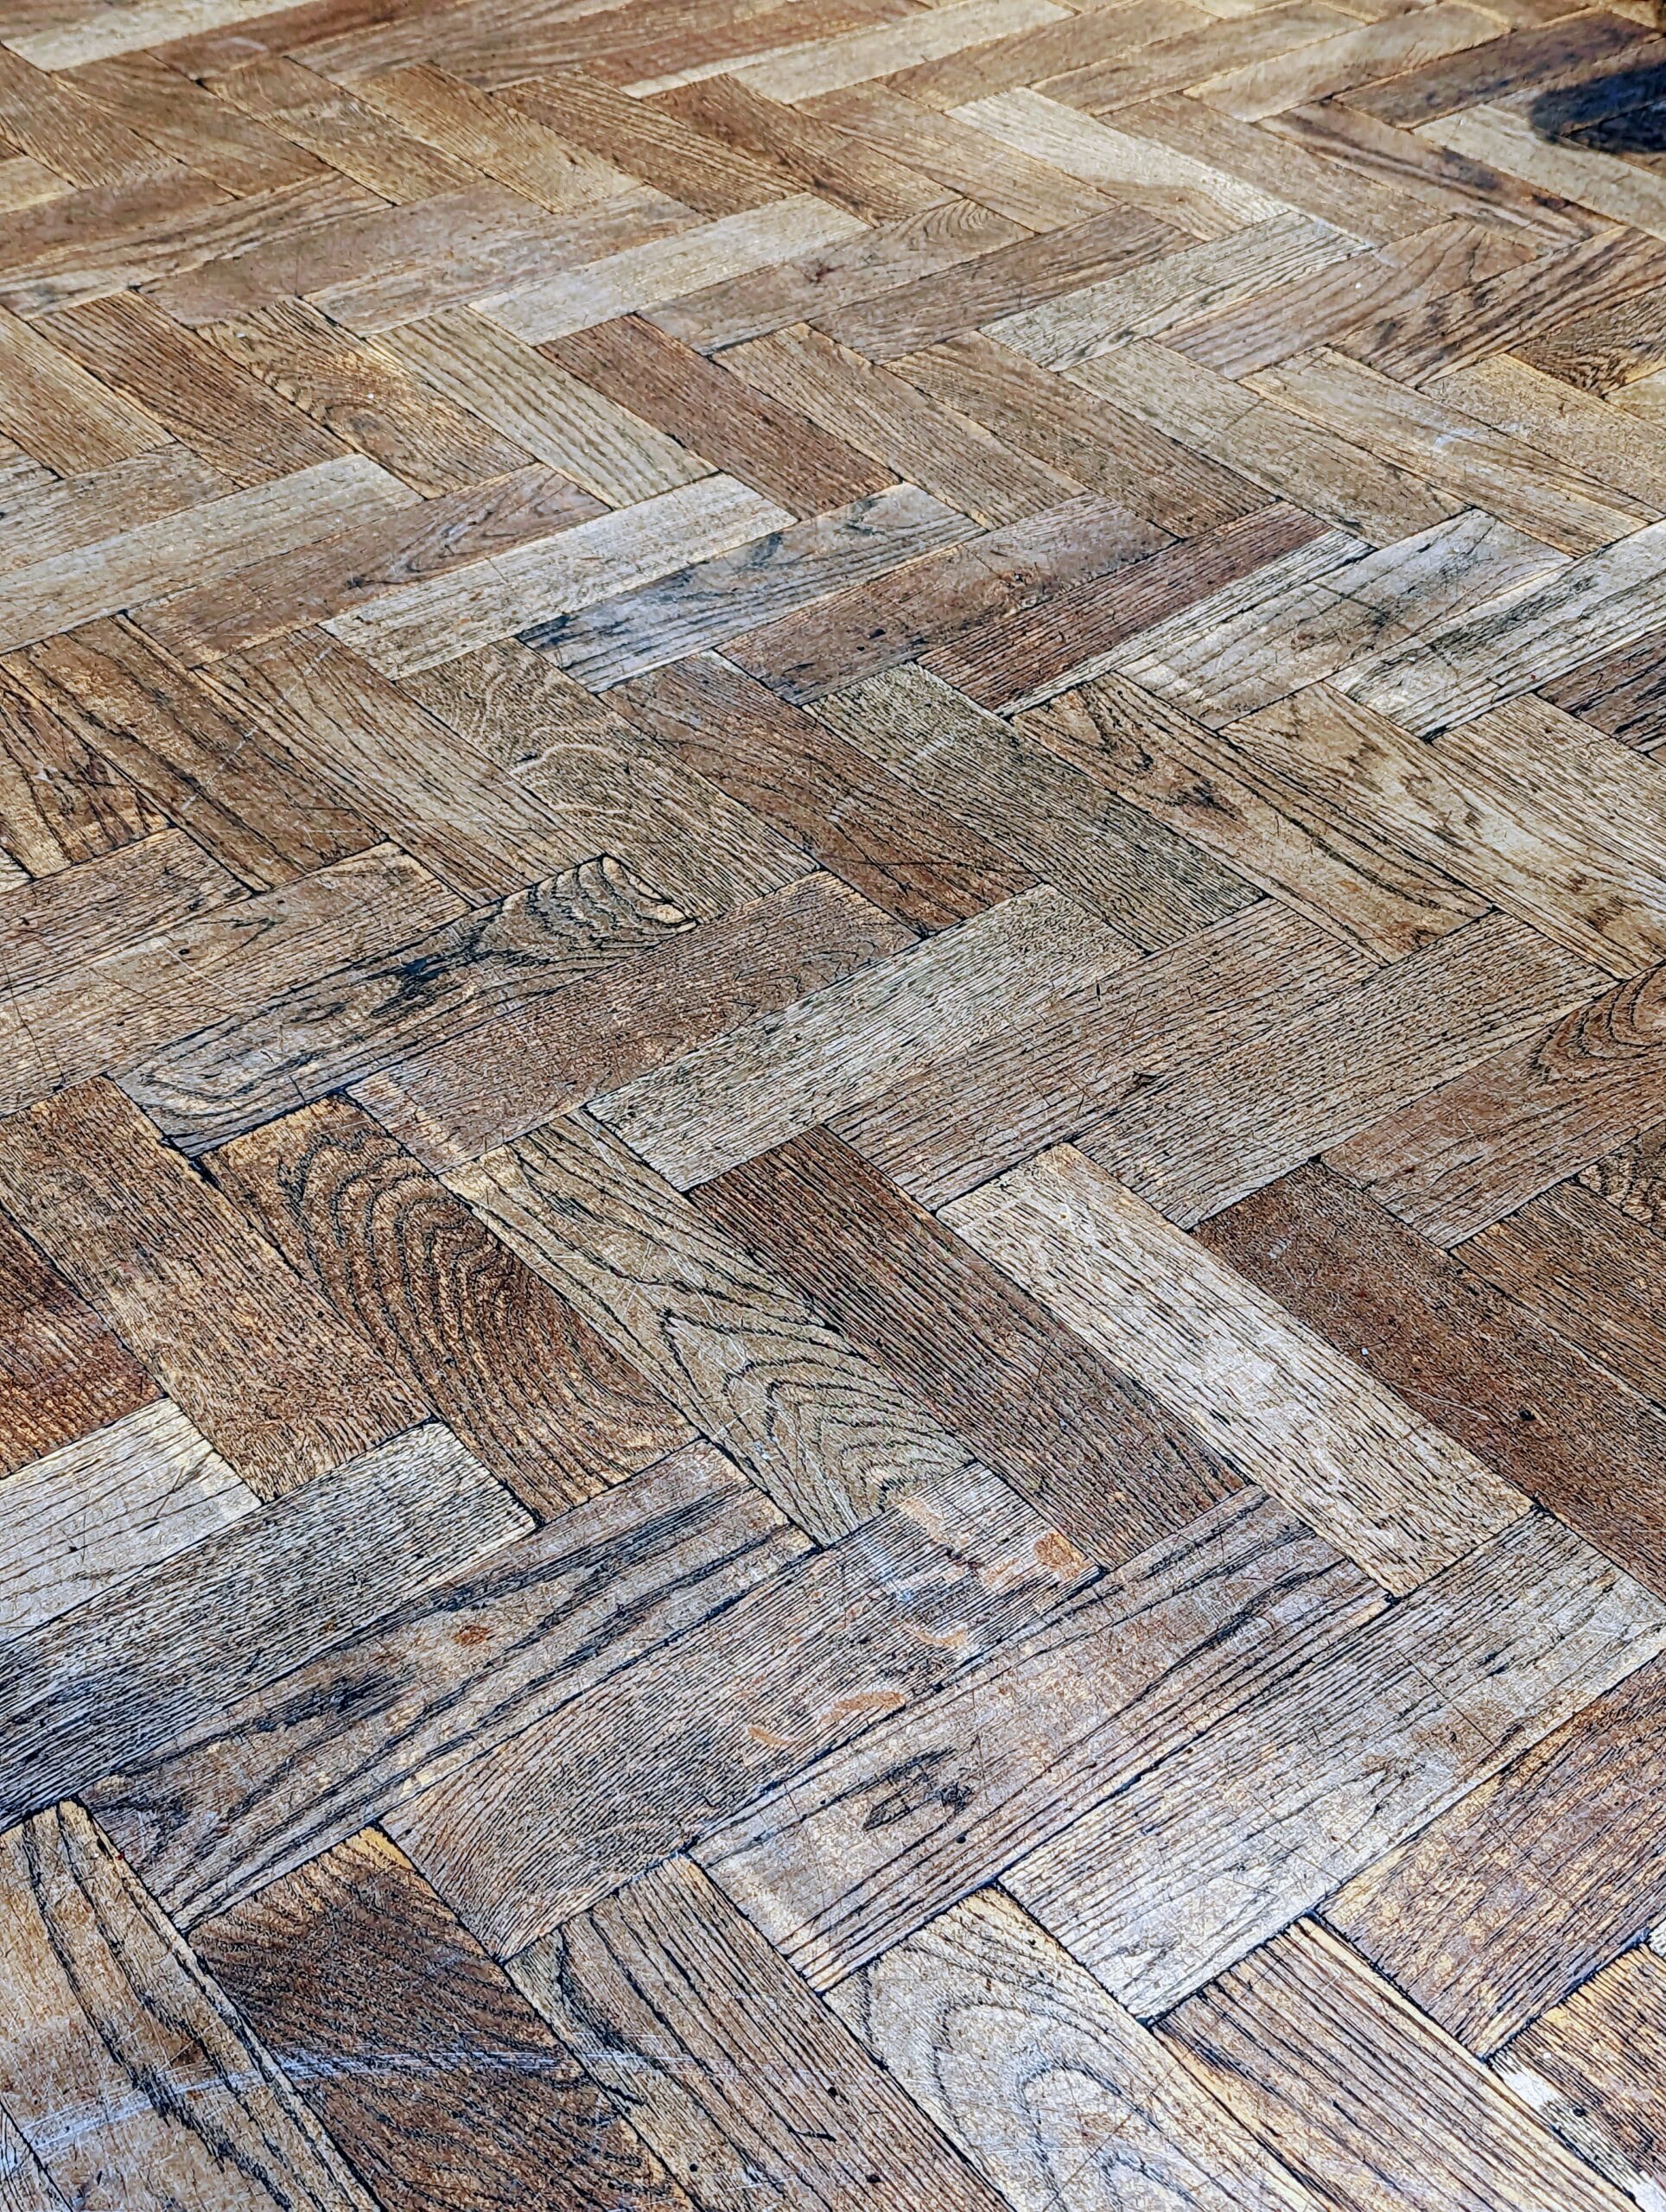
In my frame design development, I experimented with different orientations of the woods to compare the effects and see how the light reflected from different directions hitting the grain changed appearances. In my early picture frames, I had some grains going 90º to the outer friezes, a bit like parquet going tangentially to those strips and stripes going along the grain. I realised that some things can just get too busy and that it doesn’t take much to cross the line from being complementary to being too dominant. I harnessed myself in progress, sat back, looked and reconsidered my output. All of the designs worked in the end, some for mirrors and some for my drawings. I have two hundred of my drawings in my sketchbooks and journals along with poems and text I have written for my books and blog posts, etc through the years.
Ultimately, I came up with two or three concepts I really liked. I wanted some frames for artwork and some as artwork to surround mirrors. What’s the difference? I have some of my drawings that I want to frame. Graphite can give off a metallic glaze that overinfluences a drawing as it catches the light and throws it back at the viewer. Looking face on is fine. It doesn’t reflect light, but from the side, it will reflect as a shiny area. Non-reflective art glass really helps for clarity. The flatness of the frame seemed more apt to push the picture to the front which is what I was striving for. Often, art framing strives for the less-is-more look in achieving this because, well, there is not too much going with most art framing in that pressing a treadle on A Morso mitre machine brings down the spring-powered guillotine takes out the internal forty-five as a ninety in a single press and ‘hey presto‘ the two come together ready for nailing with some kind of air-driven, pin-punching nailer.
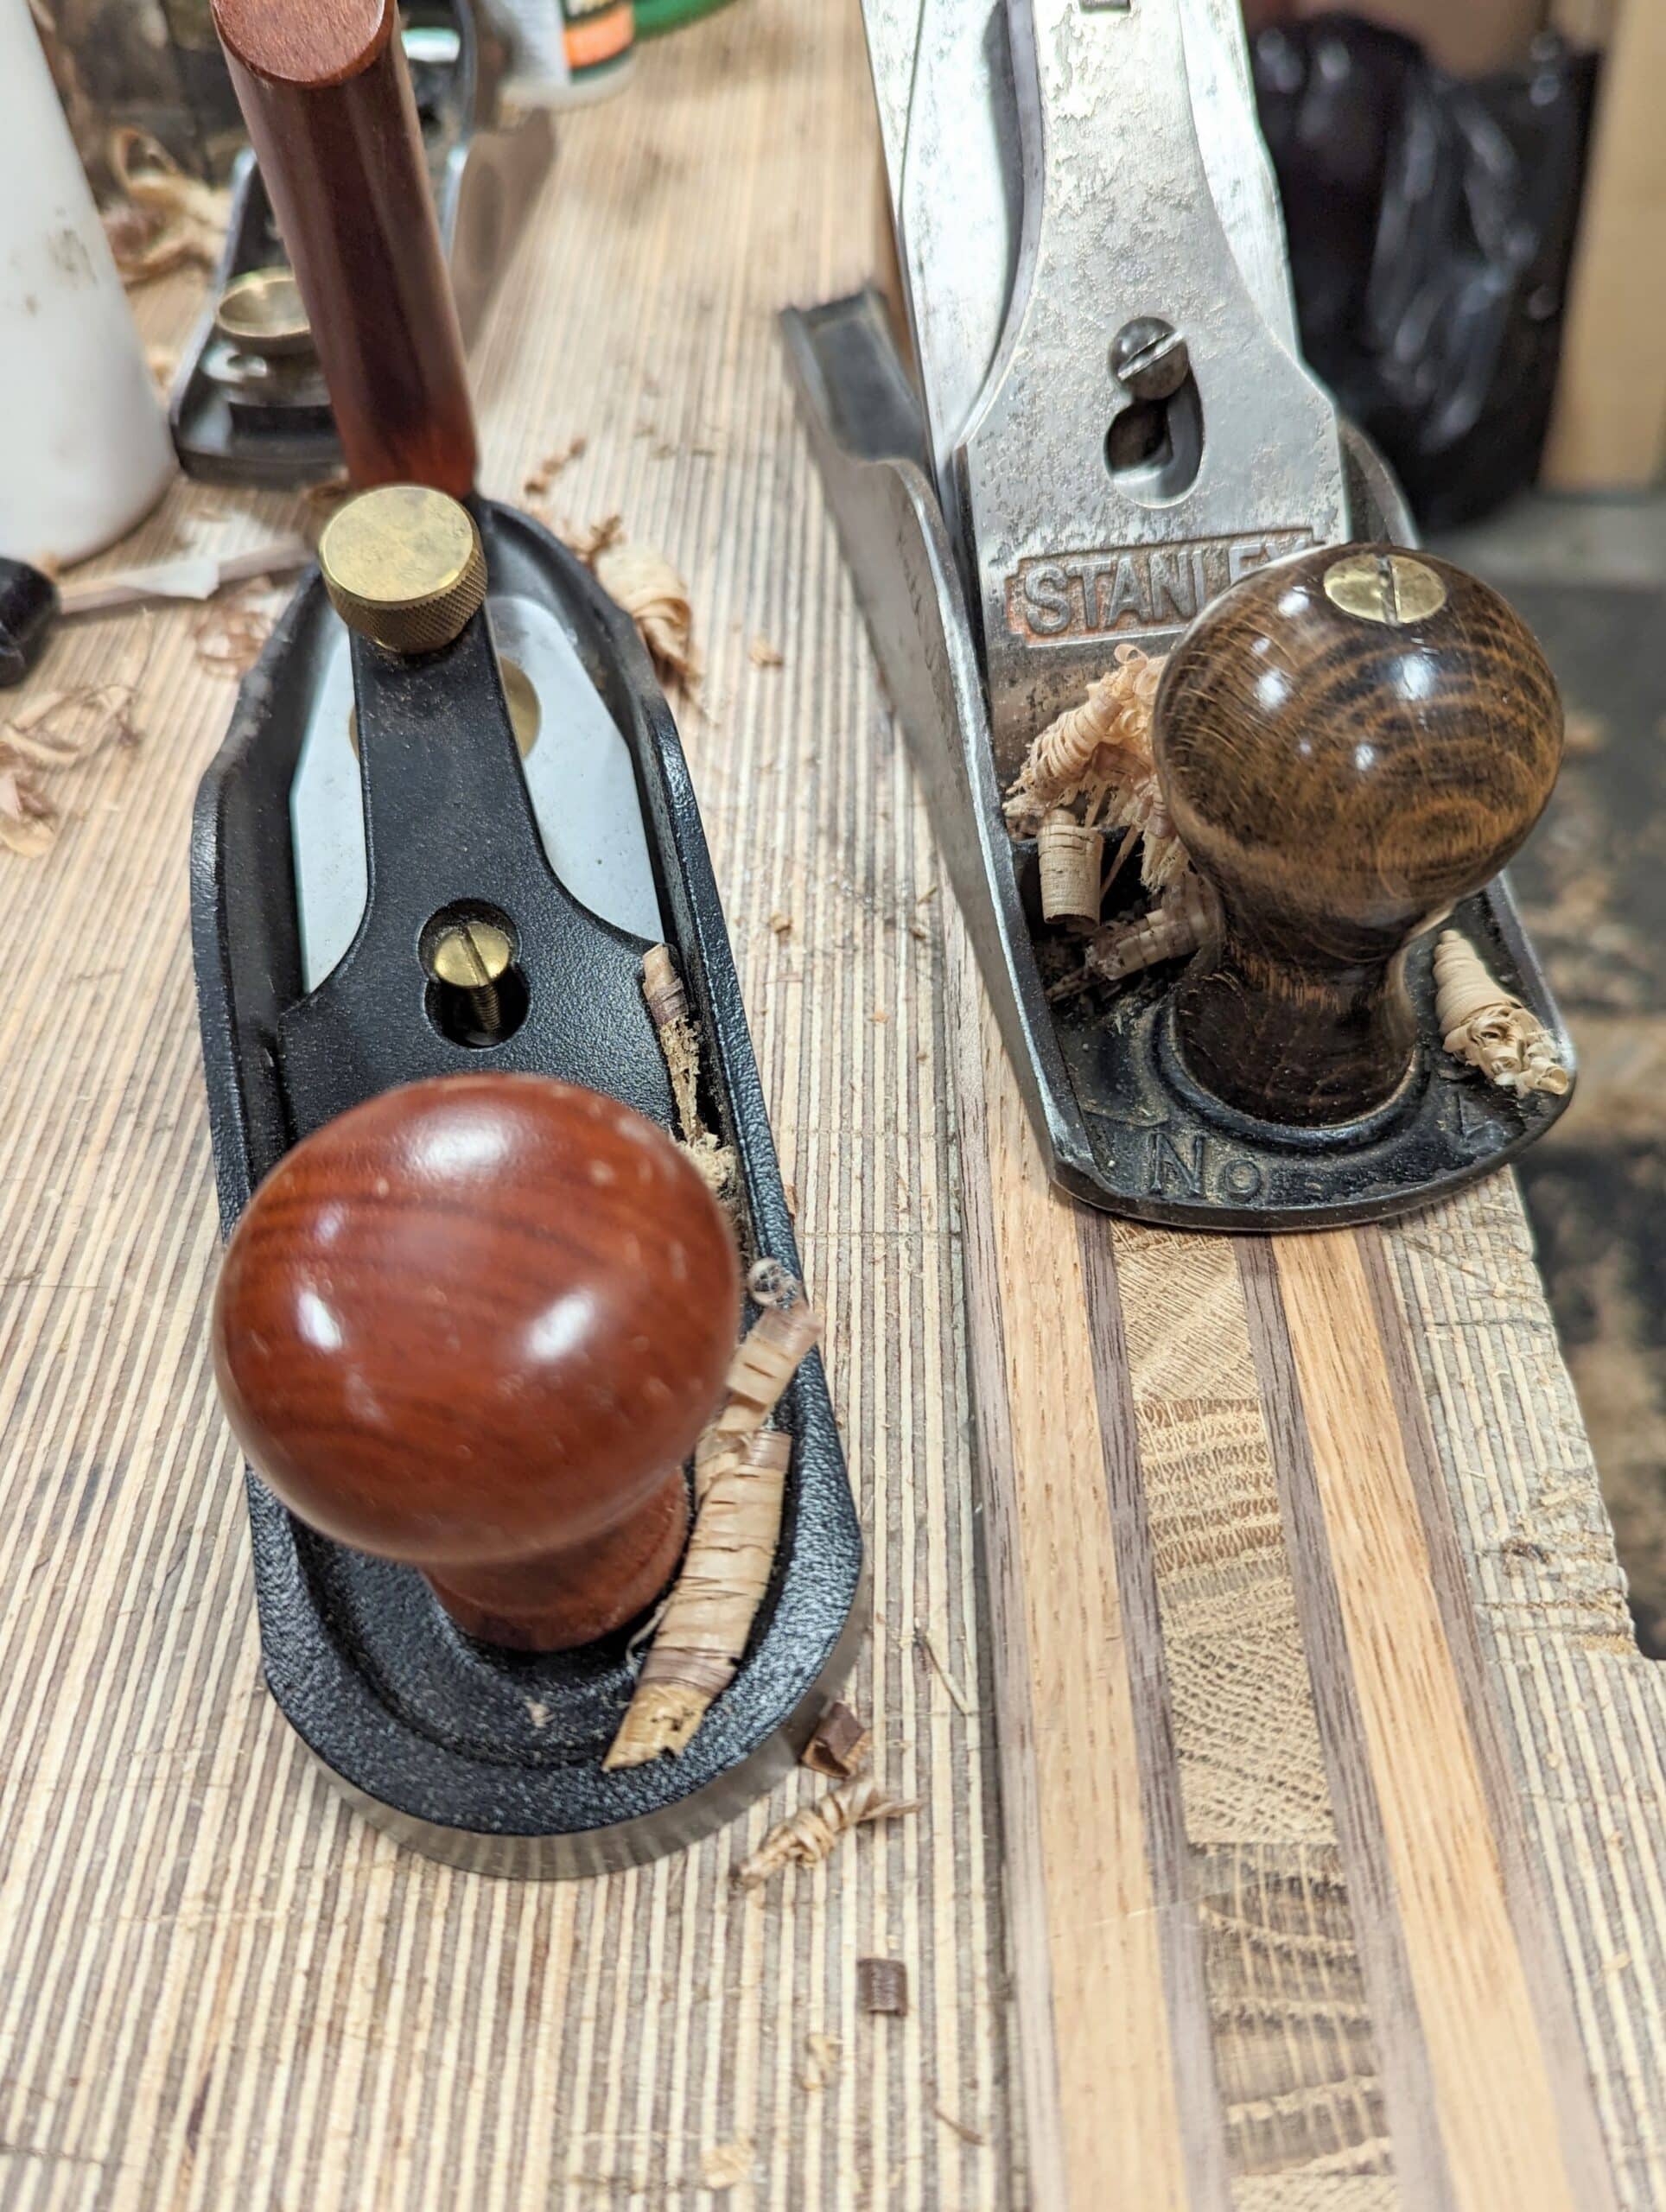
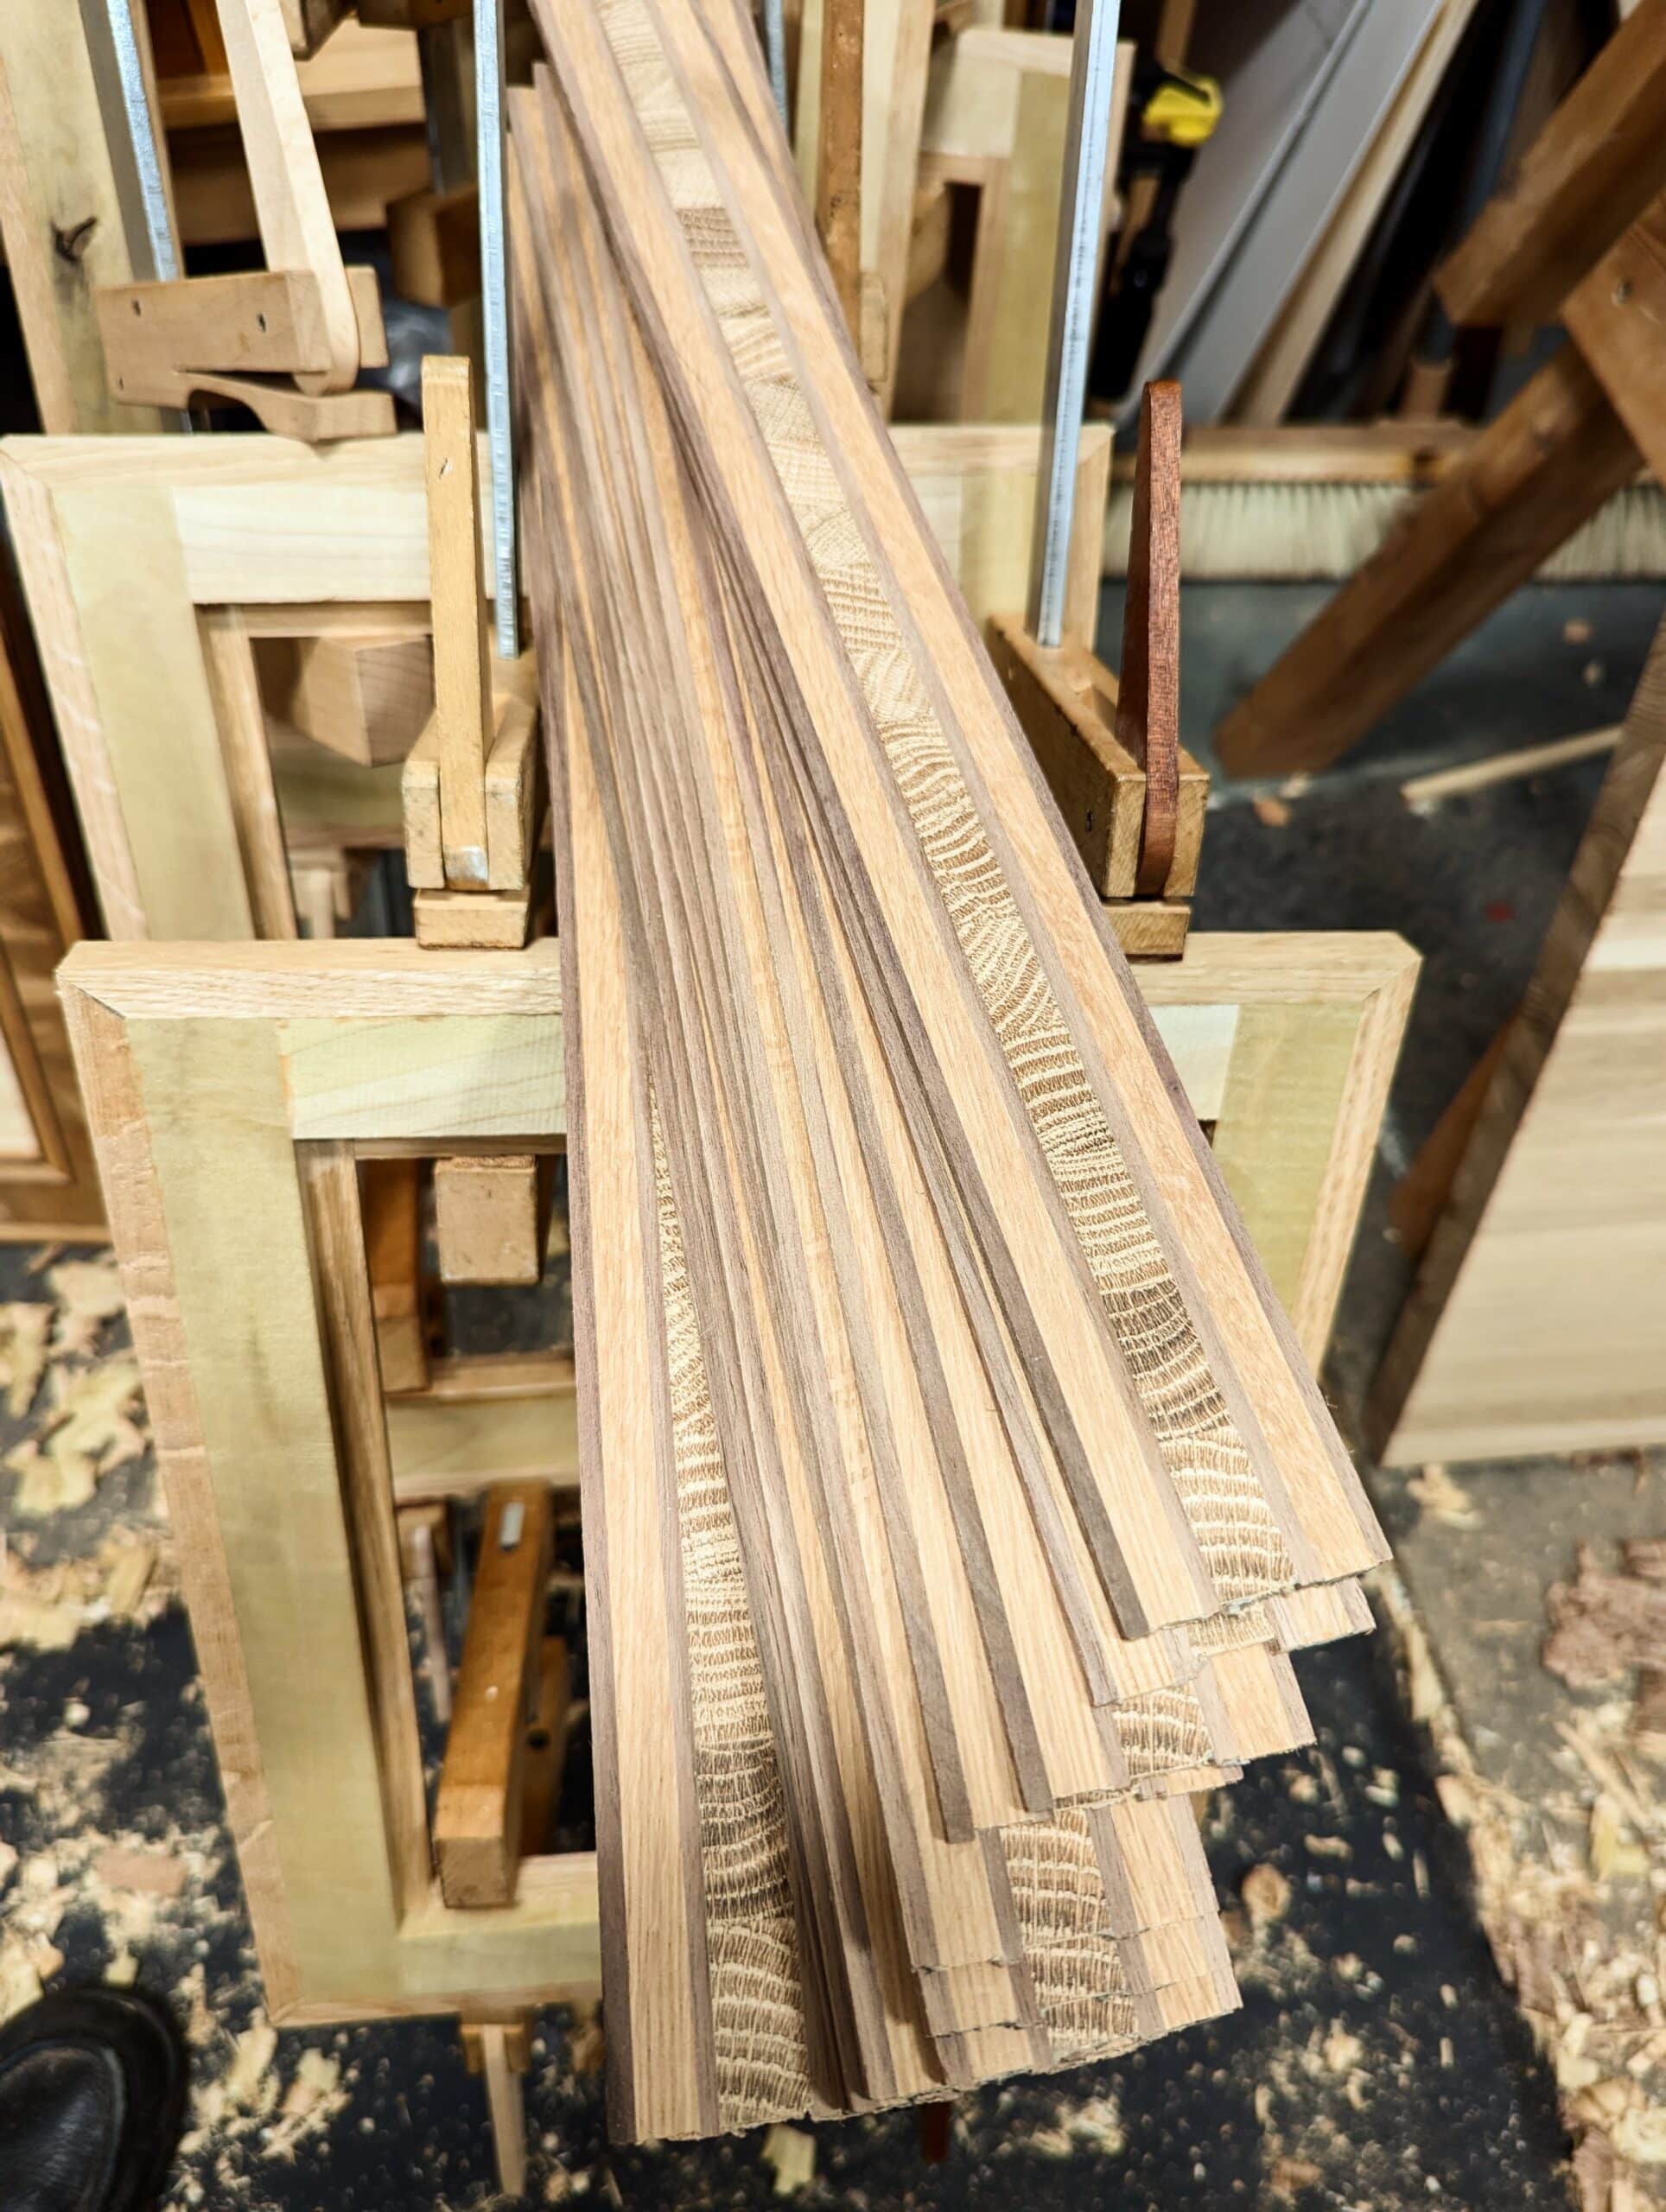
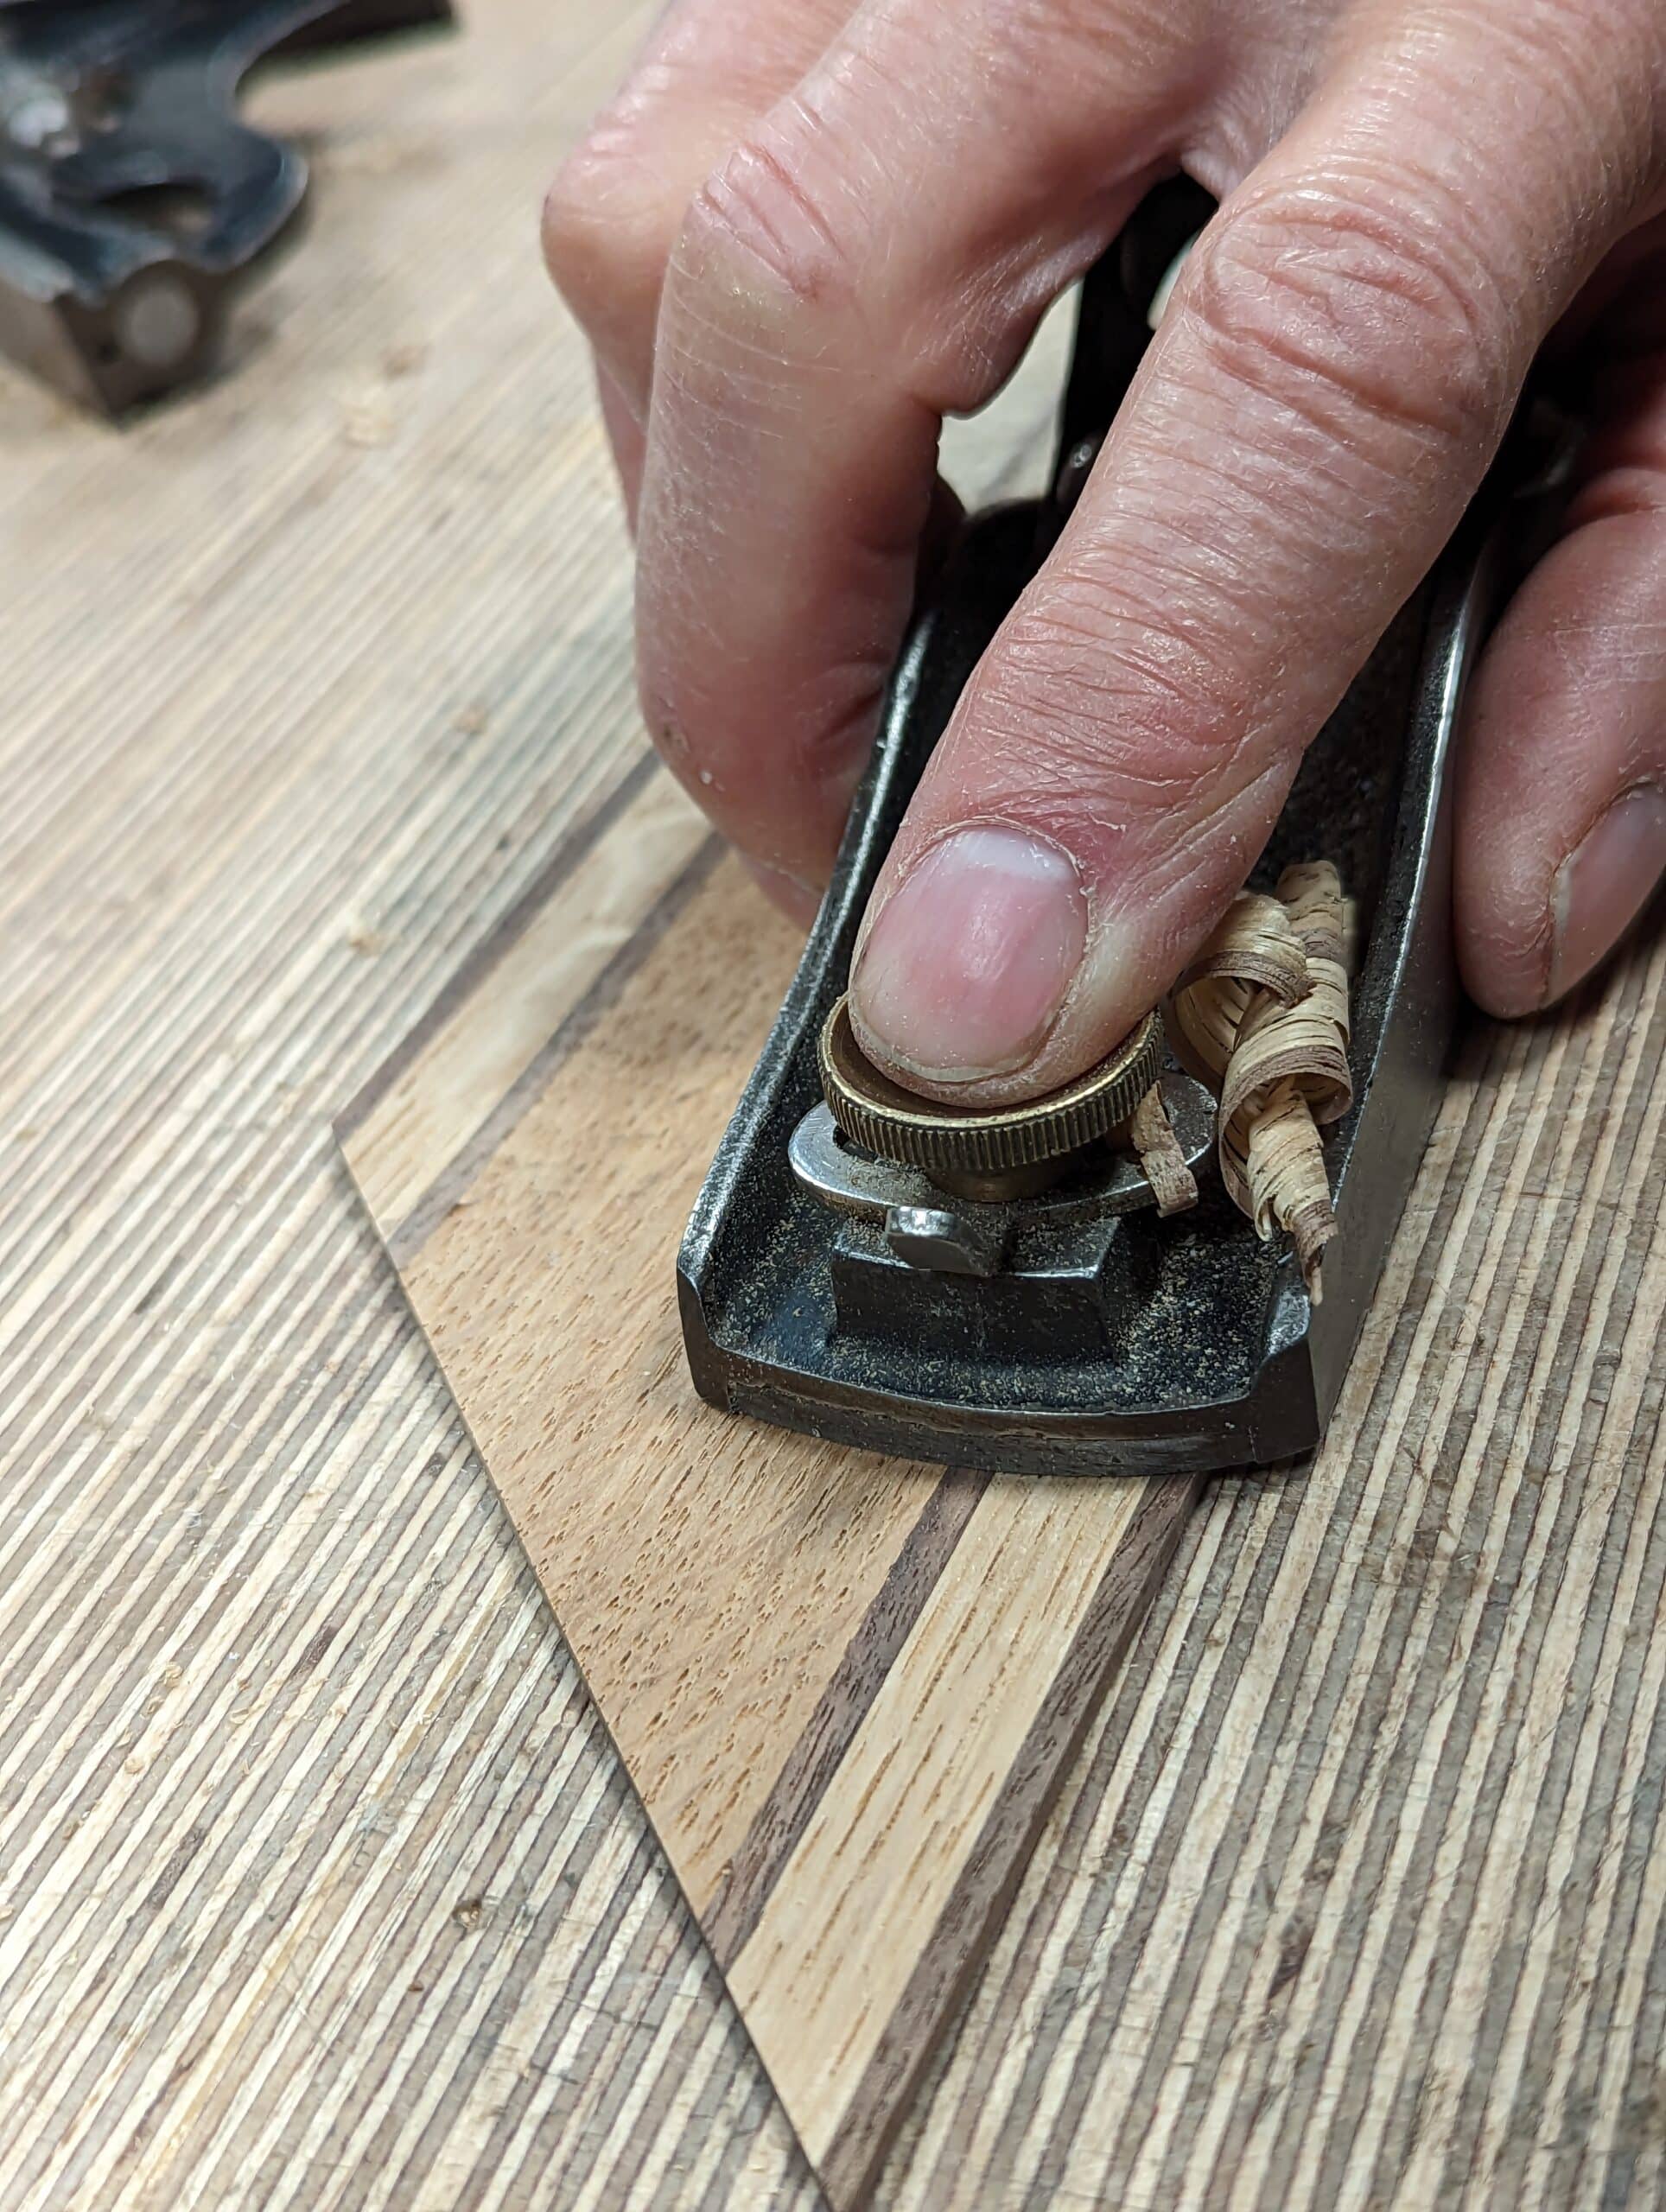
The only plane that really worked the best on my hand-worked veneers was my well-sharpened #4 Stanley. Though my veneers were substantially thicker, they still needed working carefully. This was especially so with the end-grain presentations between long-grain mixed woods. I confess to being surprised by something. I own a couple of low-angle planes and my expectation was that using one of these, either of them, would easily tackle the mixed grain directions of my facings: far from the case at all. As soon as the cutting iron touch the wood I could feel tremendous resistance. I took the blade down to a thousandth of an inch and it was still there. how could this be? I considered this one reality. I have seven pieces of wood side by side. It’s all too easy to think six of them are at least oriented the same way so the standing grain of end grain should not really present much of an opposition. Well, all of that’s true, but it was the combination of opposing grains together that gave me the greatest opposition even though, as in the case of the walnut, the grain facings were only one-eighth of an inch wide.
Making sure that the planes I tried to work with were truly sharpened as best I could get them the best plane or planes were the #4 and the #5 Stanleys. Even the mitres came out best using the #4 Stanley although I also enjoyed the Stanley 60 1/2 block plane for some of the work, removing arrises, trimming levels, fine-tuning the odd mitre and such. So what made the greatest difference using say my #4? I think mostly it was the sensitivity I felt through the body of the plane. If you have ever ridden horses and different types I can only compare this to the difference between riding a Clydesdale draft beast and an Arabian gelding. Somehow the grip becomes truly versatile where one minute the hands rest either side with no grip taking place anywhere apart from a simple straddling

The low-angle block plane fared well in matching my #4 Stanley on thin stock trimming up edges to level where the height of the #4 restricted my using it. For single-handed use, it generally knows no equal so I used it primarily for knocking off the sharp arrises around the frames and inside corners.
Hi Paul,
your frames may not have the moldings of traditional frames, yet yours have a certain unfussiness & deceiving simplicity. You mentioned wanting to make a work of art for your art, in my opinion you have succeeded. The darker lines work beautifully to give the illusion of depth to the frames.
Perhaps it’ll only be people who appreciate wood grain – the different textures & patterns – who will truly appreciate these designs & the work that goes into them, I feel, however, they would have an appeal far beyond woodworkers.
Thanks for all your work, Paul, you have been an inspiration. I just wish I had come across you years ago.
I think a single frame will take me a full three to four hours totalling my minutes but can likely make three to four complete in a day. That makes it practical and I will never be in mass-making, though it could be done very easily if I wanted to.
I love the optical illusion of bevels and different levels on the flat fronted frame.
I was thinking of trying one of the bevel down planes but now I think I will skip that one.
I’ve owned a Millers Falls block plane for 50 years. That plane with the original iron has always performed flawlessly (once I learned to sharpen it).
I really like your picture frames and your reasons behind the design.
I really need to rethink my methods behind my design ideas.
I love those frames, unique and beautiful. I’m going make some those for my wife.
I have always heard end grain and long grain is a recipe for cracked wood. Is this not the case when it is so thin such as this?
I’ll find out then … not really. I very much doubt that your source is reliable. Isn’t it funny that we can hear something and not do something and possibly miss out? Truth is it will especially work on thin facing stock whereas I would never do this for say a tabletop.
Thank you! I’ve been a long time fan. You have just opened up a whole new creative world for me with mixing end grain and long grain.
I’m interested in the joints: I can’t see any angled wedges in the corners. Nor do the corners appear in the photos to be bridle joints. How’s it done?
The subframe is mortise and tenoned at the corners.
Look at the 7th picture (the frames under the decorative strips). There is a batten glued around the structural frame. So the joinery isn’t anymore visible on the edge.
Brilliant! Did I miss where the end grain veneers came from?