A Quick Truing Strategy
With so much of my work being planed and trued by hand I use something of a simple strategy that really works well and especially with the short lengths we generally use in furniture making. Though of course we have long lengths for bedsides, head boards, tabletops and wardrobes but the rails and stiles, frames of cabinets rarely go longer than three feet. I would offer that 90% of our wood is under the three-foot length. I would also say that the smaller the component the more must strive for dead-on flatness. Any compromise on this will always result in severe twists in the final panels and frames we make. The narrower and shorter a stile or rail is the greater the resistance against any leverage we might try to counter twist by. We should resign ourselves to removing any and all twist as much as is humanly possible. This becomes all the more important in our decision to not resort to the use of machine methods for truing our wood.
The first and most critical face is the large flat face from which subsequent faces and edges take their reference. Once this face is refined we can square the edges and make parallel cust following gauge lines we run with marking gauges. I will assume we all know about this for now because my main focus here is to show how I deal with short lengths to establish that first dead-flat, untwisted face for which I accept no compromise. Why? If I allow even the slightest degree of twist in any rail or stile or panel board it will telegraph throughout the work exaggeratedly and result in a wholly twisted frame or panel that no amount of additional work will correct.
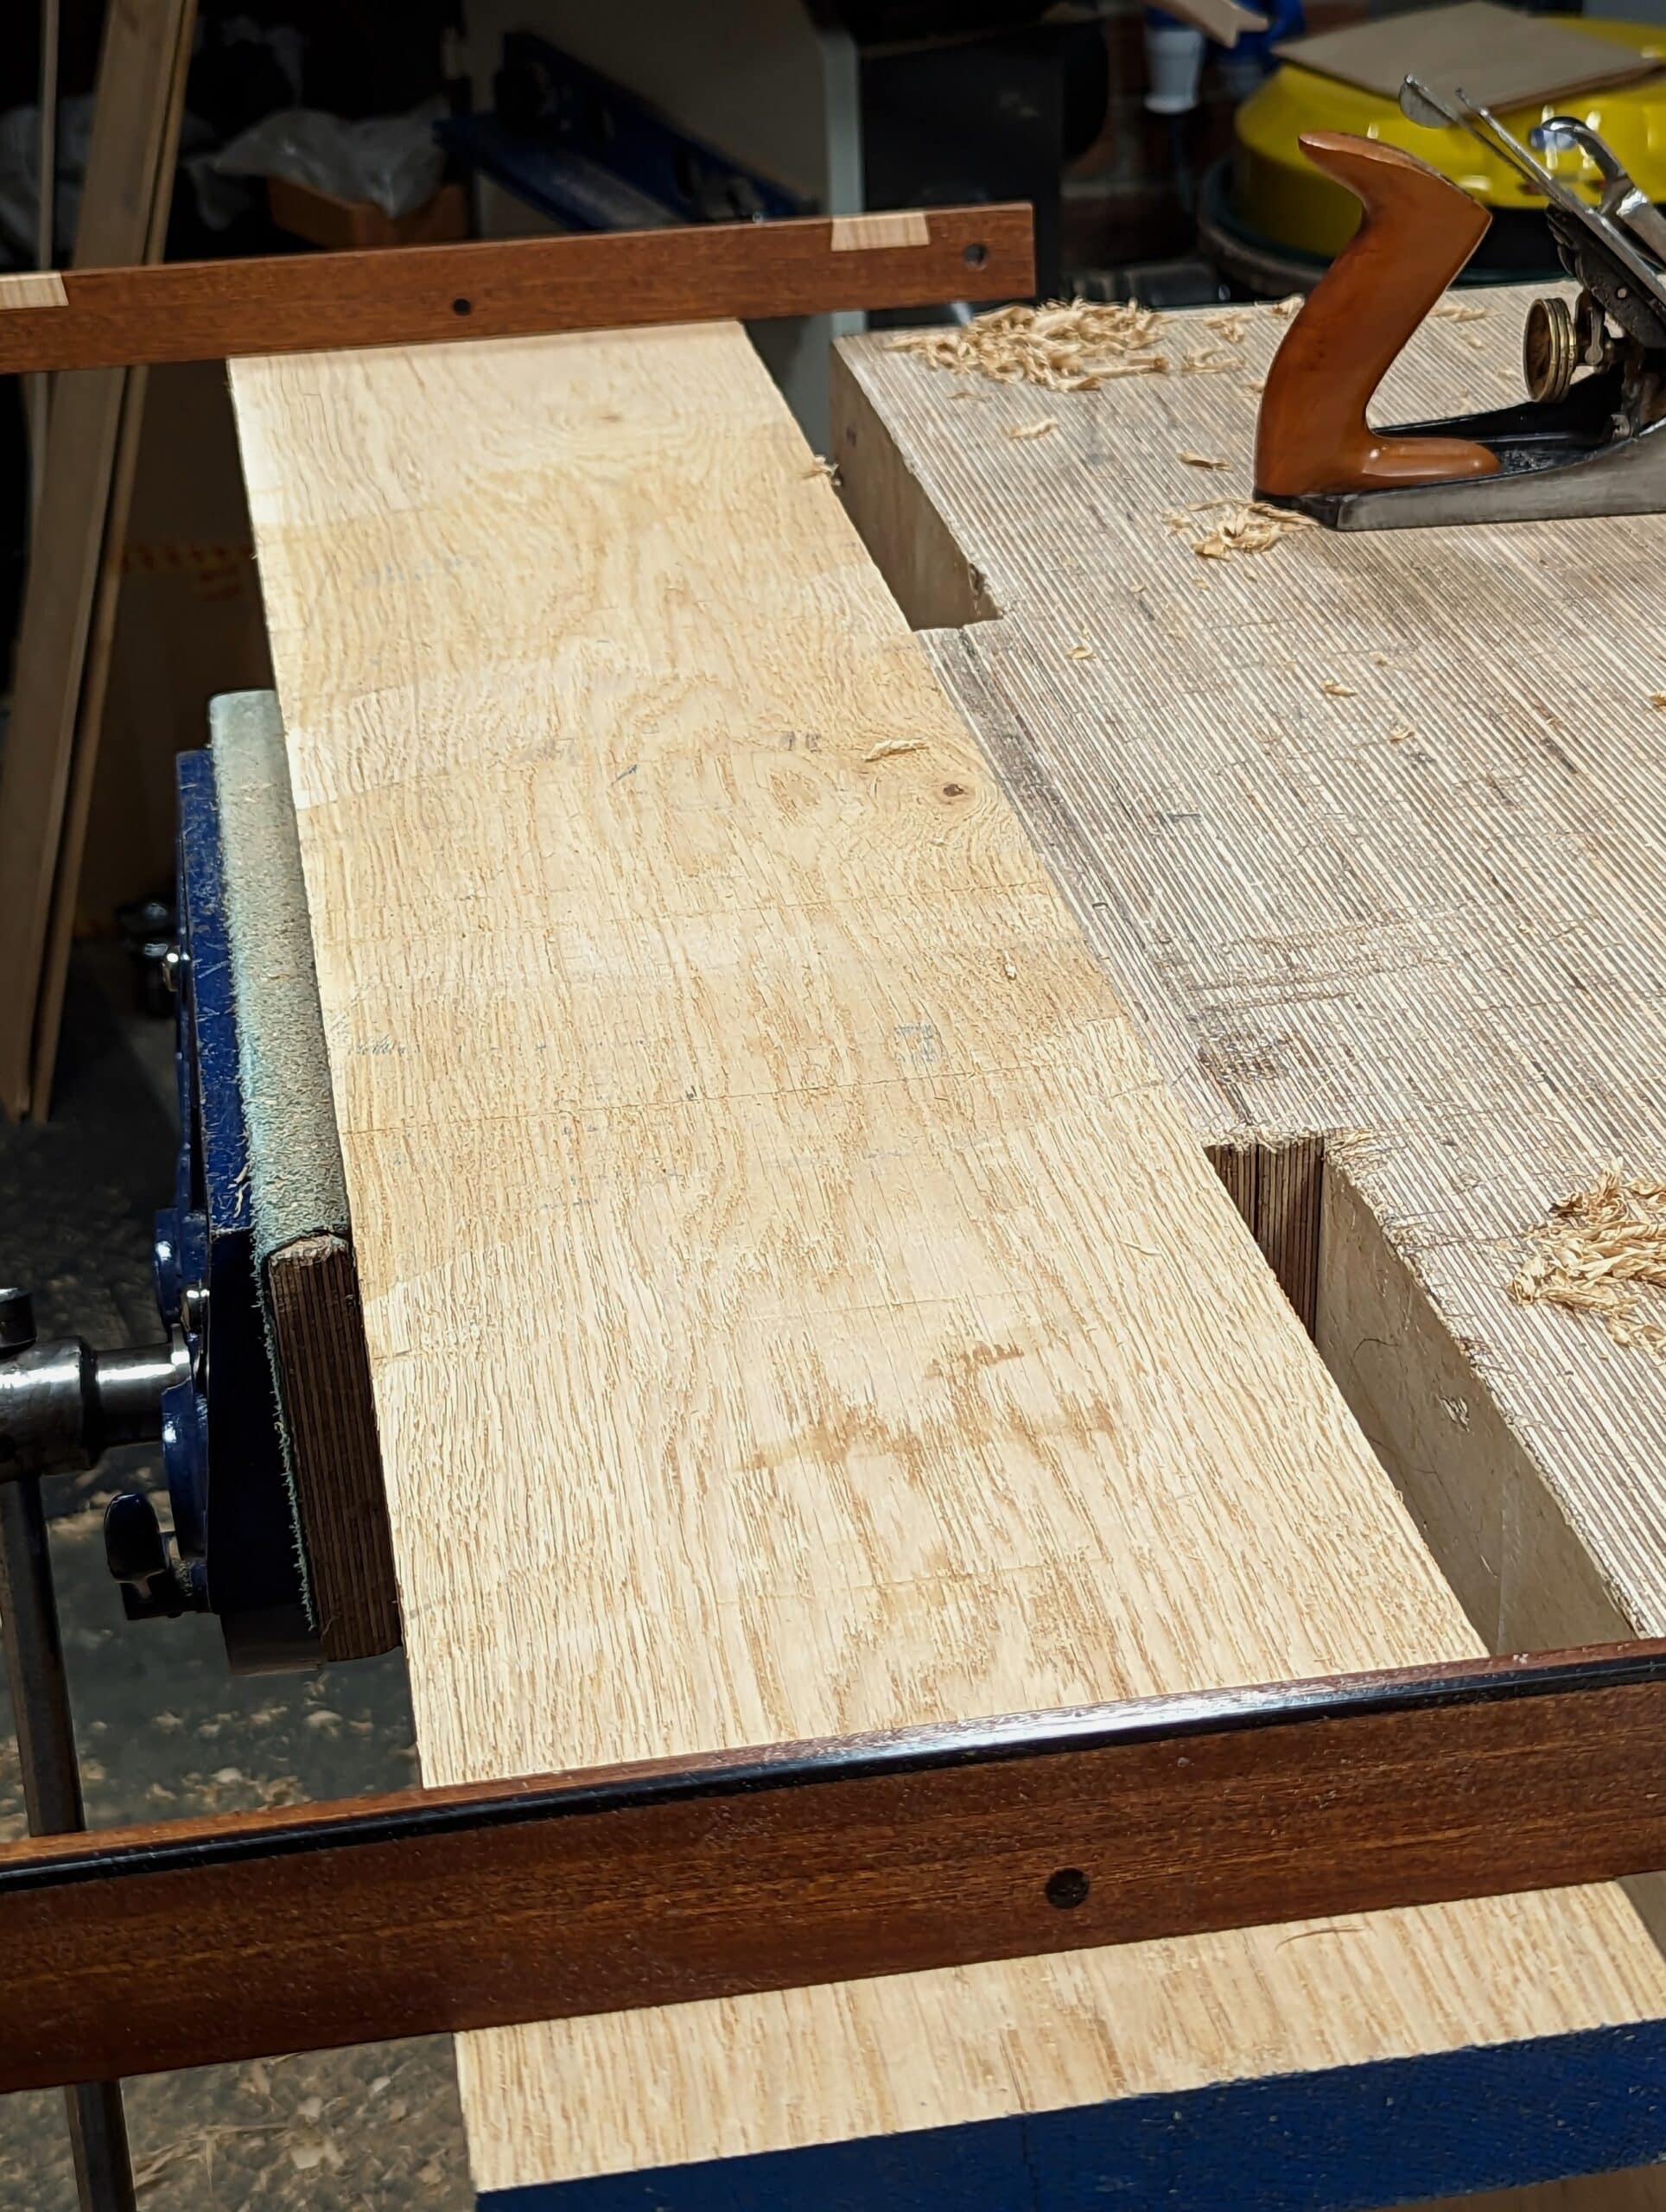
Step 1: By rough cutting my wood to length, width and thickness I minimise any effort for truing and over-exaggerating distortion. An extra inch in length and a half-inch in width is a minimal loss.
Step 2: I check across the grain with the corner of my plane to see where the light exposes the issues. Here is a cup. The opposite face will almost always show a crown but sometimes, rarely, not.

Step 3: I plane across the grain to develop a six-inch or so flat clear across from near side to far side at one end of the board . . .
. . . and the same at the opposite end.
Step 4: I place the winding sticks on the new flats near to the ends.
Step 5: I plane the highs until both winding sticks align. I try to plane equally at both ends so that the distortion is equally tackled rather than just one high corner. This helps to keep the board more even in width.
Step 6: Once the winding sticks show parallelity, the midsection is highlighted by its rough grain.
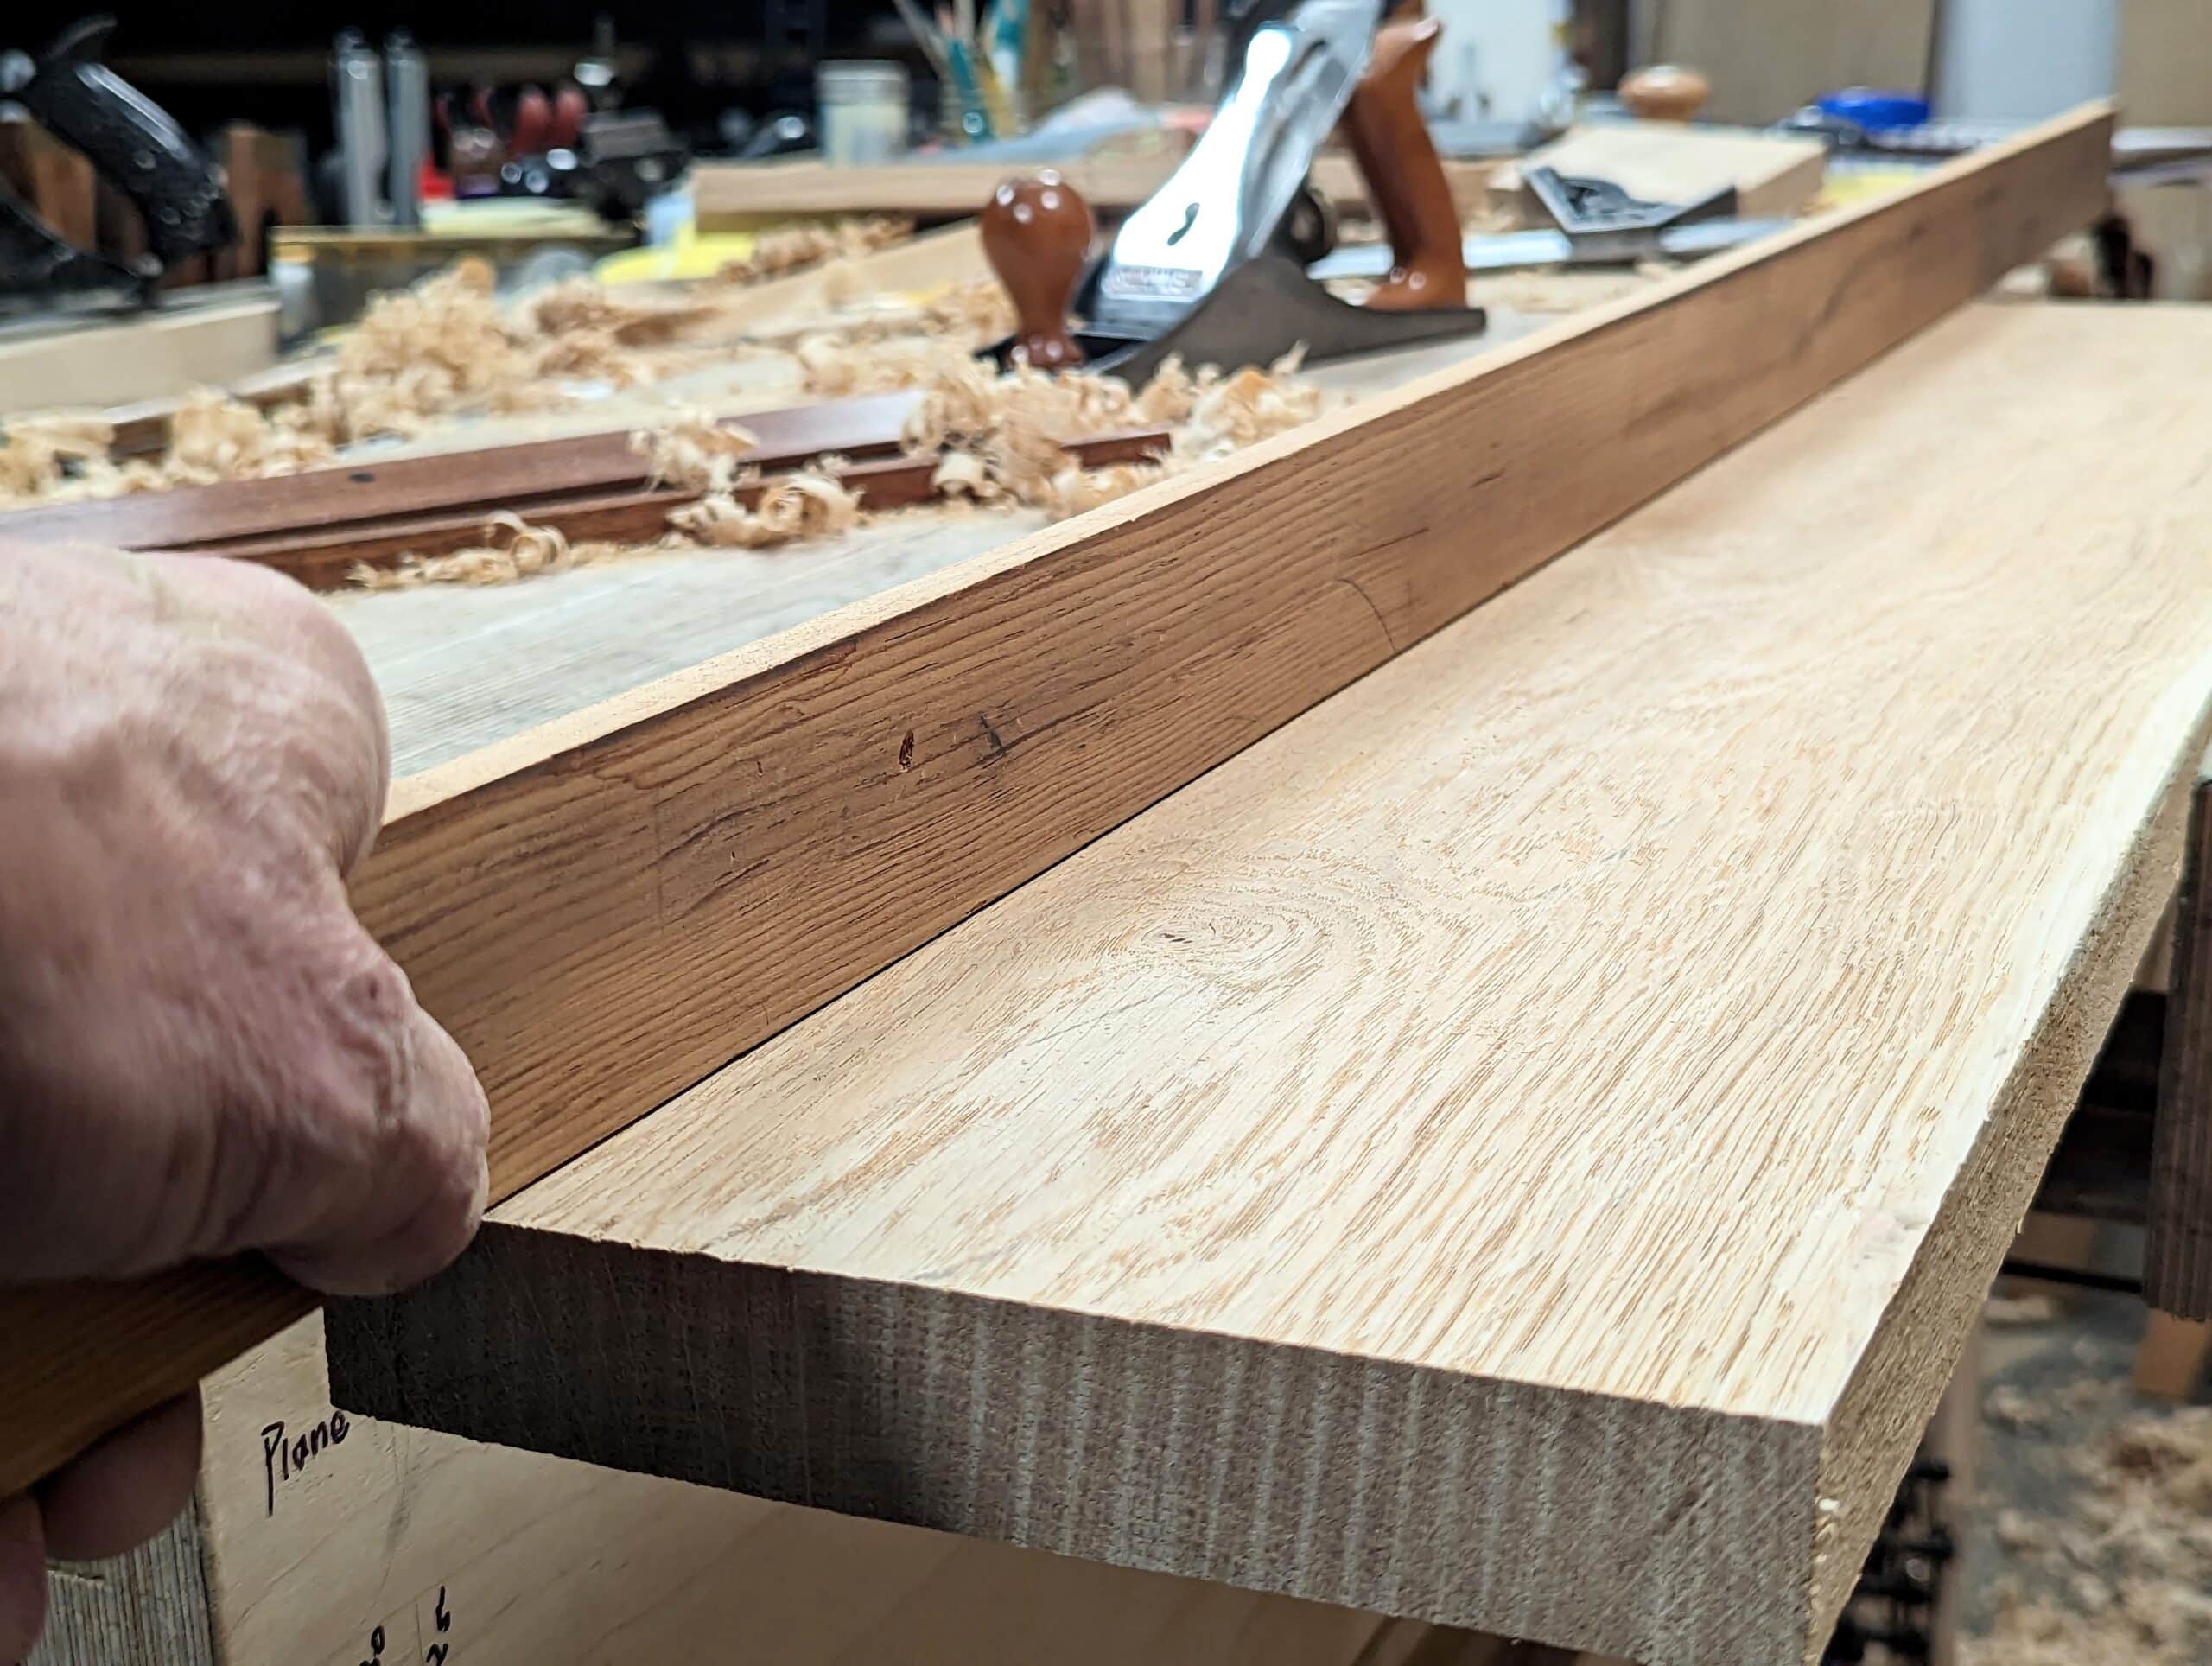
Step 7: I use the two extremes at the end as registration surfaces to finalise my taking down the midsection discrepancies.
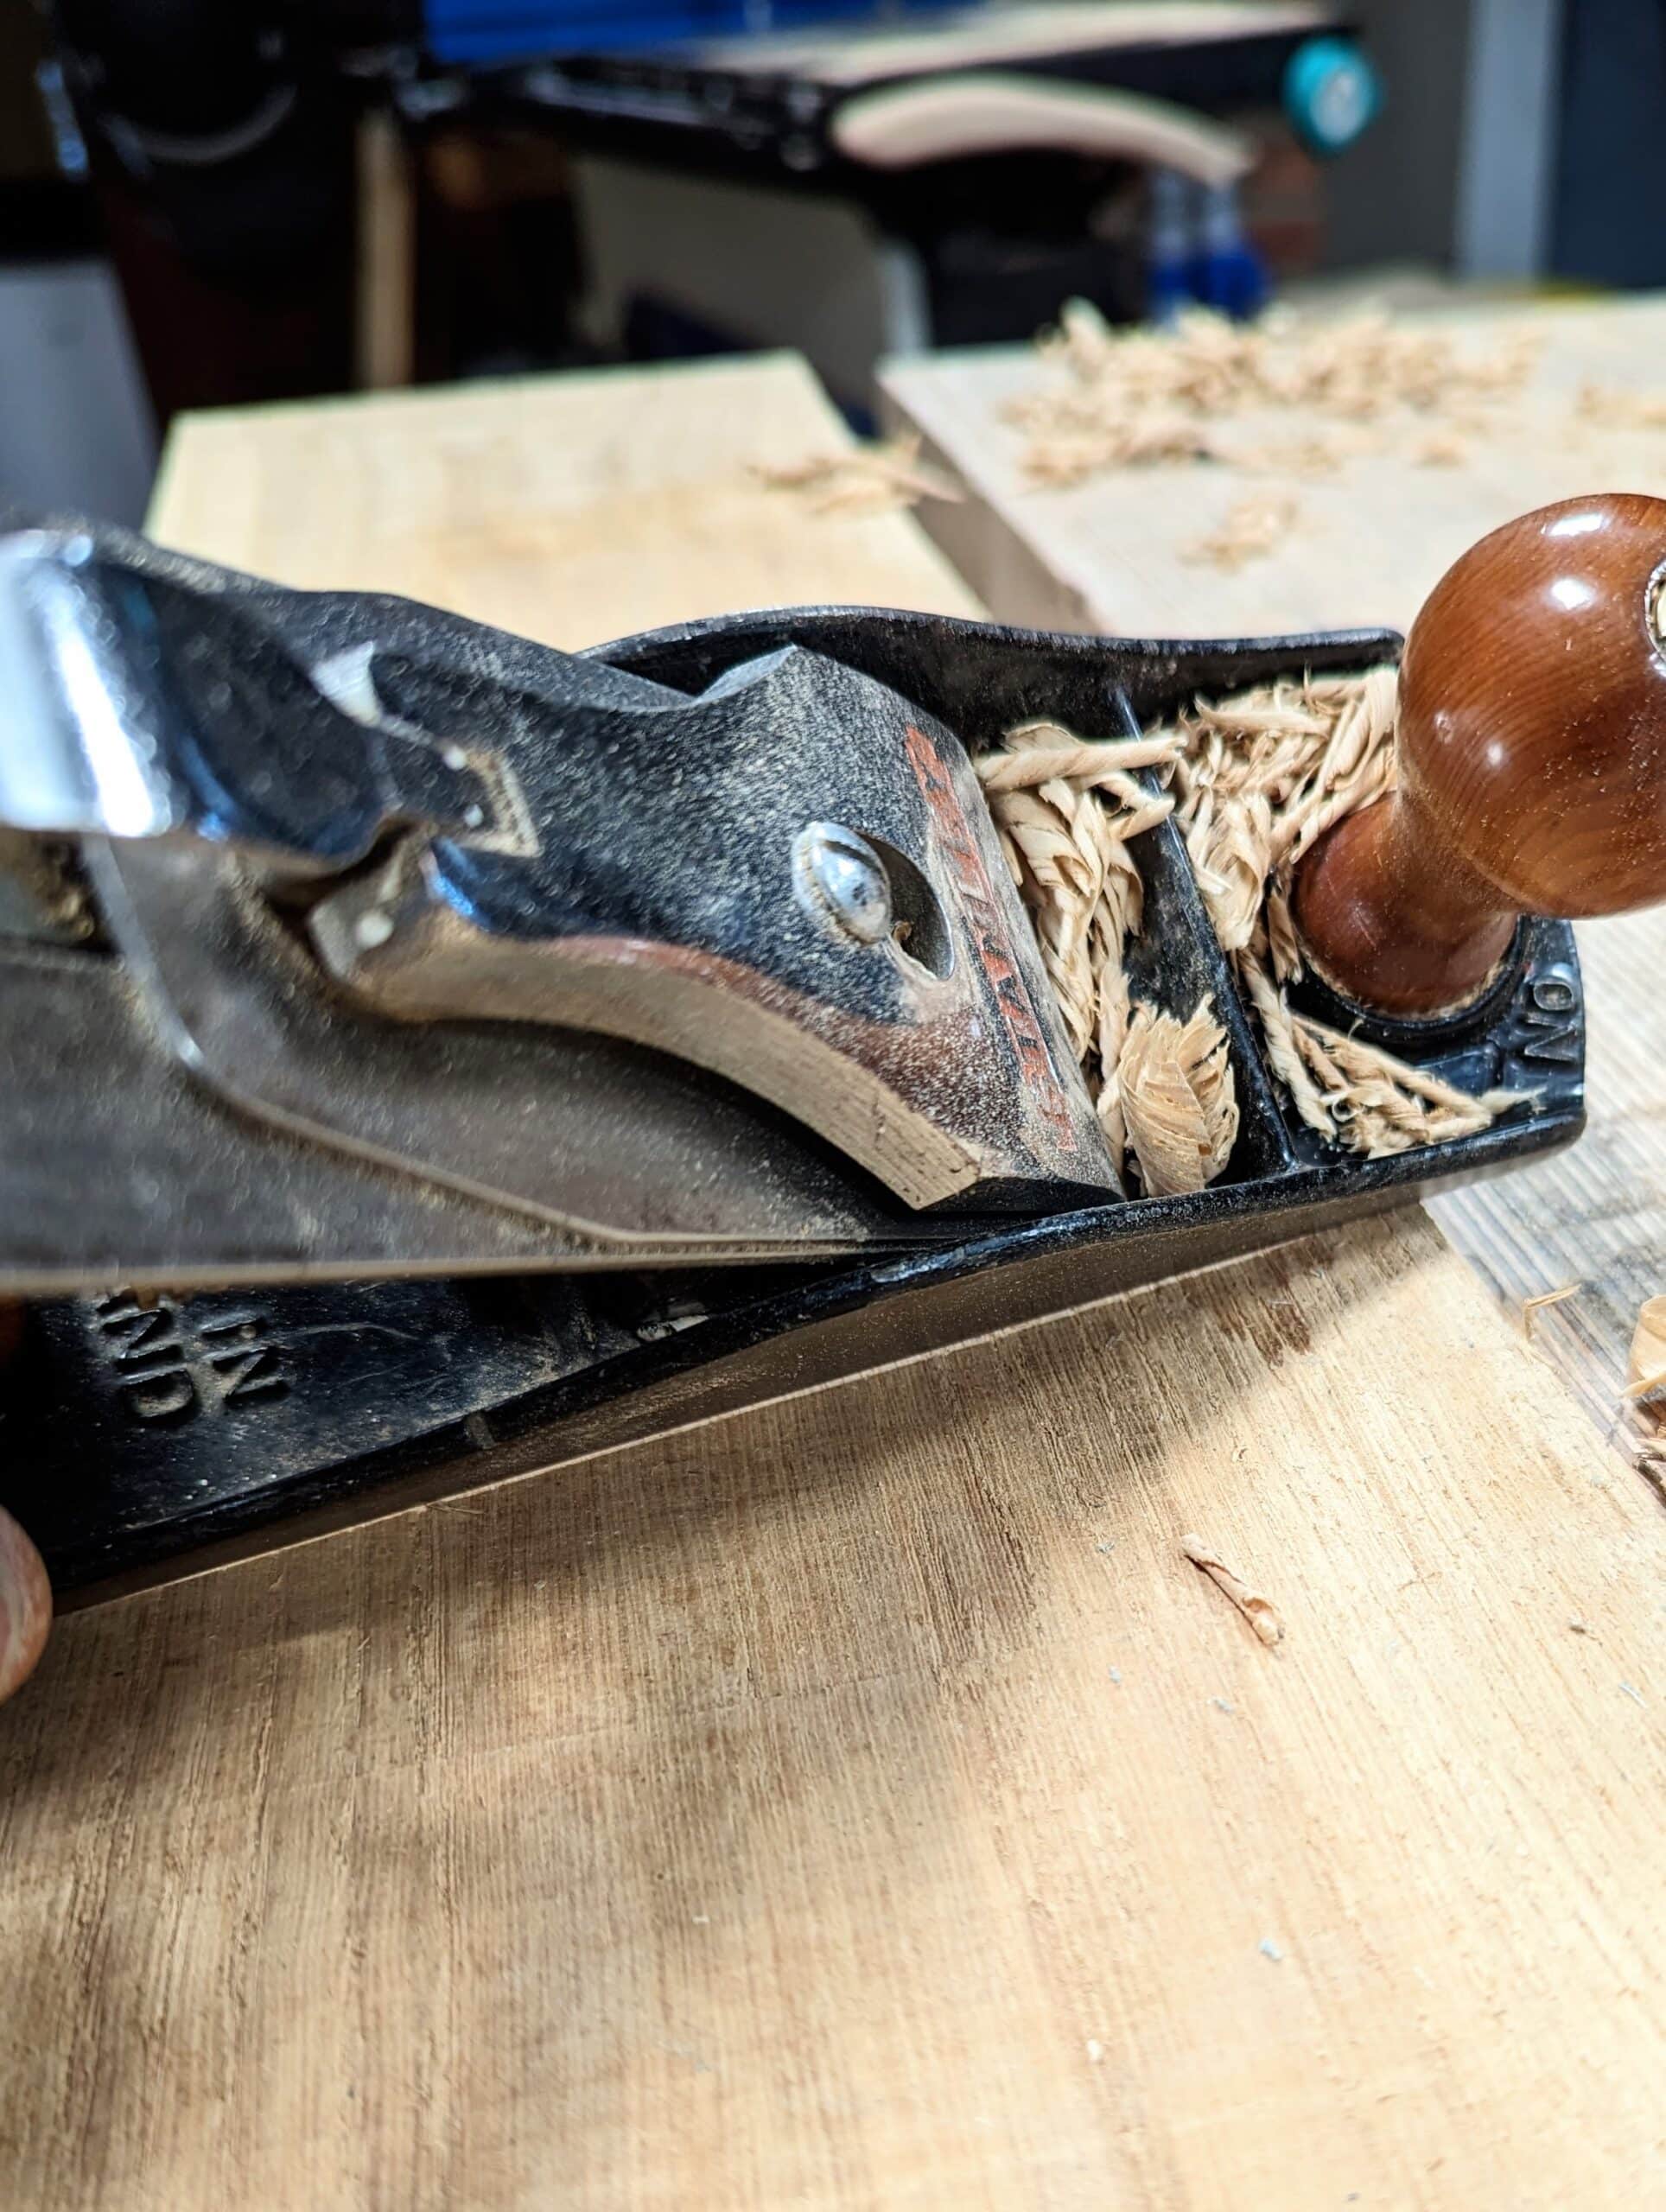
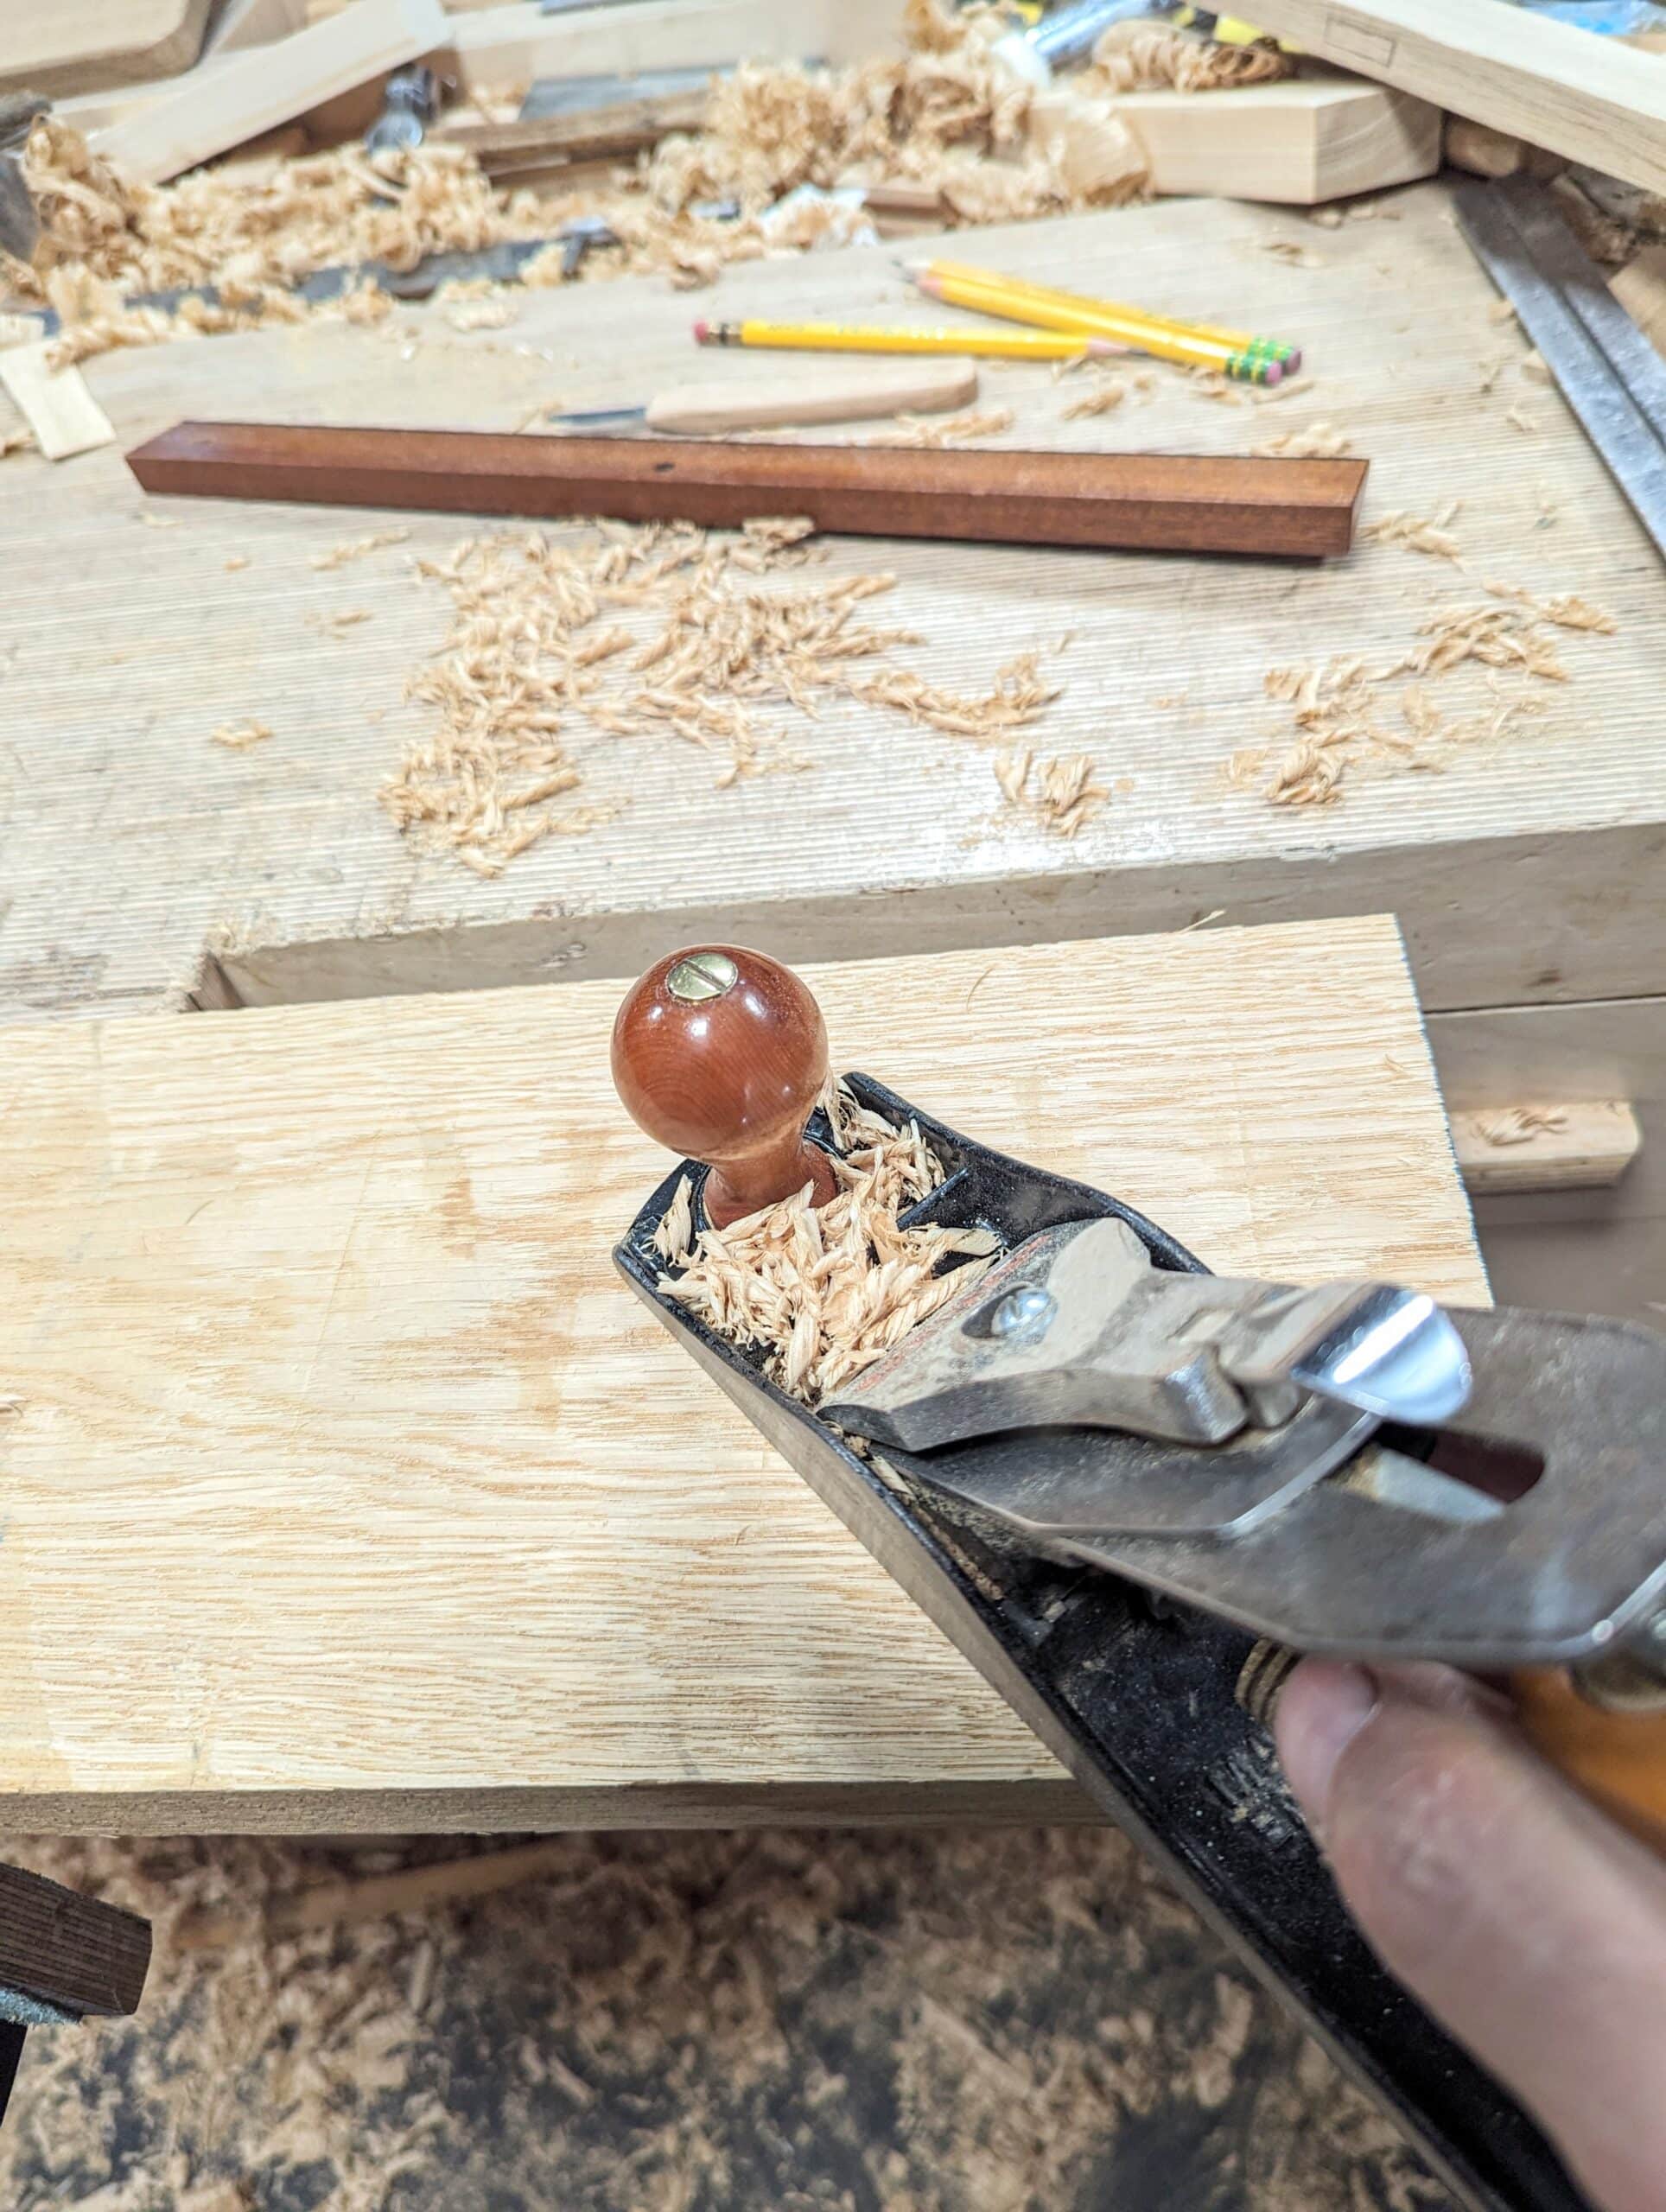
I use four planes to get my results as quickly as possible. My first plane of choice will be my converted Stanley#78 scrub plane. This is a rebate, rabbet or fillister plane with a crowned cutting iron. This plane takes off masses of wood without ripping out the grain. I follow on with a milder version of the scrub plane with a converted Stanley #4 scrub plane which evens out the undulation and leaves shallower undulation. I then go to my regular Stanley#4 for perfect evenness. From here I revert to the same series of planes for that midsection and level from end to end. The Stanley#5 comes into play if the length is curved and I need to straighten it but I can do this perfectly well with a #4 only.
Good morning, Paul:
Do you have a picture of your converted #78 Stanley scrub plane? Have you simply crowned a cutting iron for this job? Very curious as to how you use this plane
As the search function works again, just use it (the little magnifier on top of the page) to search for:
#78 scrub
There is a text and a video
Skip, Paul has some really good videos on YouTube around scrub planes. Specifically he has one on converting a 78 rabbet plane to a scrub.
Link below:
https://youtu.be/tCcDXUShX9A
That was very helpful!! I recently made some very small panel frames and I learned the hard way about this issue. I put glass panels in and one of the glass pieces cracked because the frame was twisted. I see now how I could have prepared my stock better. Thanks!
Very helpful article.
What do you do when the board is also cupped (or bowed) lengthwise? Would one need to start on the bowed side, follow your strategy to remove the twist and establish registration planes on board ends and then plane the bow down?
Seems that starting from the cup side, one would end up planing down the registration surfaces at board ends to match the cup.
Kuba,
If I’m reading you correctly, I think it would be natural just to put the cupped middle down the way to avoid the board rocking. I can’t imagine anyone persisting if they placed a board down, began planing, and found that the far end was lifting up due to a bow in the middle. If you were taking that approach, I’d guess you would just put equal sized shims under each end before planing. That would be more about board stability though, which would be necessary with a twisted board too. Otherwise, I’m not sure it would matter which side you did first.
With cup down you need to be careful you’re not putting too much downward pressure on it, which will straighten the board for the plane and you won’t be flattening it but thinning it. If you put cup side up you can work the ends like Paul says here and you can flatten the board with less worry. Probably situation dependent.
It will depend on the precise situation but in general I prefer to have more than 1 point in contact with my bench and would go cup down. Shim the centre to avoid flexing.
Ofc if it was so badly cupped and another board was not an option then I’d bring the ends down as you suggest to get closer, just for stability, then flip it again and flatten/untwist as per my wont.
Thanks Paul. Get the ends flat and out of twist then proceed to the remaining middle. I didn’t know this approach. I will definitely try this on my next project I am starting in a few weeks. Right now, in the middle of a shop reorganization (needed 240 V for a dust collector for my bandsaw). I have felt very unsettled the last two weeks with the shop having things out of place. Will be back to the new normal this weekend. Was surprised at how unsettled this has made me feel.
Yes, I know that feeling having moved a few times over the past 10 years.
Joe,
I’m assuming you’re in the UK, given you mention 240V? If so, can I ask what size of dust collector you went for? As in, hose size and unit size I mean. I’m wondering if I can get away with just my ordinary workshop vacuum cleaner (it’s quite a powerful Festool model), or if it needs a bigger unit. I’m interested if anyone has tried with a smaller option.
Thanks,
Rico
Rico, years ago I bought 110v Cummins single stage dust collector off of truck parked in a small town. Not a high price nor quality item. Over the years I’ve discovered that swapping the bag for a canister filter helped the most. Then a cyclone dust collector. I was surprised by the great difference they made. I should have gone straight to those modifications instead of messing about with better bags & other separators.
Randy
Thank you for this , Paul. I don’t recall you detailing this technique before and am grateful that you did.
Flattening the boards ends first to have a good winding-stick seating is something I always do. Otherwise, there is no relation between what the winding-stick is showing and the slope at that board end.
Interesting reflection about short stiles/rails being more difficult to constraint untwisted. (it should have been obvious)
I do the same with plane on edge. The shadow of the plane makes the gaps more visible.
While you are doing it really useful trick is to slip in a pencil and mark where there are no gaps, all over the board. Then all you have to do is plane off the marks, as they are the high points. Then repeat.
You still have to check for straightness and twist
Forgot to say; it works whether the board is cupped or bowed, and it works with the winding sticks and/or a straightedge. Dead simple – you mark the high points/areas and plane them off, repeat as necessary, with depth of cut to match the degree of error as far as possible.
I had to laugh, when I first read your directions, I read it as coveted #78 Stanley plane. I read your blog on the 78 some time ago and converted mine. Very helpful, thank you!
Paul,
How do you handle wood movement after you mill your pieces to dimension? I experienced racking of cherry panel doors after I applied a sanding sealer.
The humidity here in my Oregon-based garage workshop can go from the middle teens to above 50% in a day.
There are many complexities to our relating to diverse levels of atmospheric moisture. I just cut my poplar for my drawers, surface planed and thicknessed them by hand and the following morning two only had cupped so I planed them true again and then made my joints with undersized wood. Why the two boards cupped and the 14 stayed flat I can only guess. Nothing will stabilise if the changes of heat and moisture in the atmosphere are highly variable. Ideally you should place the material in the atmosphere in which it will live and make as soon as the boards are sized. Also, applying a finish to any and all surface s asap slows the uptake of moisture so moistrue exchanges from high to low has less of an impact.
Paul,
Thank you for your quick response.
I agree, wood can be unpredictable. Since by debacle with my cherry panels many years ago I now mill my stock in stages allowing for movement. Sometimes waiting weeks between milling. This is doable for me as a weekend woodworker.