Would the Router . . .
. . . by any other name be as sweet?
Mention router to anyone and the mind immediately conjures up thoughts of a screaming, two-handed hand-held machine in Bosch turquoise, Dewalt yellow or Festool bright green and black. Additionally, that is with you the machinist wearing protective headgear like a gladiator ready to do battle. Sadly, this for most woodworkers might well be their everyday and even all-day workwear. In my world of making it really doesn’t feature at all. I do own such a beast, but it’s been encased in its black plastic box for more than ten years to date.

I love that it’s like that. I find it important to focus on keeping fit and dextrous. Developing skills is equal to sports; we must use our bodies to a good maintenance level plus some. Teaching and training others, developing, inventing and designing a de-industrialised work life keeps me pretty time as well as very satisfied. I love to focus on the art where developing recreational skills features highly in my daily work. The demand for self-discipline and determination. are ever-present as a regimen for good physical and mental health.
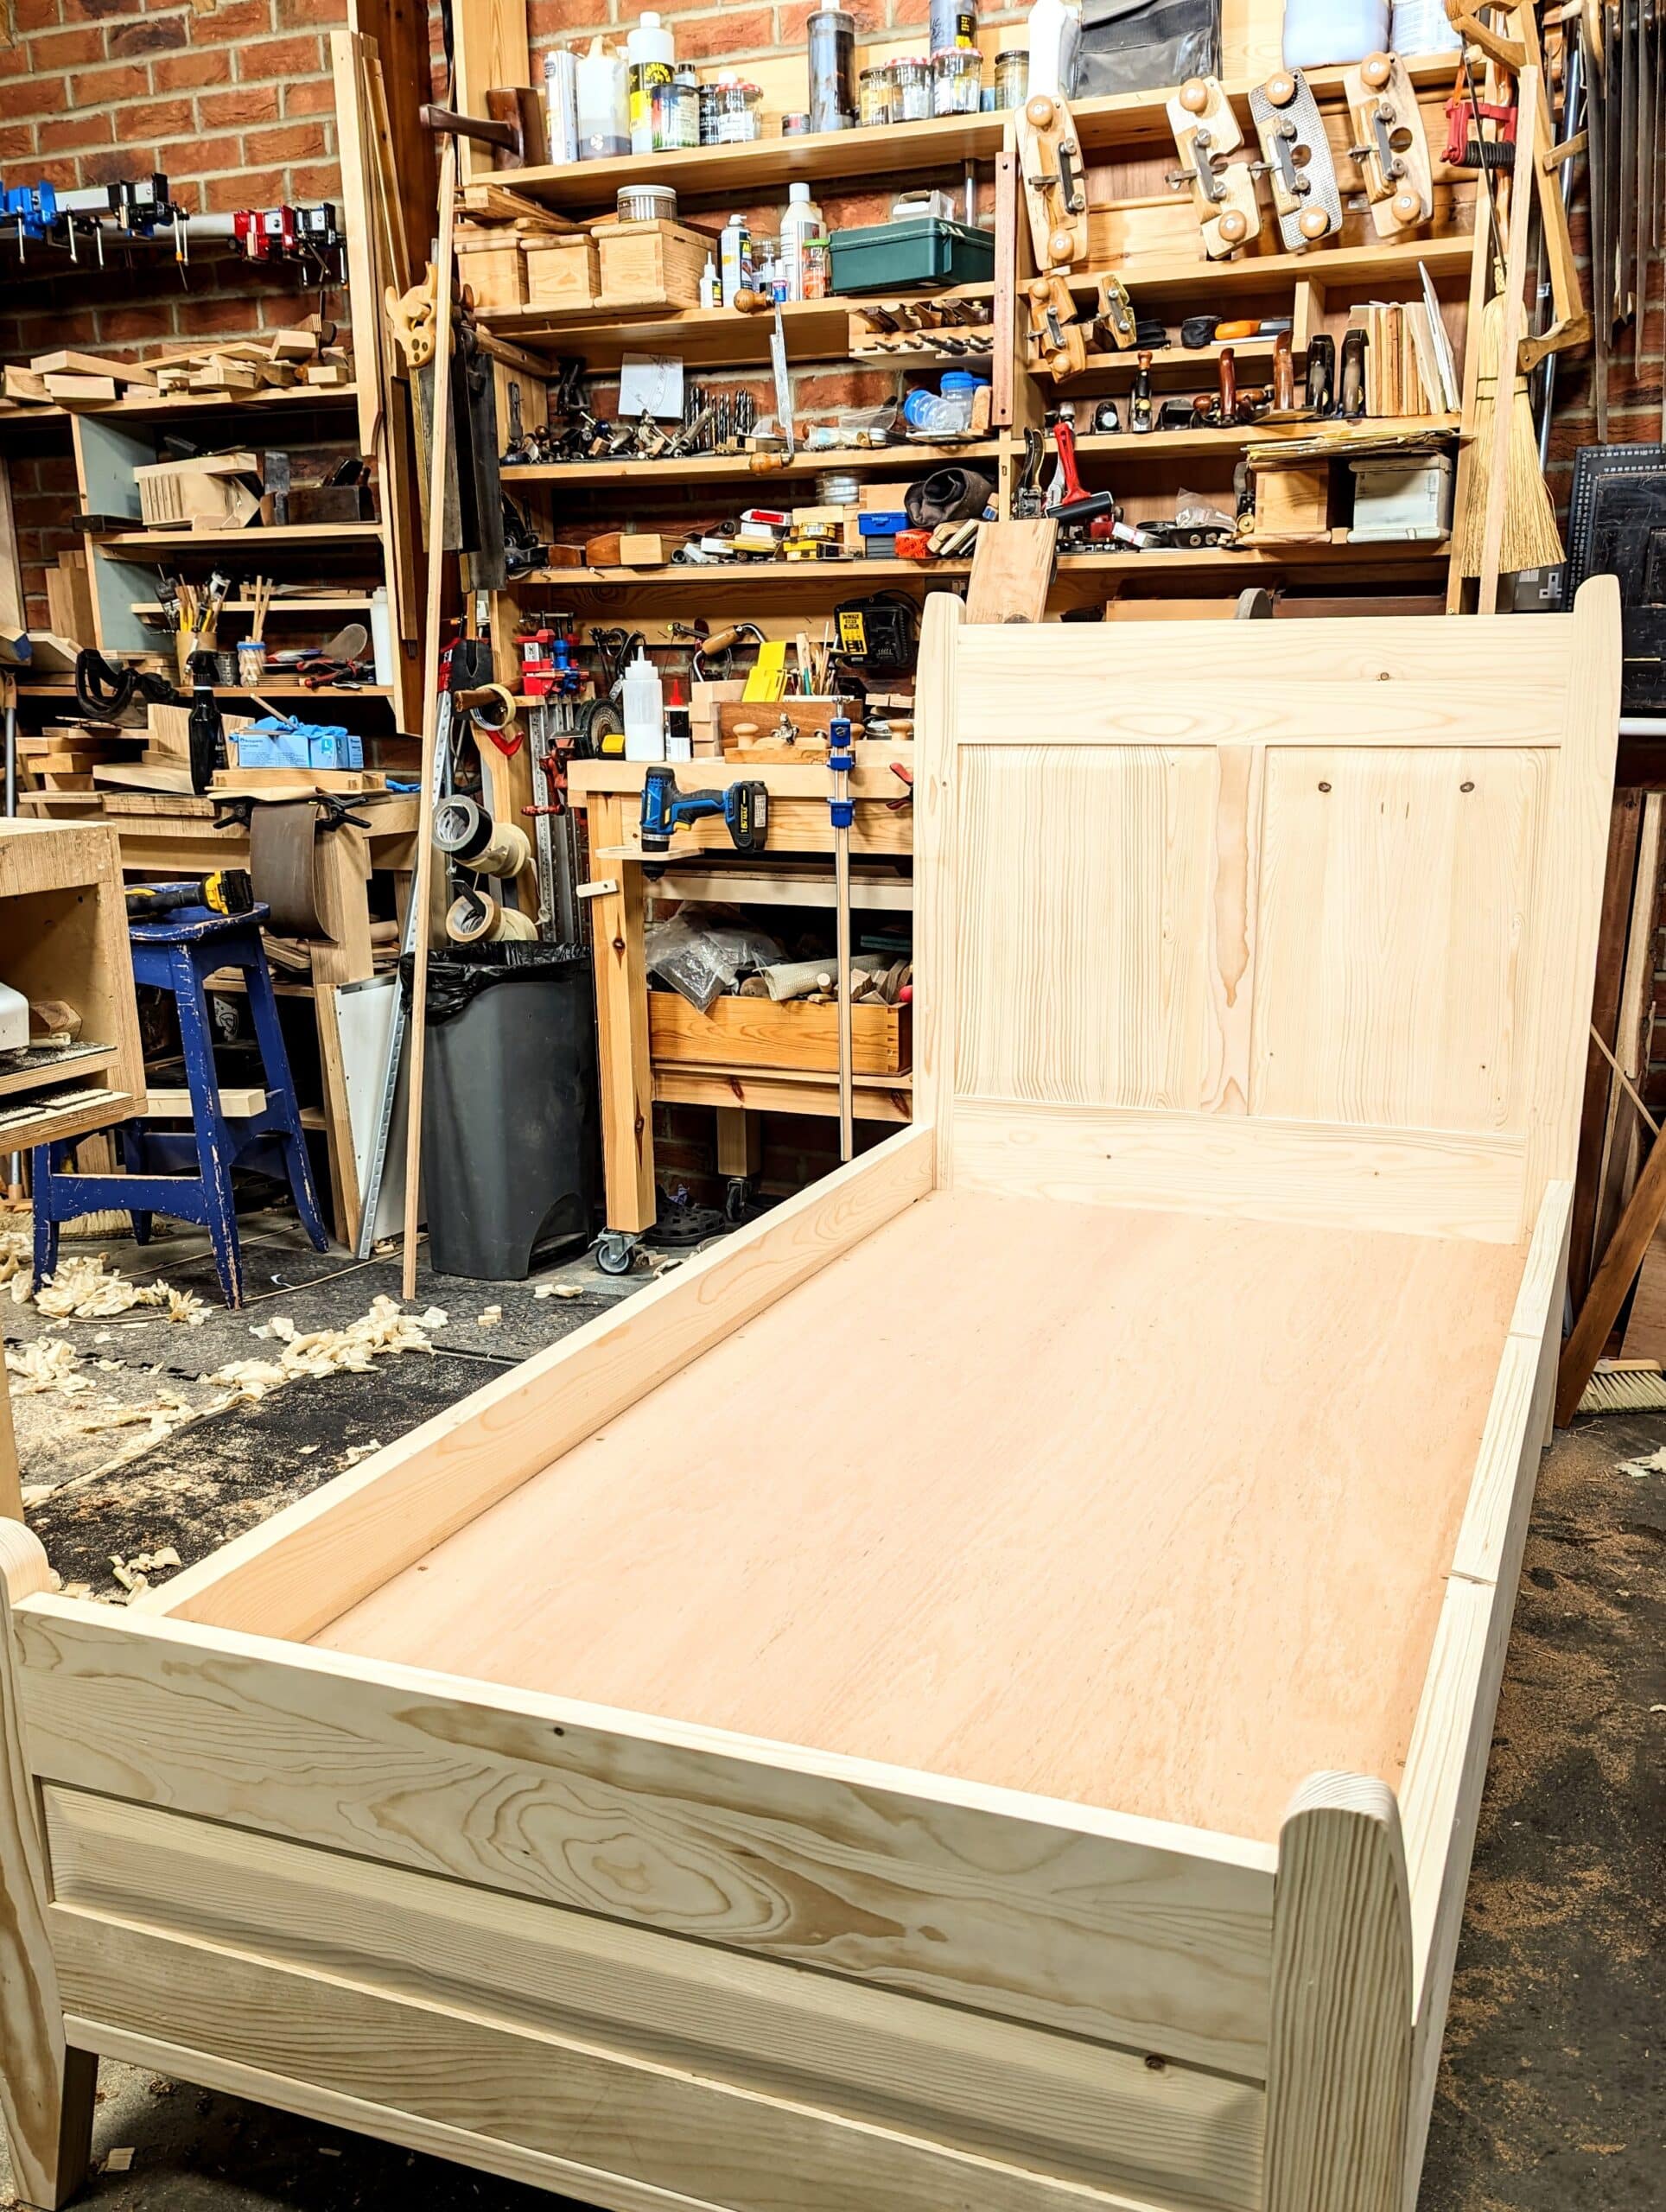
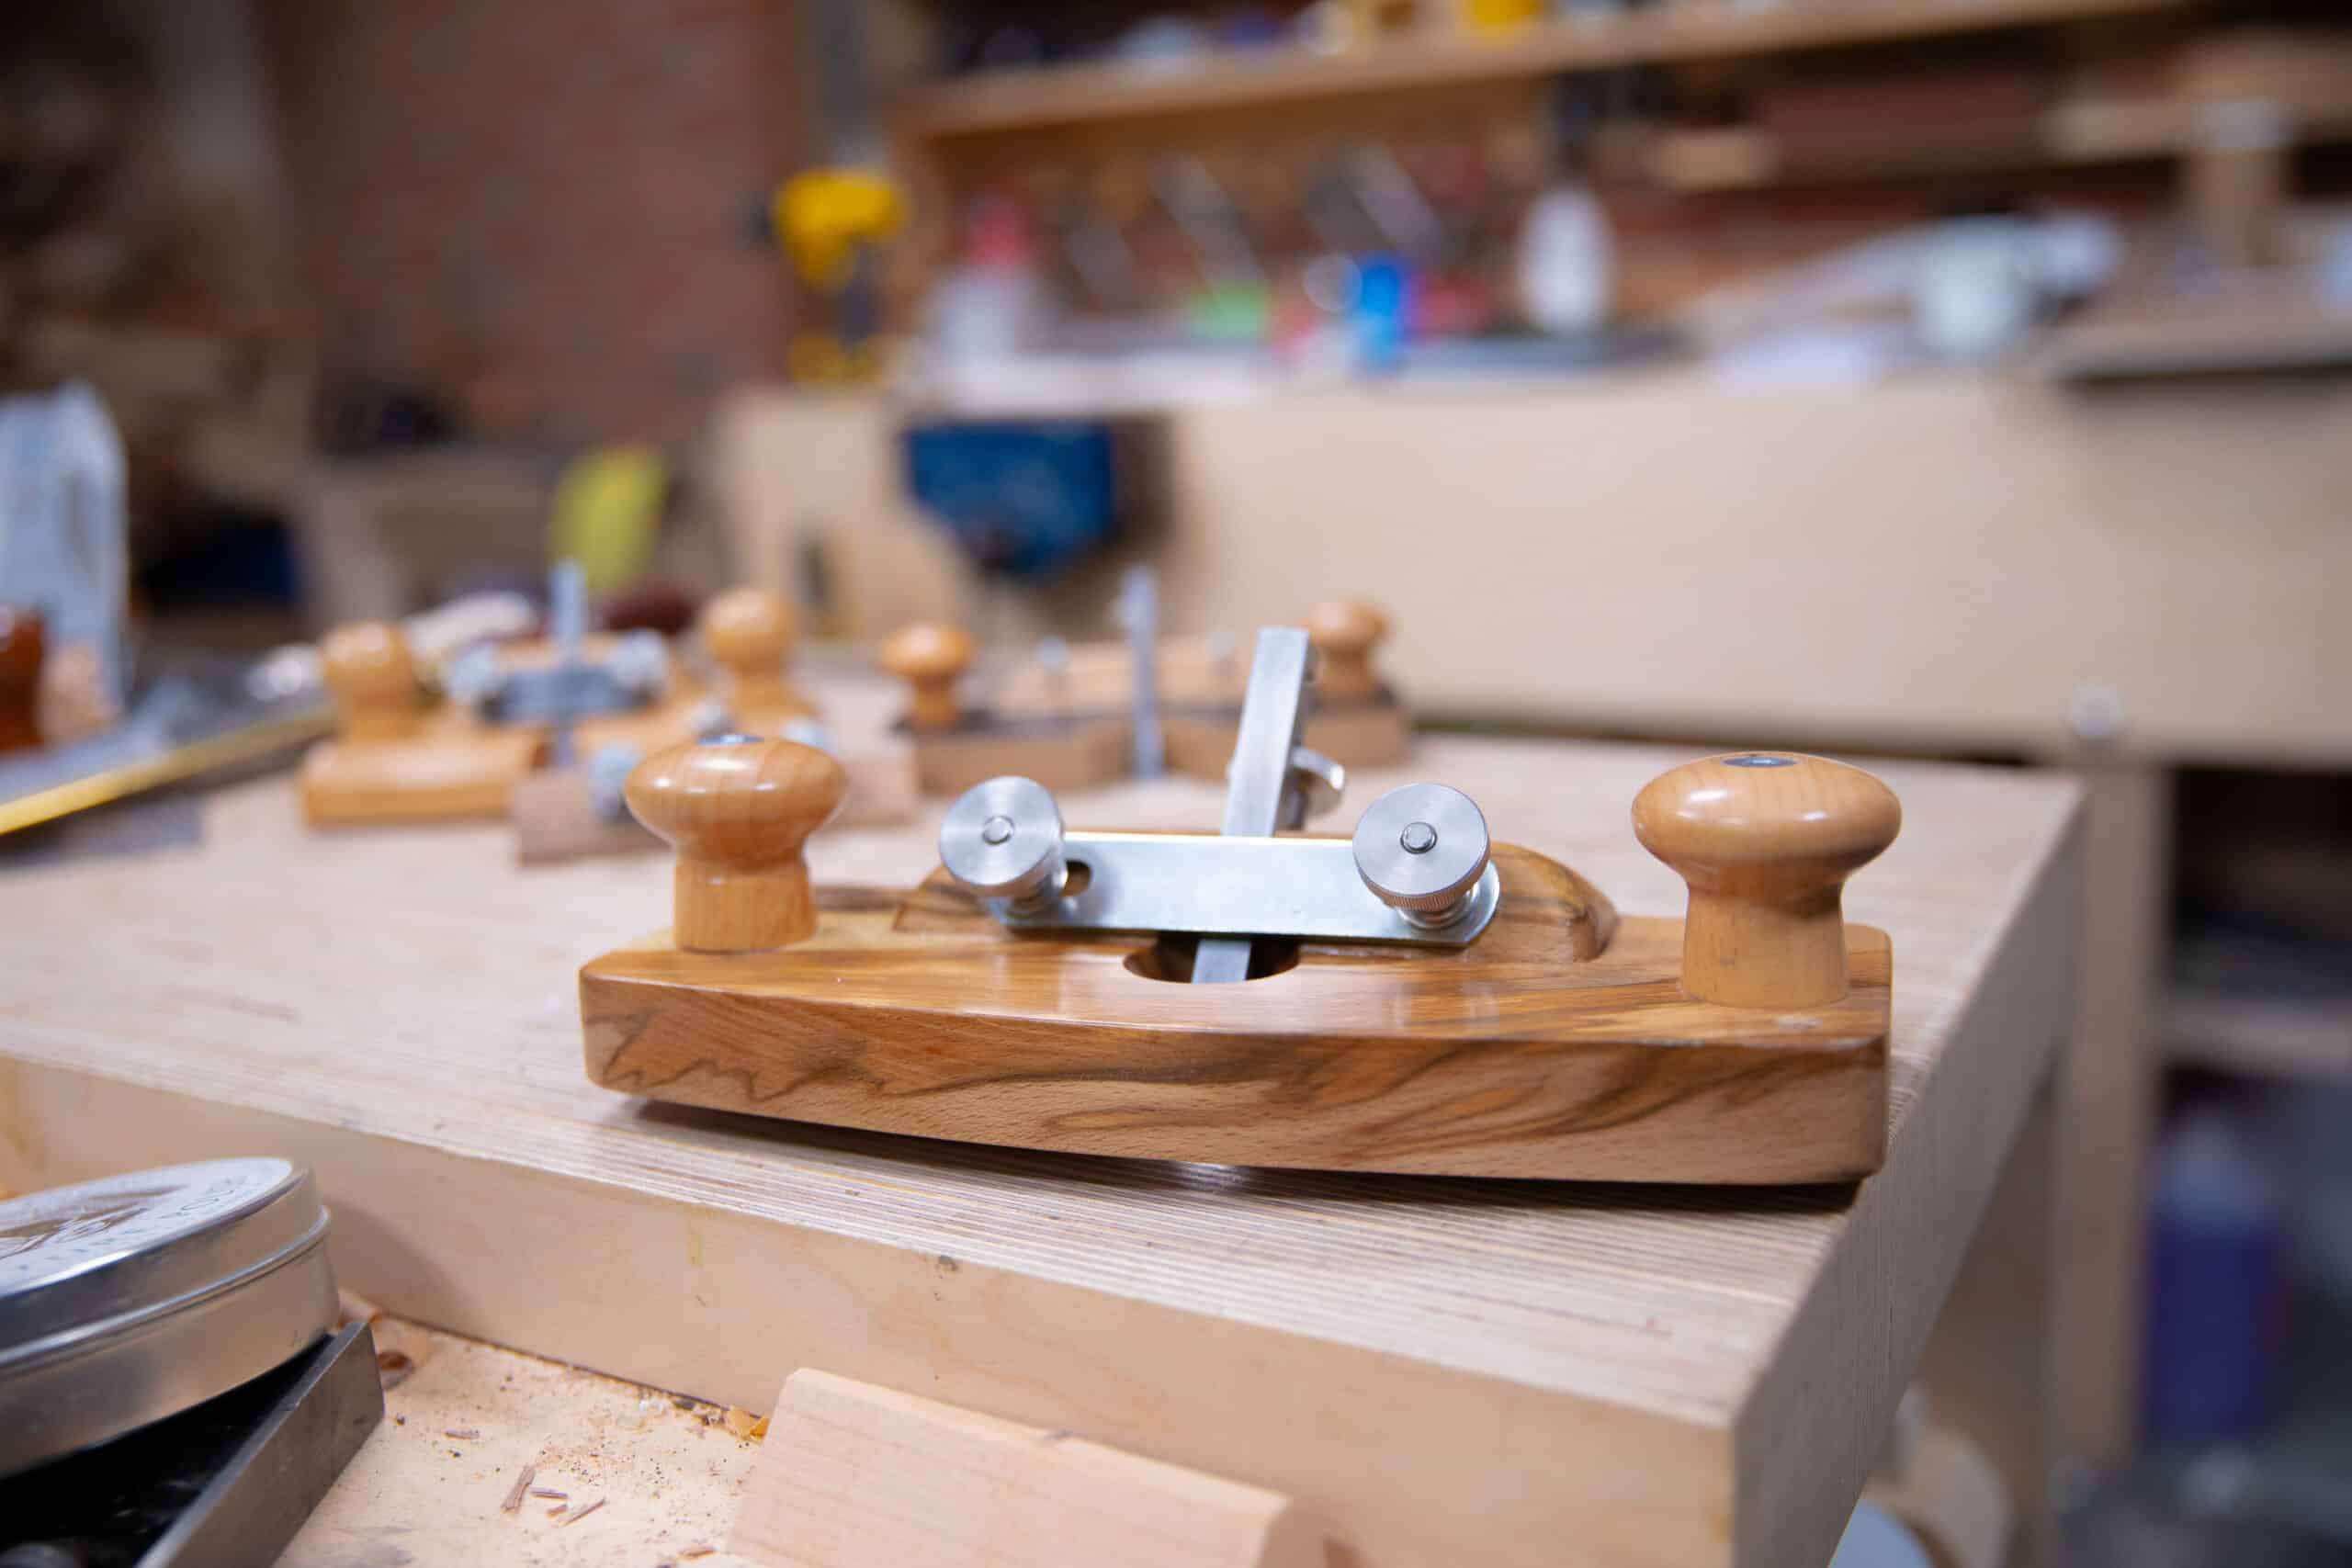
The bed I just made came from my handwork with ten of the most basic hand tools. Wherever I can I use my hand router plane, the one I made and now sell the parts for in kit form. There is no question that this is still the best router plane I have ever used bar none. It’s not a boast, just a reality. I didn’t do this to shun modern makers or vintage versions but to come up with a less expensive and positively DIY version that made it available at a good price. Instead of people paying as much as £150 to £250, we got the price to around £36.

A router to me is another hand plane version. And now, taking my lead from woodworkers in the 1600s, I designed a very improved hand router plane that has all of the bells and whistles you need and you can make one yourself even if you are new to woodworking. I know now that well over 5,500 people have bought our boxed kit to make their own hand router plane according to our design. Additionally though, through our instructional videos and my blog, we hear also from an untold quantity of people who have made their own including the components they have sourced themselves. We decided to supply the special blades, fully hardened and notched, made by a famed Sheffield tool maker, together with all of the other metal components needed in a boxed kit form. We wanted to nudge people in that direction and we now ship the kits worldwide. Here is the link to get yours
Because of my teaching and training both new and seasoned woodworkers and then other woodworking teachers as well, the router plane has become as essential as a saw, a plane or a chisel. My router can be micro-adjusted with the simple twist of a thumbscrew and then it’s powered with your arms, upper body and hands. Our cutter takes a pass over a surface and leaves a planed bottom to a groove, a housing and a dado. You can take off as little as a thousandth of an inch even over a wide surface area and be perfectly parallel and co-planar all the way across to any desired depth. with another surface. I cannot imagine woodworking without one.

What does it do? Well, you can use it for a wider range of woodworking tasks than you might think. I use mine for routing out housing dadoes, inlaying, para-levelling adjacent surfaces, levelling and deepening grooves as well as levelling and adjusting the depths of different half-lap housing joints, surfacing tenons cheeks and so more. What about hinge and hardware recessing? I use mine all the time as a marking gauge.
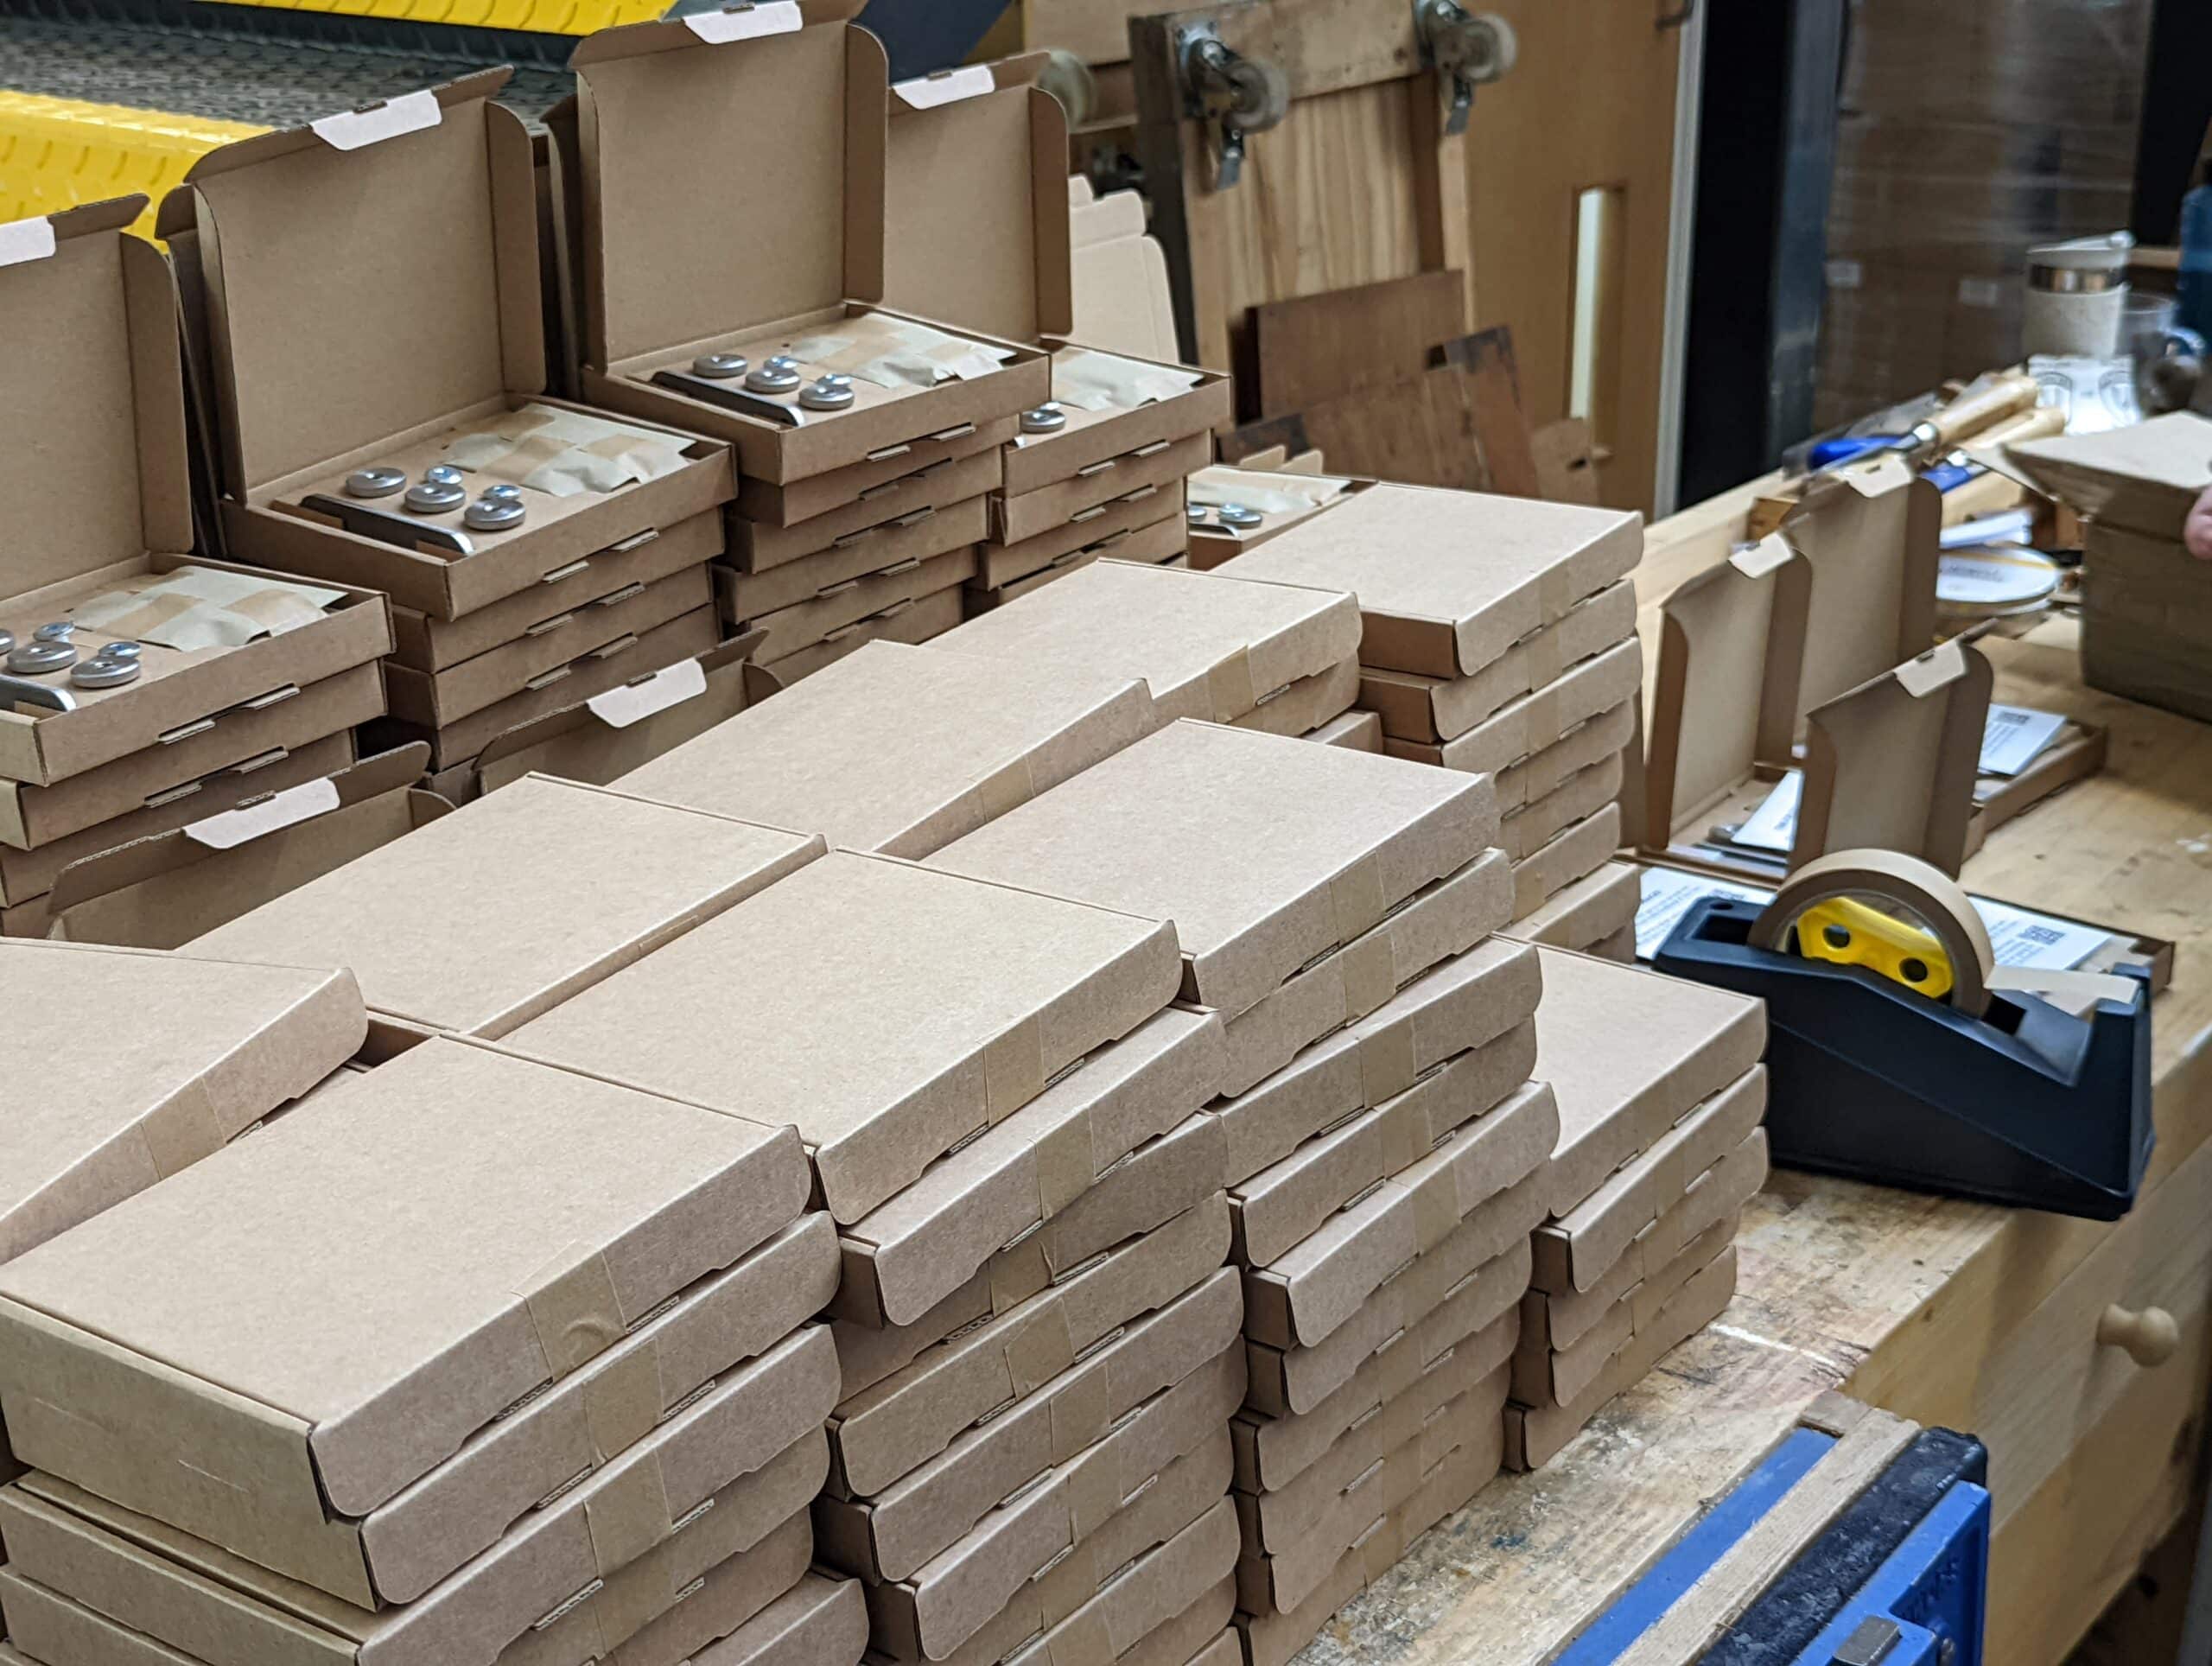
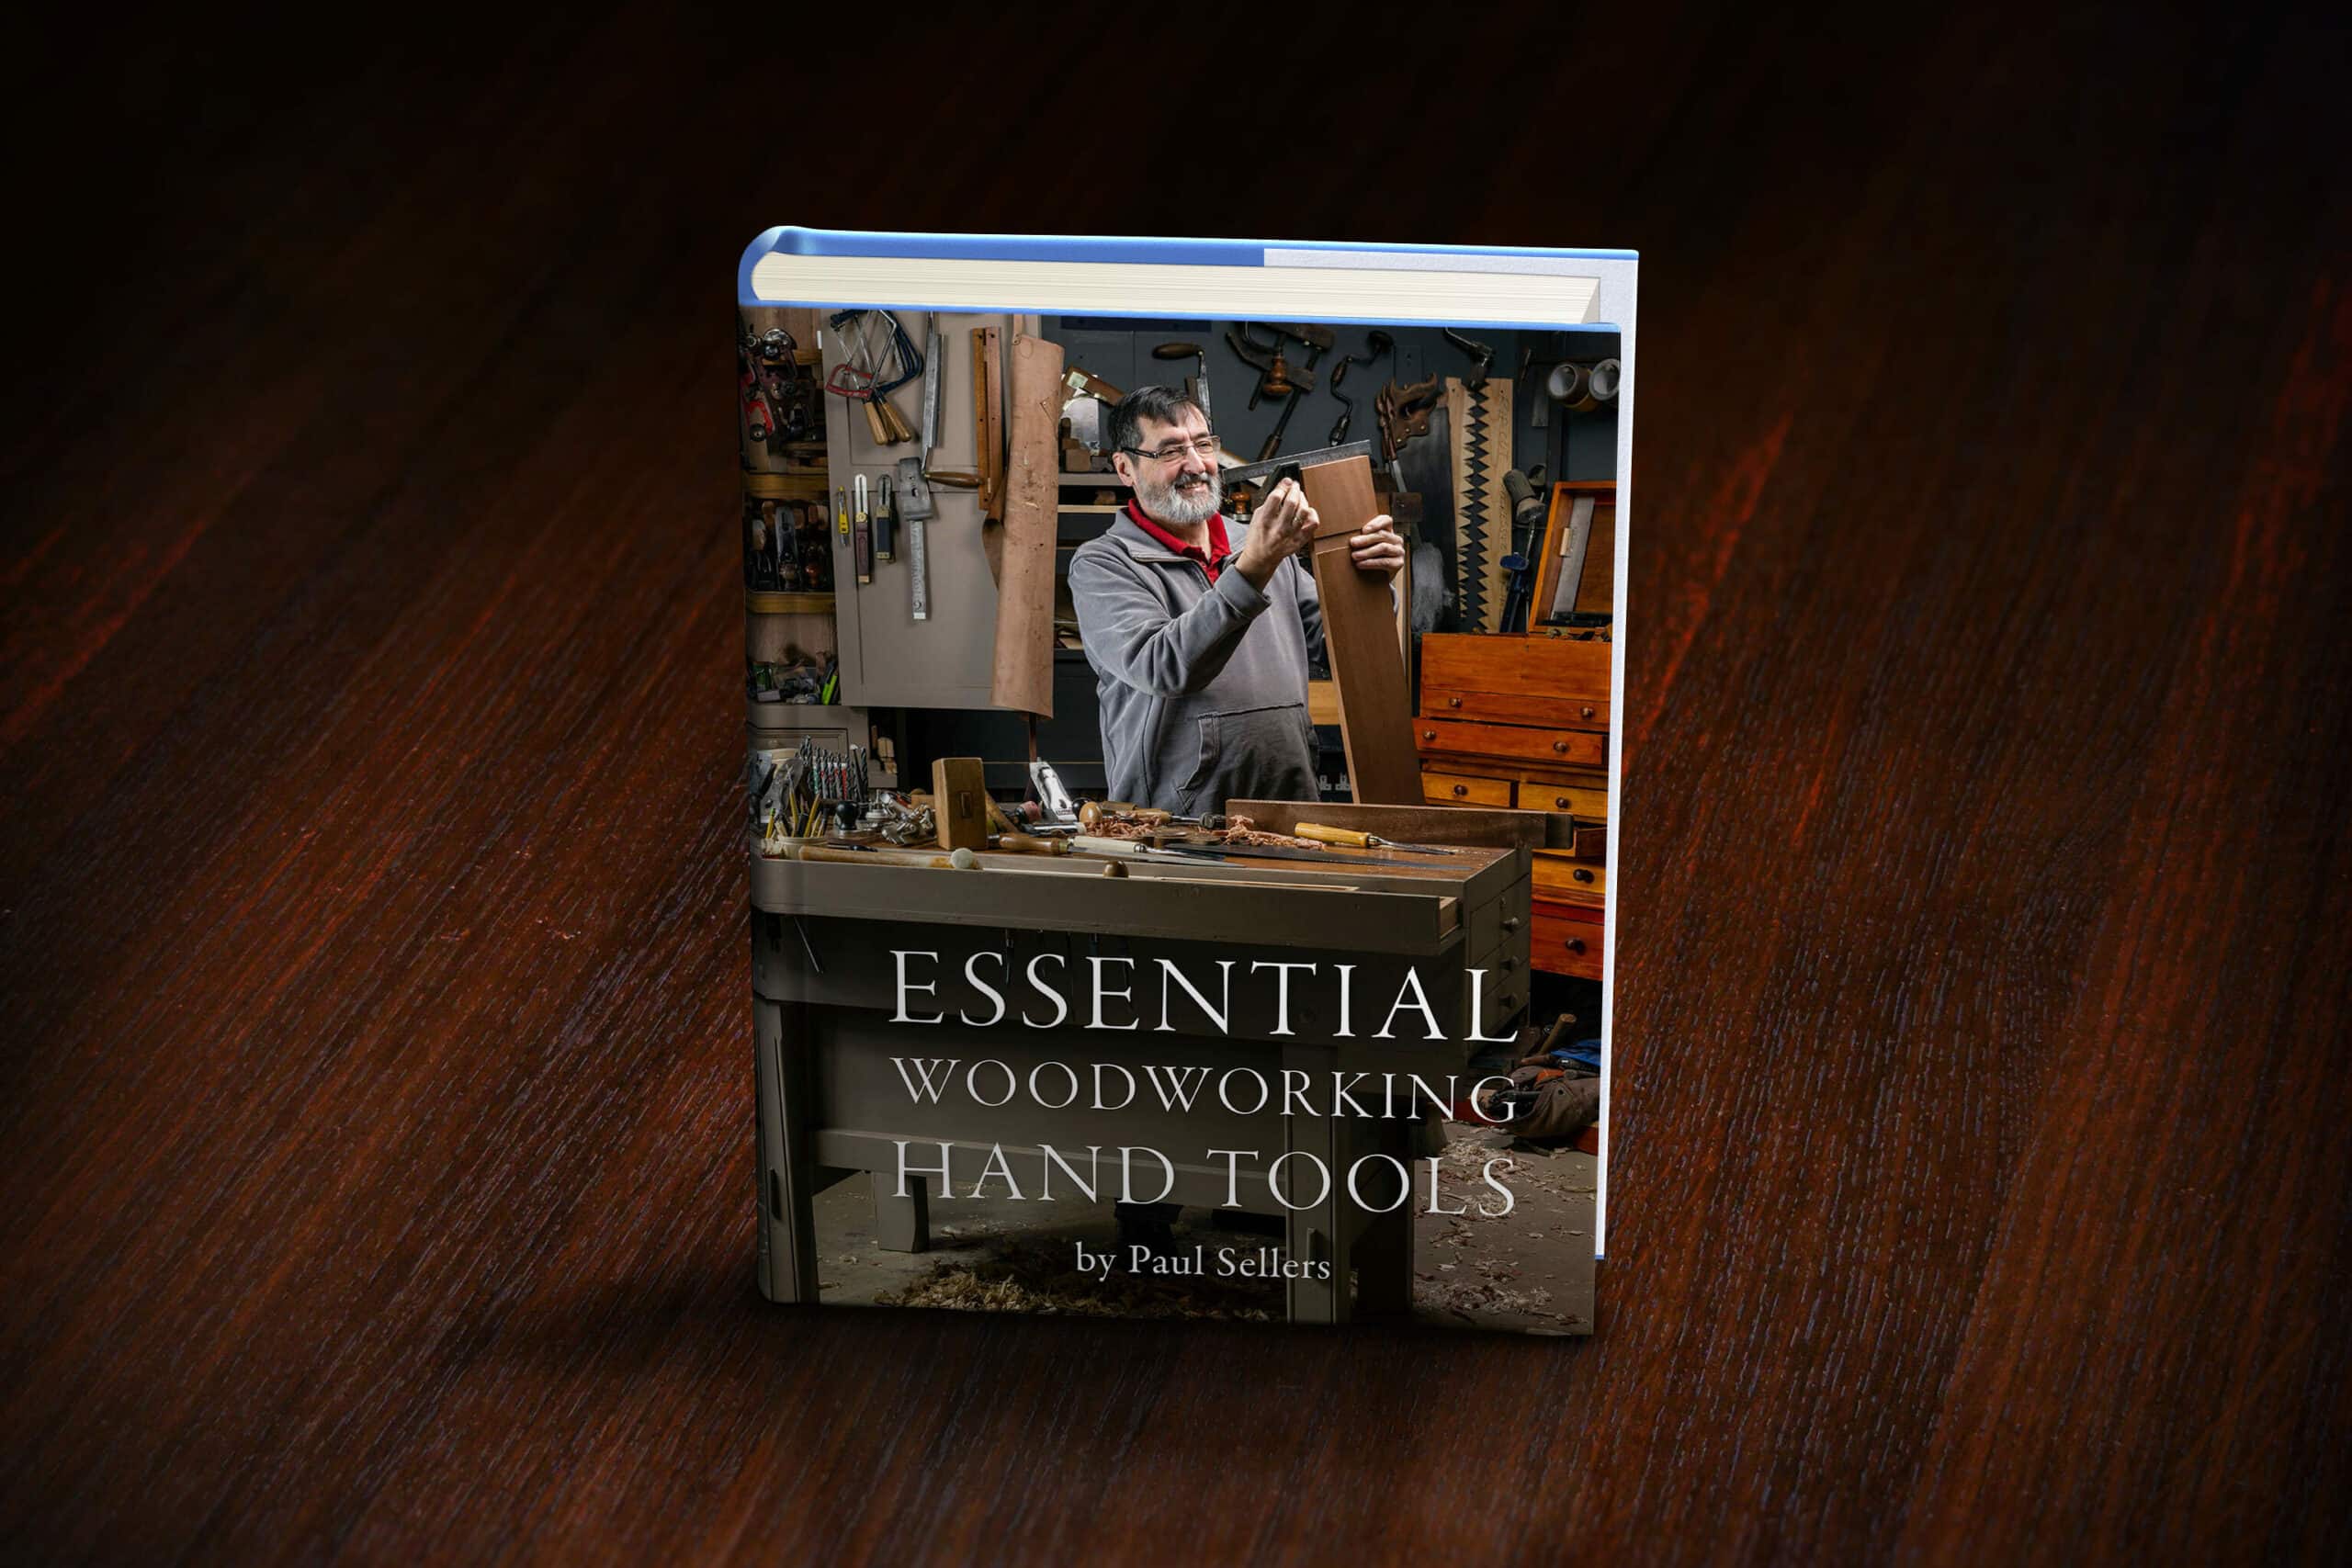
Today, we have a day or two each week when packing and shipping take place. Side by side my Essential Woodworking Hand Tools book and the Router Plane Kit often go out together. Make no mistake, the sales of these two items support our continued work in meeting an ever-increasing demand by those searching for hand tool woodworking instruction We support everyone with woodworking advice and the accumulated knowledge of an ace behind-the-scenes team so that others too can pursue their quest to take themselves off the conveyor be;lt..
Paul
When you introduced the Allen key design, I made one, but wasn’t happy with how the blade held, so made one with a brass body. Then made a second much smaller version. My initial idea was to eventually buy one of the commercial available blades and modify my design to take it. But I never did. I also made your wooden version, by securing the parts that I didn’t have. I like both versions.
However, in my youth I had a book on vintage furniture restoration. One of the comments from the woodworking tool section was on his paring chisel. So special that he kept it in a felt lined purpose made box. I don’t recall you ever mentioning the use of a paring (i.e. long) chisel. Is that because the use of a router does away with the need for one, or is it in the list of none essential tools. I am not sure why that is the major thing I remember from reading the book over 50 years ago.
Keith
I know it’s not the point of the post, but that bed looks great! I would love to make one like it for my son.
Well, we are in the final throes of videoing the video series currently This week I will choose my finish and decide on whether I want some kind of colour or whatever. I made it from about fourteen two-by-four studs and a sheet of half-inch plywood. I think the cost is under one hundred pounds.
Hi Paul. This reminds me that you’ve asked a couple of times for suggestions of new things to make for Sellers Home. I wondered about a) kitchen cabinet unit carcass and b) a sash window frame. For the kitchen I’m thinking of base units that could be used for an assembled kitchen, not a uniform style kitchen. And the window I’d love to replace some of our plastic ones with wood, but the cost of bespoke is prohibitive – and I’d prefer to make them if I could anyway!
I agree sash windows would.be amazing. if nothing else really interesting to see them weighted etc.
No Way! I will sit tight as I have received a request for my grandson’s first big boy bed. I could scale it down to fit the mattress we have for way less than oak!!
So glad I am a subscriber.
This is timely as i’ve been considering a project like the bed. I was hoping to use a joint that you use on your workbench Paul: the self-tightening wedge in a housing that falls downward as things move a little. I wonder if you used or considered using that joint in any bed frames (or if you think it’s not the correct application).
I love using a router plane. Very early on, I made three of those simple tool/garden totes you had on YouTube that relies on housing dados. I enjoyed using the router plane so much that I think I made one where all I did was use the router hand plane rather than chisel out most of the wood. Yes, it took longer but it was just so fun to use. It’s a great tool.
I’ve got my router kit from you. I think I want to use it to make a router hand plane with a long sole so that could level the bottom of a pie crust table. Taking a carving class one night a week and eventually want to make a pie crust table just to challenge myself. My great aunt and uncle had one in their living room and I spent a lot of time as a little kid staring transfixed at it; similar to how I was transfixed on animal feet on my granma’s furniture. Almost surpirsed I didn’t grow up to be a carver.
hi Paul how do recognise genuine disston hand saw , love your stuff and only recently started fallowing you ,
Martin, on hand saws (that is, 20-26″ long saws for roughing out material), there is a medallion on one of the saw nuts. Disston saws will have a Disston medallion. Many backsaws also have this medallion. And some backsaws have a Disston “stamp” on the spine of the saw. In addition to medallions, many older Disston hand saws also have an “etch” on the left side of the saw plate. Unfortunately the etch is not clearly visible on many older saws. Hope this helps.
There is a website that provides a history of all of the Disston Medallions. There have been many variations over the years. The site is Disstonianmedallions.com. Many pics are provided. I found it interesting since it also provides an insight into the company’s history. I always love seeing the beauiful handles on these saws and am amazed how many of them still have complete handles but that may be because there were so many manufactured in the golden age of handtools.
Well I must confess, I recently dusted off my “Borsch” router after not using it for 10 years or more. I had some phenolic resin to machine and my hand tools just blunted right away, They just weren’t up to the task.
Yes the stuff is nasty, I wore a breathing mask similar to what you use on the bandsaw, then I aired out my shop ( it’s winter here and cold) to clear the air in my shop. I also ran my air cleaner. Sometimes I work with different materials like brass, aluminum and plastics or I just have a lot of wood ( 100 board feet or more) to thickness plane and I get lazy and machine it by power tools.
Have the power tool only guys been giving you grief again? They are never going to change their minds in my opinion.
I see benefits and advantages to both types of tools. I wouldn’t poke fun of anyone using either method, after all this craft is all about people getting engaged in the creating and making. I do prefer the quiet methods however.
Tom, those hard-headed machine guys MIGHT “see the light” so to speak, if they got some time in a shop equipped with sharp hand tools. That is probably the biggest issue – not knowing how to use and how to maintain hand tools. If that is the case, of course power tools are easier and faster most of the time.
Come to think of it, it would’ve been VERY interesting seeing a few videos where two (or three) woodworkers tried to solve the same problem using different approaches. How long does it take to make something using the different methods, and what is the “penalty”? I imagine some aspects will cost a hand tool only guy time (prepping from raw plank from the sawmill), and the machine guy need time and materials to build jigs.
With the lucky “hybrid” guys like me in the middle of all that. 🙂
It would have been interesting to see this demonstrated well for a couple of projects. Maybe the sawstop festool guys would start to understand something. Maybe.
Ryobi blue
Really nice bed frame design. I like the subtle taper and then round-over “ears” at the top. Had it been straight it wouldn’t have that extra personality. I love your design style in general.
“Mention router to anyone and the mind immediately conjures up thoughts of a screaming, two-handed hand-held machine in Bosch turquoise, Dewalt yellow or Festool bright green and black.”
This was a brilliantly descriptive and amusing opening. Maybe your best yet, Paul!
I am one of those who made a Paul Sellers router plane including making the blade and sourcing the other components. In fact I made three. I also have a Stanley router plane which is now gathering dust through lack of use!
I recently needed to cut four parallel V shaped grooves in the wooden handle of a scythe I was repairing. I tried my best to cut them using hand tools and got quite close, but in the end had to succumb to getting out the “ screaming, two-handed hand-held machine”, which I hate and haven’t used for many years. I’m sure Paul wouldn’t have needed to resort to this, but the hand tool method was beyond me. I may have to do this again sometime, so maybe need to be a bit creative and invent a hand tool to do it with.
Mike,
I know the grooves you speak of, I have a scythe that has them. I’m actually impressed you managed to control a powered router for those cuts, I think I’d have struggled! In terms of hand tools to do the job, there are many options. First you’d pencil in the straight lines where the grooves need to be (or knife line if you prefer), then you could either saw to depth and chisel in from the angles (you would mark where they need to angle in from in pencil too). Or, my preferred approach would be to pencil in the lines and then use a carving V tool/gouge to get the depth, then tidy with a triangular file at the end. You should be able to get very accurate grooves from there. One thing you might want to do, is to do all grooves to 80-90% of depth with the V-tool first then file to depth, if you’re concerned that there might be tearout between the grooves, and you’re left with a flat where a peak should be. In many ways, the process is much like sharpening a rip saw, as that’s what the grooves on the scythe look like (if we’re talking about the same thing of course!).
Best of luck,
Rico
Yes, Rico, a V-tool was my first thought. I love my V-tools 🙂 – mainly for engraving letters, designs and images
[I have several, even gave a duplicate one to my brother-in-law, an artist. I think of the smaller V-tools as like ‘pencils’ for wood-working.]. But I like the my bigger V-tool too, versatile 🙂
Rico,
Thanks for your response. The peaks of the original groves had broken off after the snath had been used with a loose handle. Re cutting the grooves in the original shaft wasn’t going to work so I needed to splice in a new section. I cut the grooves in a separate piece of Ash, carefully spaced to match the original, then glued it in the shaft. After a little tidying up it worked fine.
I had high hopes for the hand tool method I adopted, but spacing the grooves wasn’t accurate enough. I first of all cut a 45 degree chamfer along the length of a block of wood which was then place on the piece of Ash to be grooved. Using a Stanley shoulder plane pressed against the chamfer presented the blade at 45 degrees – a few swipes along and a neat V groove was created. Consistent depth and spacing though for the four grooves proved too awkward and if you didn’t keep the shoulder plane tight against the chamfer the groove would wander. I may still come back to this method if I can find a way to control these issues – it was a lot more fun than the power router even if in the end the latter gave the result I needed.
Mike
Excellent opening paragraph! I once heard a metal machinist, while doing a collaborative project on YT with a wood worker, describe powered wood shop tools as ‘spinning, screaming machines of death’. I use a lot of the latter, as did my father, but I am starting to use hand tools more and more as I am able. There is no doubt that the peace and quiet of hand tools and the lack of all that spinning and screaming, and the nervous vigilance they require is better if we have the time and light schedules. I am anxious for warmer weather to arrive so I can finally use that hand router kit that has been staring at me for a while to build my own.
Paul,
I got one of the first kits for your router plane. I love it, and use it as much or more than my Stanley. Please keep well and doing the great woodworking.
May we please have some feedback options for klutz’s who don’t build perfection from their router kit?
for anyone considering a router plane, a big strength of the paul sellers type is it’s super quick/easy to sharpen compared to those with an L shaped blade. wonderful tool.
like one of the other readers, i often cut rebates in hard clear plastic (eg i like making wooden dovetail boxes with a rebated clear plastic lid so i can see what is in them).
it is not possible to easily rebate the plastic with hand tools. i HATE the noise of power routers; for anyone in the same camp, but who ‘needs’ a power router i commend the bosch 12v router (no affiliation etc). it looks odd, works well, is astoundingly quiet. would be a superb tool if it could only be fitted with a fence, which was a bizarre oversight by the manufacturer.
Just bought the router plane kit. I have some nice hardwood for the base and tool support (Tasmanian Blackwood, come up a treat with Tung oil) but I could not but the knobs, here in country Victoria. So started to make one, made a mess of it, hten watched Paul’s video on how to make the knobs. Problem solved, just have to get back to it.
Thanks Paul.
Regards
I got mine from a local antique and house clearance centre, they have a hug selection, but others have used ceramic or metal nobs.
I grew up seeing woodworking as requiring, at the least, a table saw and a drill press. Then as many other machines as you had space for, and electricity for, and could afford. Never much mention of safety or dust collection. The space-saver for machine wood shops is the Shopsmith, which I’m sure a lot of oldtimers here have used. They’re pretty cool, table saw/drill press/lathe/router/etc. in a single compact unit. The modern iteration has nice digital controls. But. Not my cup of tea.
I greatly appreciate and adore the contemporary hand tool woodworking teachers, especially the teachers who are also working craftspeople like Paul, and not dependent on sponsors. Hand tool woodworking is my fave thing ever. It’s peaceful, efficient, and I am limited only by the skills and techniques that I learn, unlike machines which are inflexible and cumbersome to adapt anything other than simple straight angles. I learned to sharpen chisels and plane blades freehand in a few days, practicing a little bit every day. I learned to sharpen a saw in a few hours from Paul’s videos.
Woodworking is a skill. Skills are learned, you don’t have to be some kind of special genius. Good teachers make all the difference. Thank you, Paul.
saw paul’s router hand tool demonstration….
purchased paul’s router hand tool kit….
made paul’s router hand tool….
Perfect…size…balance…smooth…satisfying results!
(my first hand-made hand tool before i had any experience with hand tools)
I recently bought a plane kit, which will be used when I have made up a bit for the 50 year gap in my wood working skills! I love using hand tools. My brother has been using electric routers, sawes etc. for years and now has white hand from the vibration, they may be quicker, but what a price to pay!
Nice bed.
Is the lath/board at the bottom of the foot board for aesthetic only?
I was one of the people who said that I would buy the hand router. It looks great, and definitely worth it. Unfortunately, I am going through some heart issues, and don’t have the energy or the money at this time, but hopefully after surgery this spring, I will be able to get the router and do some light woodworking. I used to build some nice pieces. I have a few projects backed up, with people demanding that I finish them, so I have to get better.
Paul, if you’d made a smaller sized router kit I’d definitely buy one, please consider doing it, I think it would be very popular.
The components could be scaled down to what size you want, steel is available on the web and Paul has given us the instructions. He even posts pictures of homemade products! Be the first to post your version?
There is a very clear image on one of Paul’s old blogs, I forget which. He used an old file for the blade and the base is brass plate if I remember correctly. I have a part made one in my workshop, but as I previously made a small brass bodied allen key version it has not been a priority. If you are careful with an old file, not to overheat it, you can get away without the need to retemper. Old files make good blades.
Bought two of the kits and love the way they turned out. I confess, I still prefer my vintage Stanley 71 for day to day, but my Sellers handmade router planes are great because when I need different depths for the same project, I don’t have to reset the Stanley. I also love looking at my handmade router planes because, well, I made them myself 🙂
One fervent request: would you consider offering a narrower cutter, say 1/4″ to 5/16″ as a separate purchase?
When i initially made mine I had an issue that I haven’t shared before. i sort of fixed it and forgot it. With the blade very advanced it rocked, the adjustment notch popping out of the adjusting nut. Initially I was going to rewatch the video and remake the wooden parts.
However I did 2 things that solved the issue. i removed the retaining bar dowel screws, filled the holes with wooden dowels and moved the screws as high as I dare. Secondly I inserted a brass screw at the base of the blade grove for the blade to rest on. there was a distinct gap there, although I don’t think there was initially. this might be due to my being a bit too ambitious initially as to how thick a shaving it could remove. problem solved. May help someone else who has the same issue.
i had to insert the brass screw fairly low so that it didn’t fowl the base of the adjusting dowel screw. guess how I know this!
Keith
I think the flaw is quite possibly the user here, Keith., though it could be something else or a combination of things. Experience shows me that all router planes flounder when the blade is overextended and that is not by very much at all. Powering through with any tool will take its toll on the plane, the wood and the user of the tool and using a term like, “due to my being a bit too ambitious” seems to avoid really identifying the real fault as would be to drive the plane beyond its reasonable limits which, depending on the wood type, caused the wood to compress at the critical point or then this, or that, or this. Your presenting this here and this way suggests a flaw that isn’t there if the tool, as with any other, is used respectfully. I have been using several of my router planes now for two years to date and have not experienced the problem you speak of. I might also point out that the wood chosen, its density and hardness, the sharpness of the cutting iron and then the orientation of the plane in relation to grain direction, etc will all affect the performance of any plane.
Thanks Paul.
It is made from beech. The reason that I thought of remaking it was that I think that when I glued on the piece holding the blade it is too far forward, so that virtually none of the base is supporting the blade, hence the need for the screw to provide support there. I wasn’t criticising the design; it is after all an update on a design that has been used for centuries, more that when making it that I hadn’t got it exactly right, hence my modifications. I might in the future remake the timber part. i also have a part made smaller version, which is getting more support for the blade.