Fitting the Knobs and Applying Finish
Shaping the Knobs
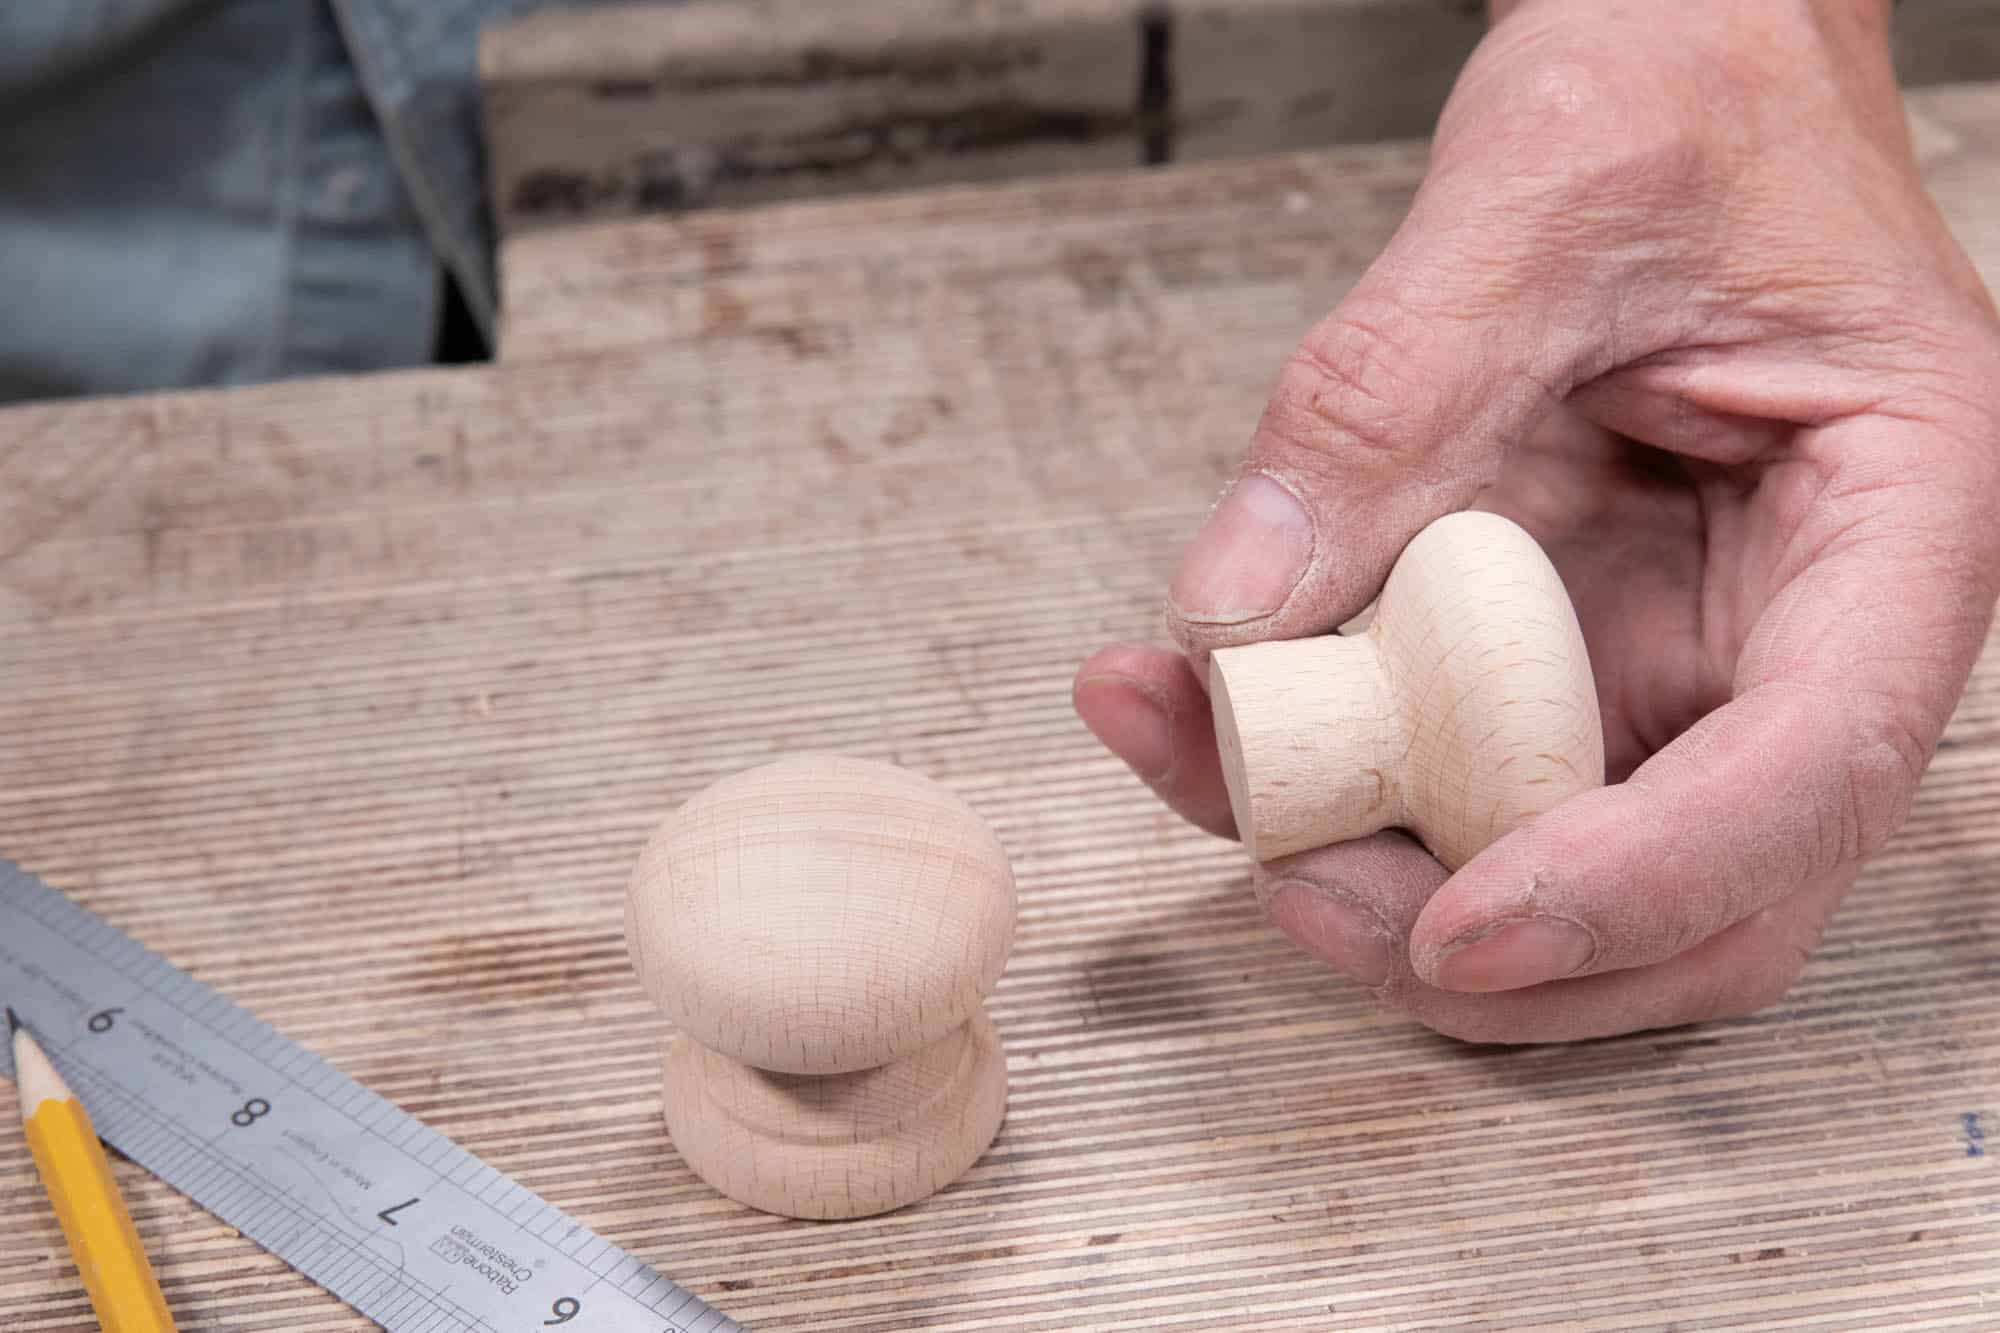
If you have access to a lathe you can turn the knobs from wood scraps. I chose to make mine from cupboard door knobs but still wanted to change the shape to a better-suited shape. The method I developed is quick and simple to do. In my case the door knobs had a wide foot and the better shape is more of a mushroom shape. Door knobs are available in a variety of shapes and sizes. Mine are 44mm (1 3/4″) in diameter and stand 40mm (1 5/8″) tall. The important consideration is that they give sufficient room for fingers and thumb to wrap around and grip firmly.
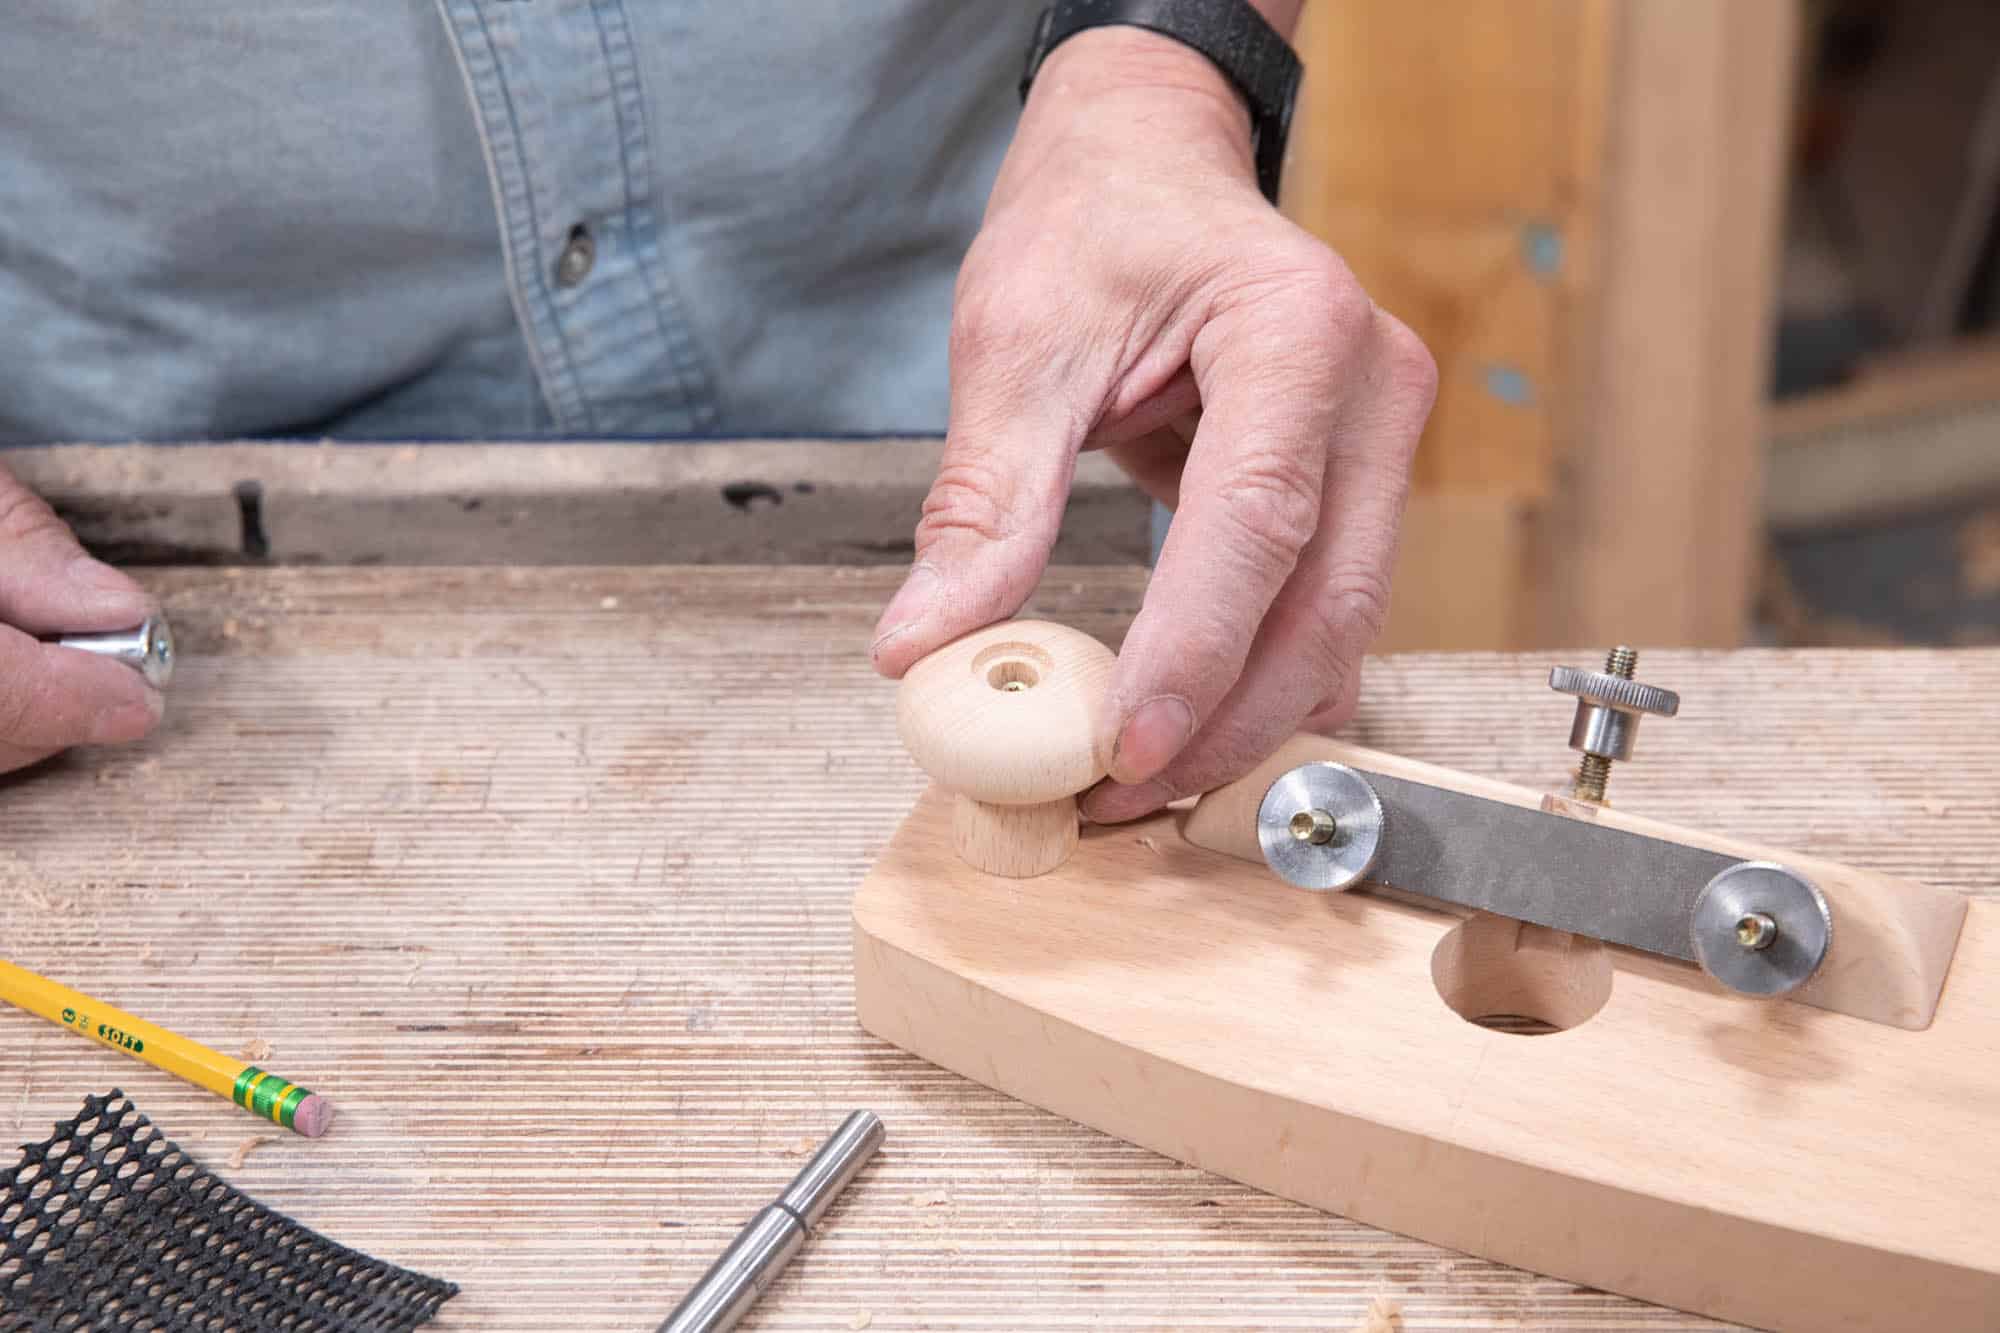
I made a holder to hold the knob for working on. Use a coping saw to cut out a circle the diameter (at the widest point) of the knob you have. Make a saw kerf along the length of the holder centred on the hole. This kerf will allow the guide to clamp onto the knob and tighten the knob in the holder. Drilling a hole to take screw into the side of the holder near to the hole would also allow you to tighten the knob in the holder with a screw.
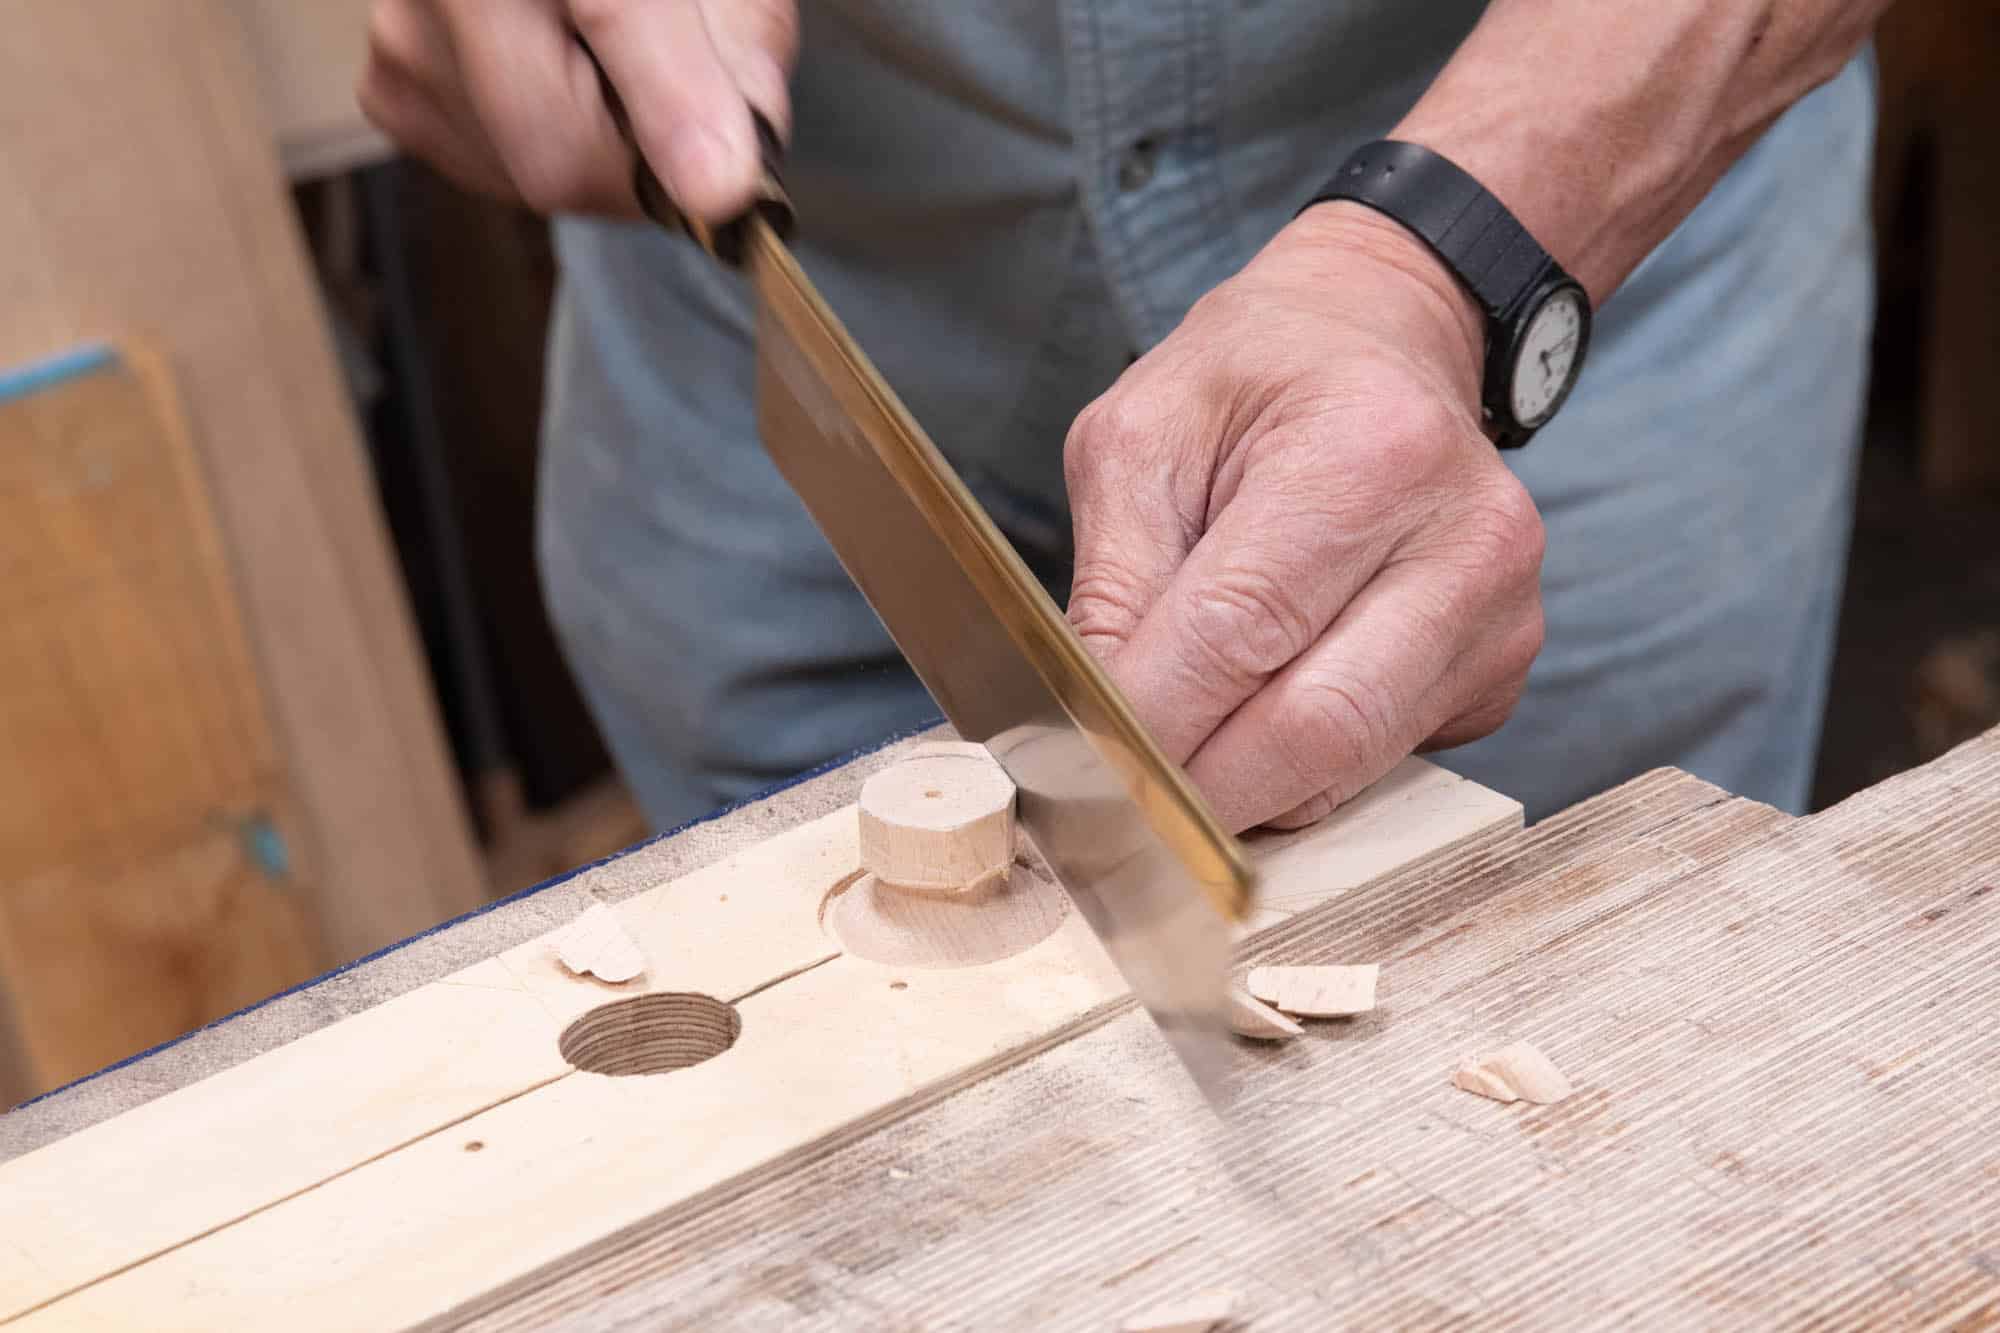
With the knob in the holder clamped securely in the vise, you can start to remove the bulk of the waste with a small back saw.
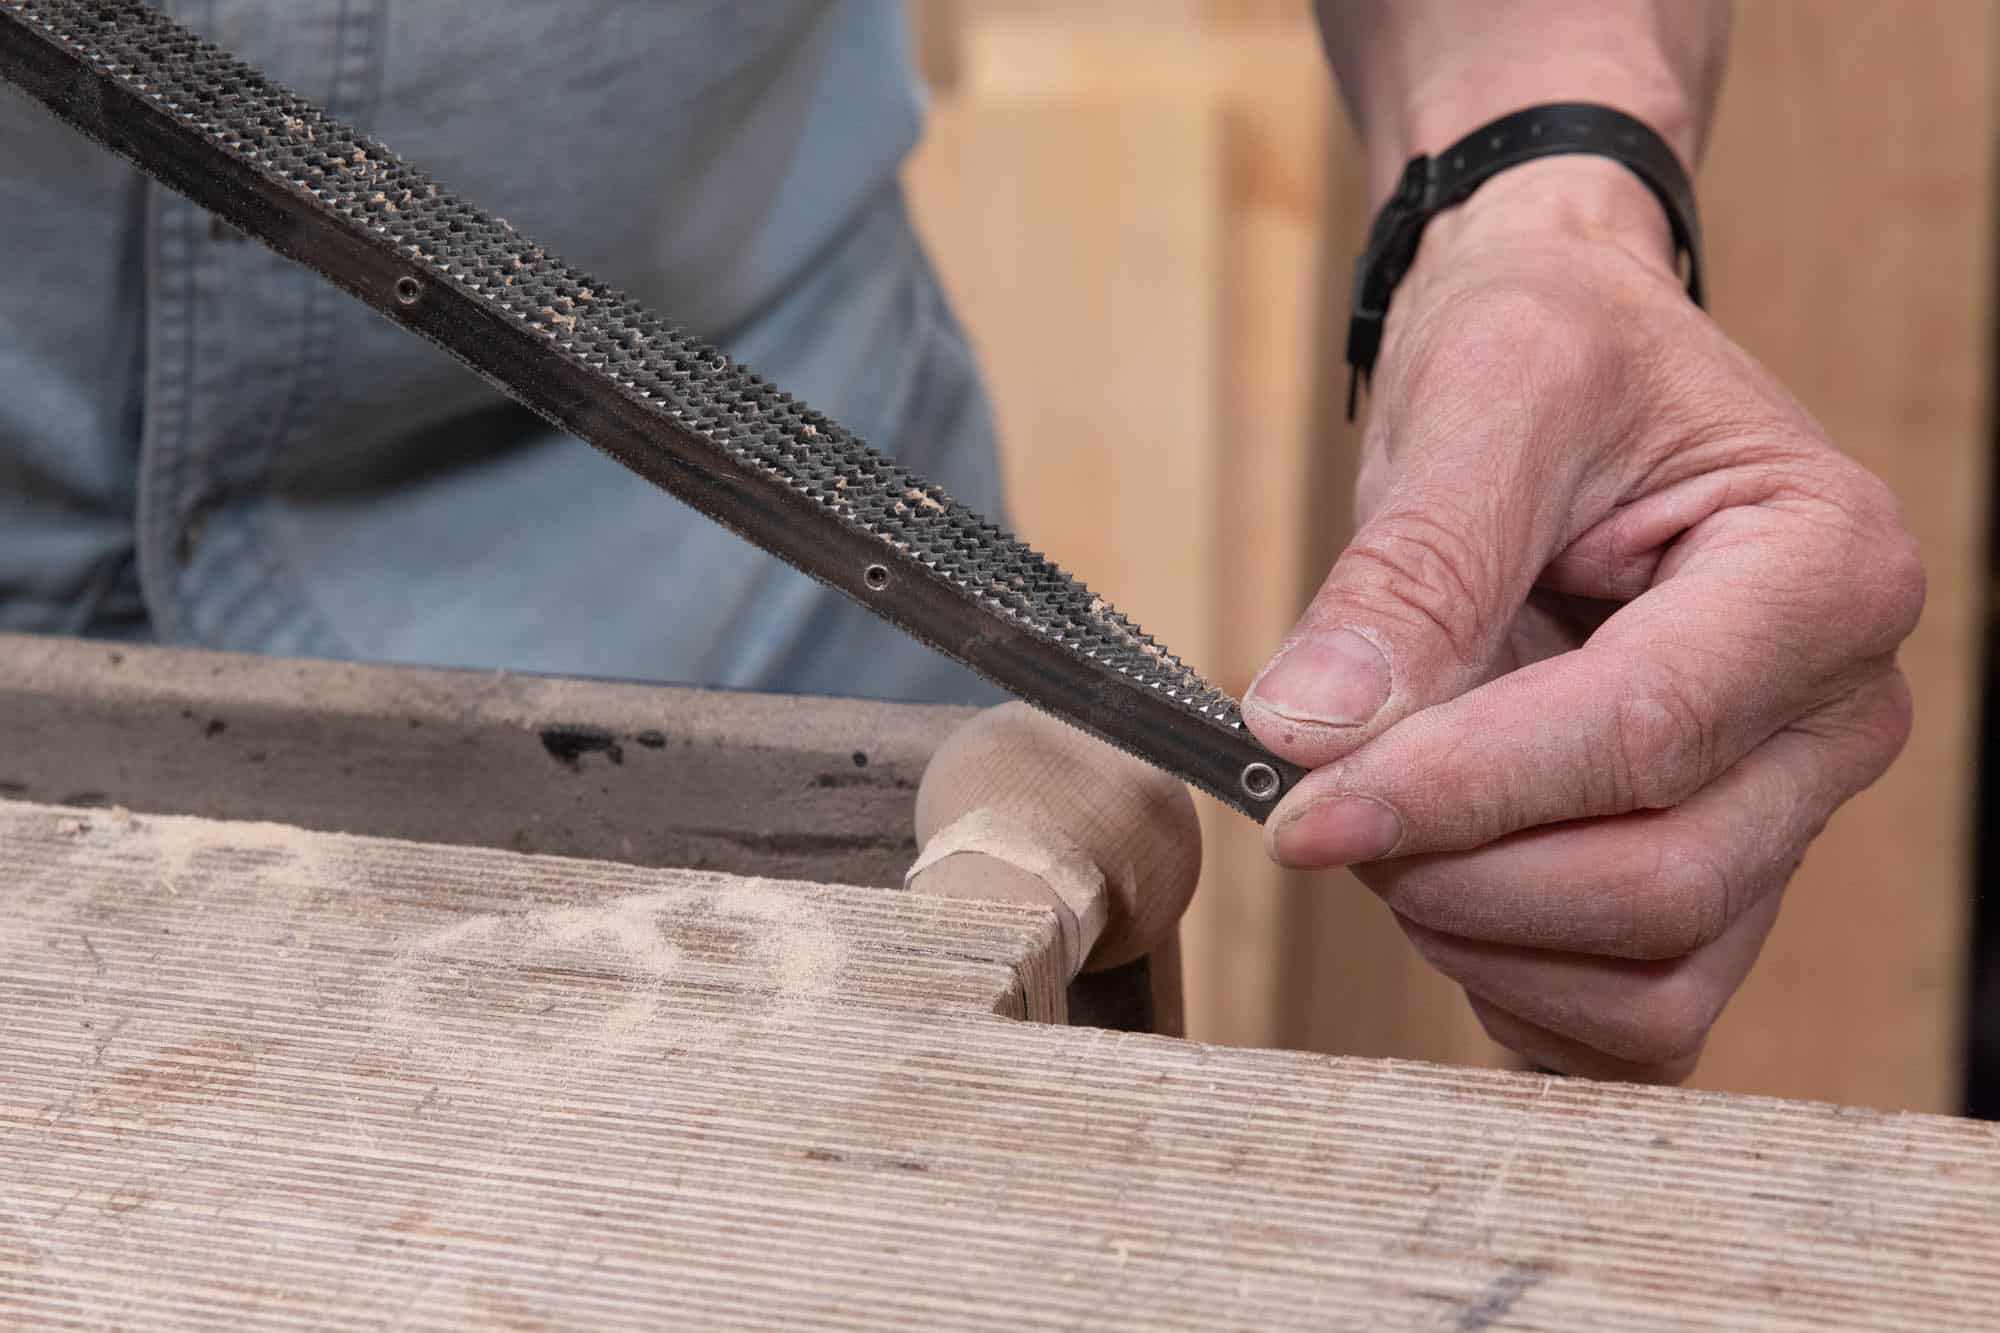
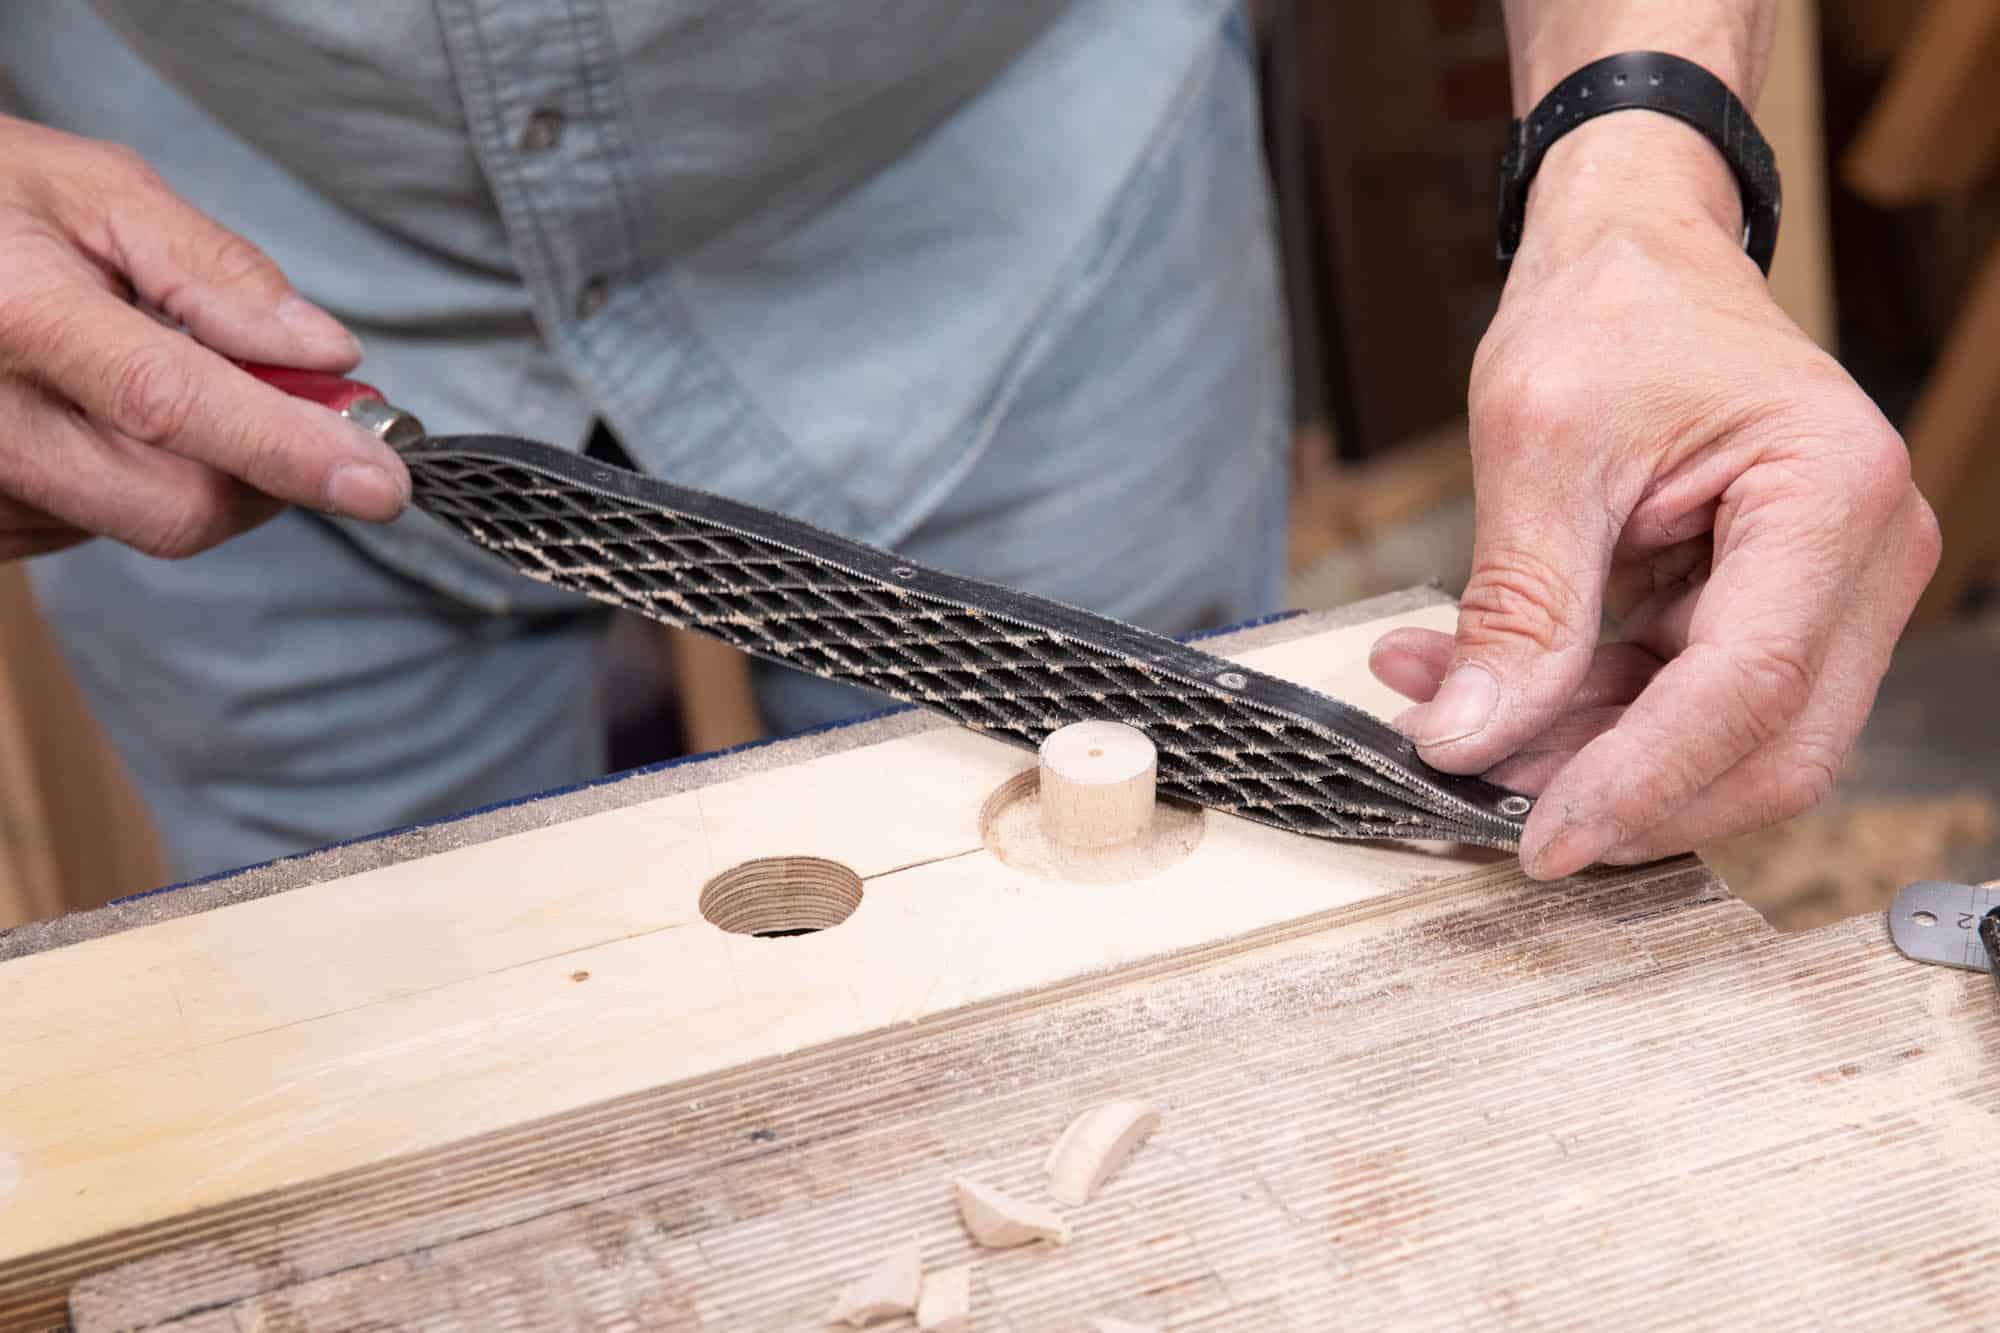
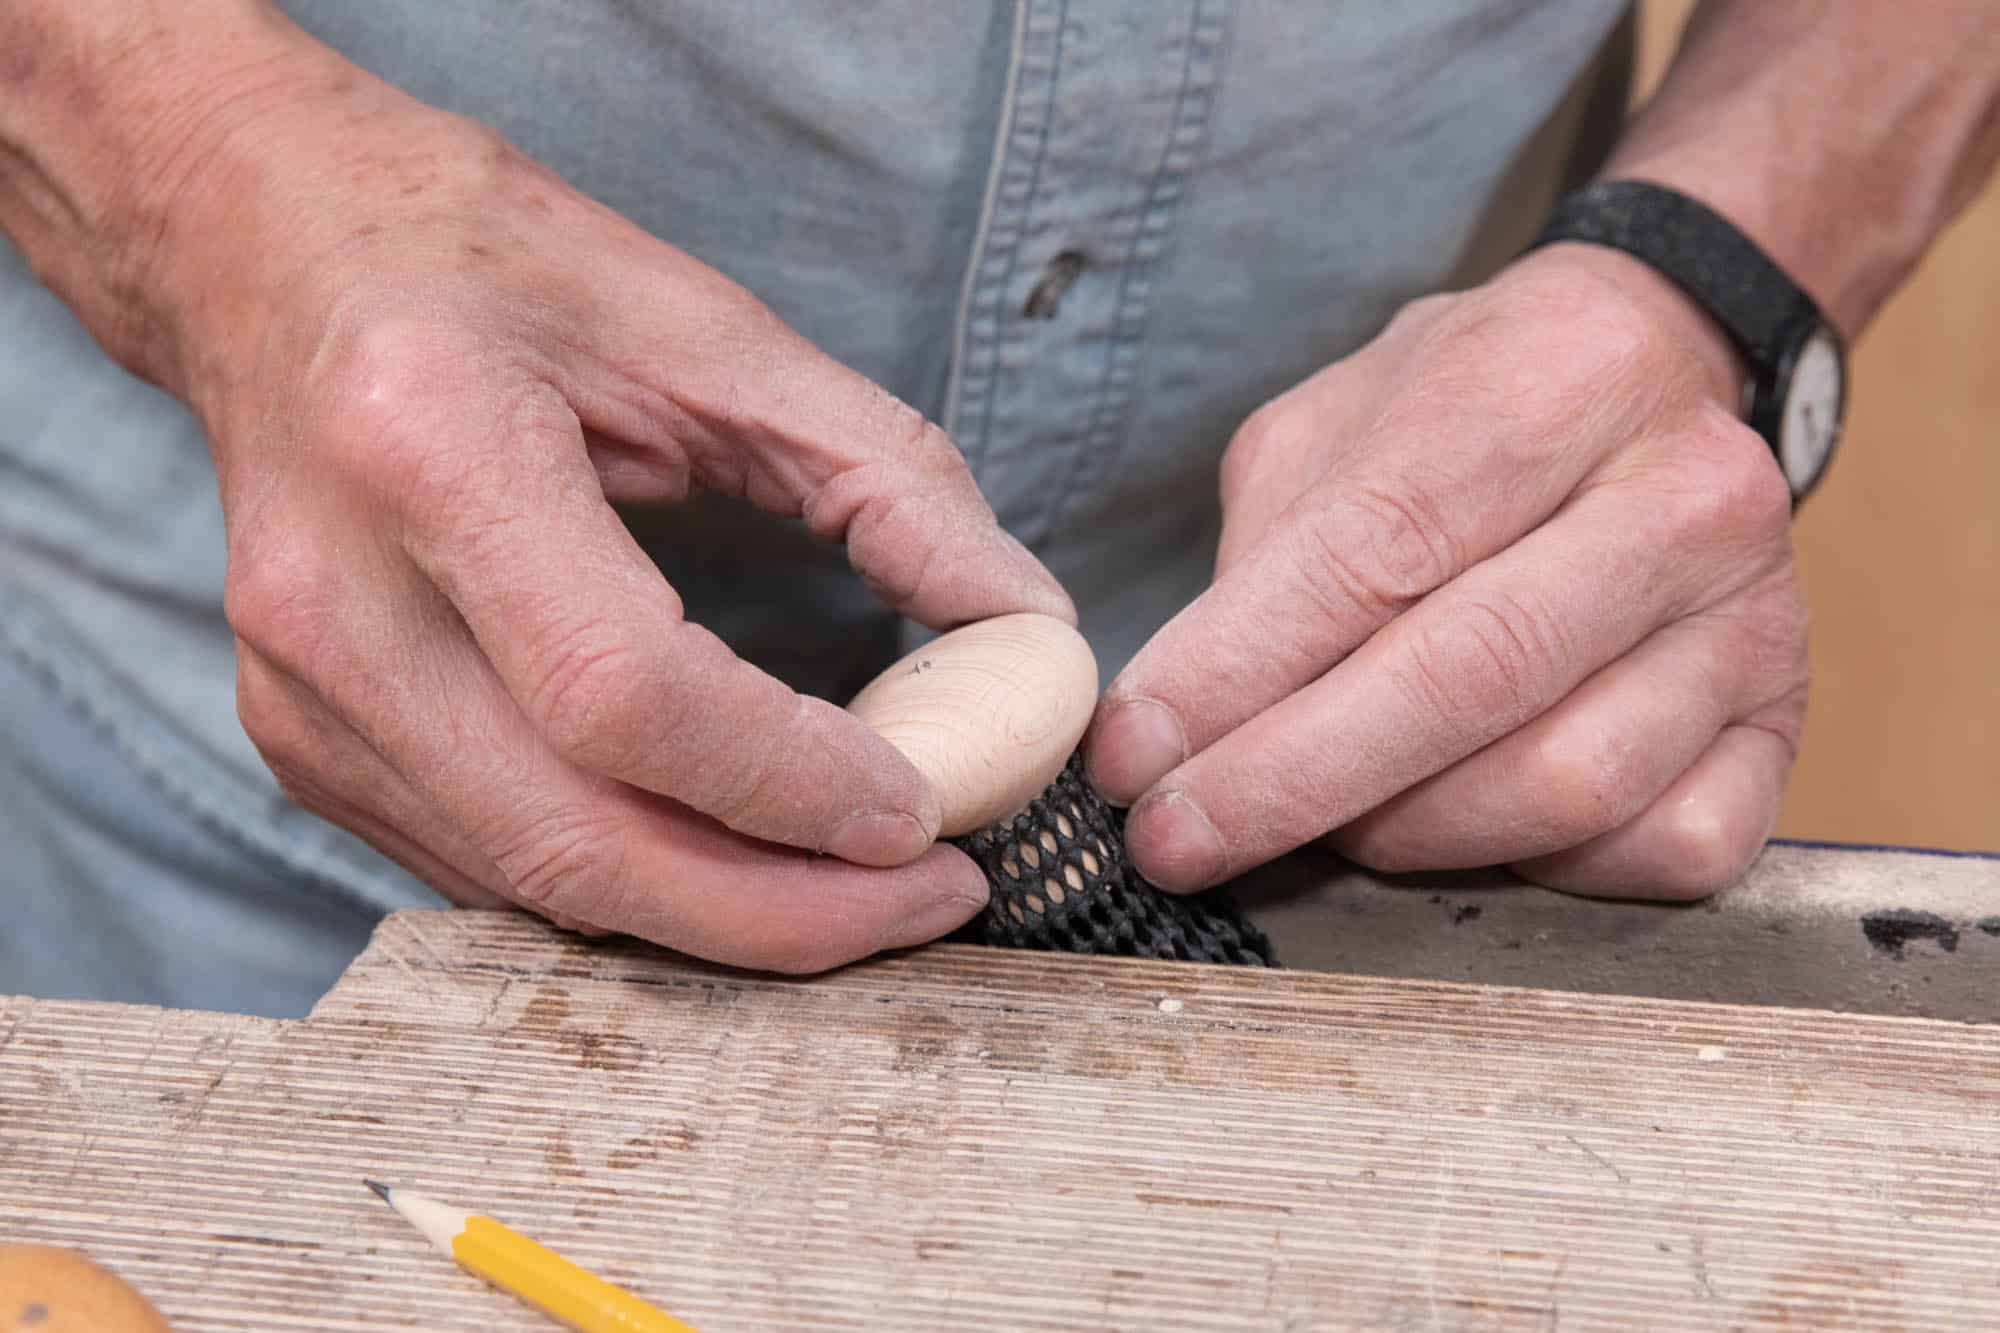
Once you have taken off the main part of the waste, a rasp will remove additional material and enable you to round the base of the knob. Try different ways to clamp the knob securely for shaping.
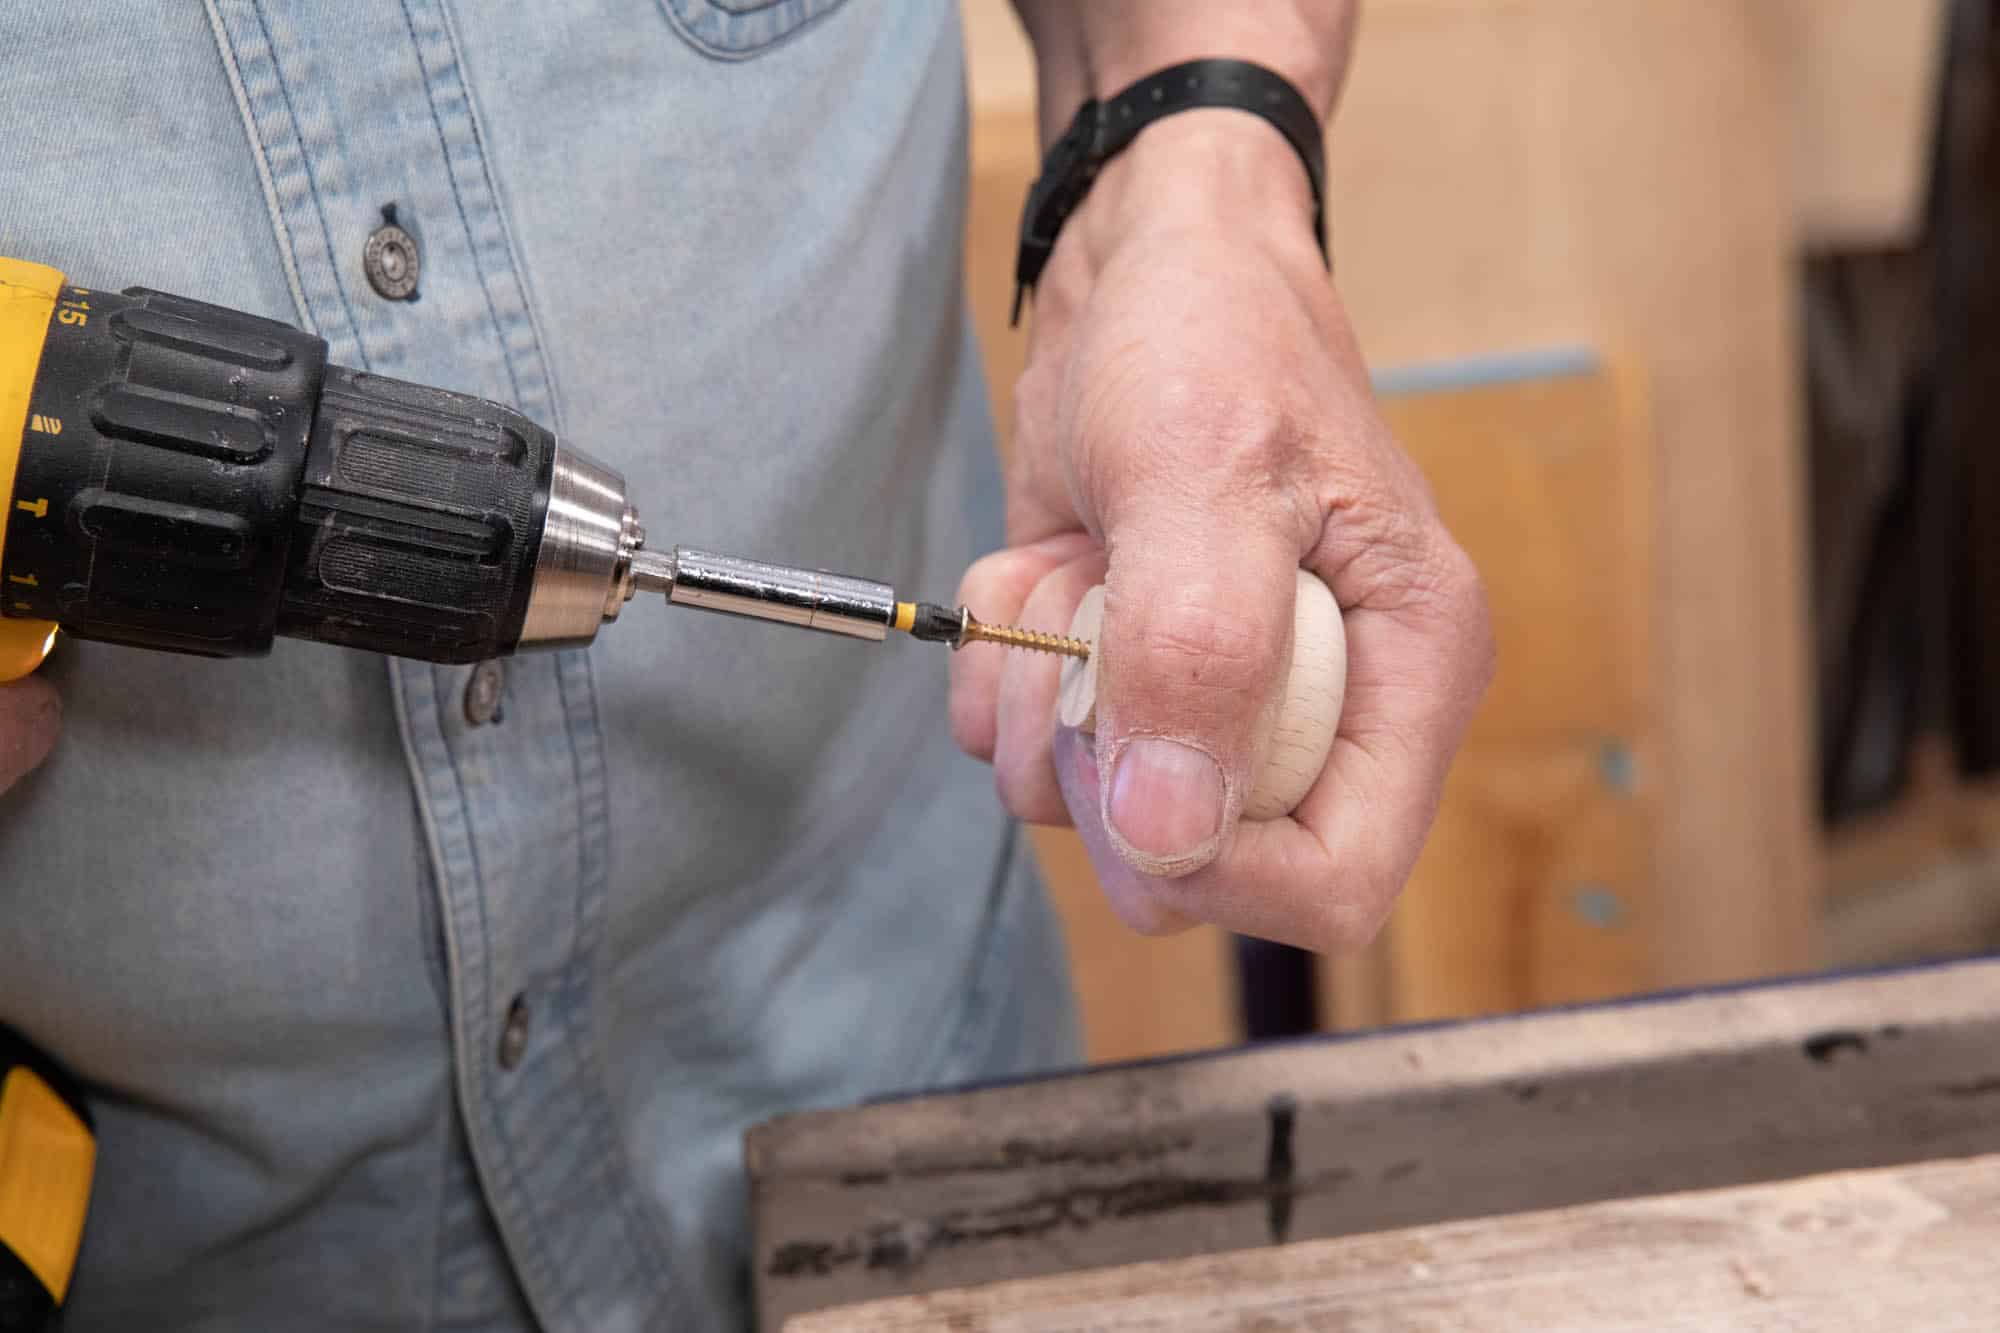
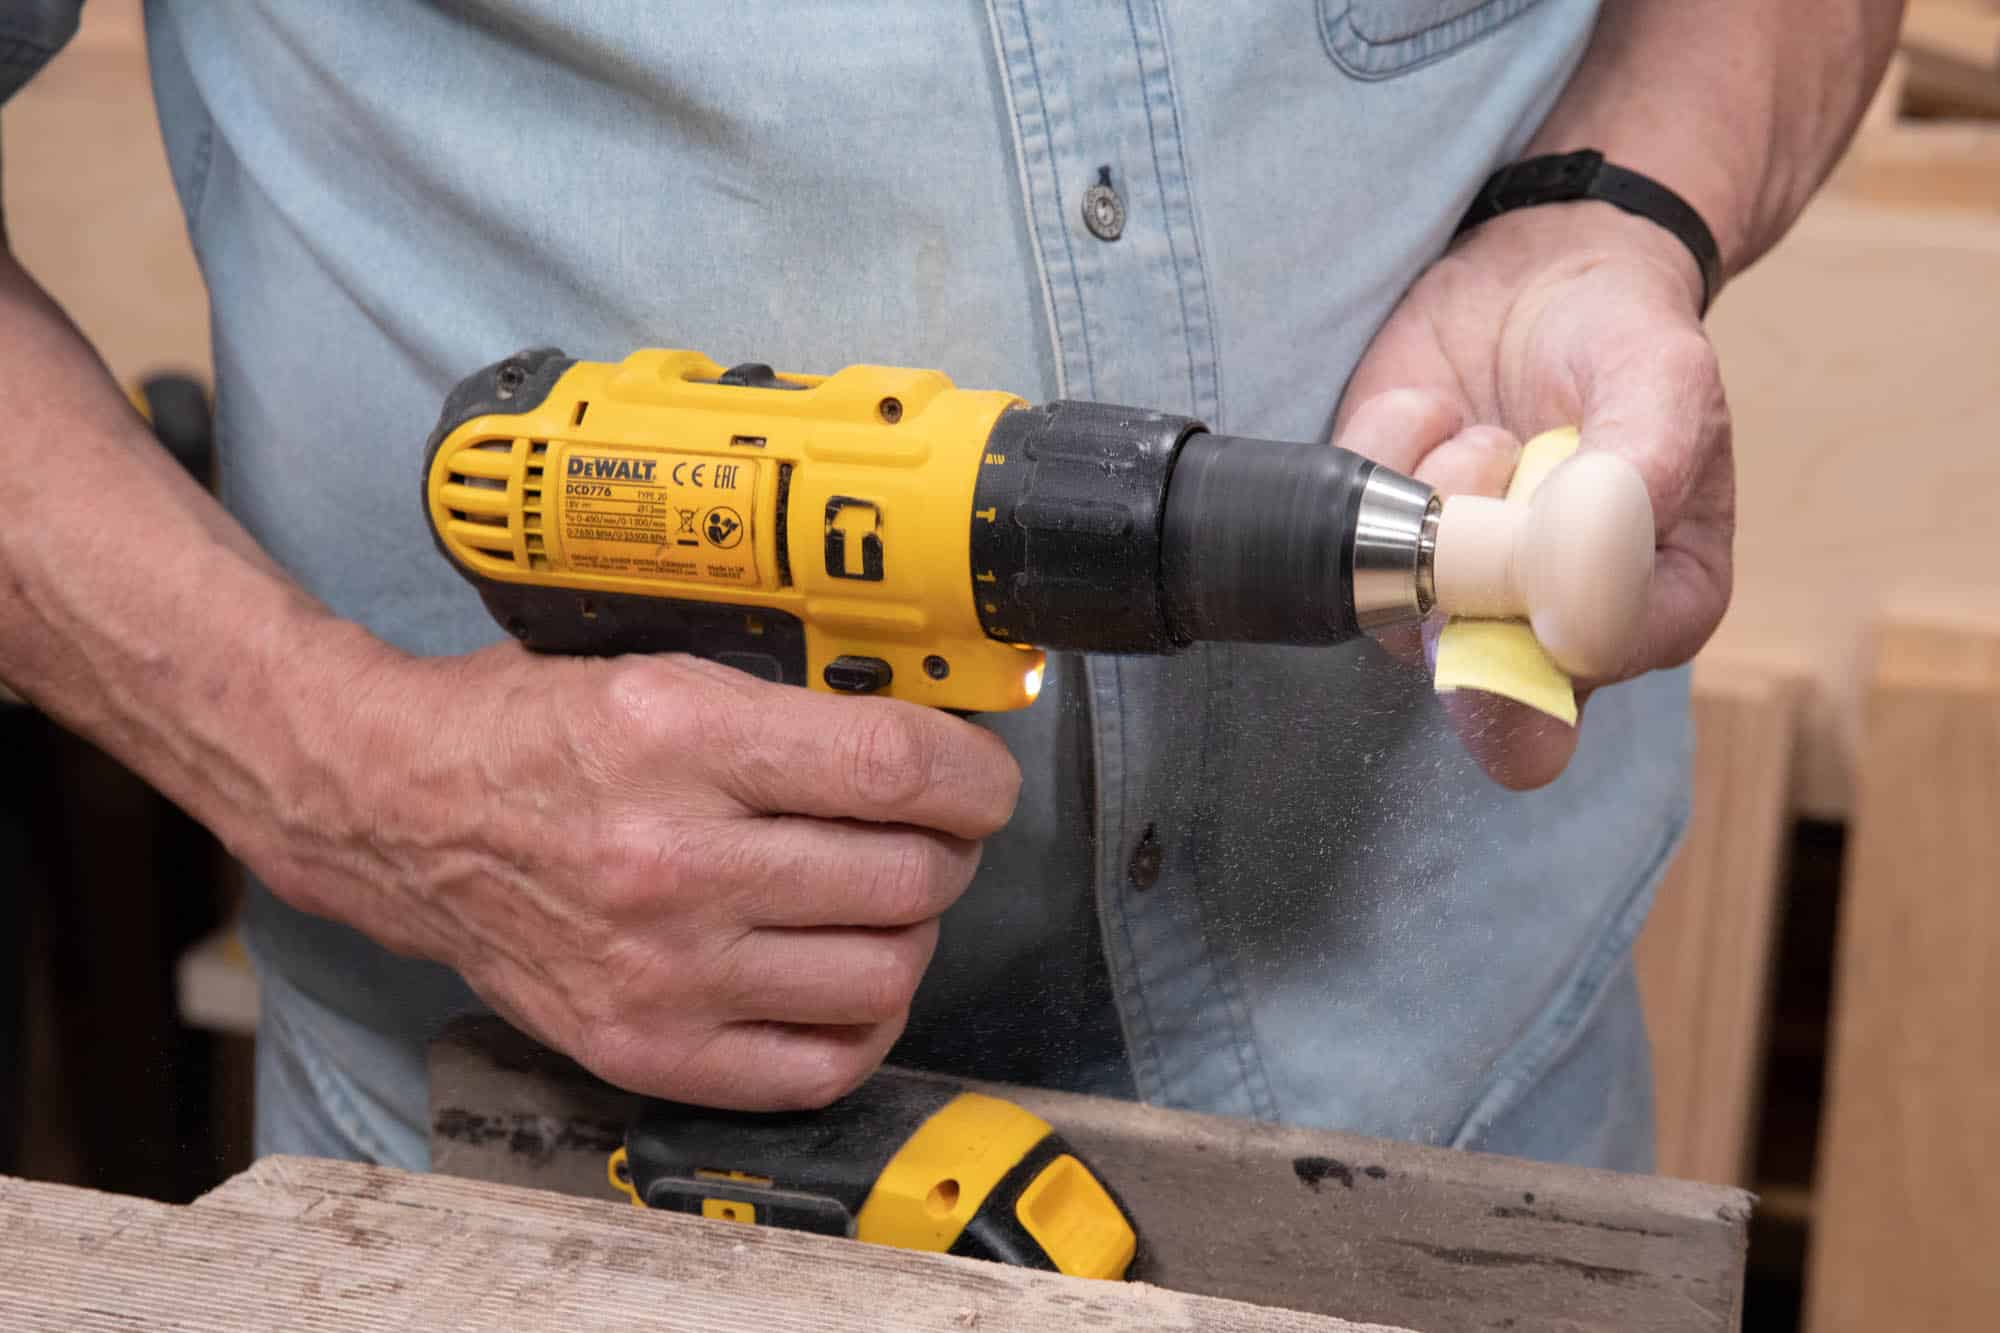
A convenient way for sanding out any remaining undulation, etc., is to spin the knob using an electric or battery-driven drill.
Boring the Holes
Depending on the knobs you obtain, some knobs come with predrilled holes or inserts to attach the knob to the doors with. This not really of any benefit but you must work with what you have. Inserts will be drilled out anyway and sometimes the pilot holes for screws are not actually well centred.
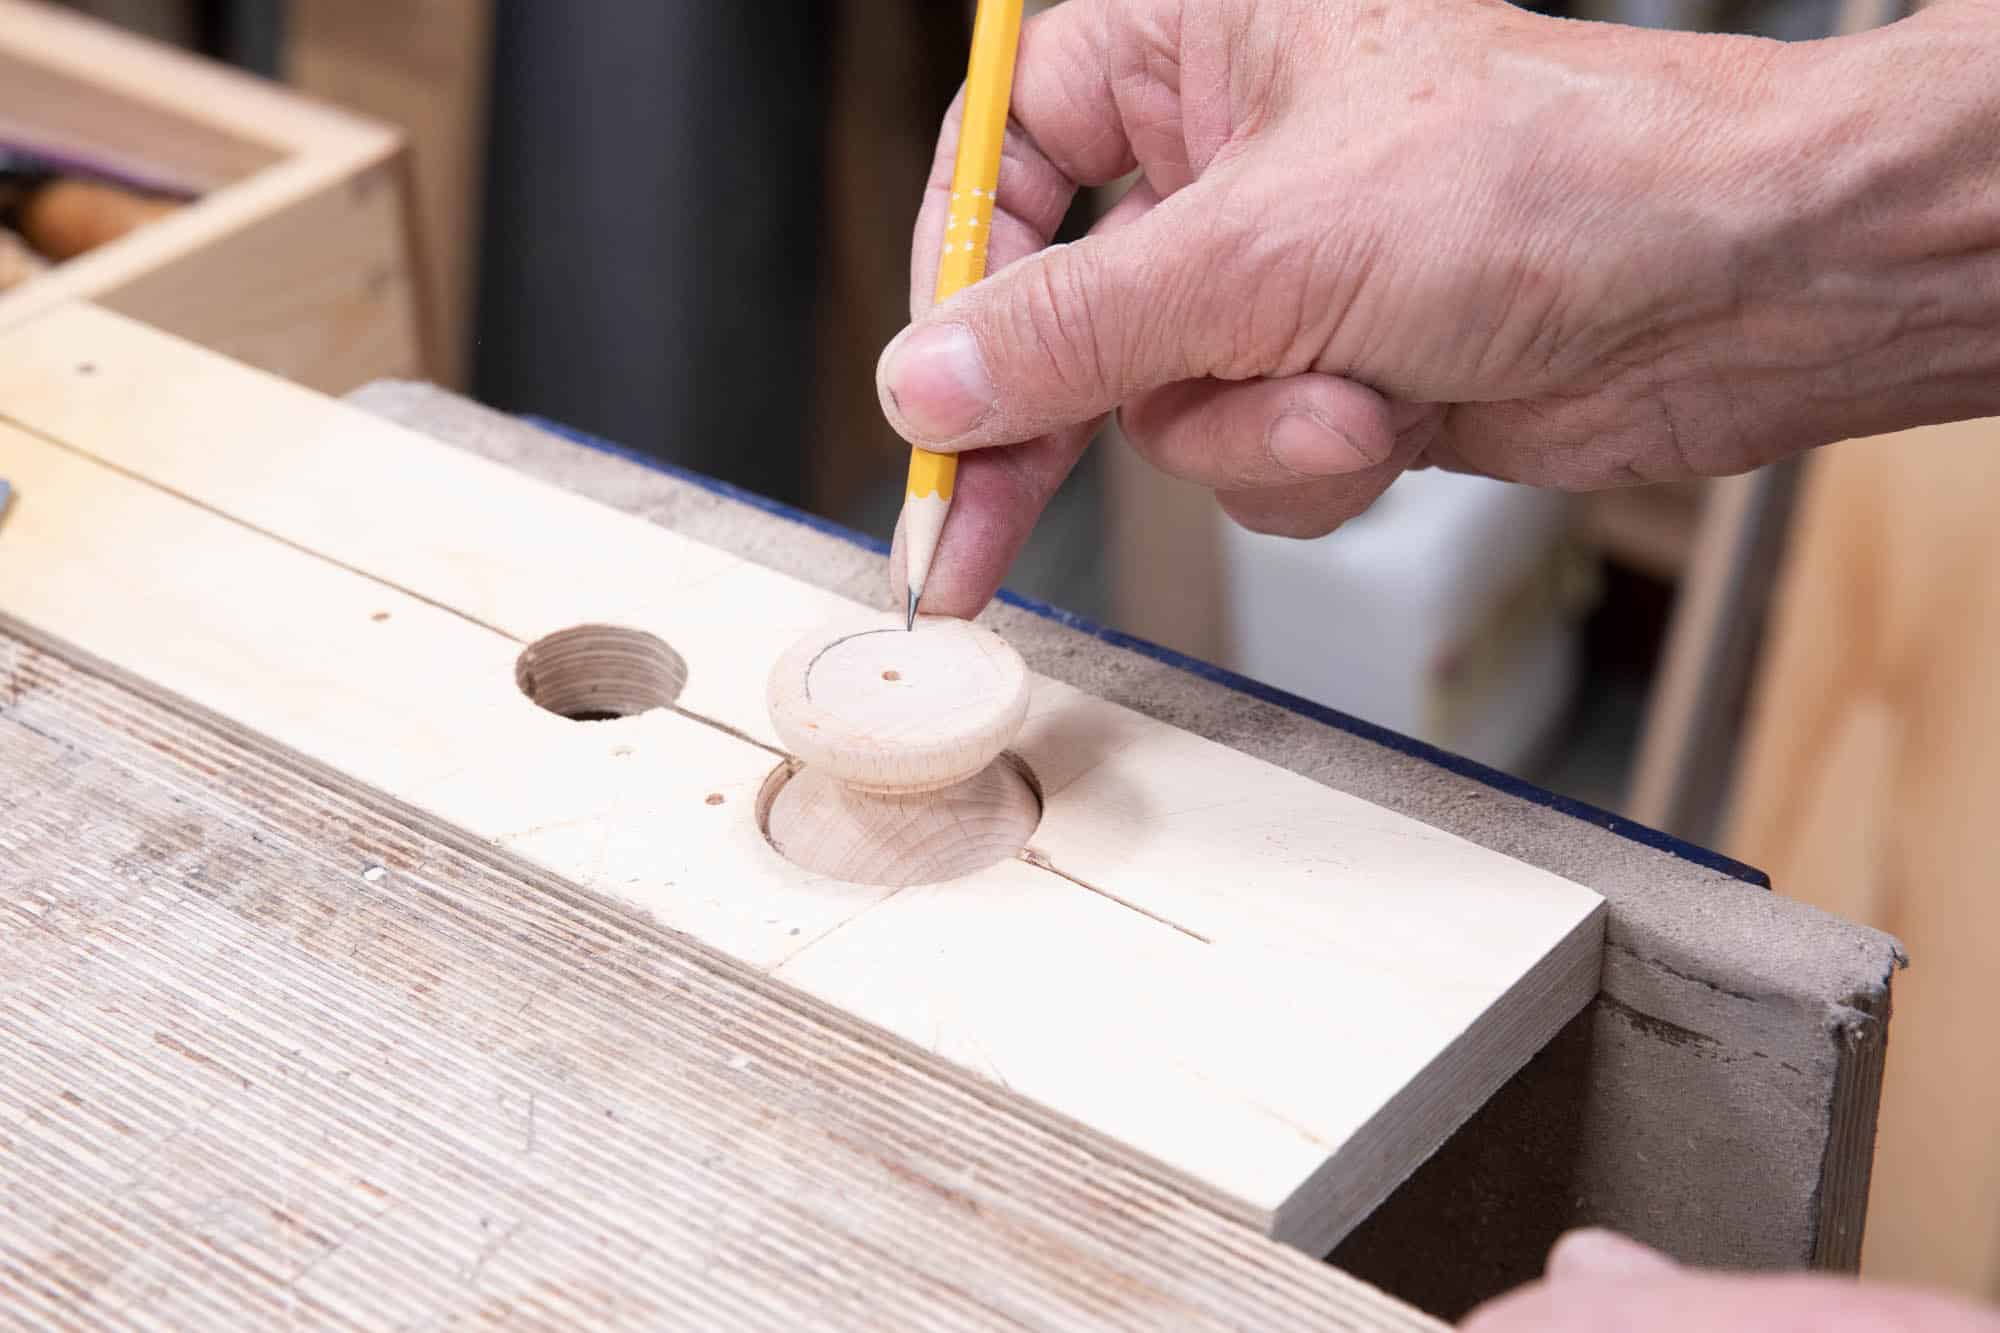
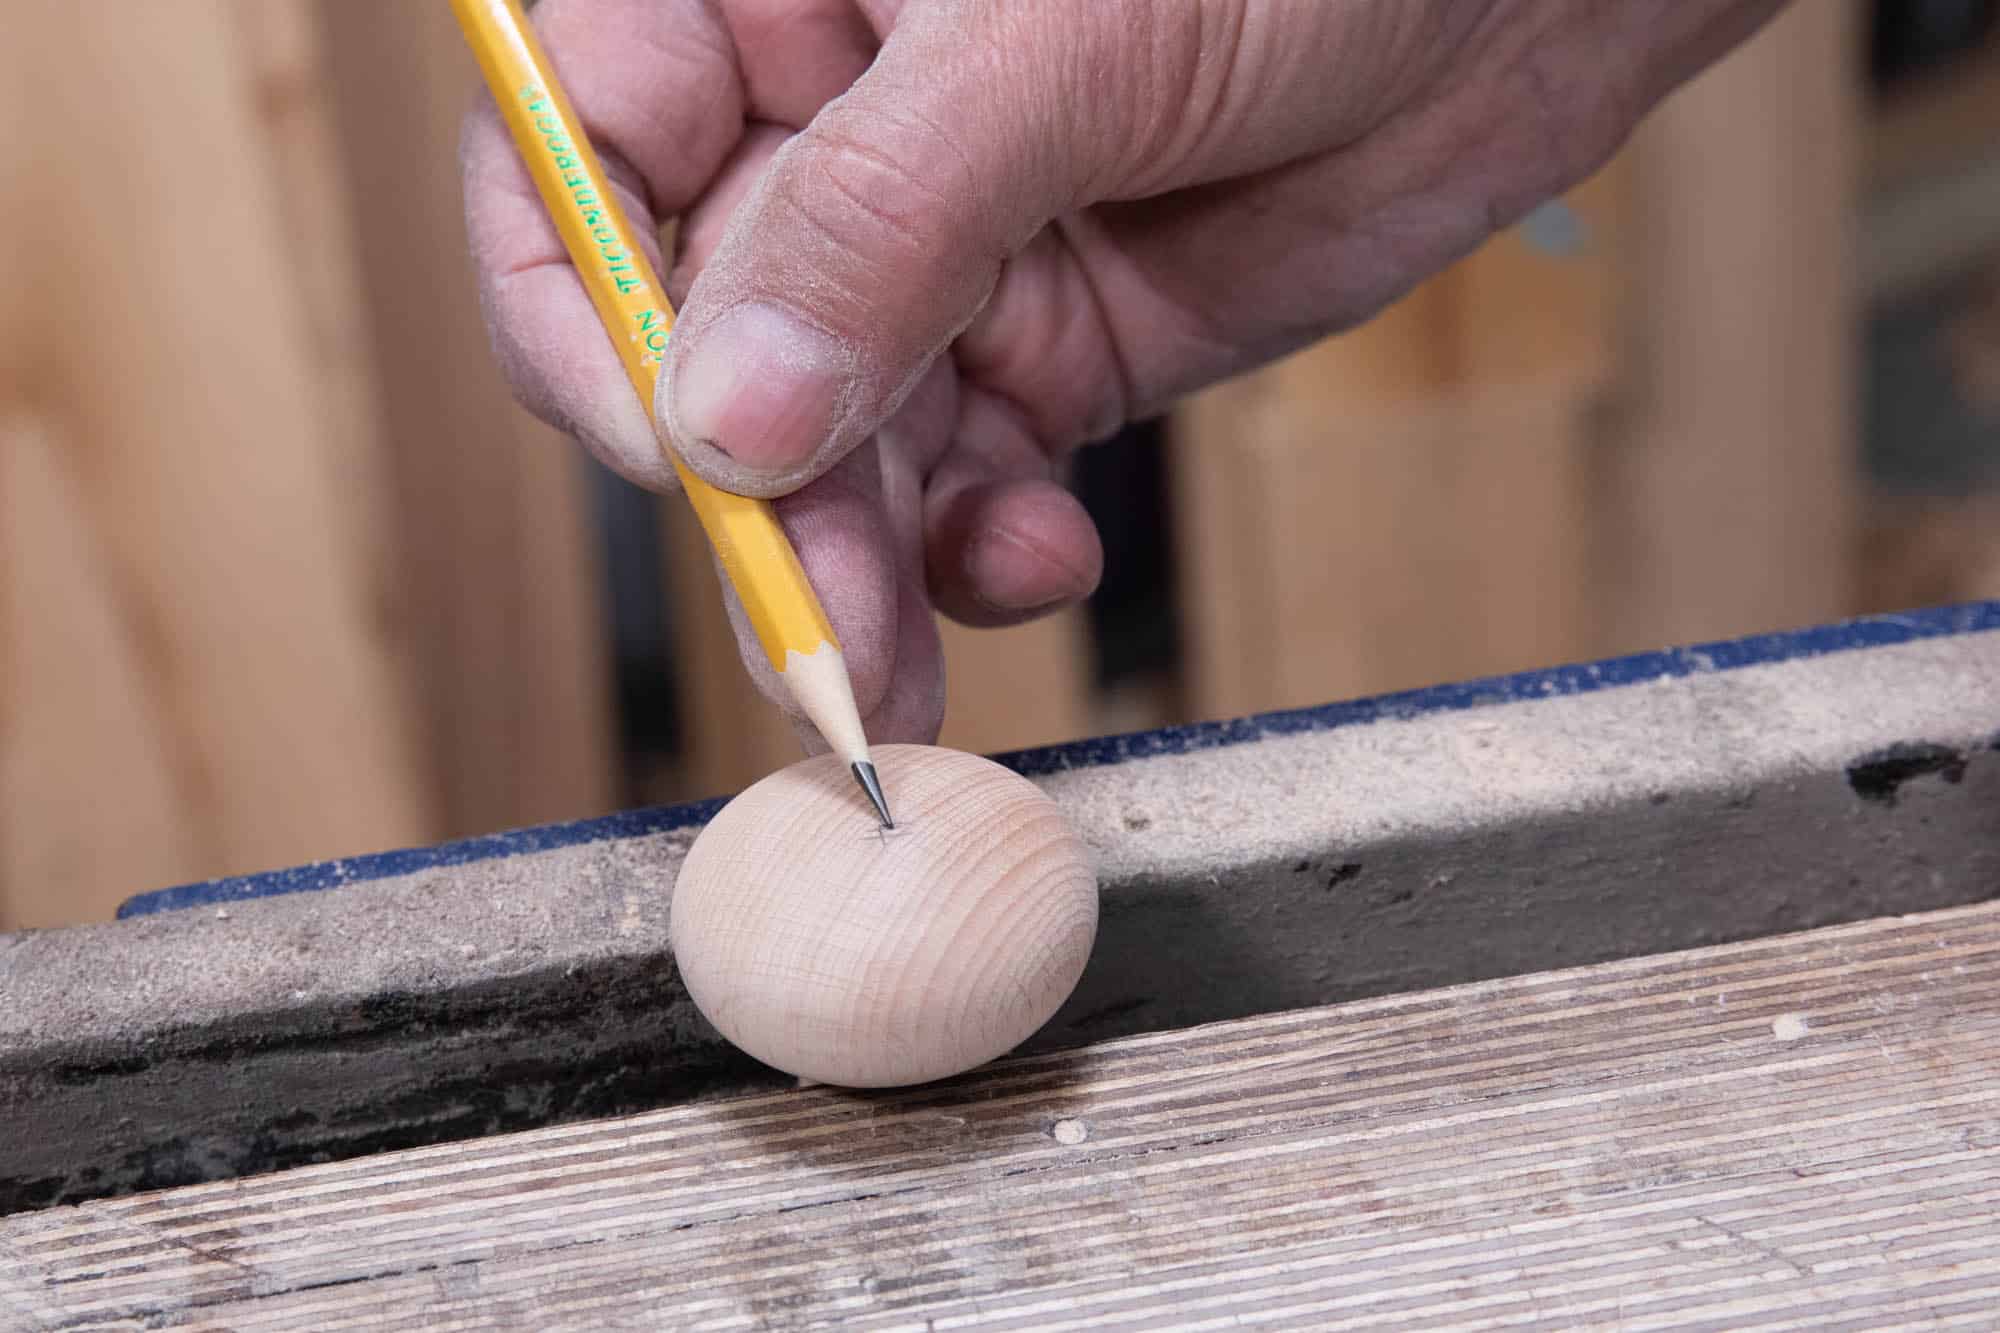
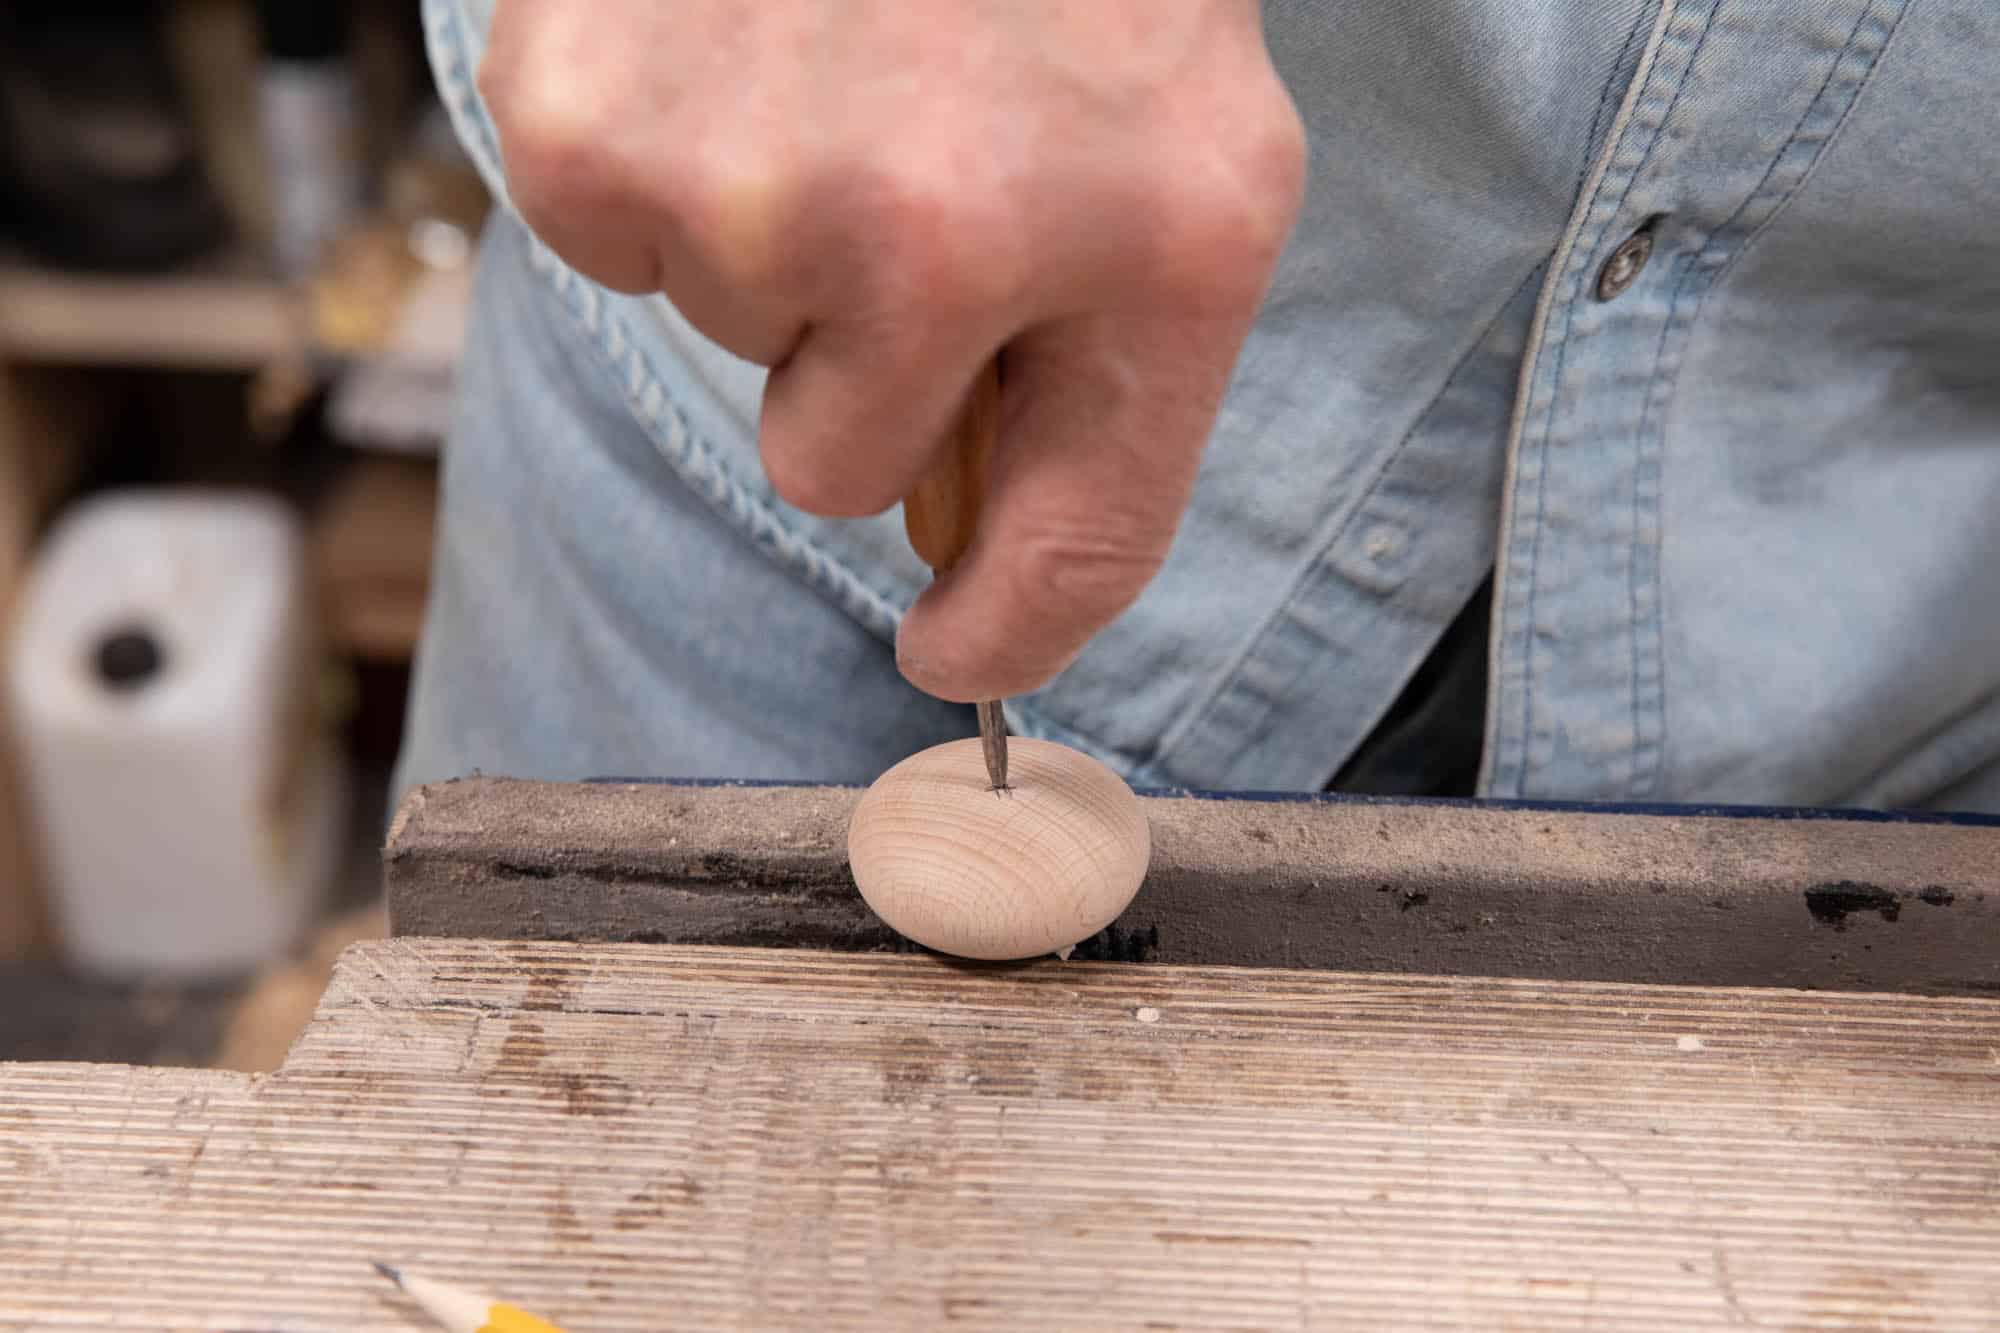
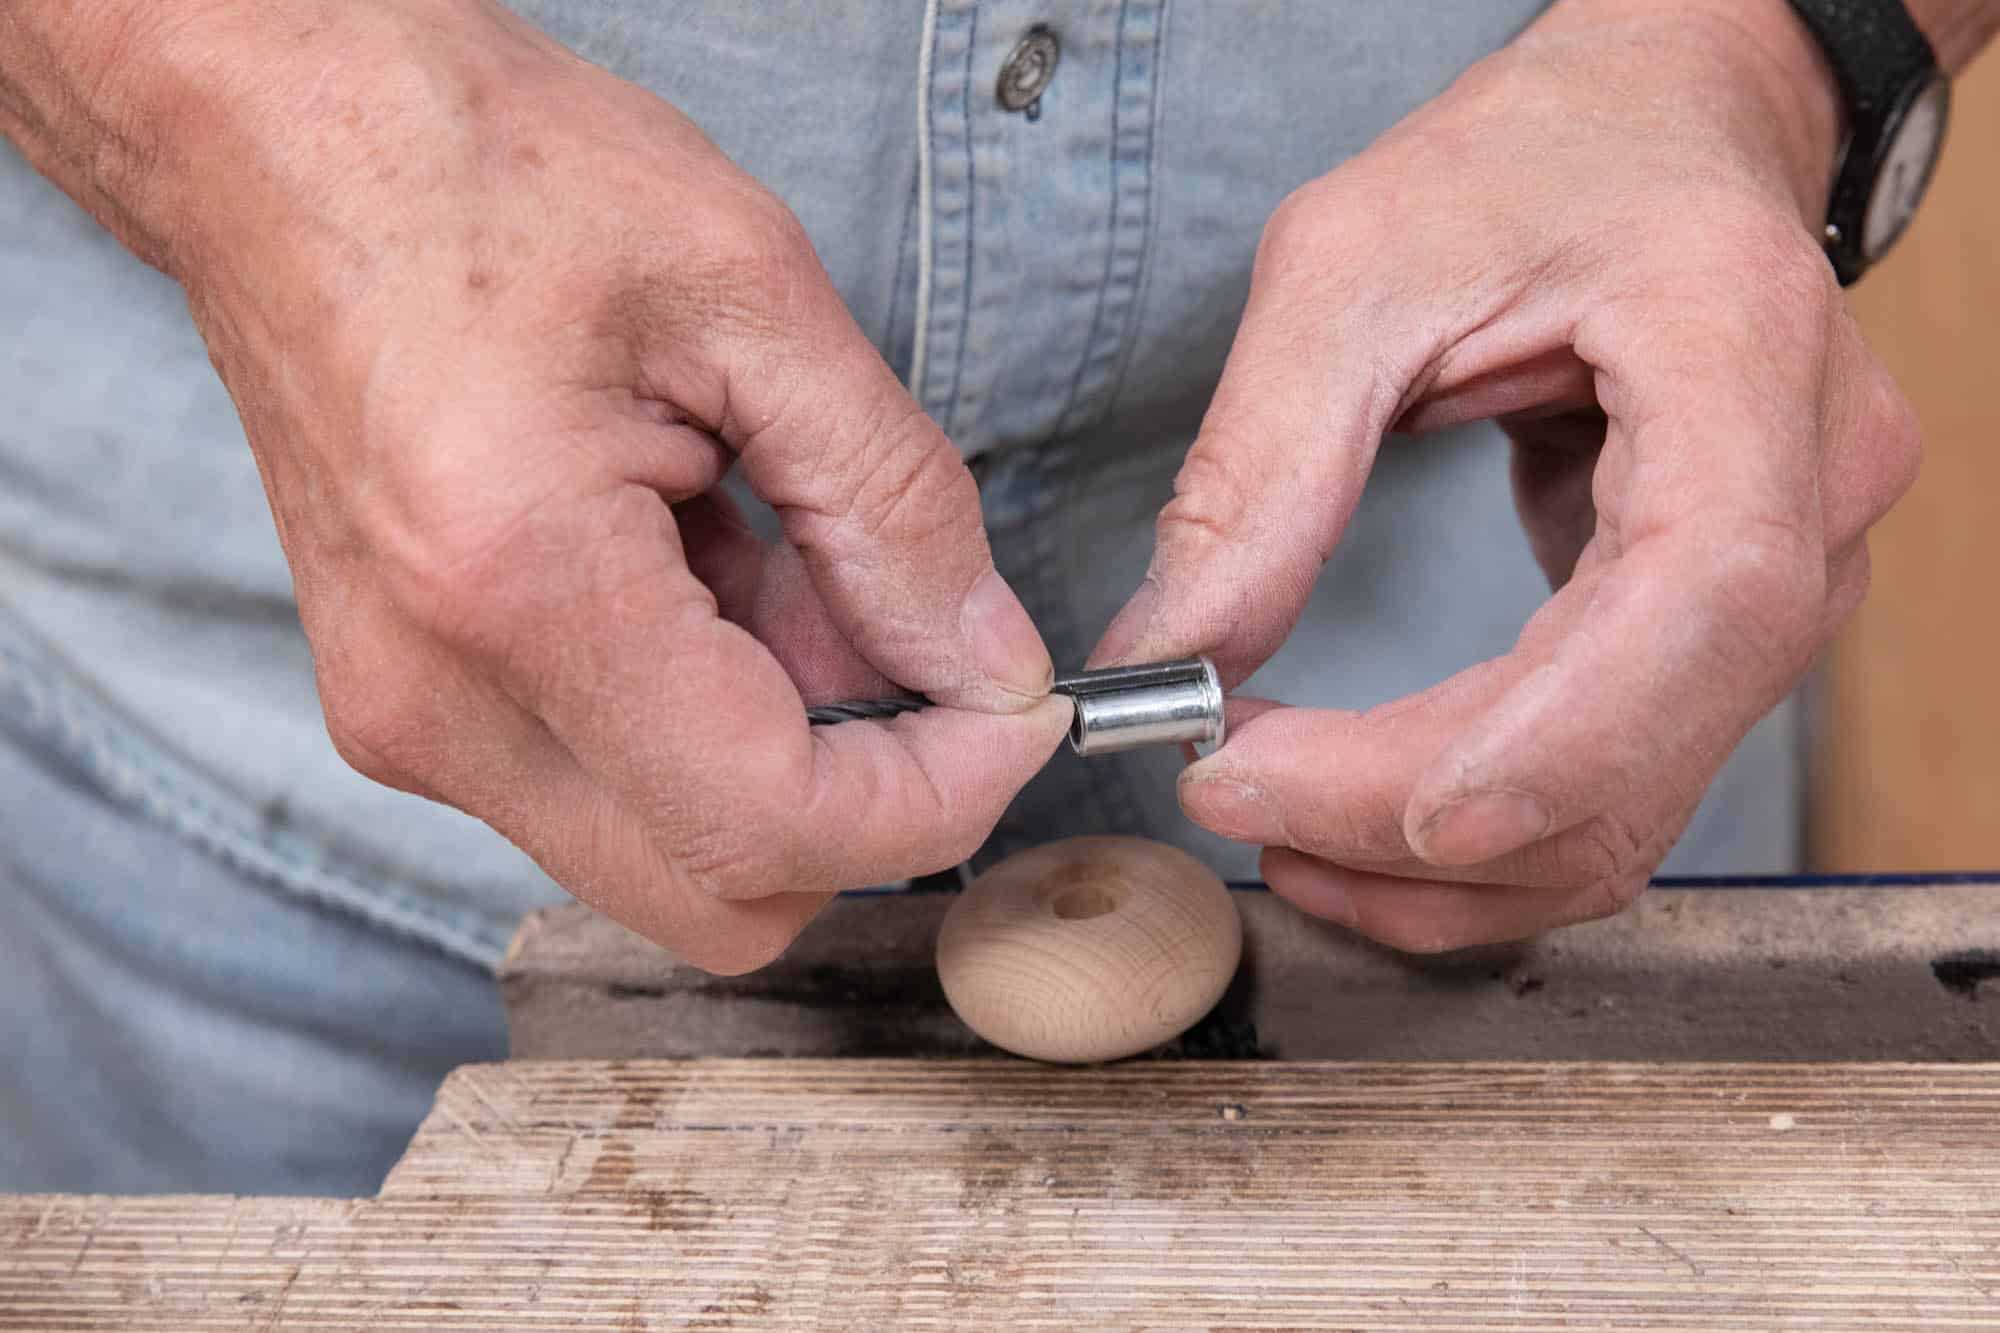
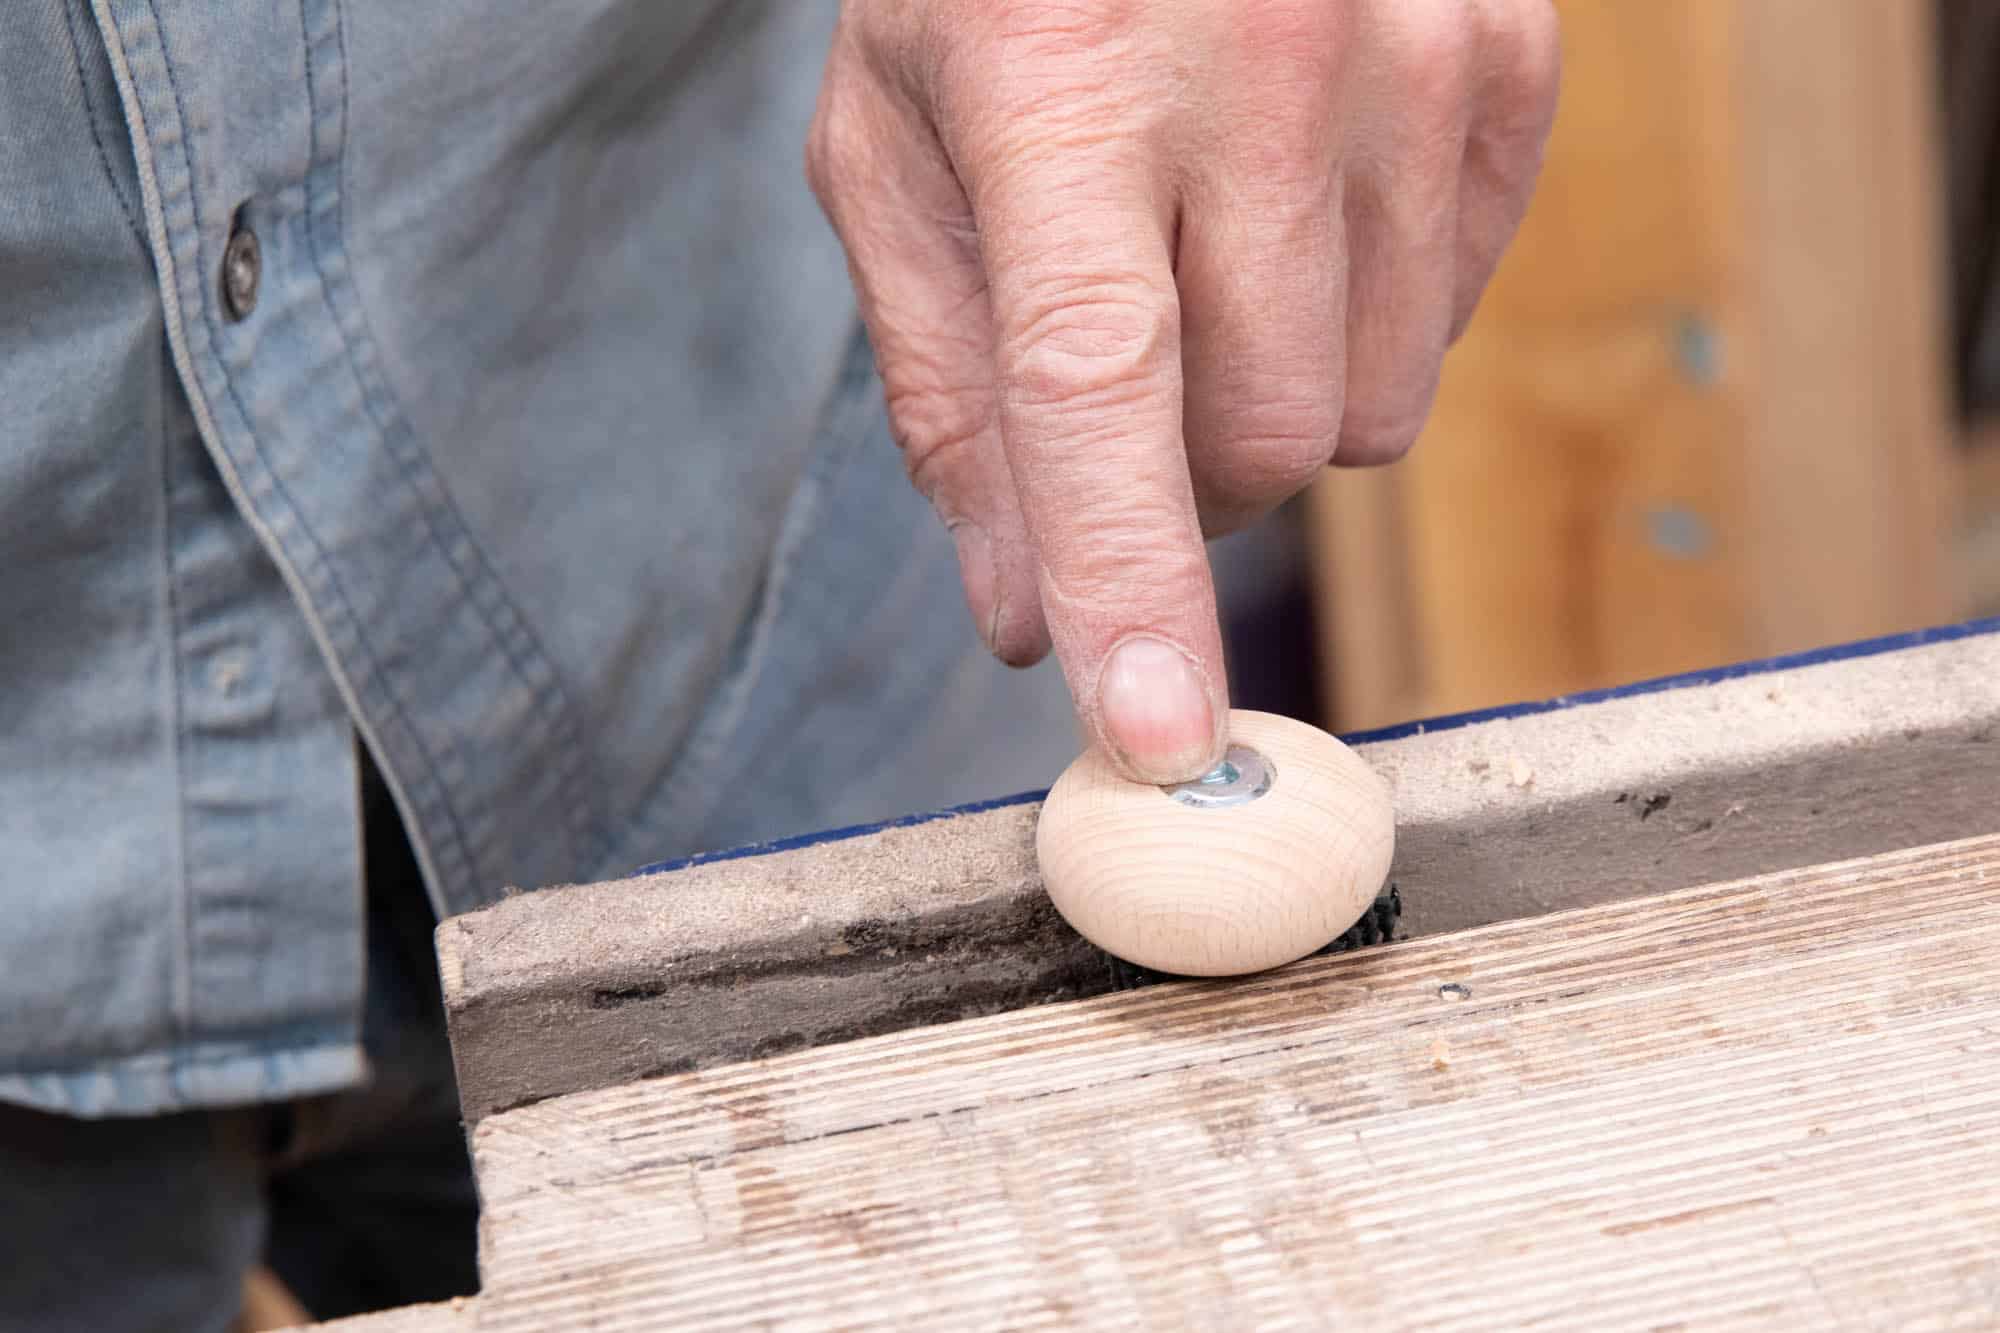
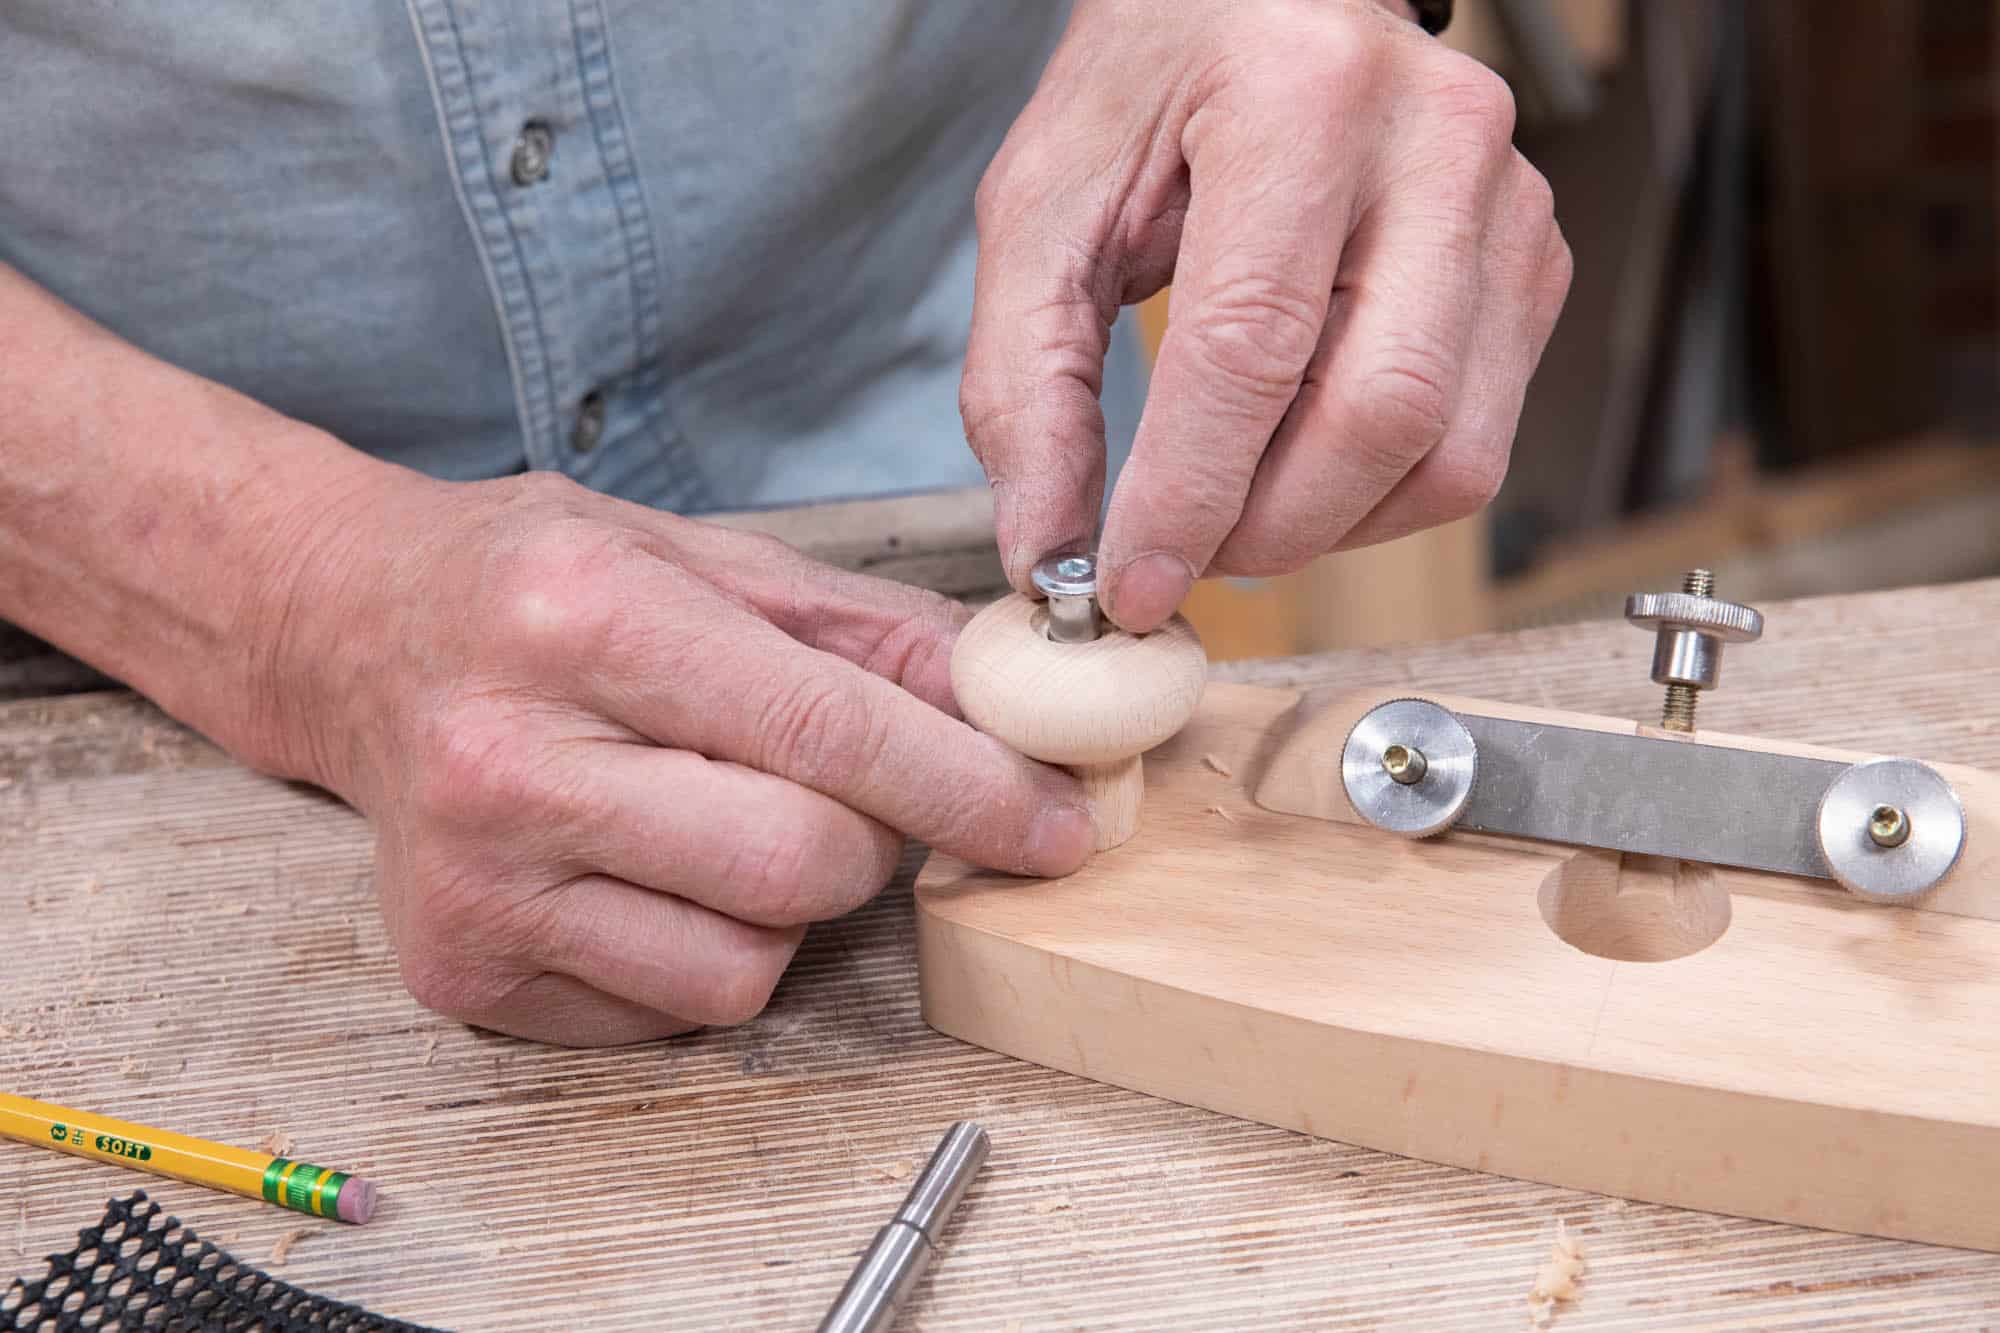
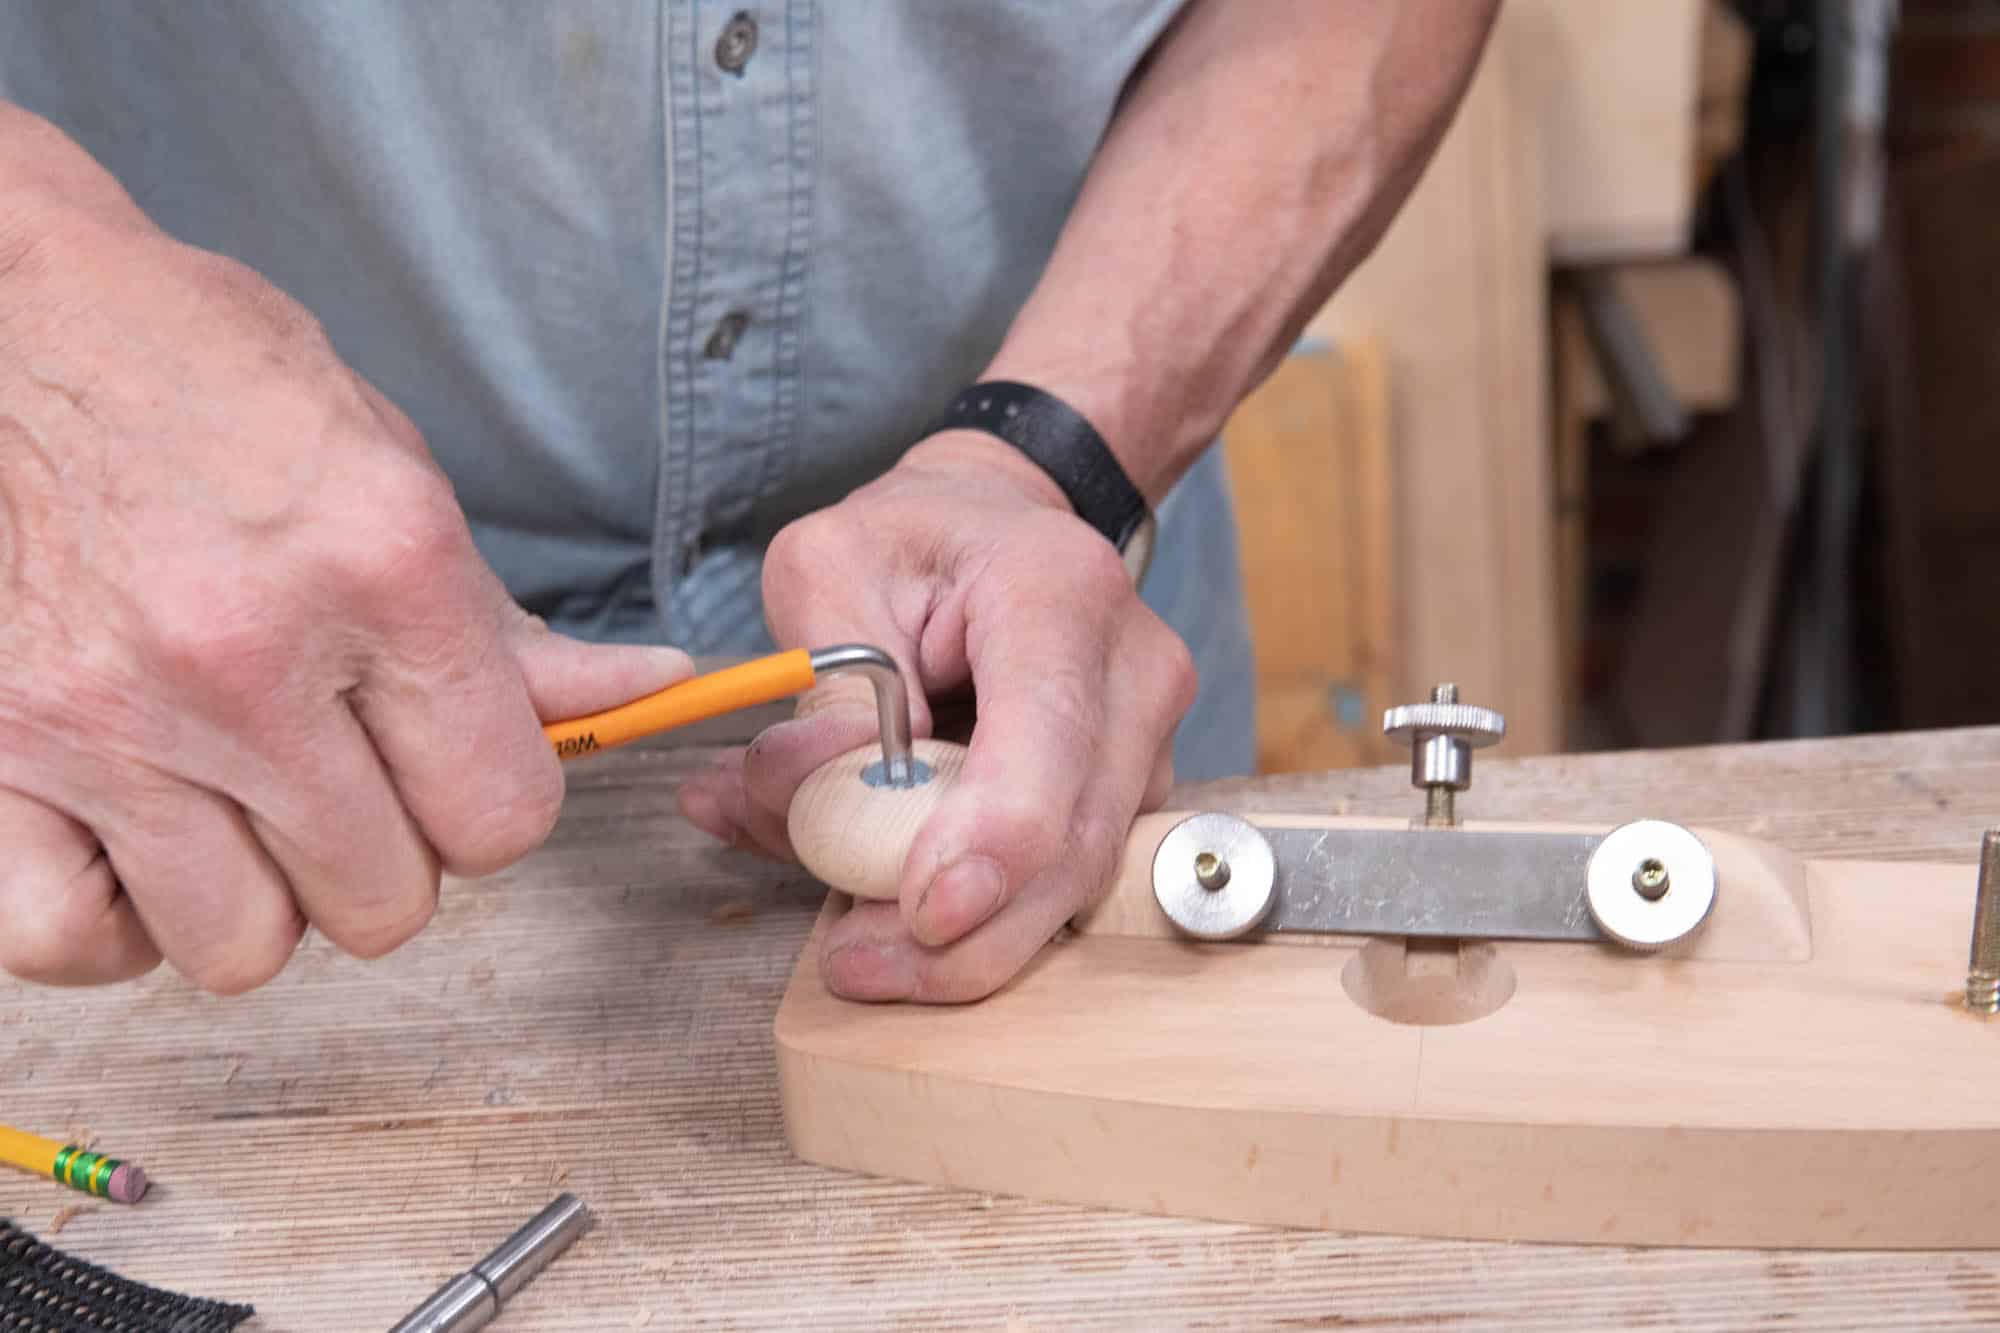
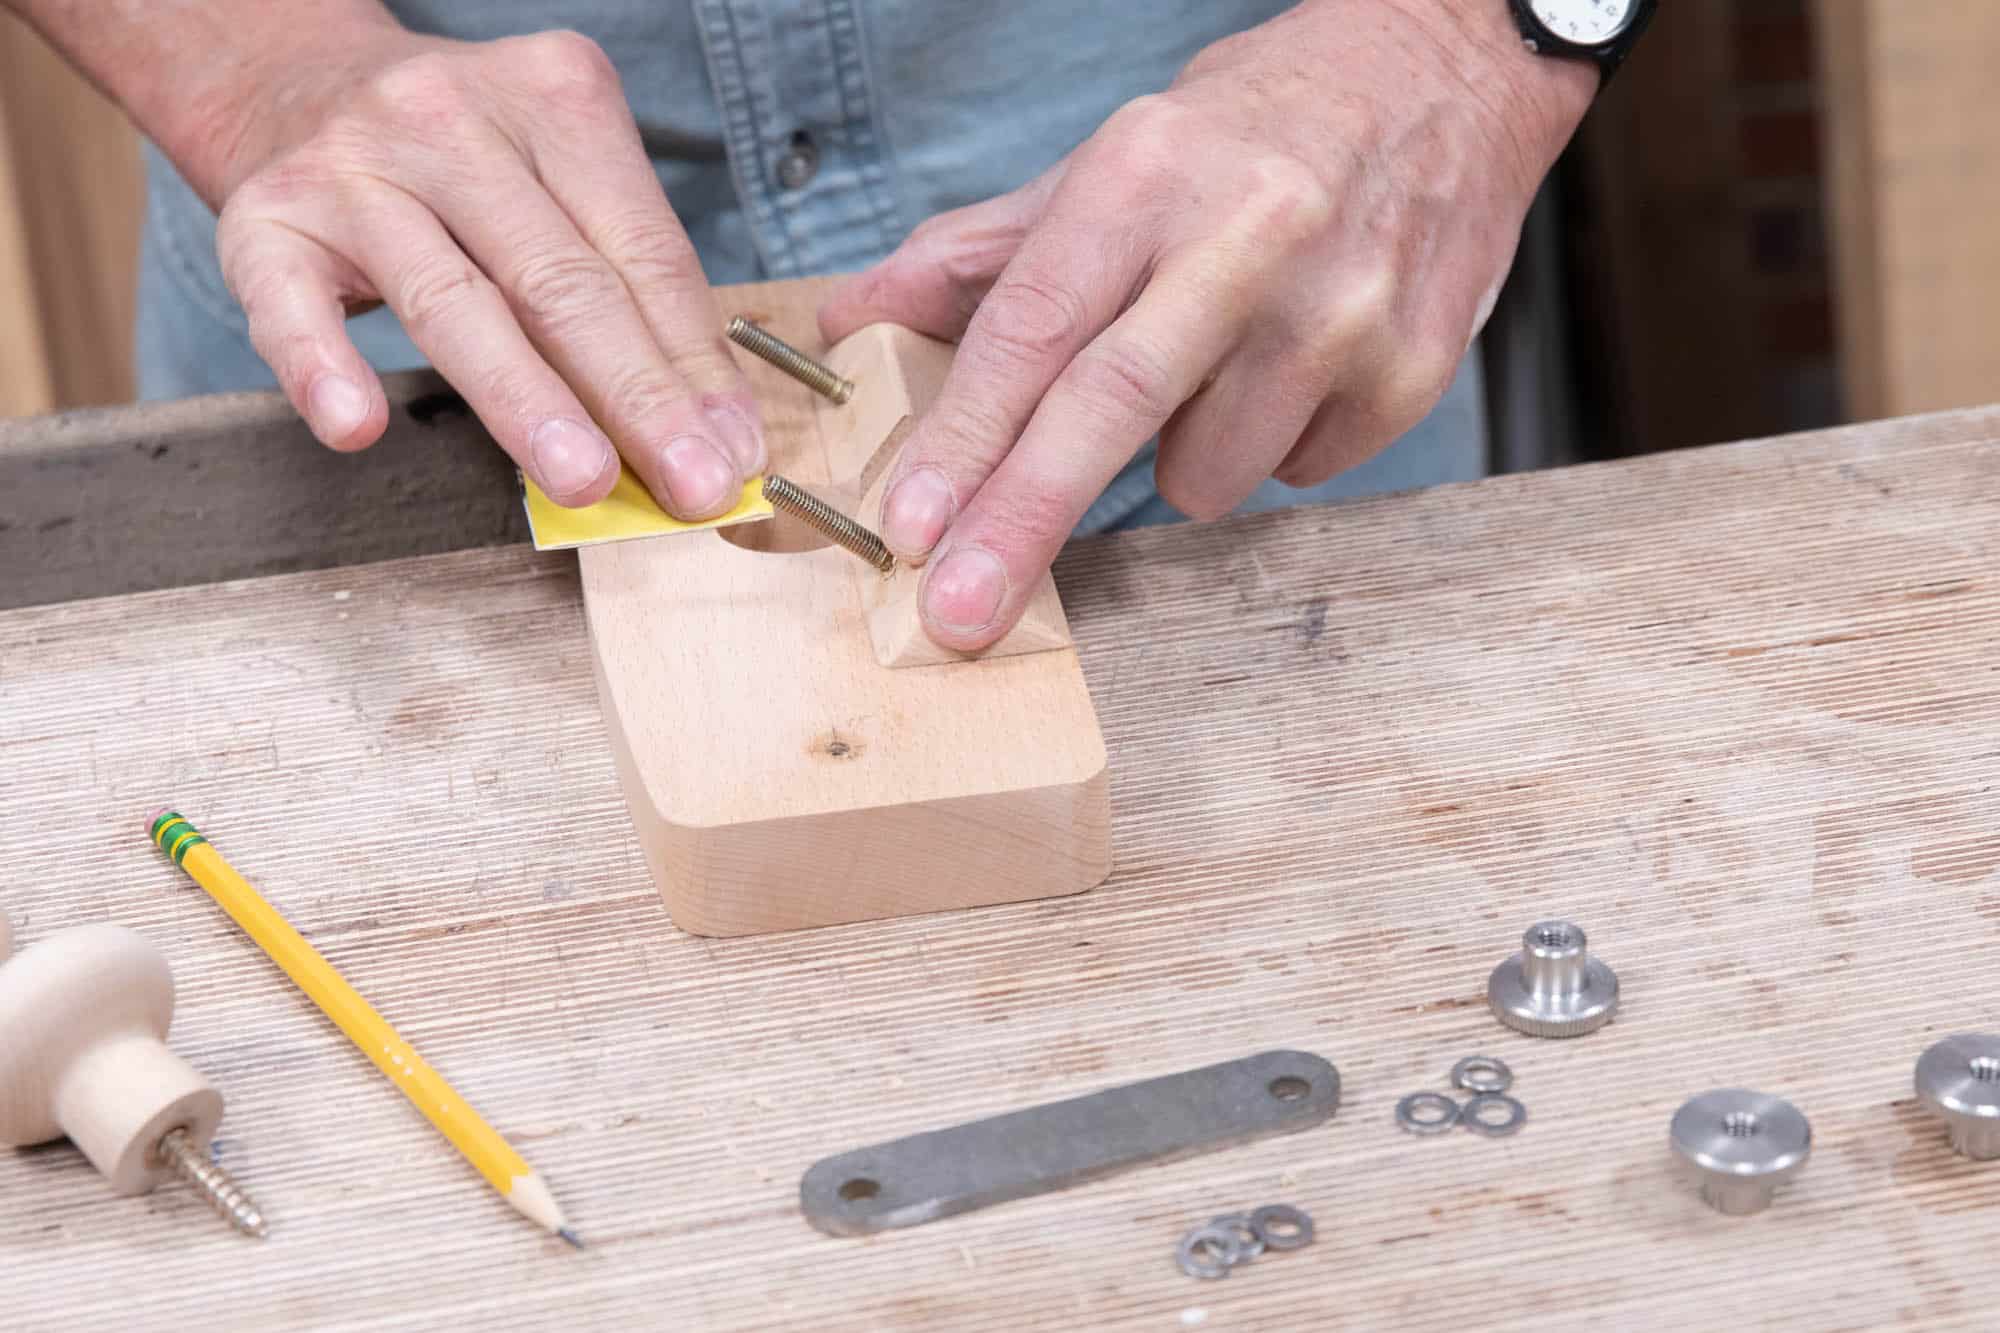
You can simply use your fingers holding the pencil as shown to gauge the centre of the knob and then check with a rule. I usually do this by registering one finger from the edge of the knob and holding the pencil. working around the knob will allow me to establish a tighter centre spot.
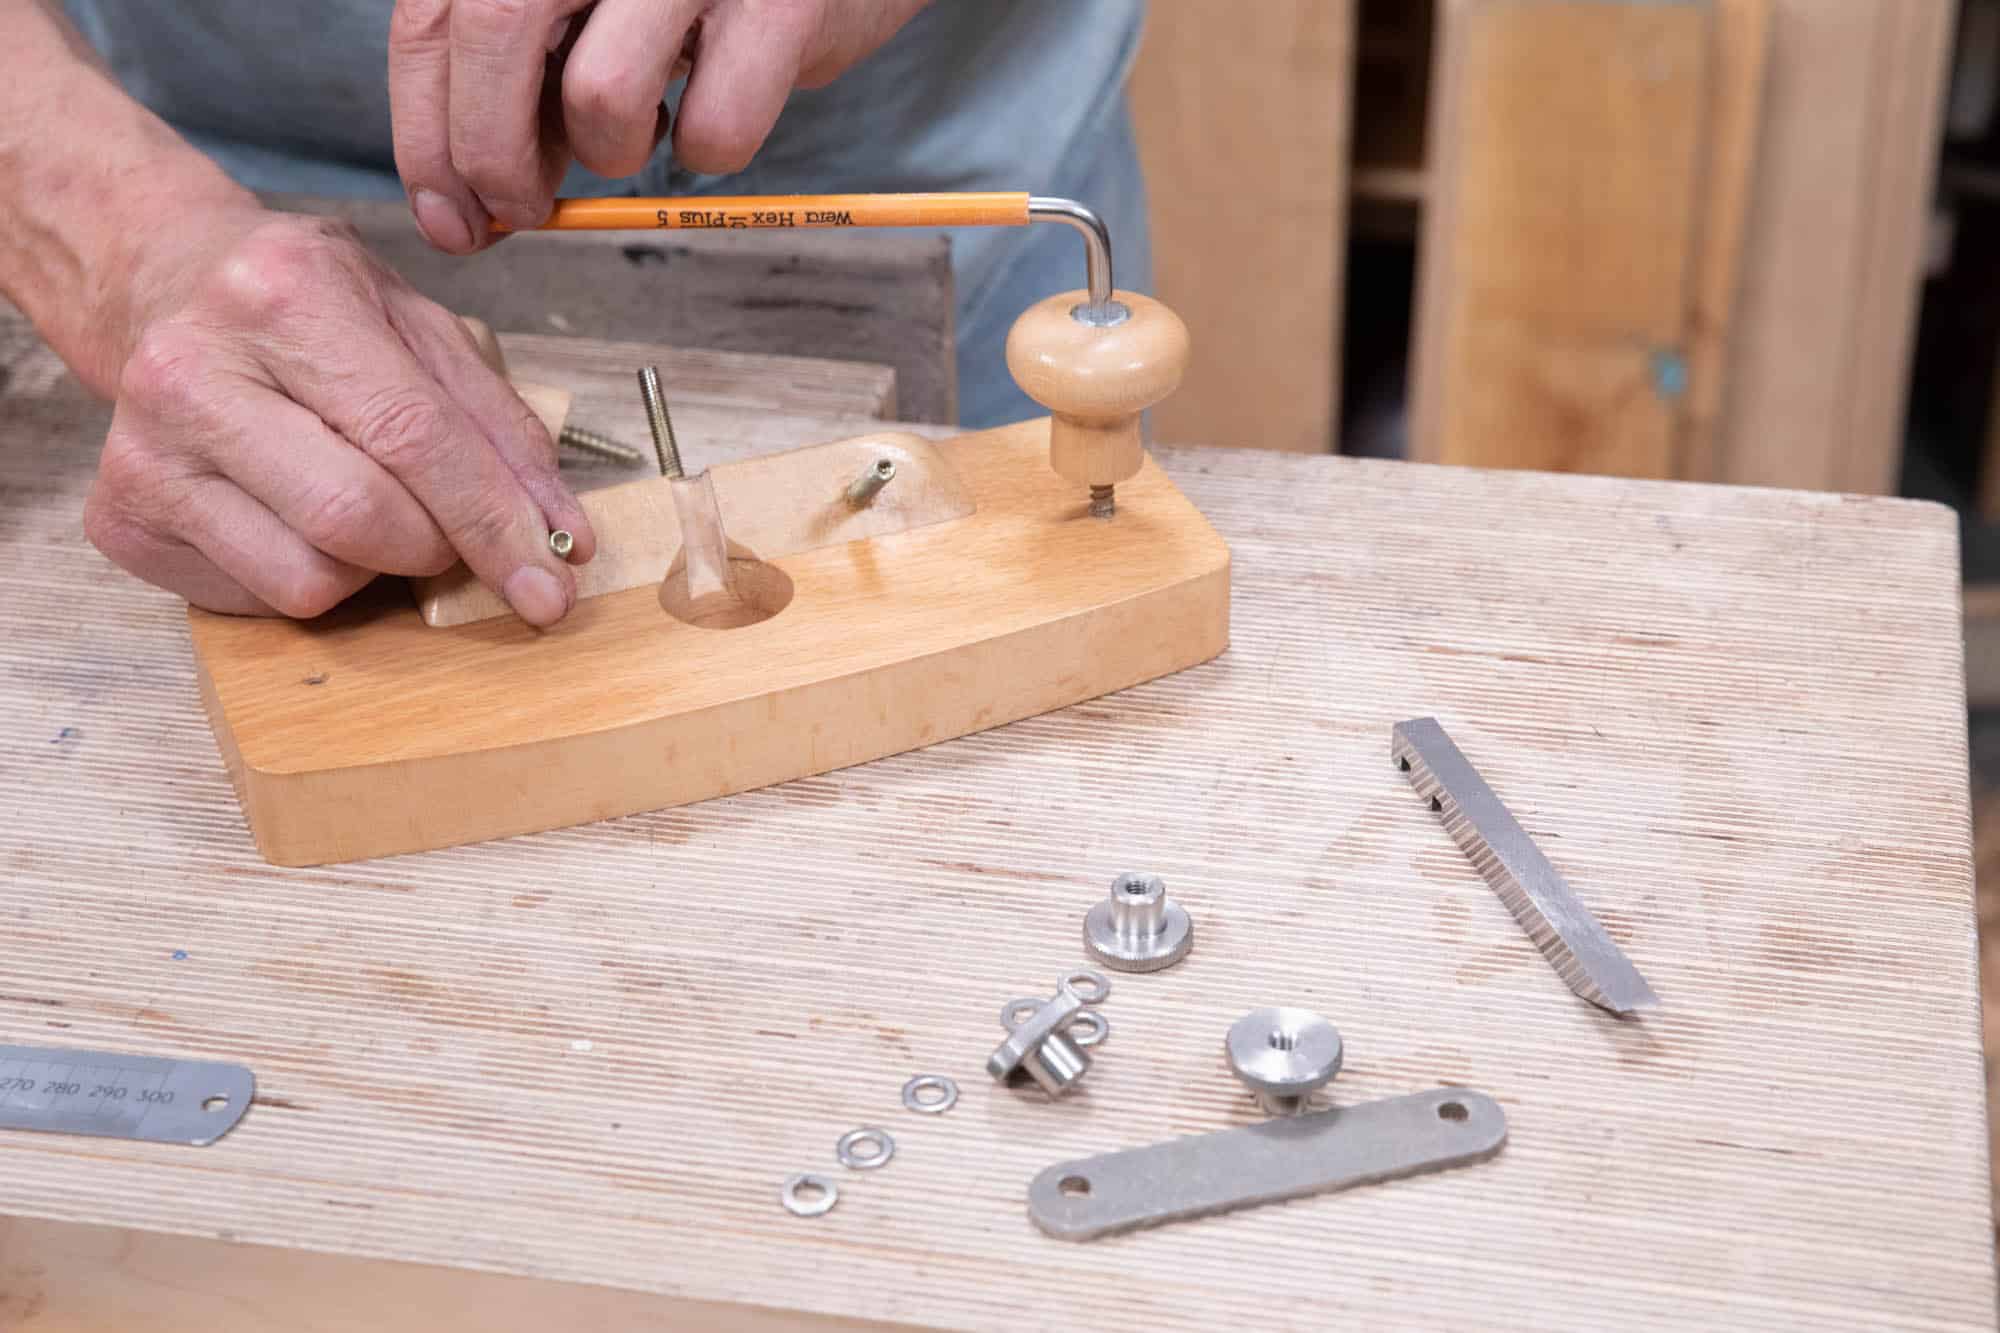
To hold the knob in the vise securely, I use silicone shelf liner around the stem of the knob. This helps with the security as well as cushioning the wood to prevent marring.
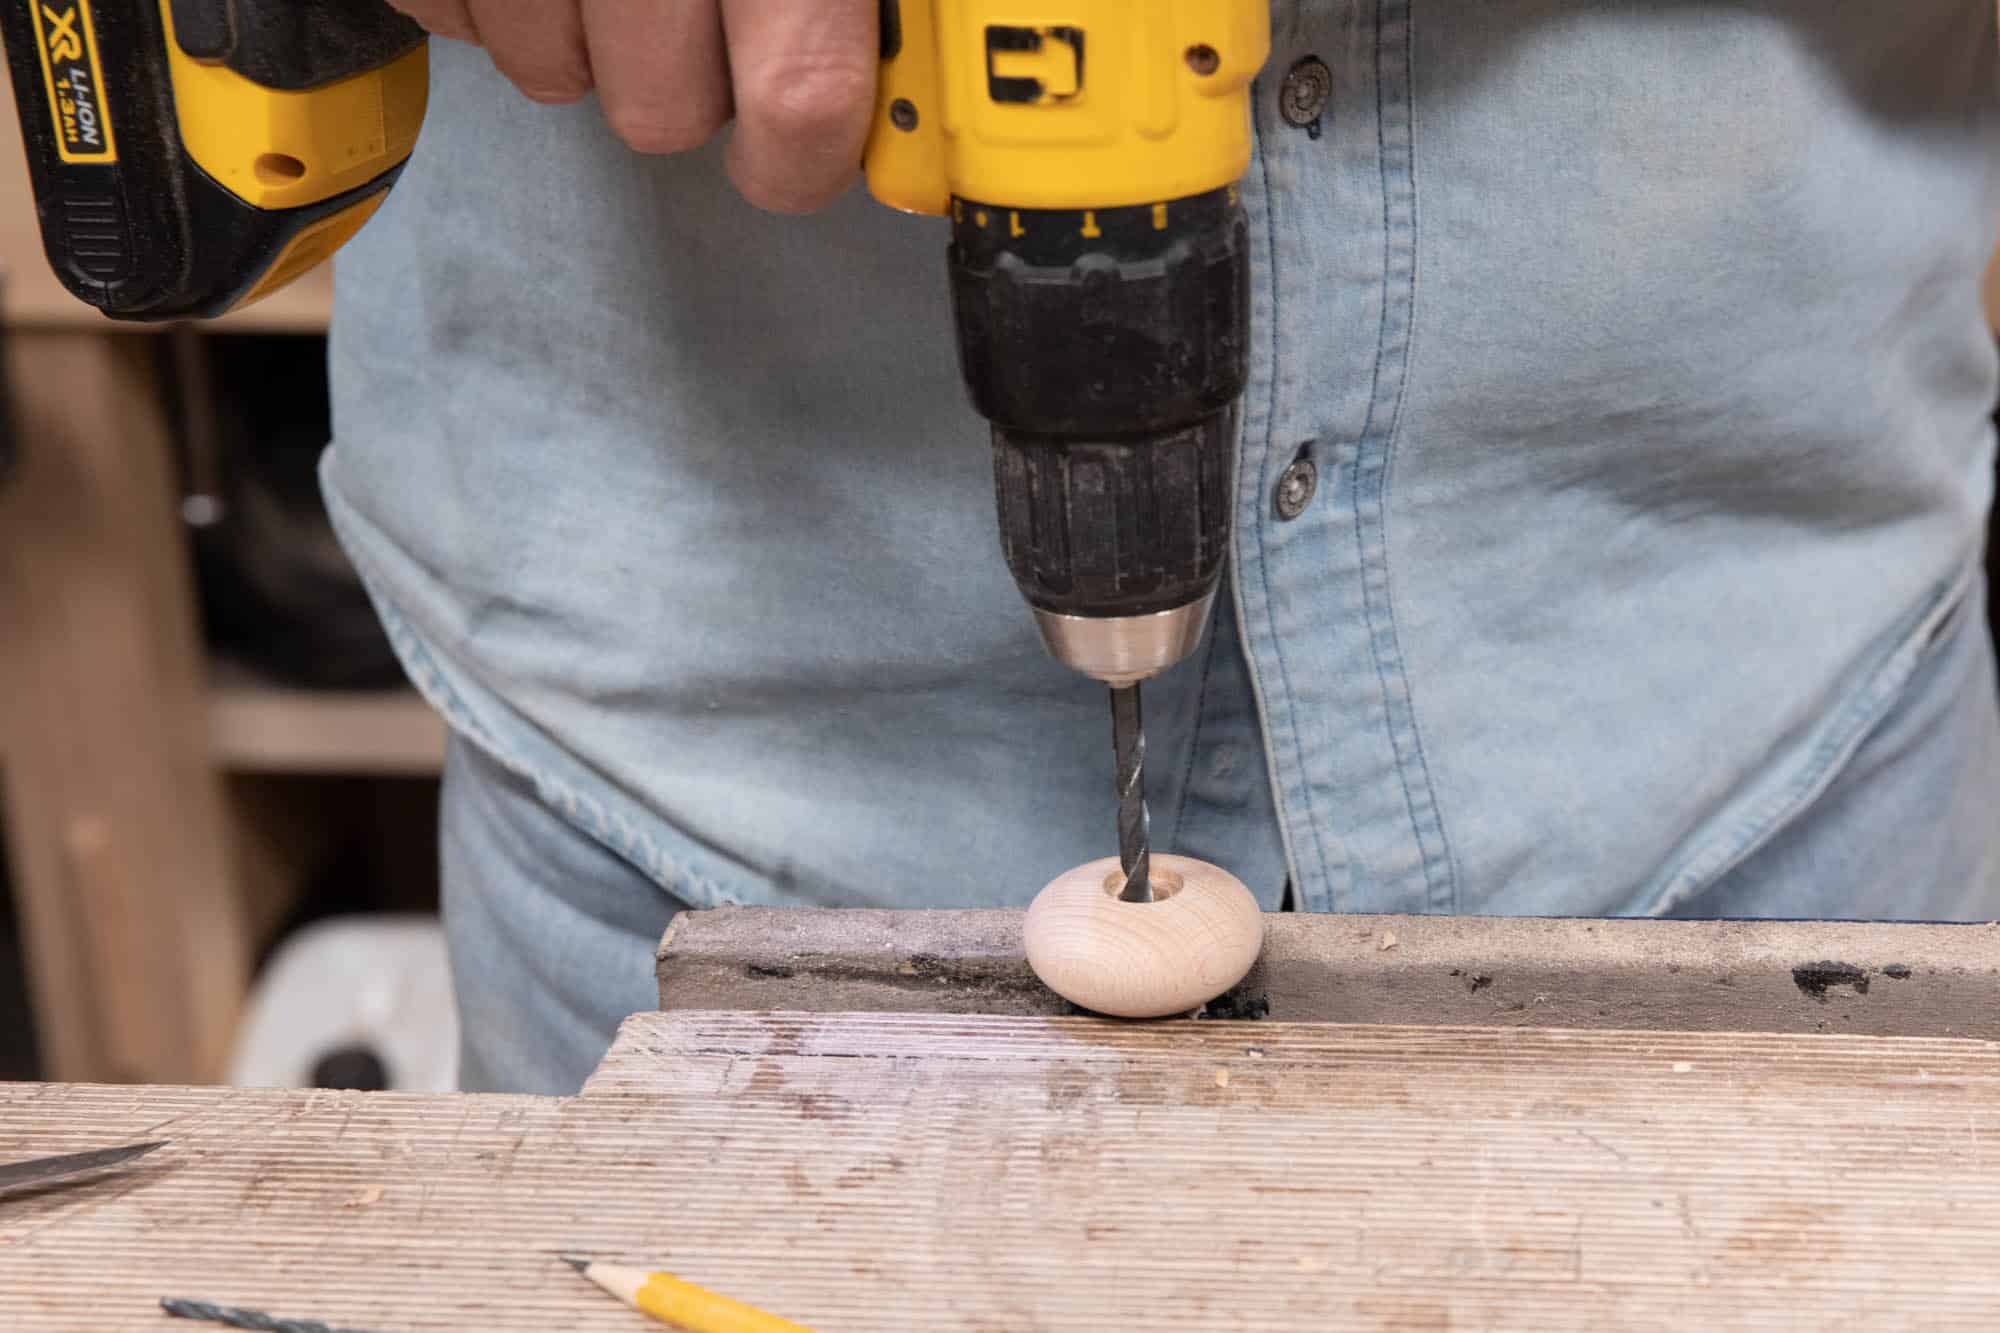
The sequence of drilling is important as we will be creating stepped holes to receive the different elements of the connector nuts ( or cap nuts) and the shanks of the hanger bolts.
The first hole is a recess to receive the head of the connector nut. Use a 15mm (19/32″) forstner bit to give a crisp clean recess. You can also use a flat bit or an auger bit but sizing may be more difficult. Use the head of the connector nut to determine the depth to drill to (just over 1/16″ or 2mm deep).
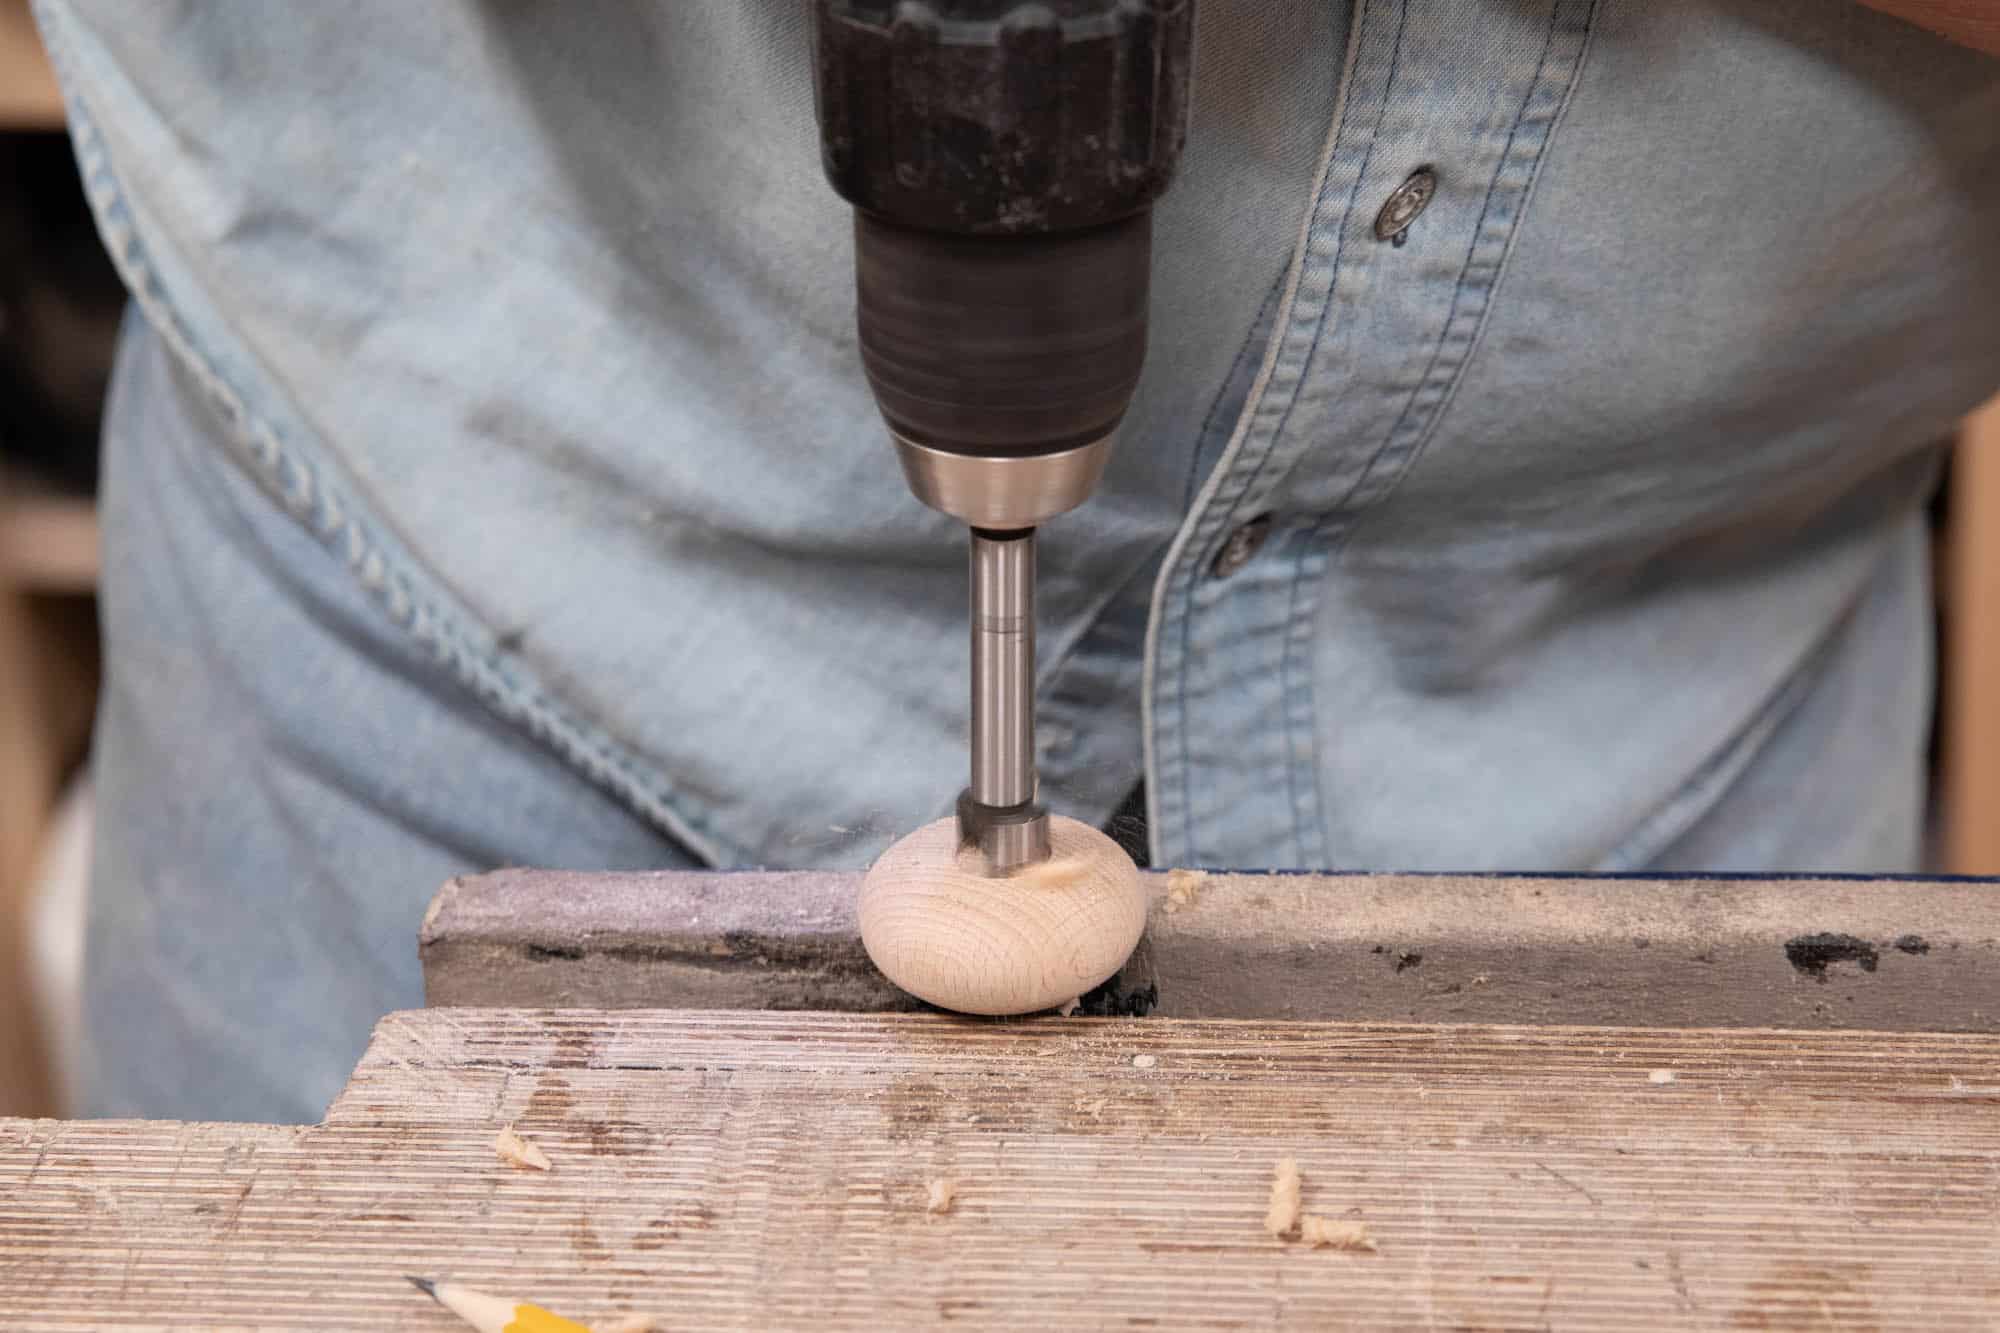
You can drill down incrementally and keep checking yourself by inserting the connector nut upside down. When the underside of the rim is flush with the surrounding wood you are done.
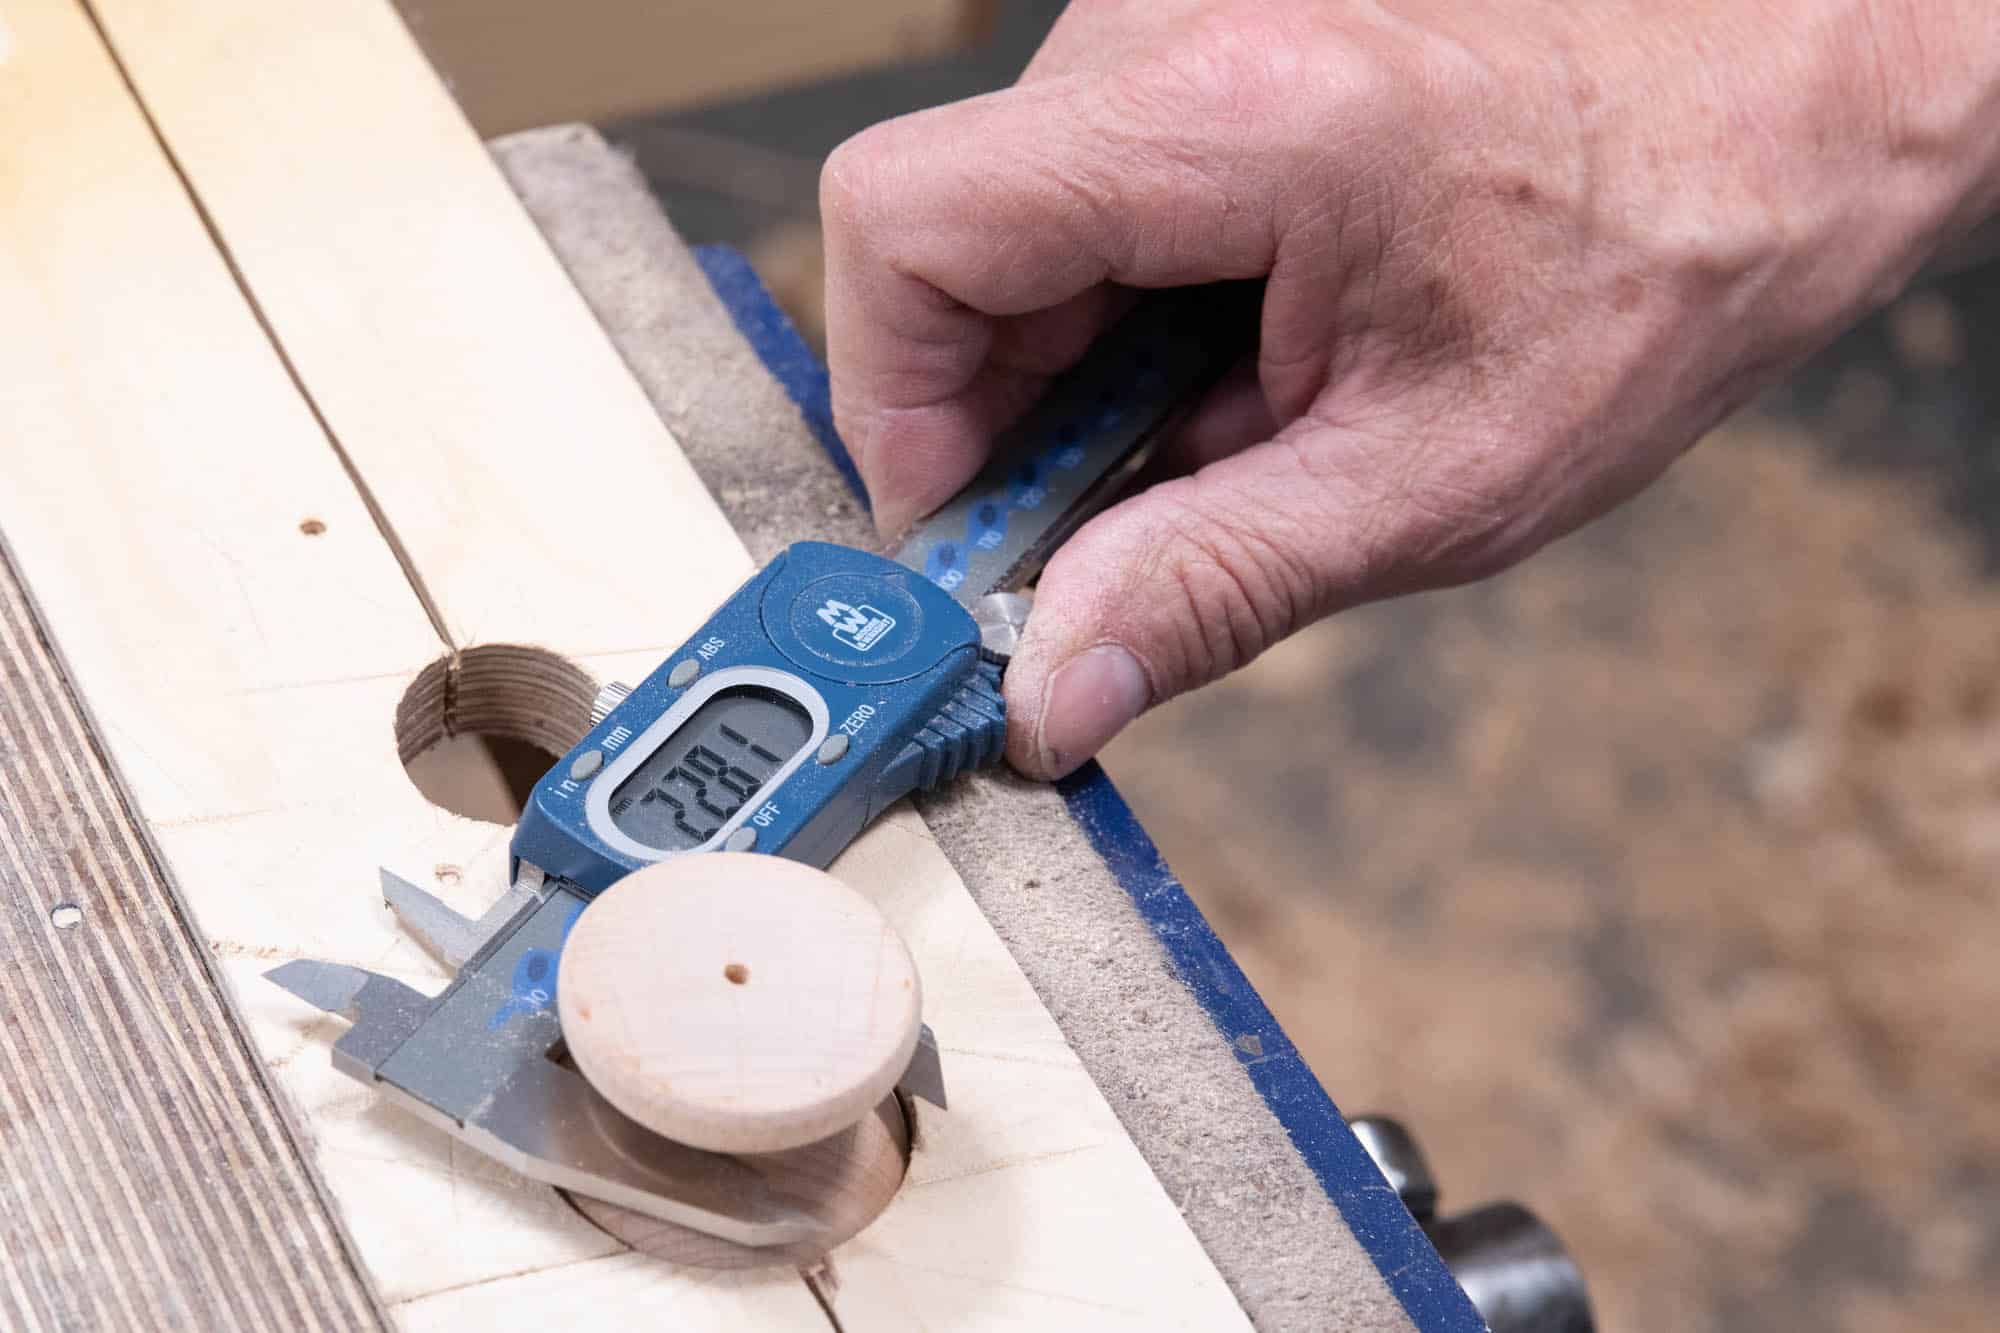
To receive the threaded lower section of the connector nut we drill with a 9mm (or 3/8″) twist drill. A snug fit is not necessary on the diameter. The depth should be approximately 3/4″ (19mm) but check with the connector nut.
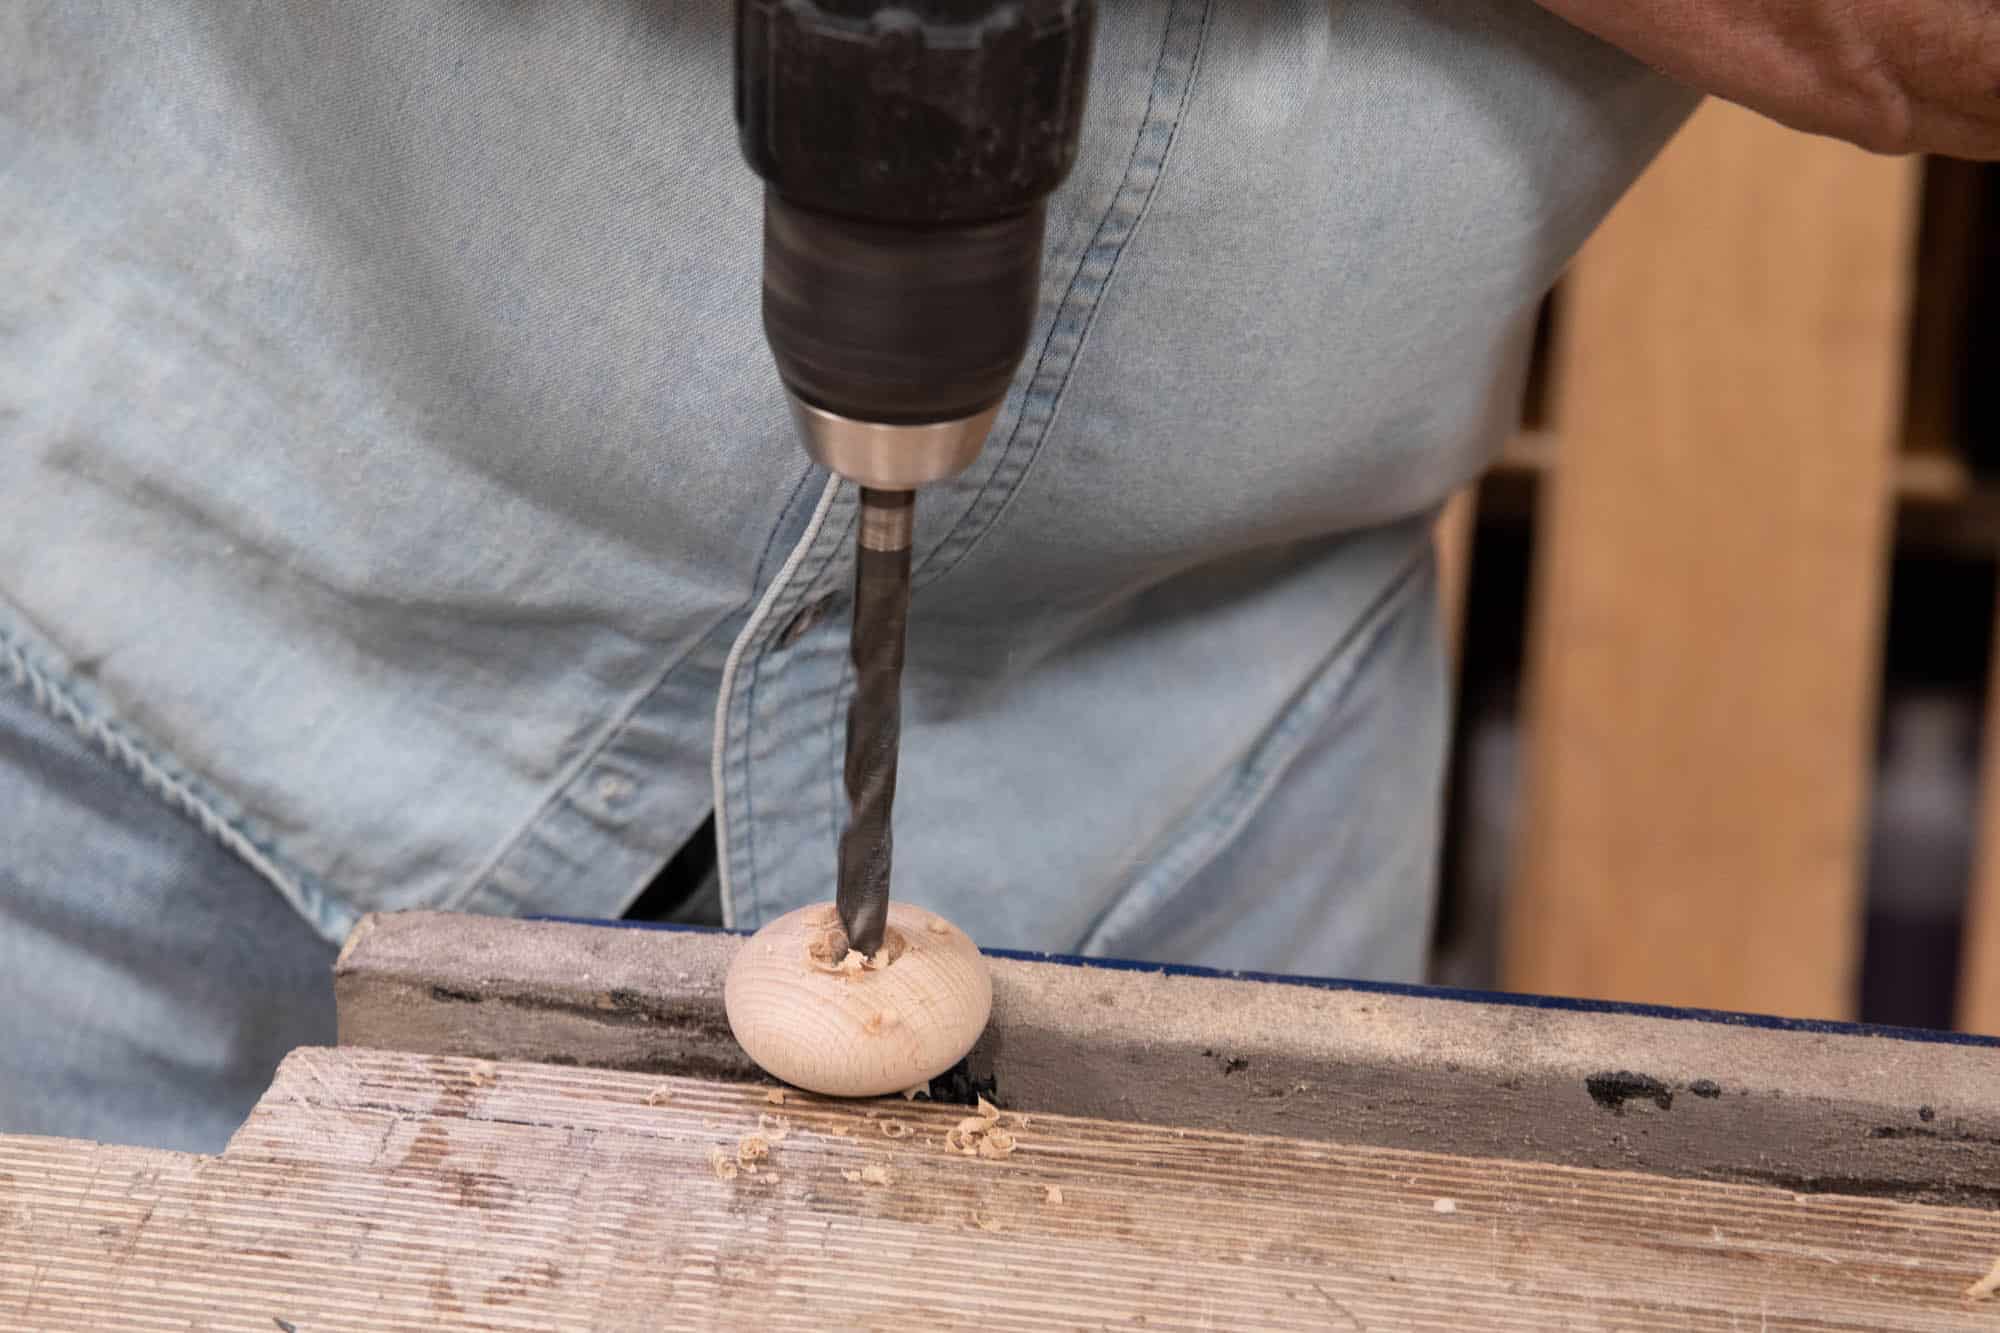
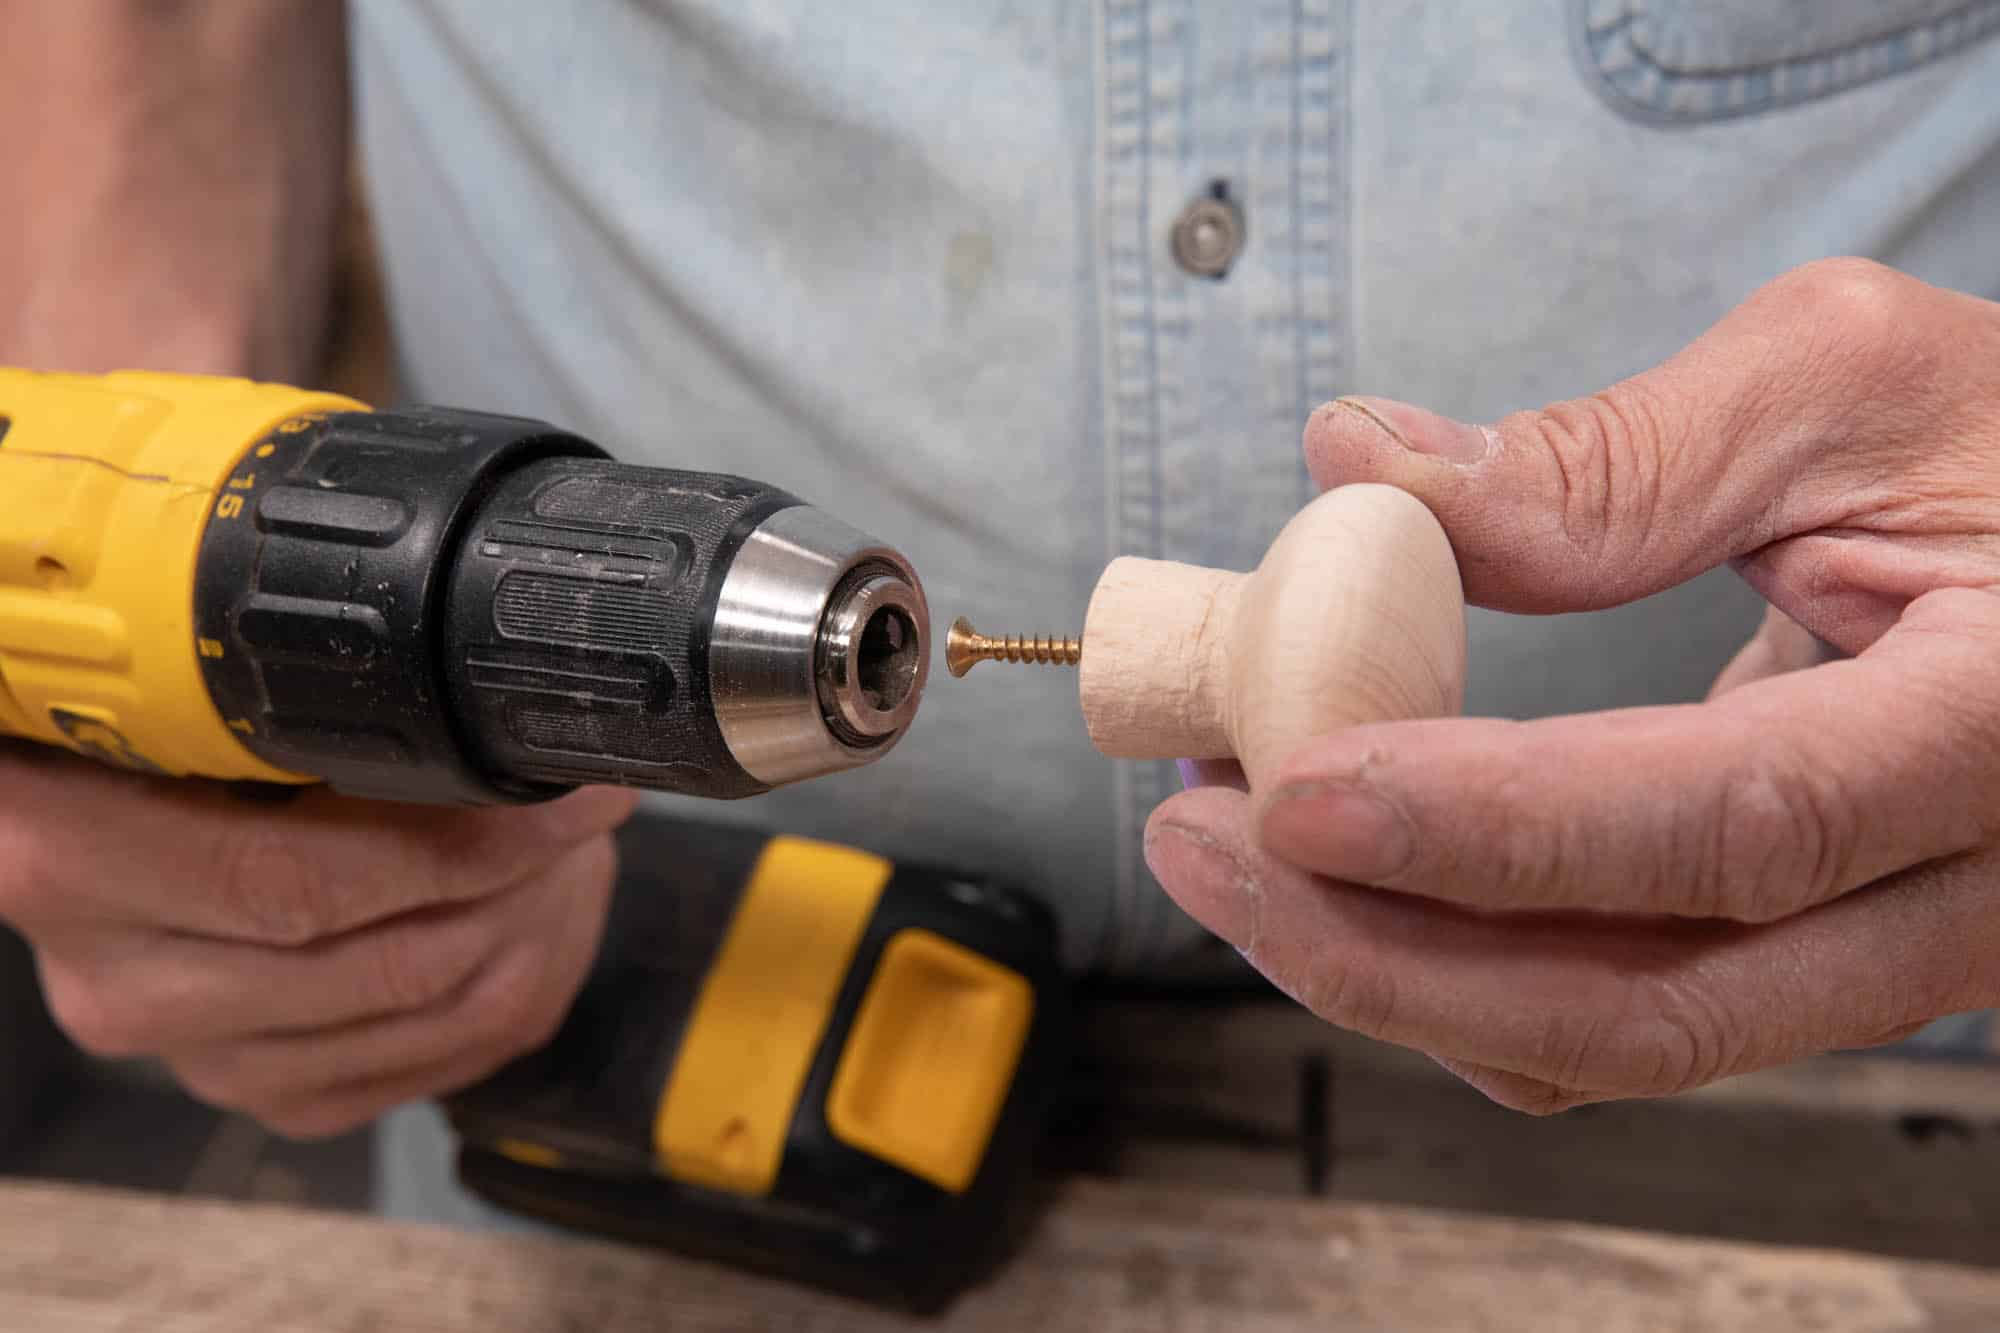
The next hole receives the machine screw of the hanger bolt. `Drill all the way through the remainder of the knob with a 6mm (1/4″) twist drill.
Because the screw thread of the hanger bolt will have some thread exposed on top of the router base (the screw thread and machine threads are different diameters), you must open out the underside of the hole in the knob with a slightly larger drill but only for a short depth.
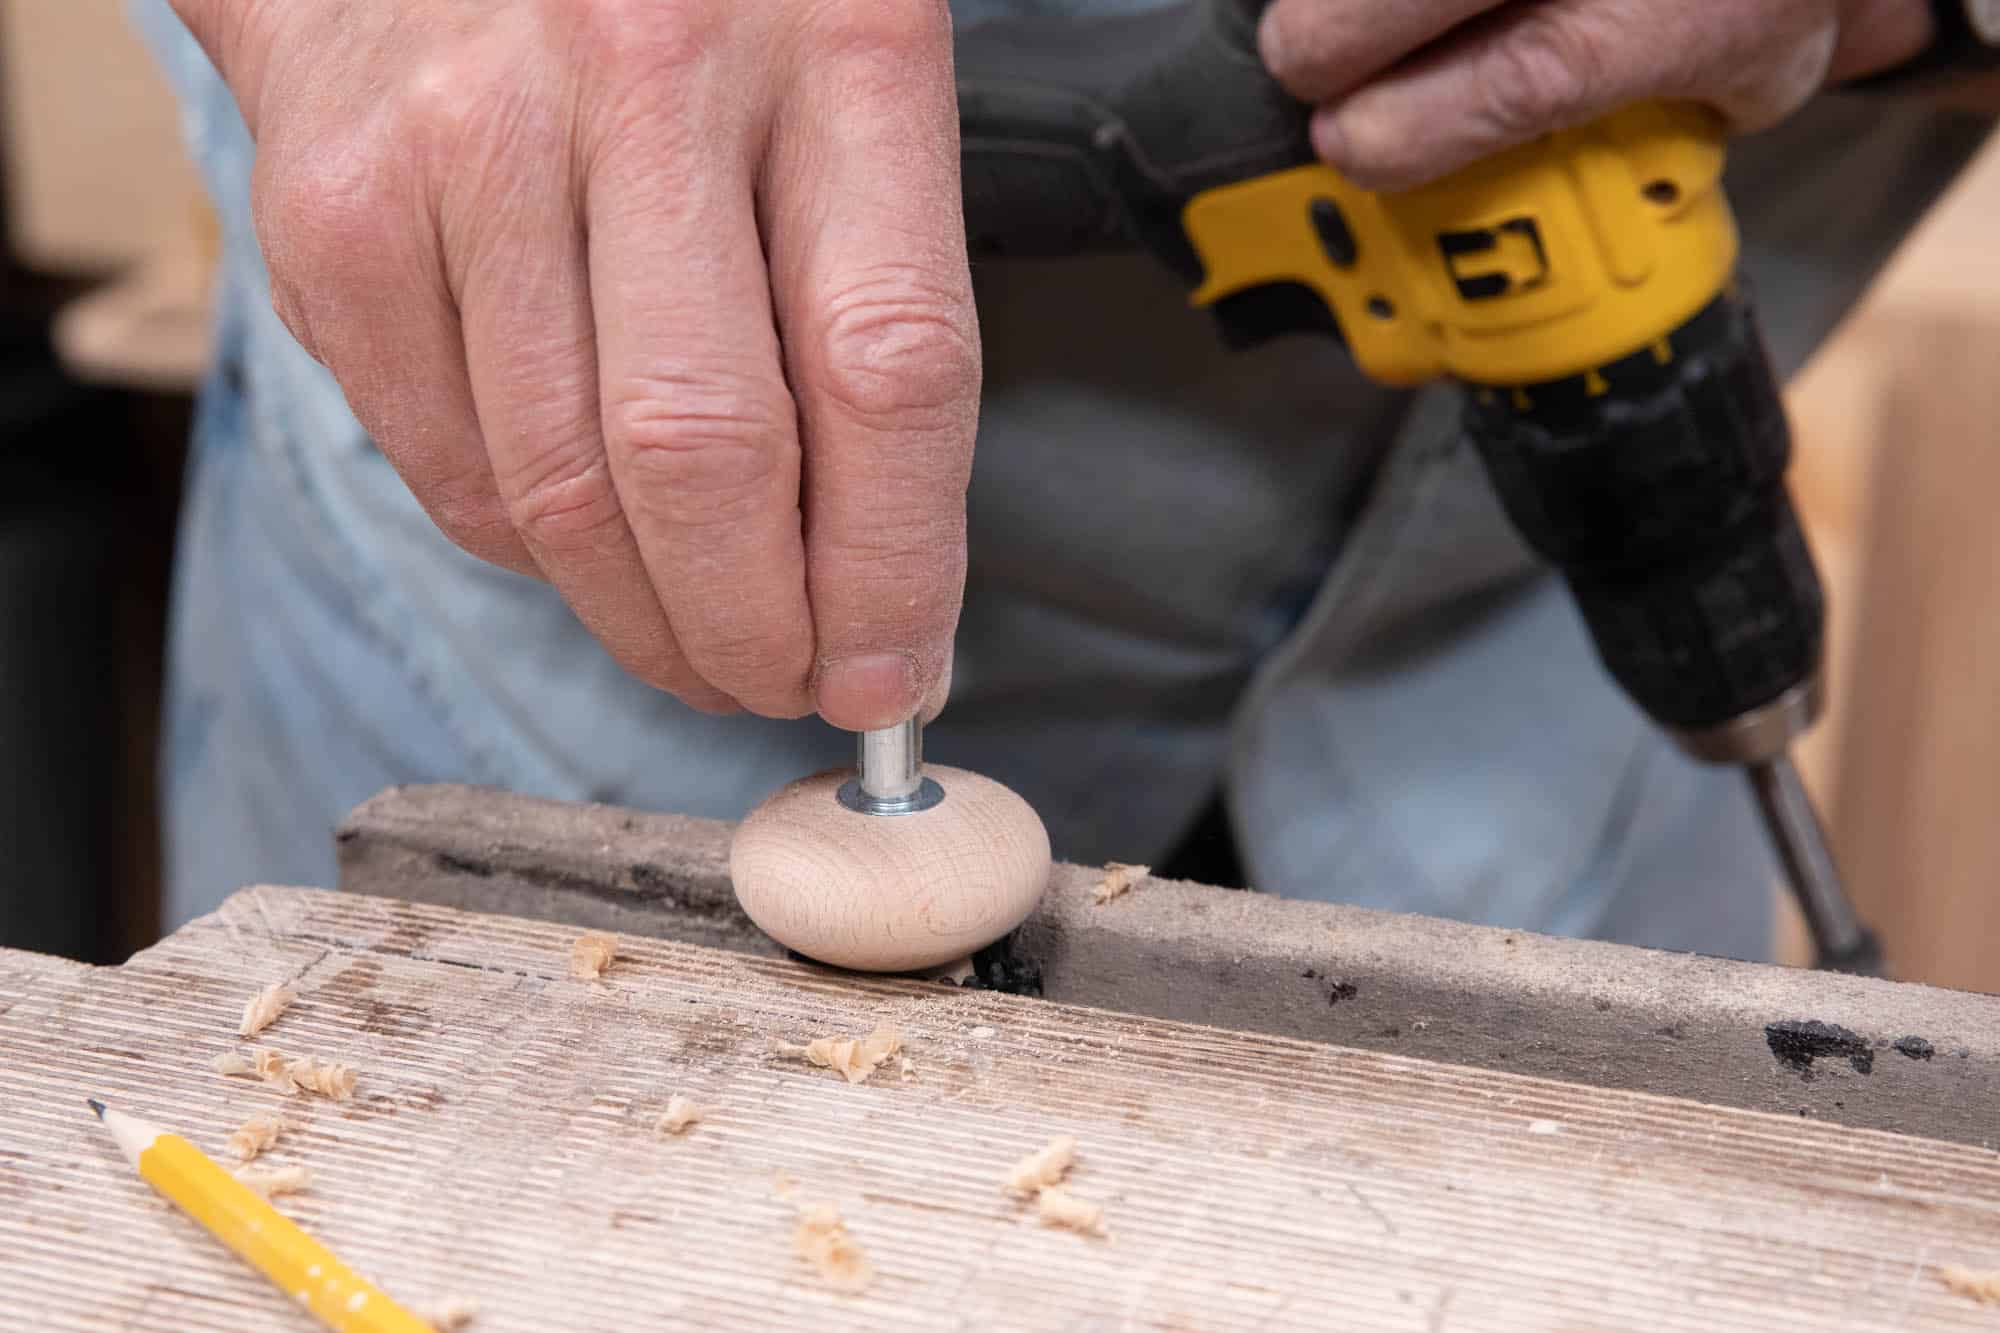
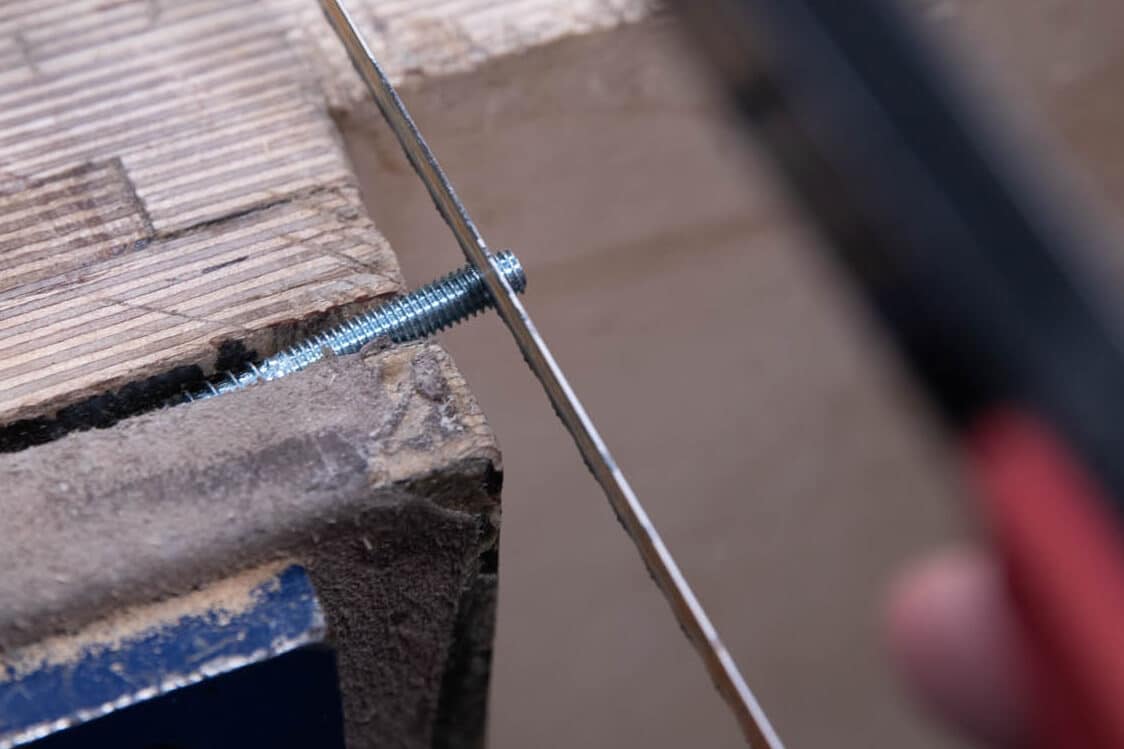
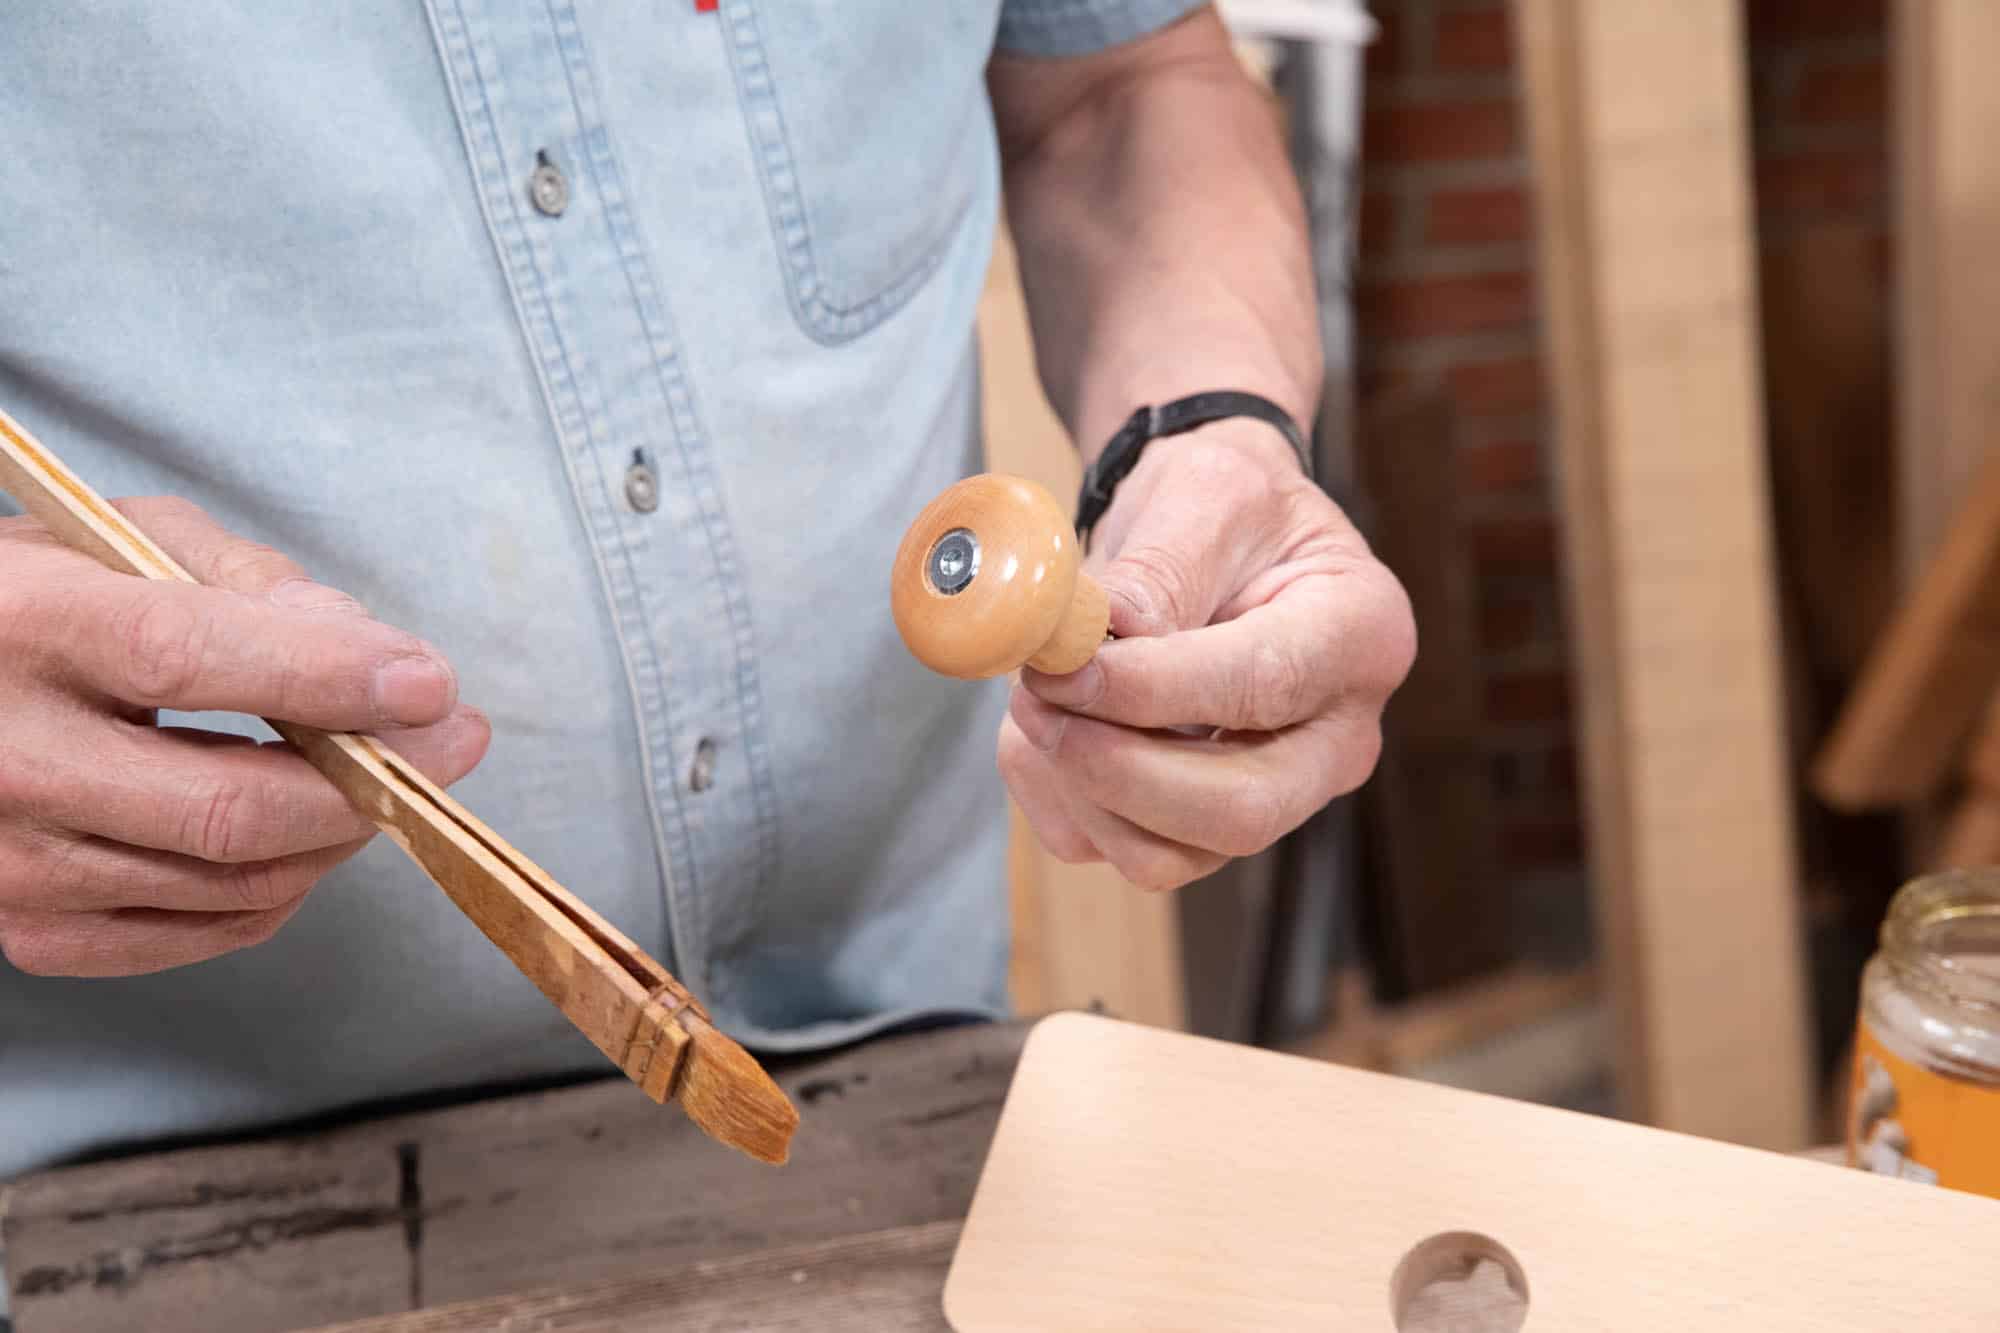
Place the knob onto the hanger bolt and check the length and centrality of the hanger bolt in relation to the hole. Depending on the height of your knobs, you may need to cut down a few turns (3/16″ or 5mm) off the end of the bolt with a hacksaw.
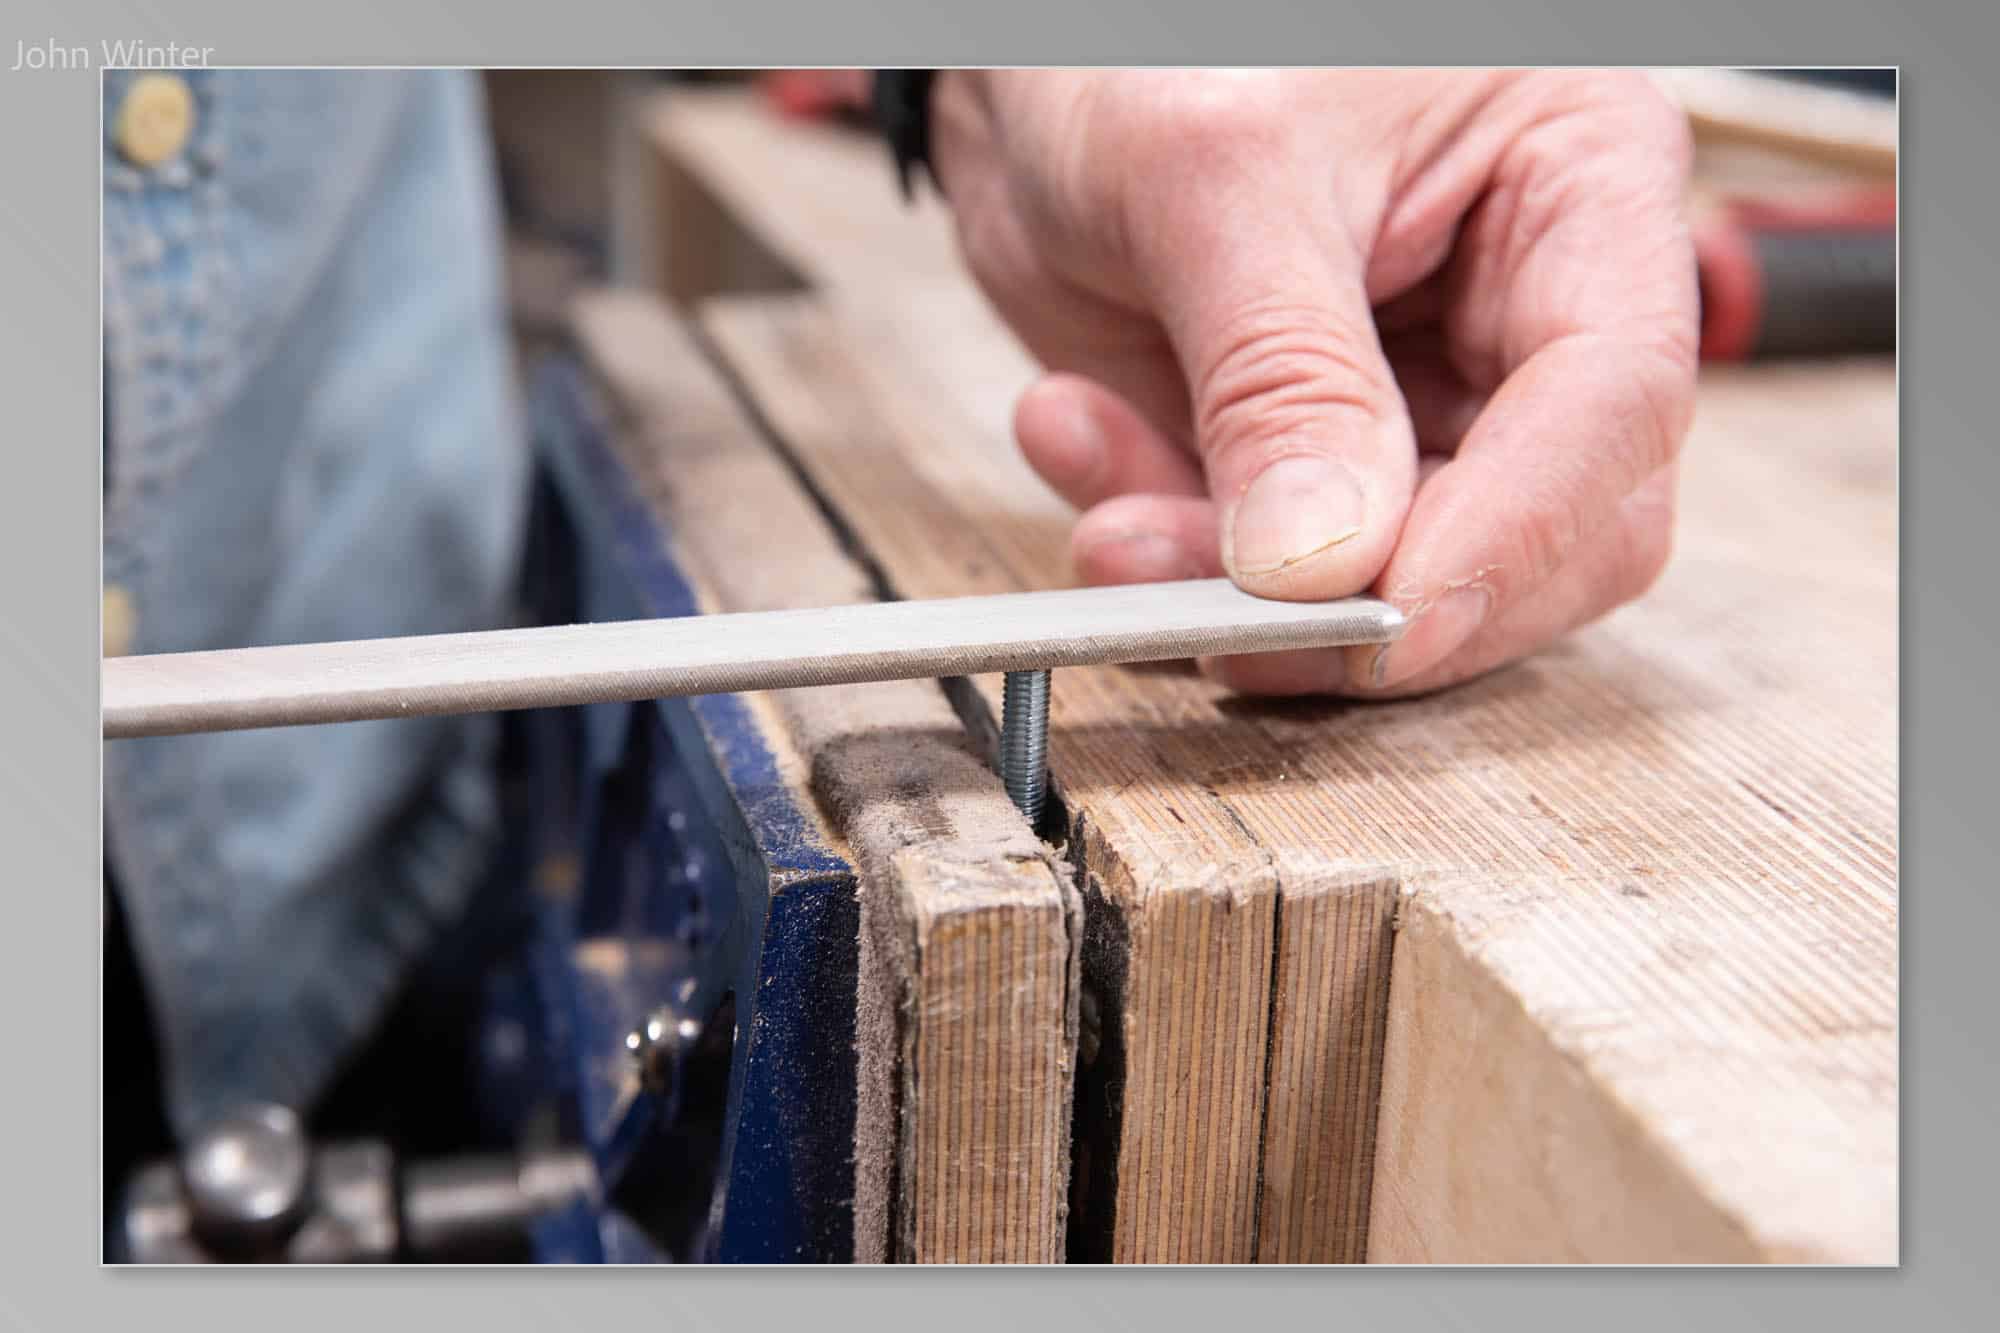
If the thread bottoms out and the handle is still loose, you will have to shorten the bolt by cutting off a couple of turns with a hack saw and cleaning up with a flat file.
Applying Finish
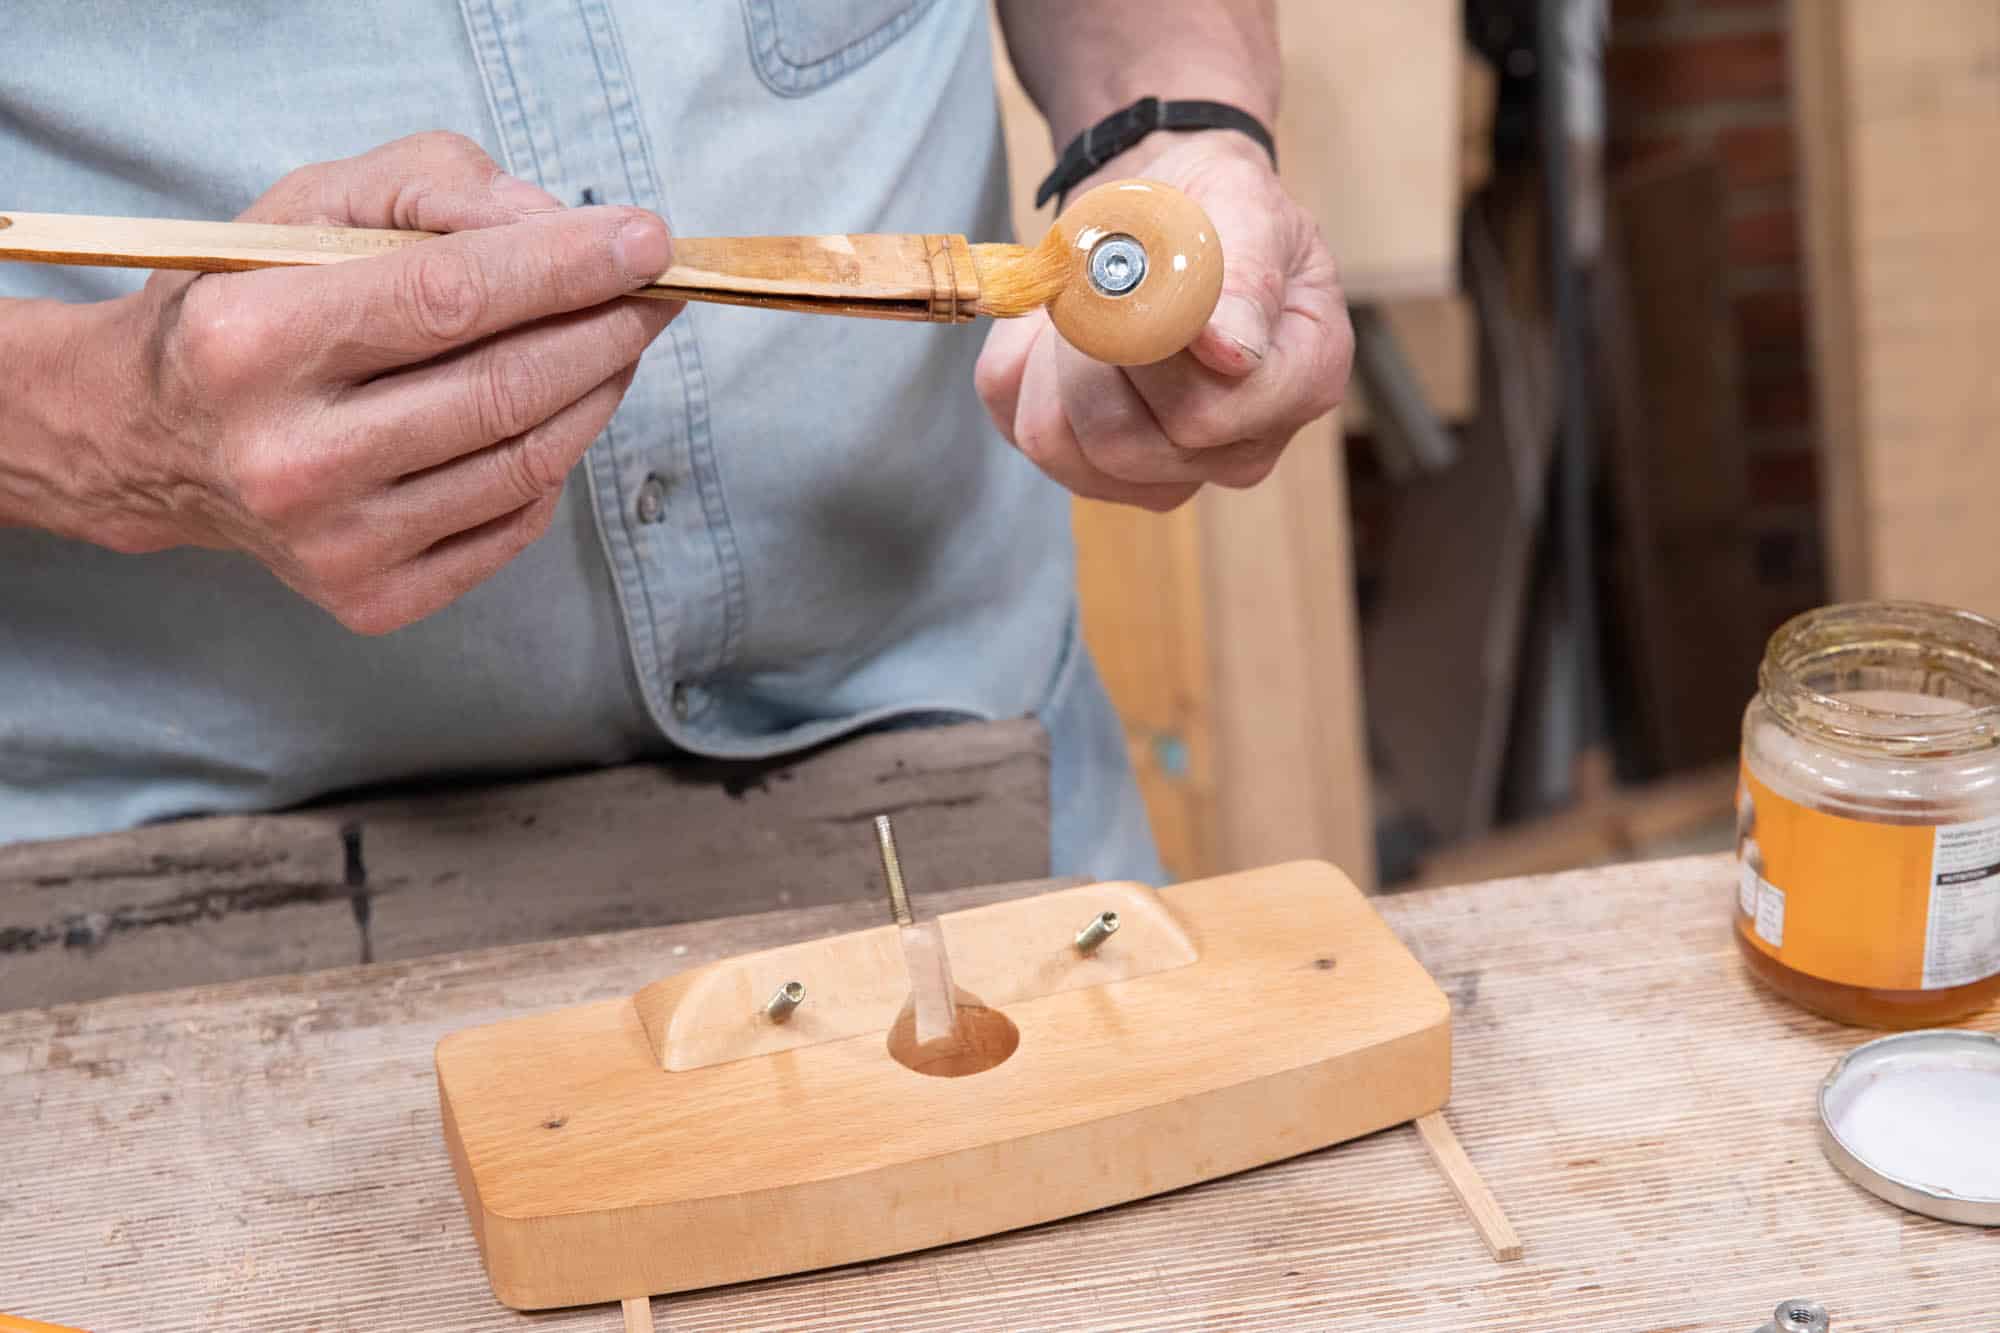
You can apply almost any finish you like. Boiled linseed oil and shellac are both suitable finishes to apply and both are traditional. The sole purpose for applying a finish is to keep the wood clean and reduce the possibility of dirt and stains soiling the wood. In my case, I applied clear, dewaxed shellac.
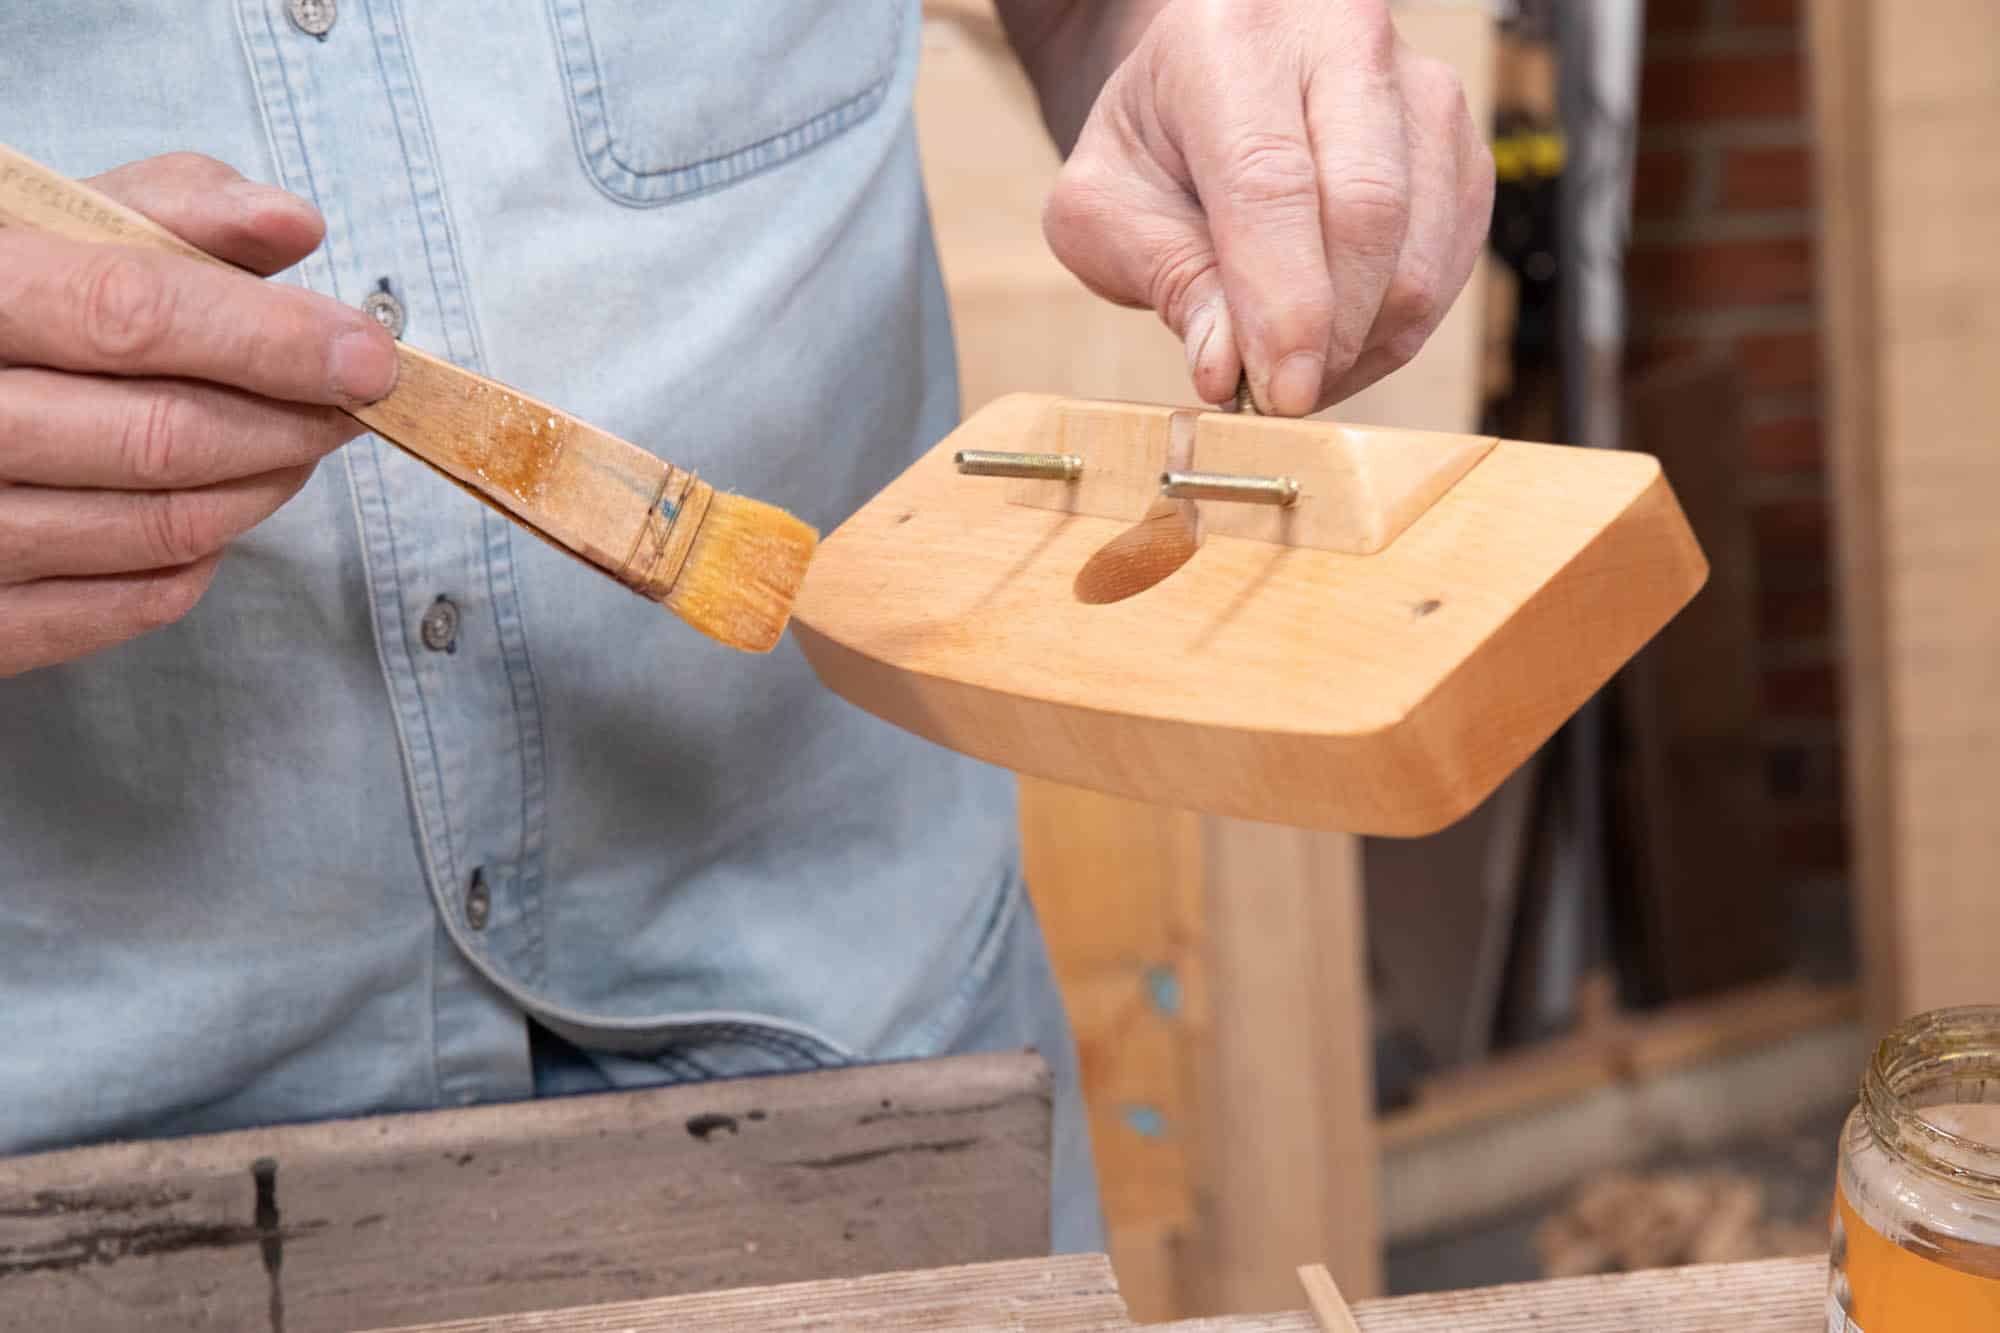
It is easier to apply a more even finish with most of the metal components removed.
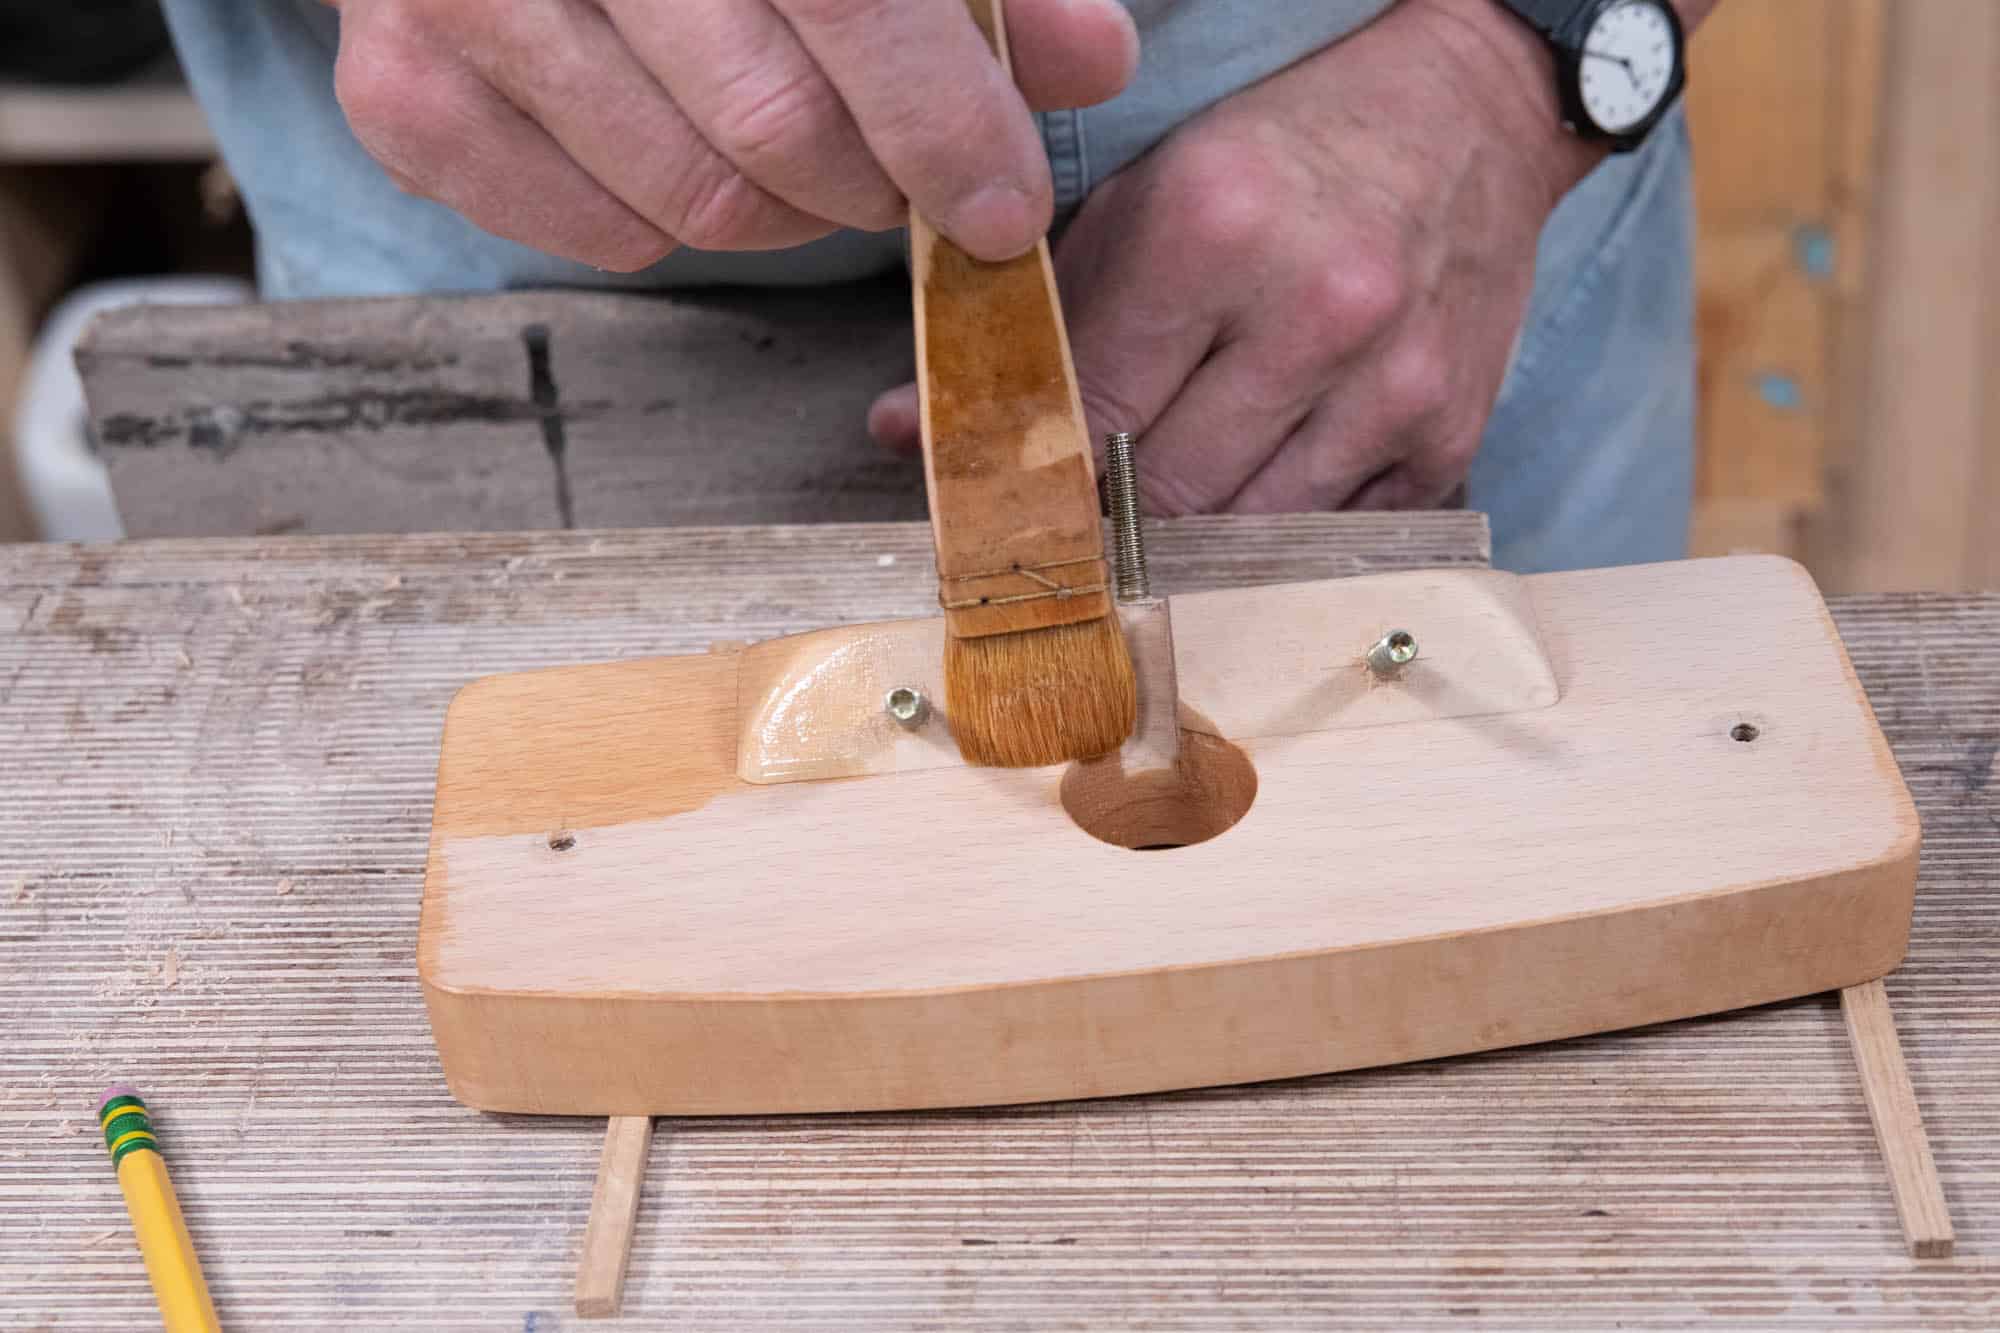
The finish strokes should be along the length of the grain where possible.
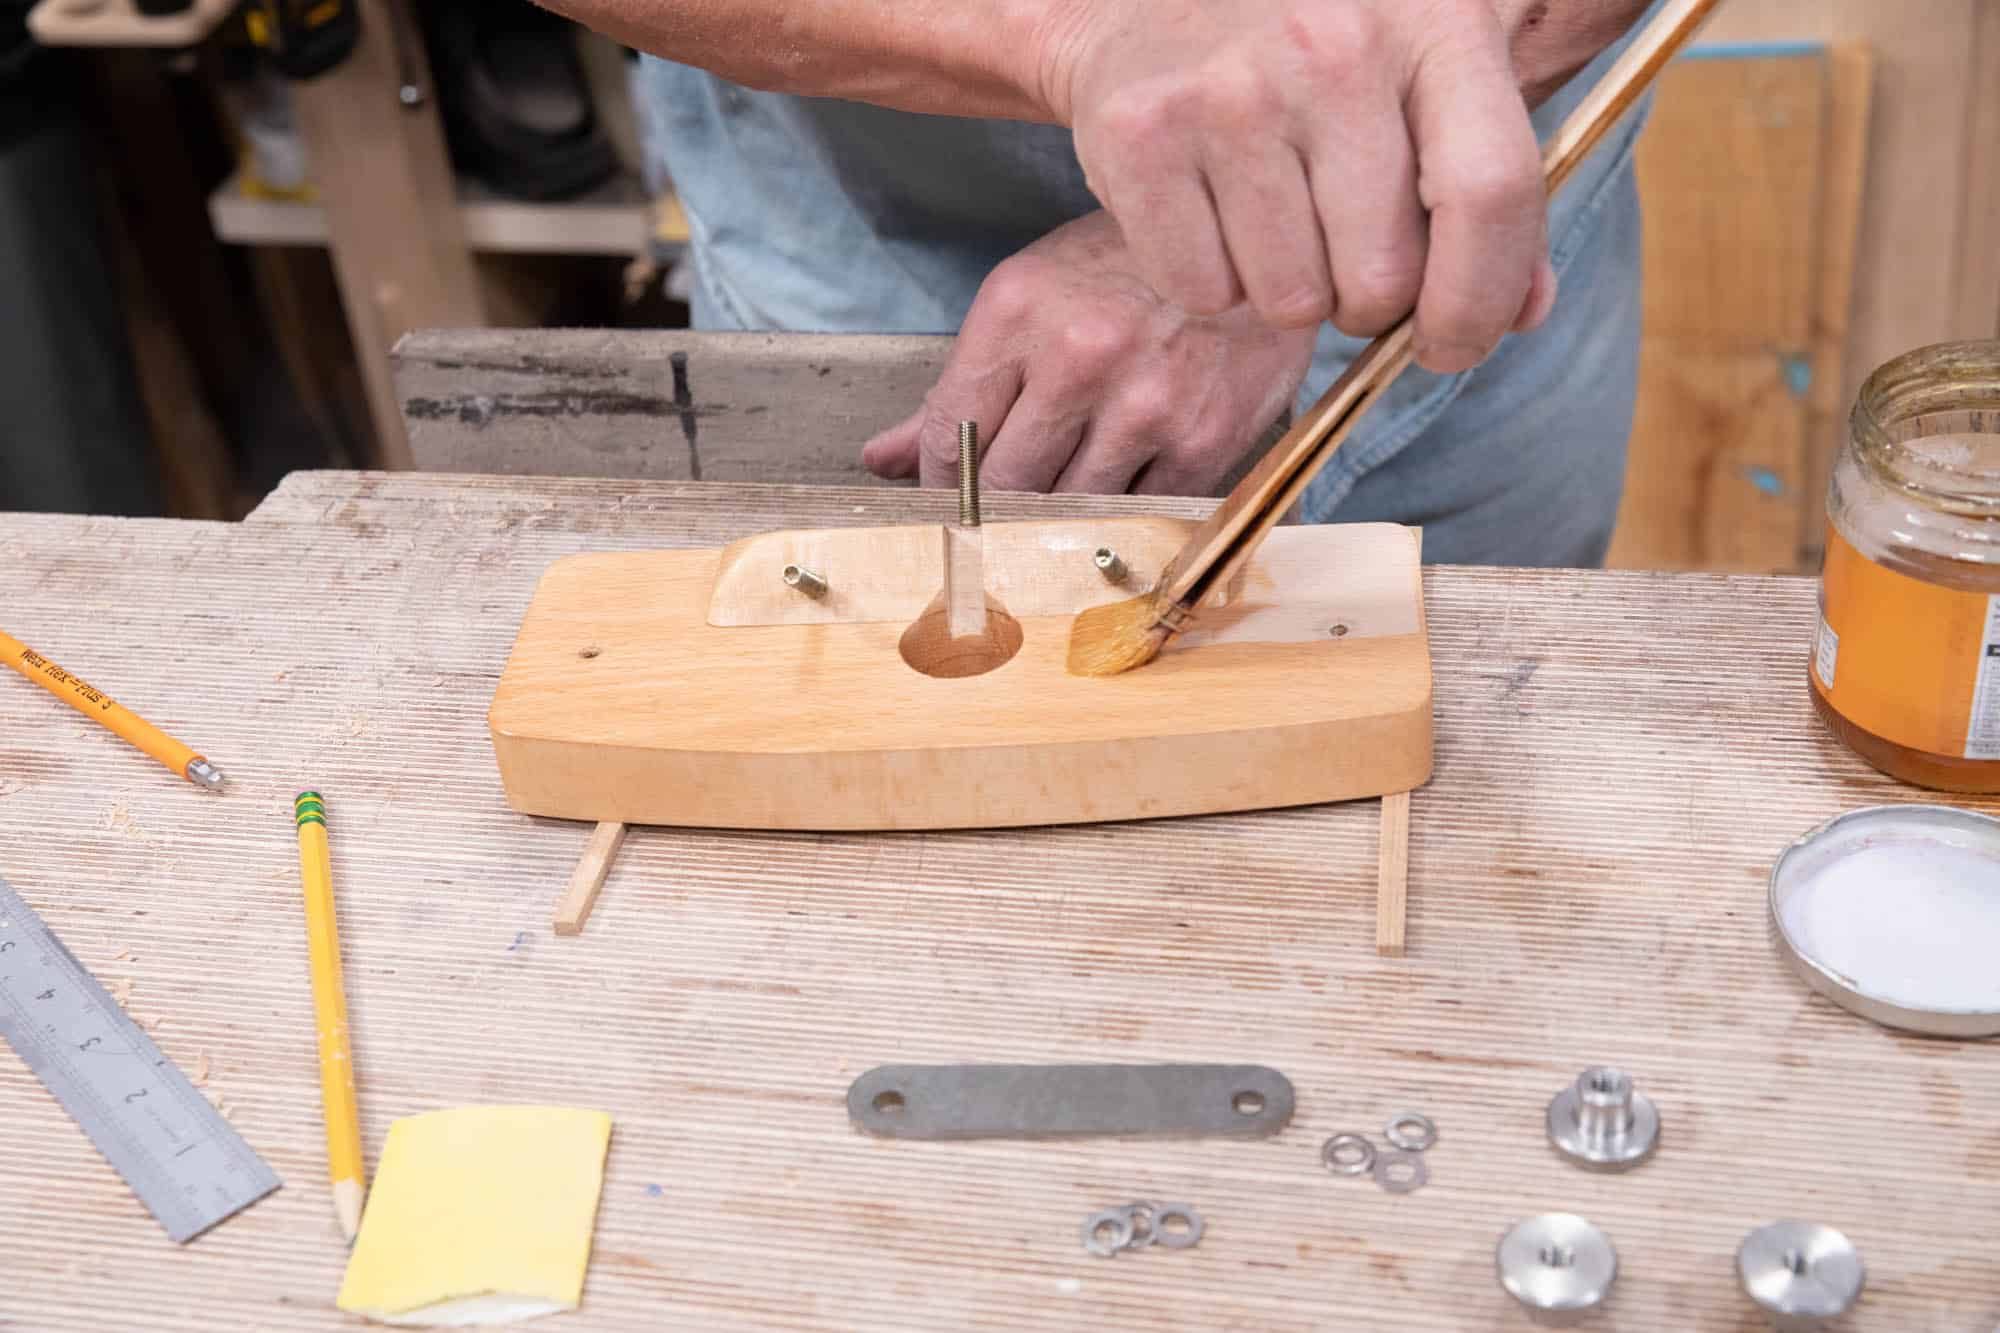
I applied several successive coats until the grain was filled and there were no flat spots in the finish.
When the finish is cured —usually I prefer overnight for shellac— apply a soft furniture wax with 0000 steel wool.
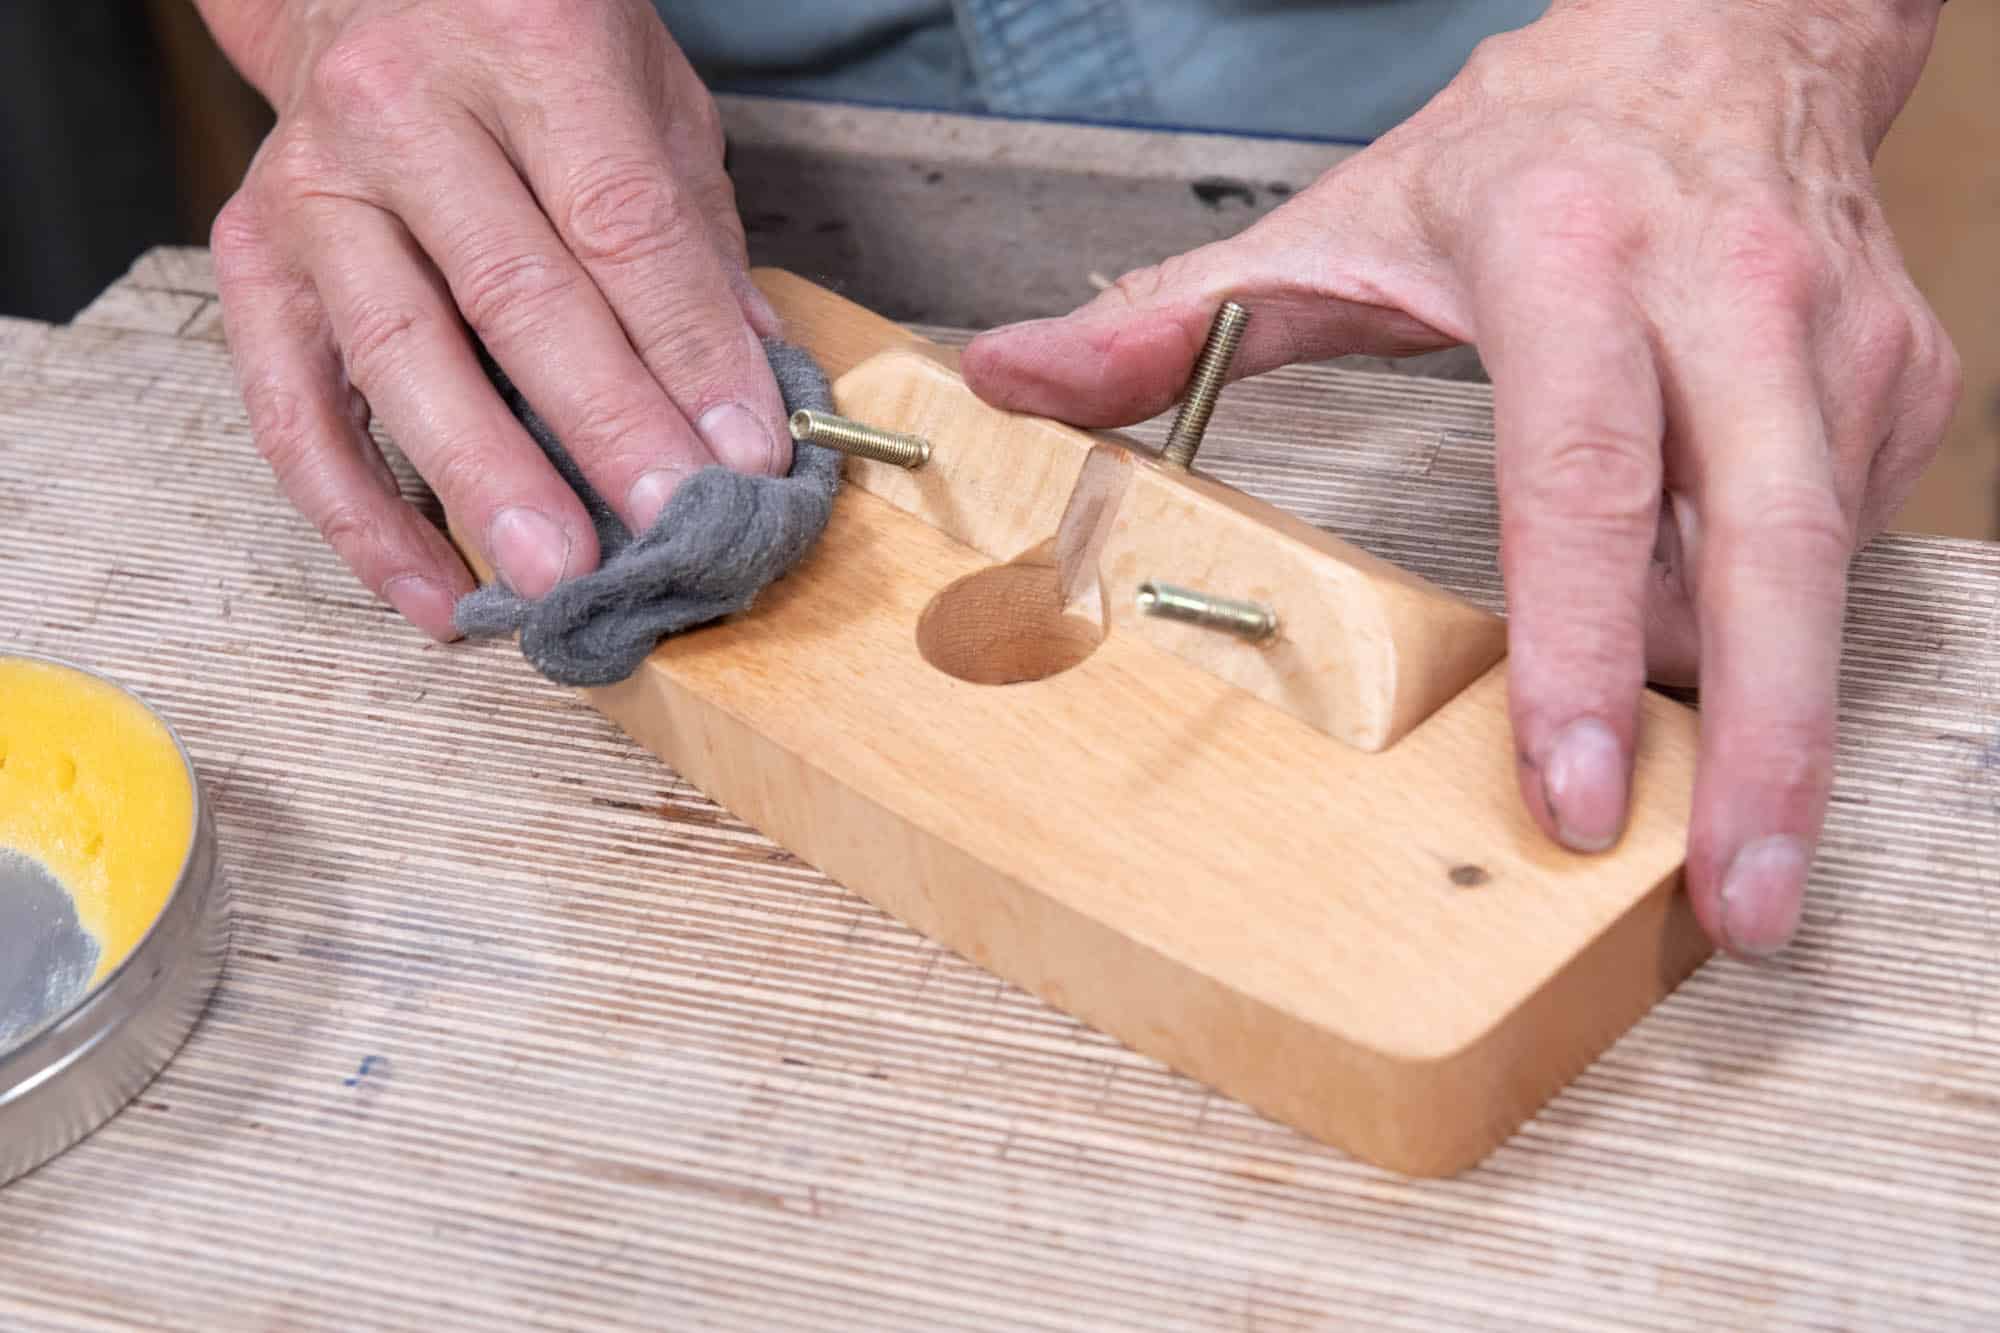
Finally, buff out the wax finish with a soft polishing cloth.
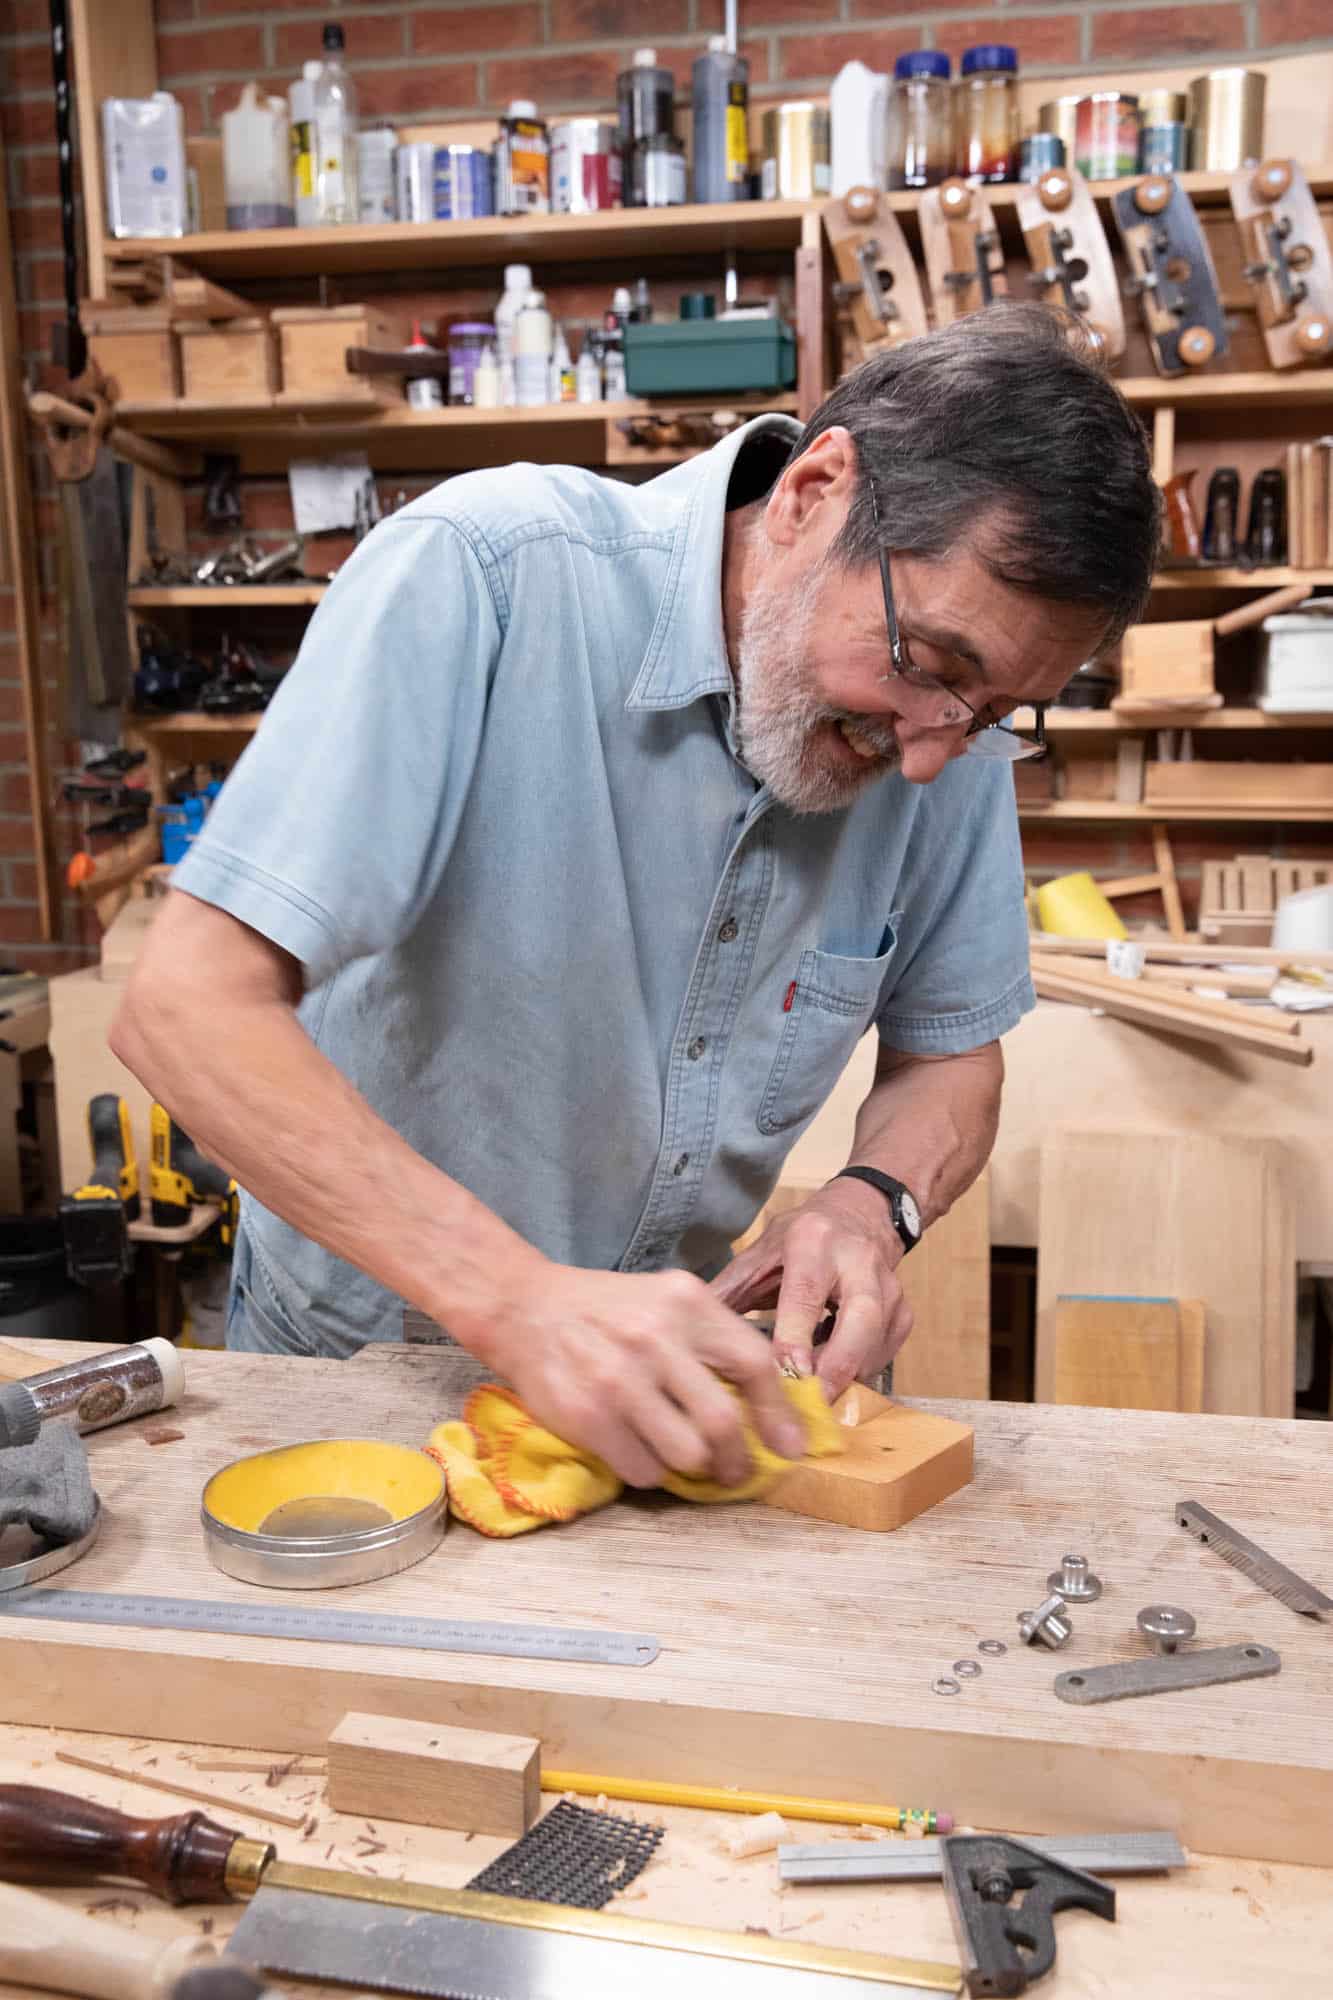
You can now reassemble all of the components onto the router plane and sharpen the cutting iron ready for use.