The next part in the process is to form the grooves in the two cross rails. These rails receive the raised panel and line up with the grooves in the side pieces. The grooves therefore remain 3/8’ wide and are cut to the same 5/16” depth. These grooves are situated exactly in the centre of the rails and so the fence is set at 1/4” from either face of the rails.
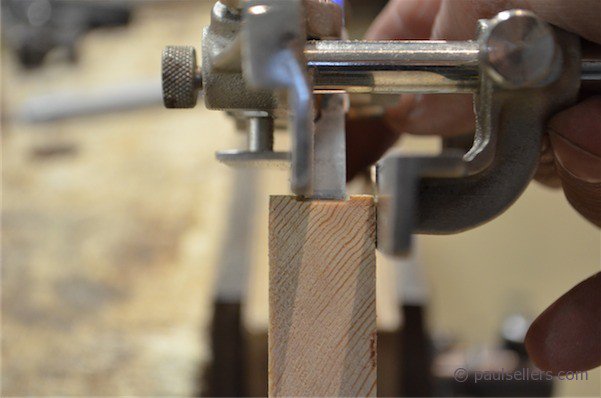
With all of the grooves now cut, I focus on the main housing dado joints in the top and bottom pieces. With all the surfaces planed smooth and all marks removed, I place the top and bottom pieces inside face to inside face in the vise with the back edges facing uppermost as shown. this is a traditional practice and the best way to align the exact alignment of housing dadoes in both pieces of wood.
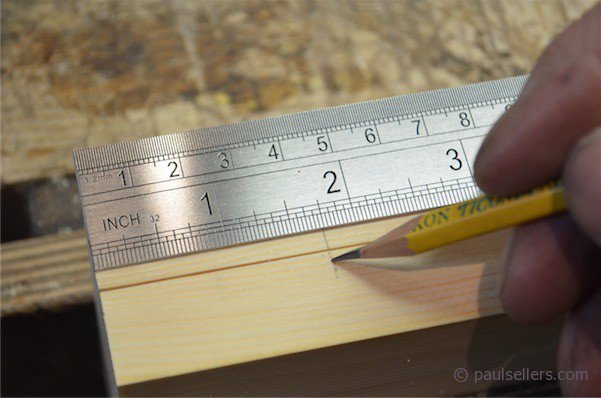
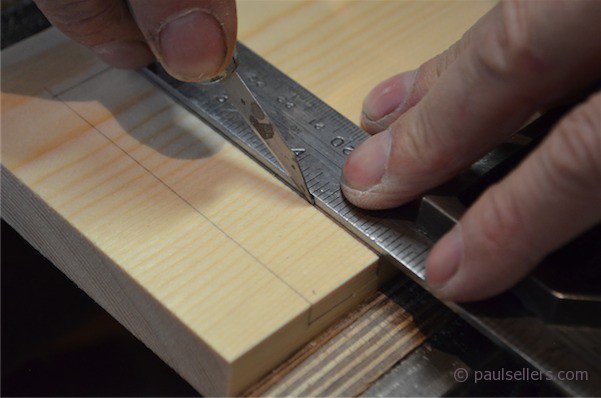
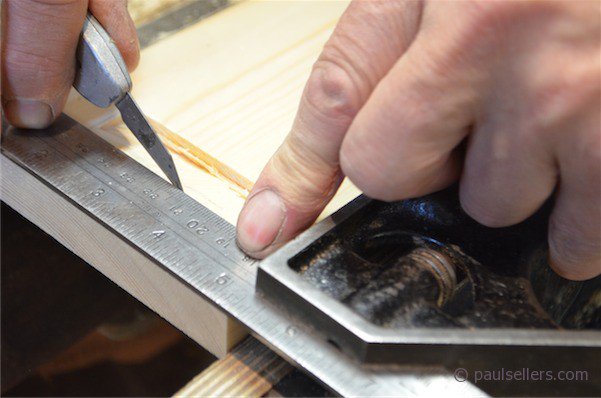
I measure in 1 3/4” from each end and square the line across the back edge of both pieces. I then place one of the side pieces on the line, between the end and the first line. You could also use the thickness of the board to mark the distance in from the end and then make the second mark using the same board.
I then make a reference knife mark on the inner lines, on both pieces of wood. I DO NOT mark the second, outer line at this point.
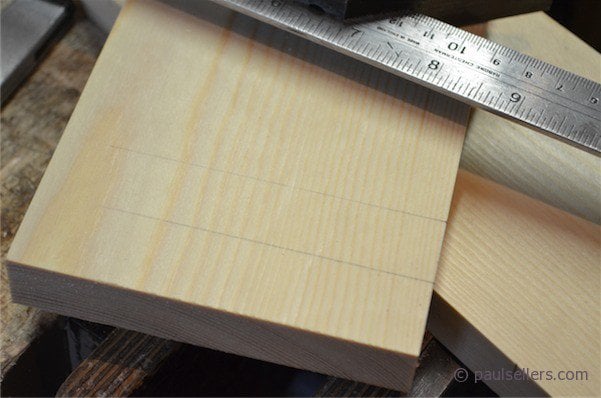
I square the lines onto the inner faces using the pencil and square. these lines are temporary and will be replaced by more exact knife lines shortly. The pencil lines serve as guide lines for more permanent knife and gauge lines. We use the pencil lines to prevent marring the wood with cut lines.
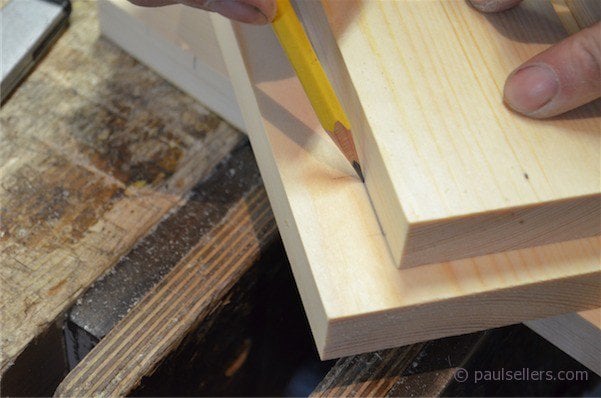
Then I use one of the sidepiece to establish the length of the housing dado from back to front, using a pencil line to mark the wood.
It’s important to lay out all of the marks to help visualize exactly what the housing will look like and where it begins and ends.
I used a marking gauge to mark the exact 1/4” depth onto the back edges of the top and bottom pieces.
On the inside lines; the ones marked with a knife mark, I establish the first knifewall using the square and knife. My first pass is light and careful. That way, subsequent knife cuts are deepened and exactly on the initial cut line.
Note:
We establish the second knifewall after we have deepened the first knifewall. This ensures accuracy and exactness to the parallel walls.
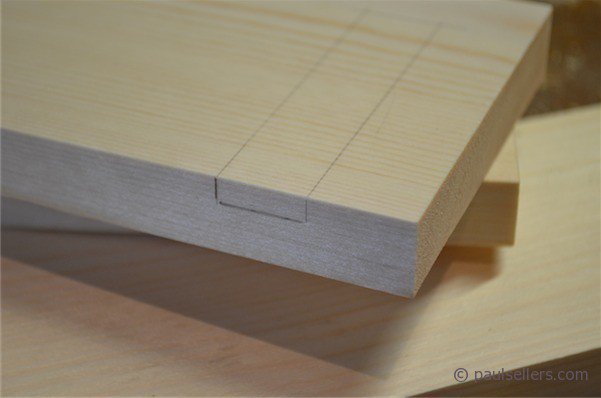
This is how the layout should look once layout is completed.
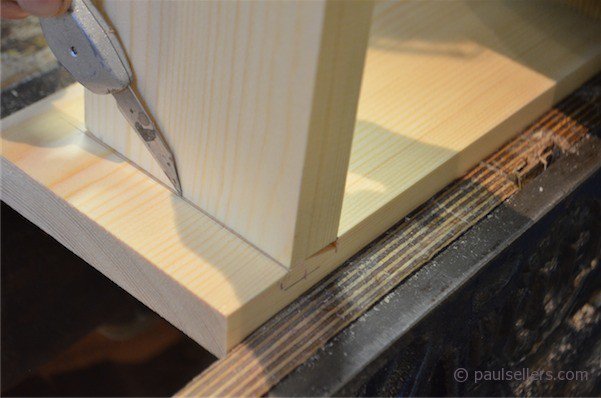
Using the knife mark I used to get the exact position on the inside line, I square my first knifewall across the board from the front pencil line. My first pass is light and then, applying more pressure, I make the cut line deeper, taking care not to stray from the beam of the square.
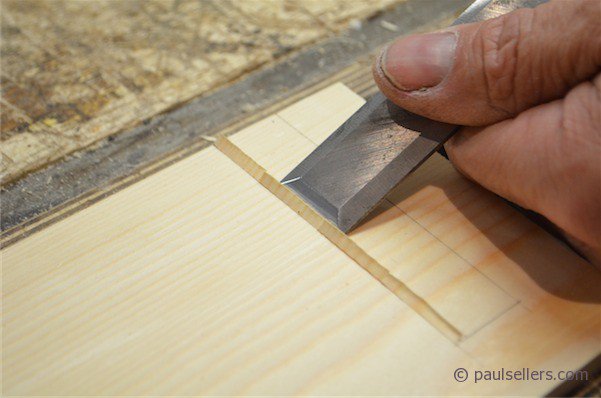
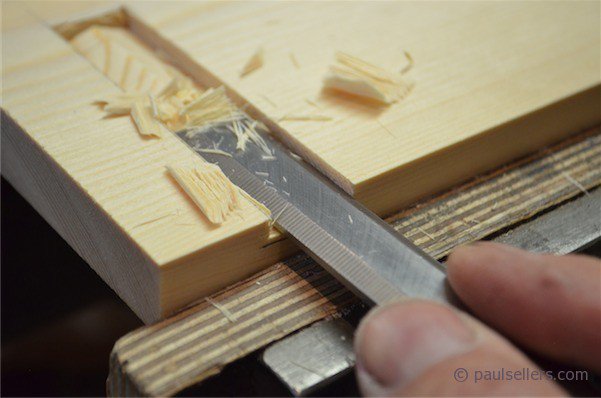
I then make incised cuts along the knifewall using the 1” bevel-edged chisel from the waste side of the line: The part I will be removing.
Using the same chisel, I make perpendicular cuts with chisel and chisel hammer. I repeat this until I reach the depth line marked with the marking gauge.
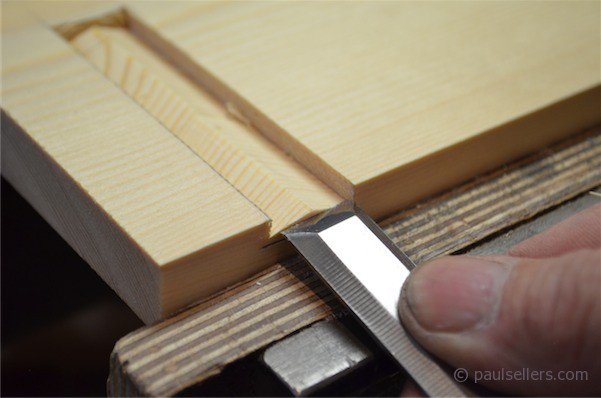
Using the side piece I will use in that recess, placing tight up against the newly formed knifewall, I mark the position of the second knifewall with a small knife mark. I try to reach as if underneath the corner slightly. That way the joint will be tight but not overly so.
I now make the second knifewall with the knife and square.
I further define the knifewall with deeper, angled horizontal cuts into the knifewall and again cutting from the waste wood.
I deepen the cuts as I alternate between vertical and horizontal cuts .
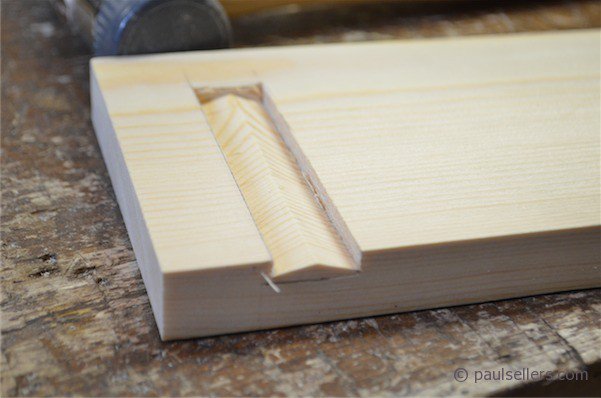
My housing dado now looks like this.
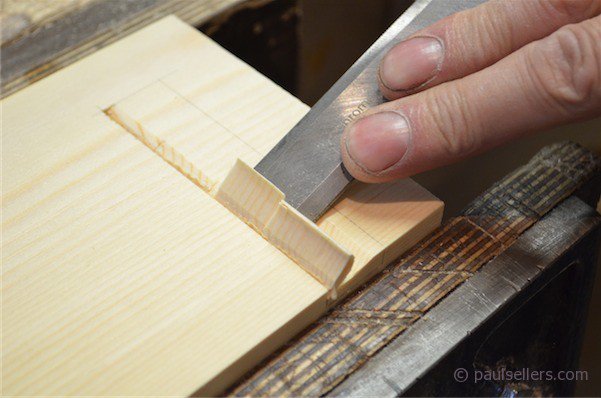
By using the 3/4” chisel I remove ridge of the waste wood almost down to depth.
A double-handed stabbing action removes the bulk of the waste wood. I take care not to cut below my depth gauge lines.
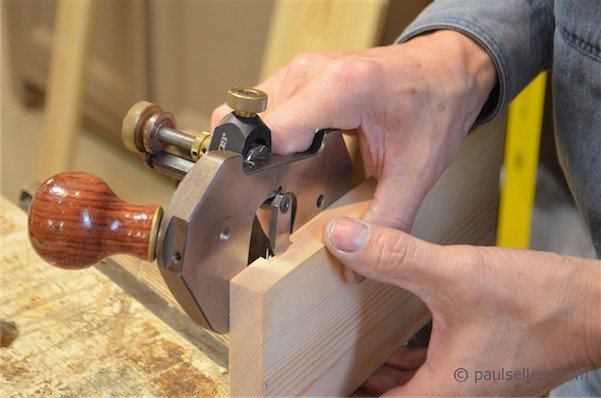
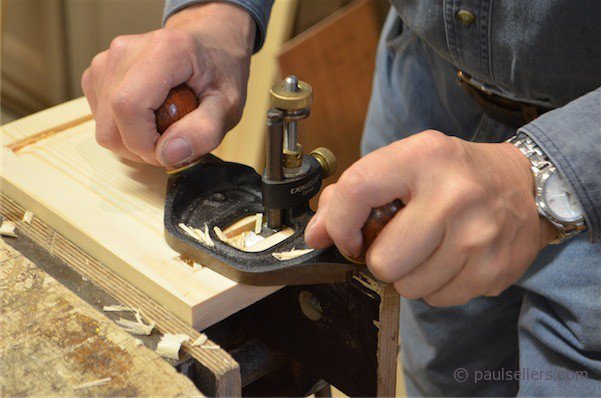
I then set the hand router to the gauge depth line and route to the final depth level with the bottom of the housing dado.
The housed side piece now looks like this.
With all of the housing dadoes cut, I assemble the four parts together to check for assembly coordination.