The Evolving Toolbox
Toolboxes as actual boxes would once have been more tool chests. The portability of tools from workshop to customer was essential to most makers and indeed to the old men I worked with who spoke of handcarts loaded with wood and their tool chests, stepladders and sawhorses to go to work on a house or in business premises and be there for a month or even three. Where the craftsman went, so too did his tools. The box contained handsaws and planes aplenty in different sizes and types. Tills held chisels and other paraphernalia with bent shanks and awkward shapes to cut and fit components and then bobbins for string chalk lines and so forth. Once the tools were rested in the workplace, added equipment would be parked around to support the work, mainly saw horses and planks, but even a bench might arrive for the larger jobs where construction took place for work in situ.
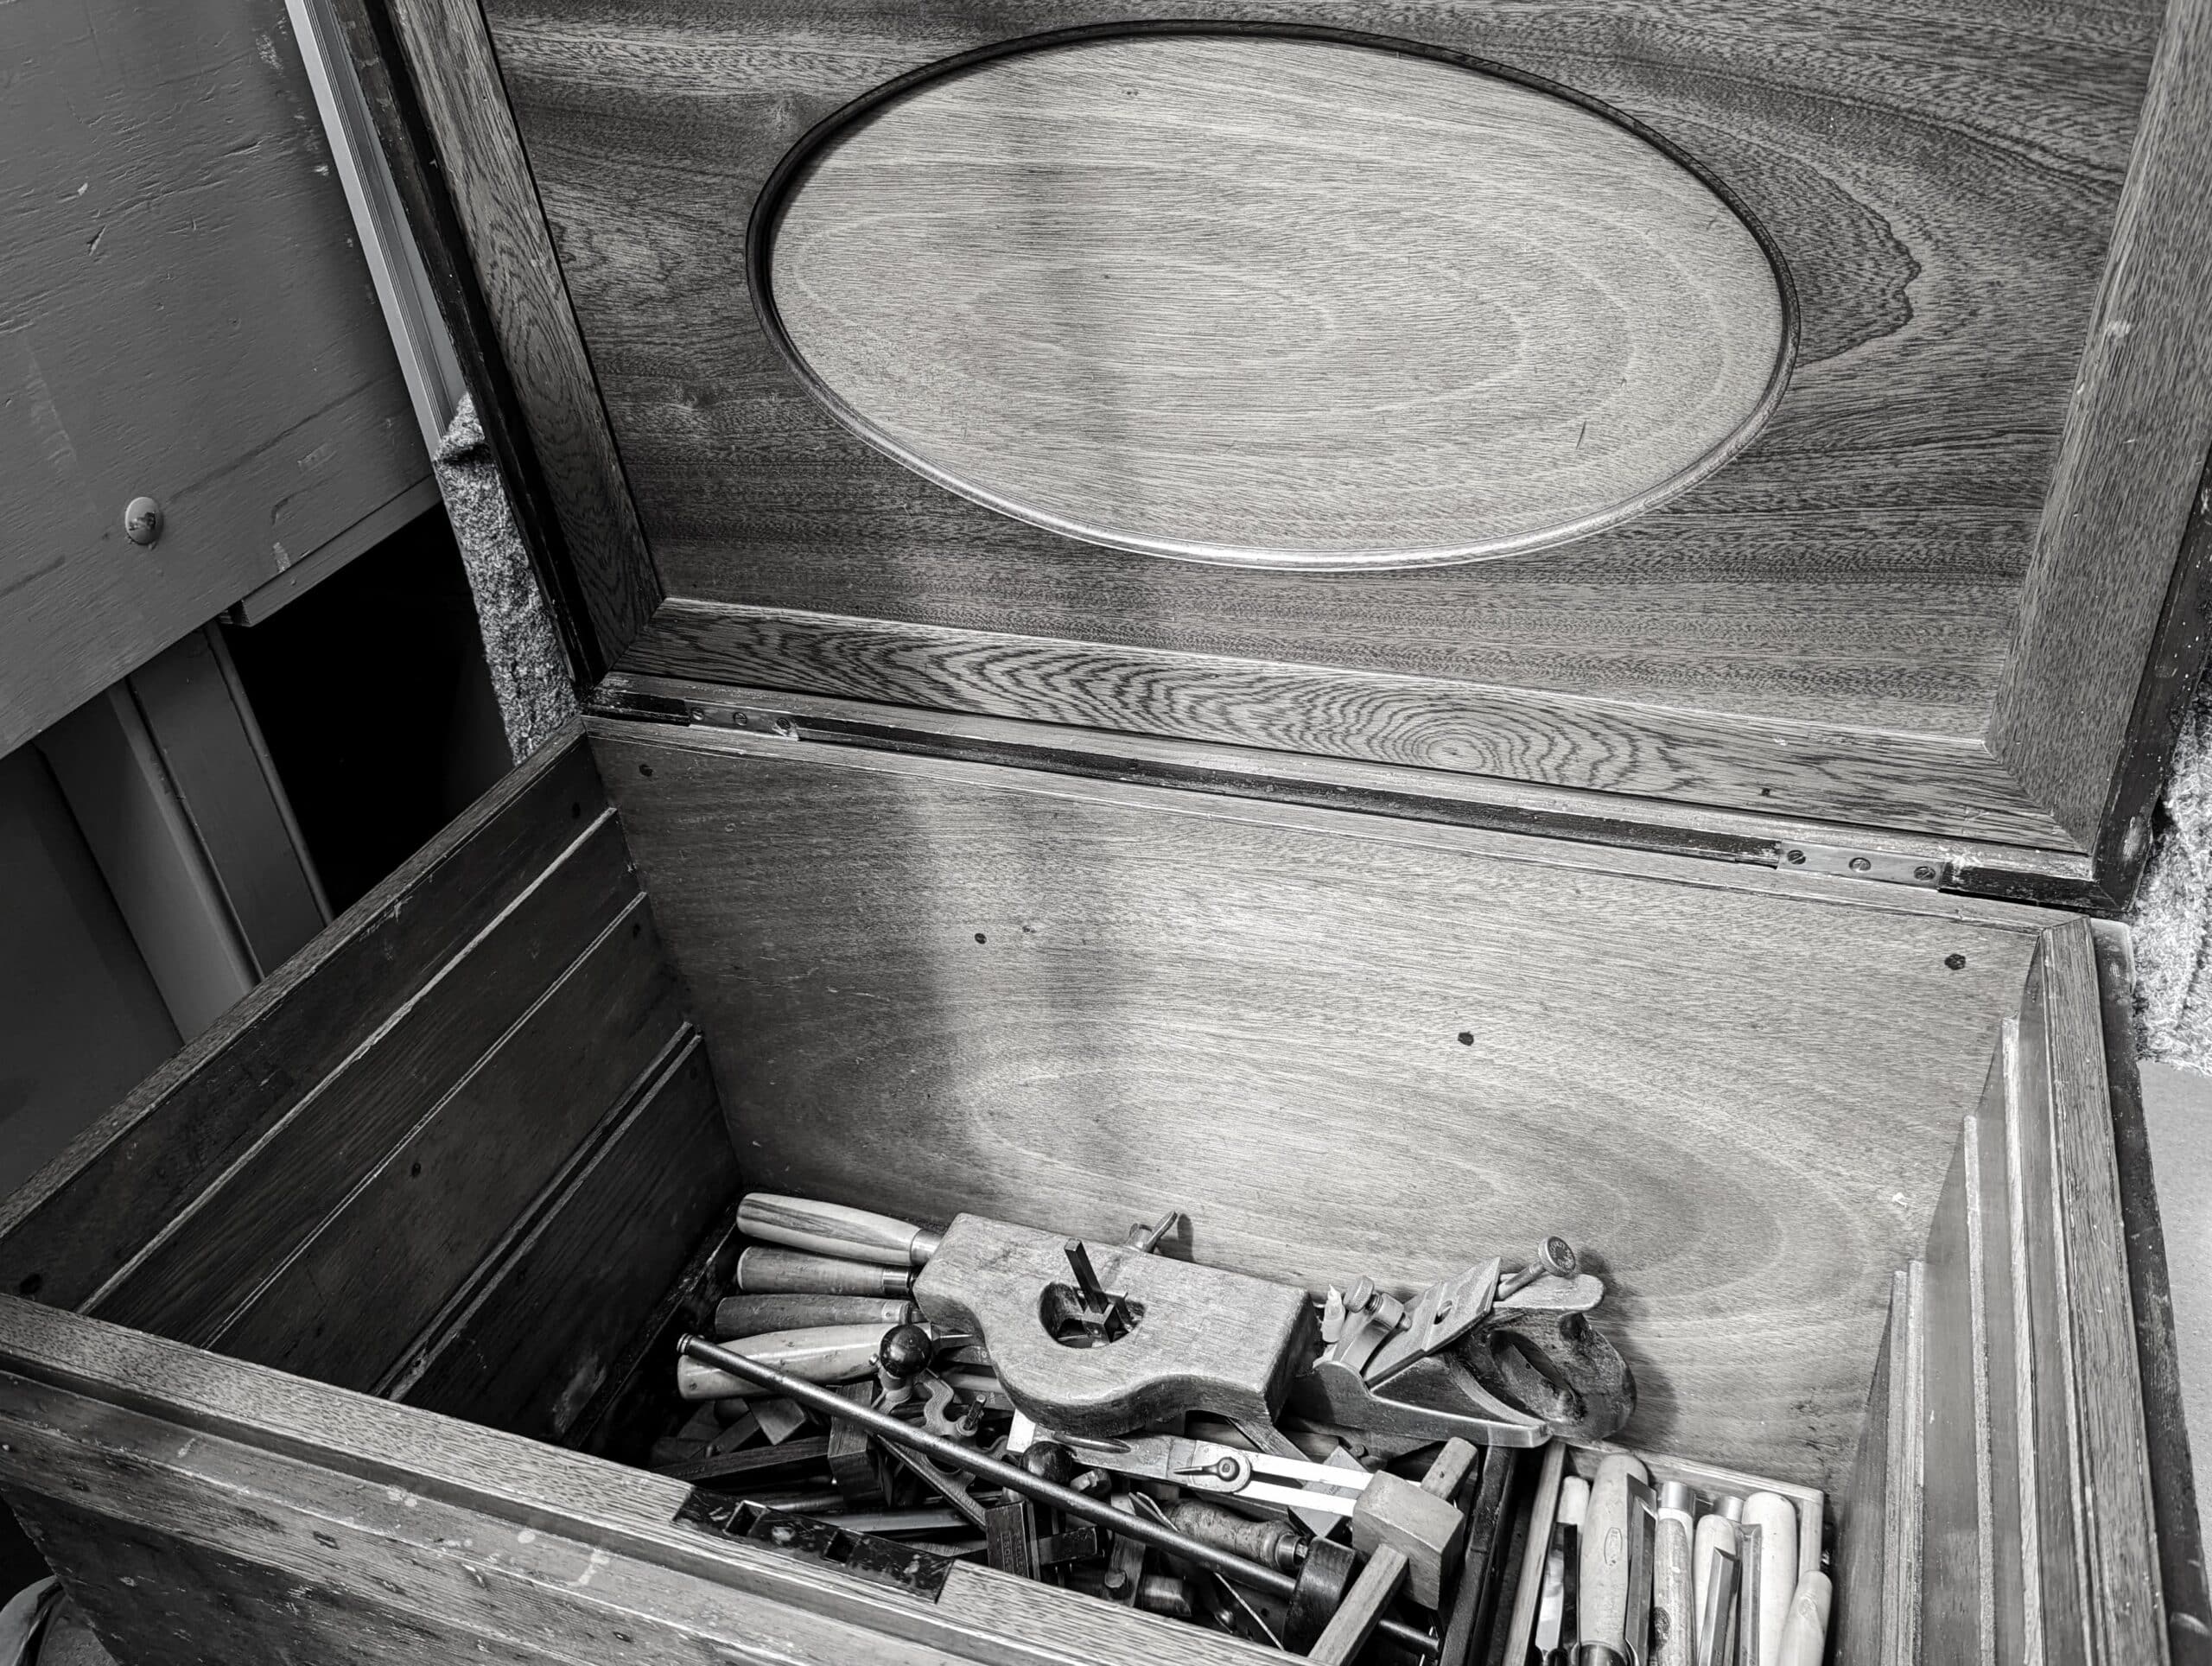
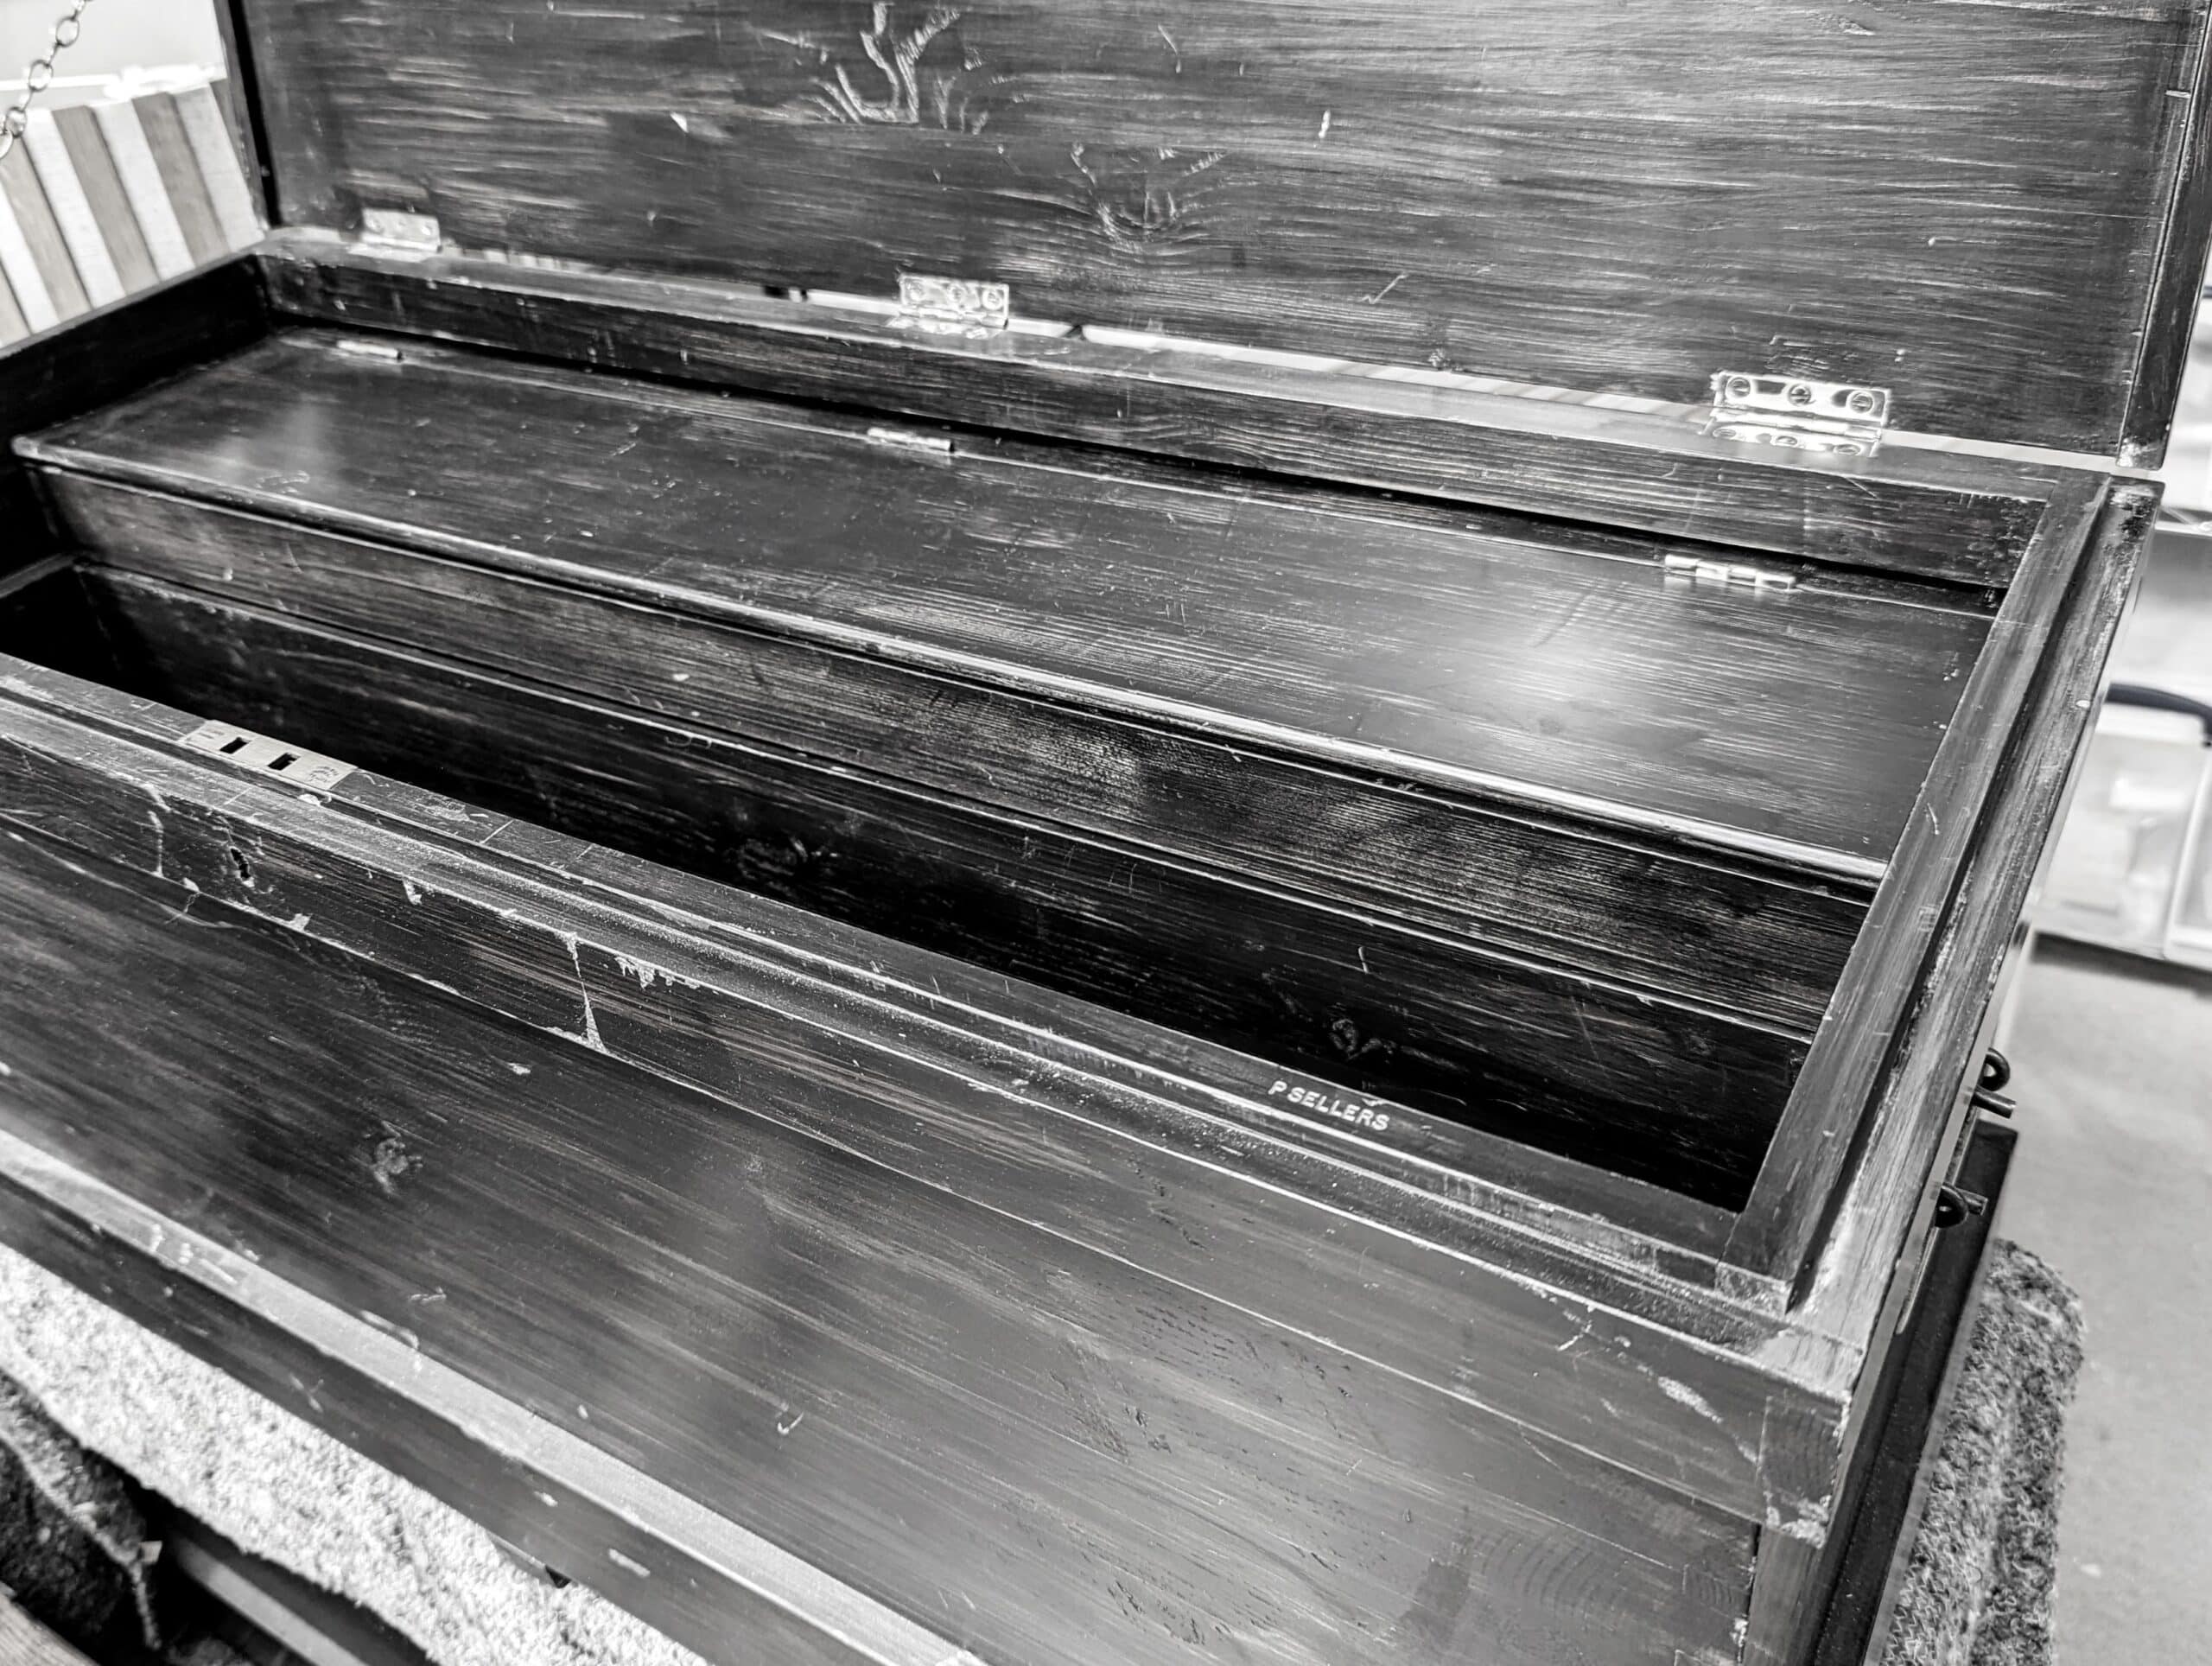
Lift-lid tool chests old and new are far from favourites. I replicated a vintage version for a series of videos and that was a remarkable project for those wanting to learn the classics of traditional hand tooling a work box. Toolboxes with lift-up lids are really not the best to store tools in day-to-day. Once closed, the lid quickly gets covered with wood and equipment. Placed under a workbench means no access at all without pulling an awkward and heavy box out for a plane. Internally, you inevitably find tools piled on tools because many just did not allow a good fit. On site in the heyday of woodworking the chests, maybe two or three of them, would hold the awkward-shaped plough planes and filletsters with stems that took up a mass of space alongside wooden bench planes in various lengths. And then what shall I say about matched pairs of tongue and groove planes alongside a dozen moulding planes for matching up what exists in the house you were working on? Those days are now gone. But they are not so long gone I didn’t experience the boxes and the travels with them when I was young. As a joiner coming out of my apprenticeship, I spent the next five years in my journeymanship travelling to different counties to do work. No handcarts any more though, a small green Morris 1000 van did it for me.

I have no idea what happened to my first toolbox but I vividly remember each minute of its making. George was teaching me well and in the middle of my second year working with him he told me it was time to make my own. I was accumulating tools that were now cluttering the bench top. Ultimately I designed my own version of the tool chest and of course, hundreds of you have followed on to make a small version of it in something I called the Traveling Joiner’s Toolbox, which is a scaled-down version of my fullsize one.

Every time George and I worked on flat boards to make different things we set some of the more choice pieces aside. This was European redwood (nothing related to the North American Redwood––Sequoiadendron giganteum). It was Russian redwood, not quite knot-free but the batch we were working with had the tightest growth rings. It’s hard to imagine that that is now almost sixty years ago but the reality of my having to hide my making of it somehow added an essential intrigue to the whole dynamic of it in a shared experience.
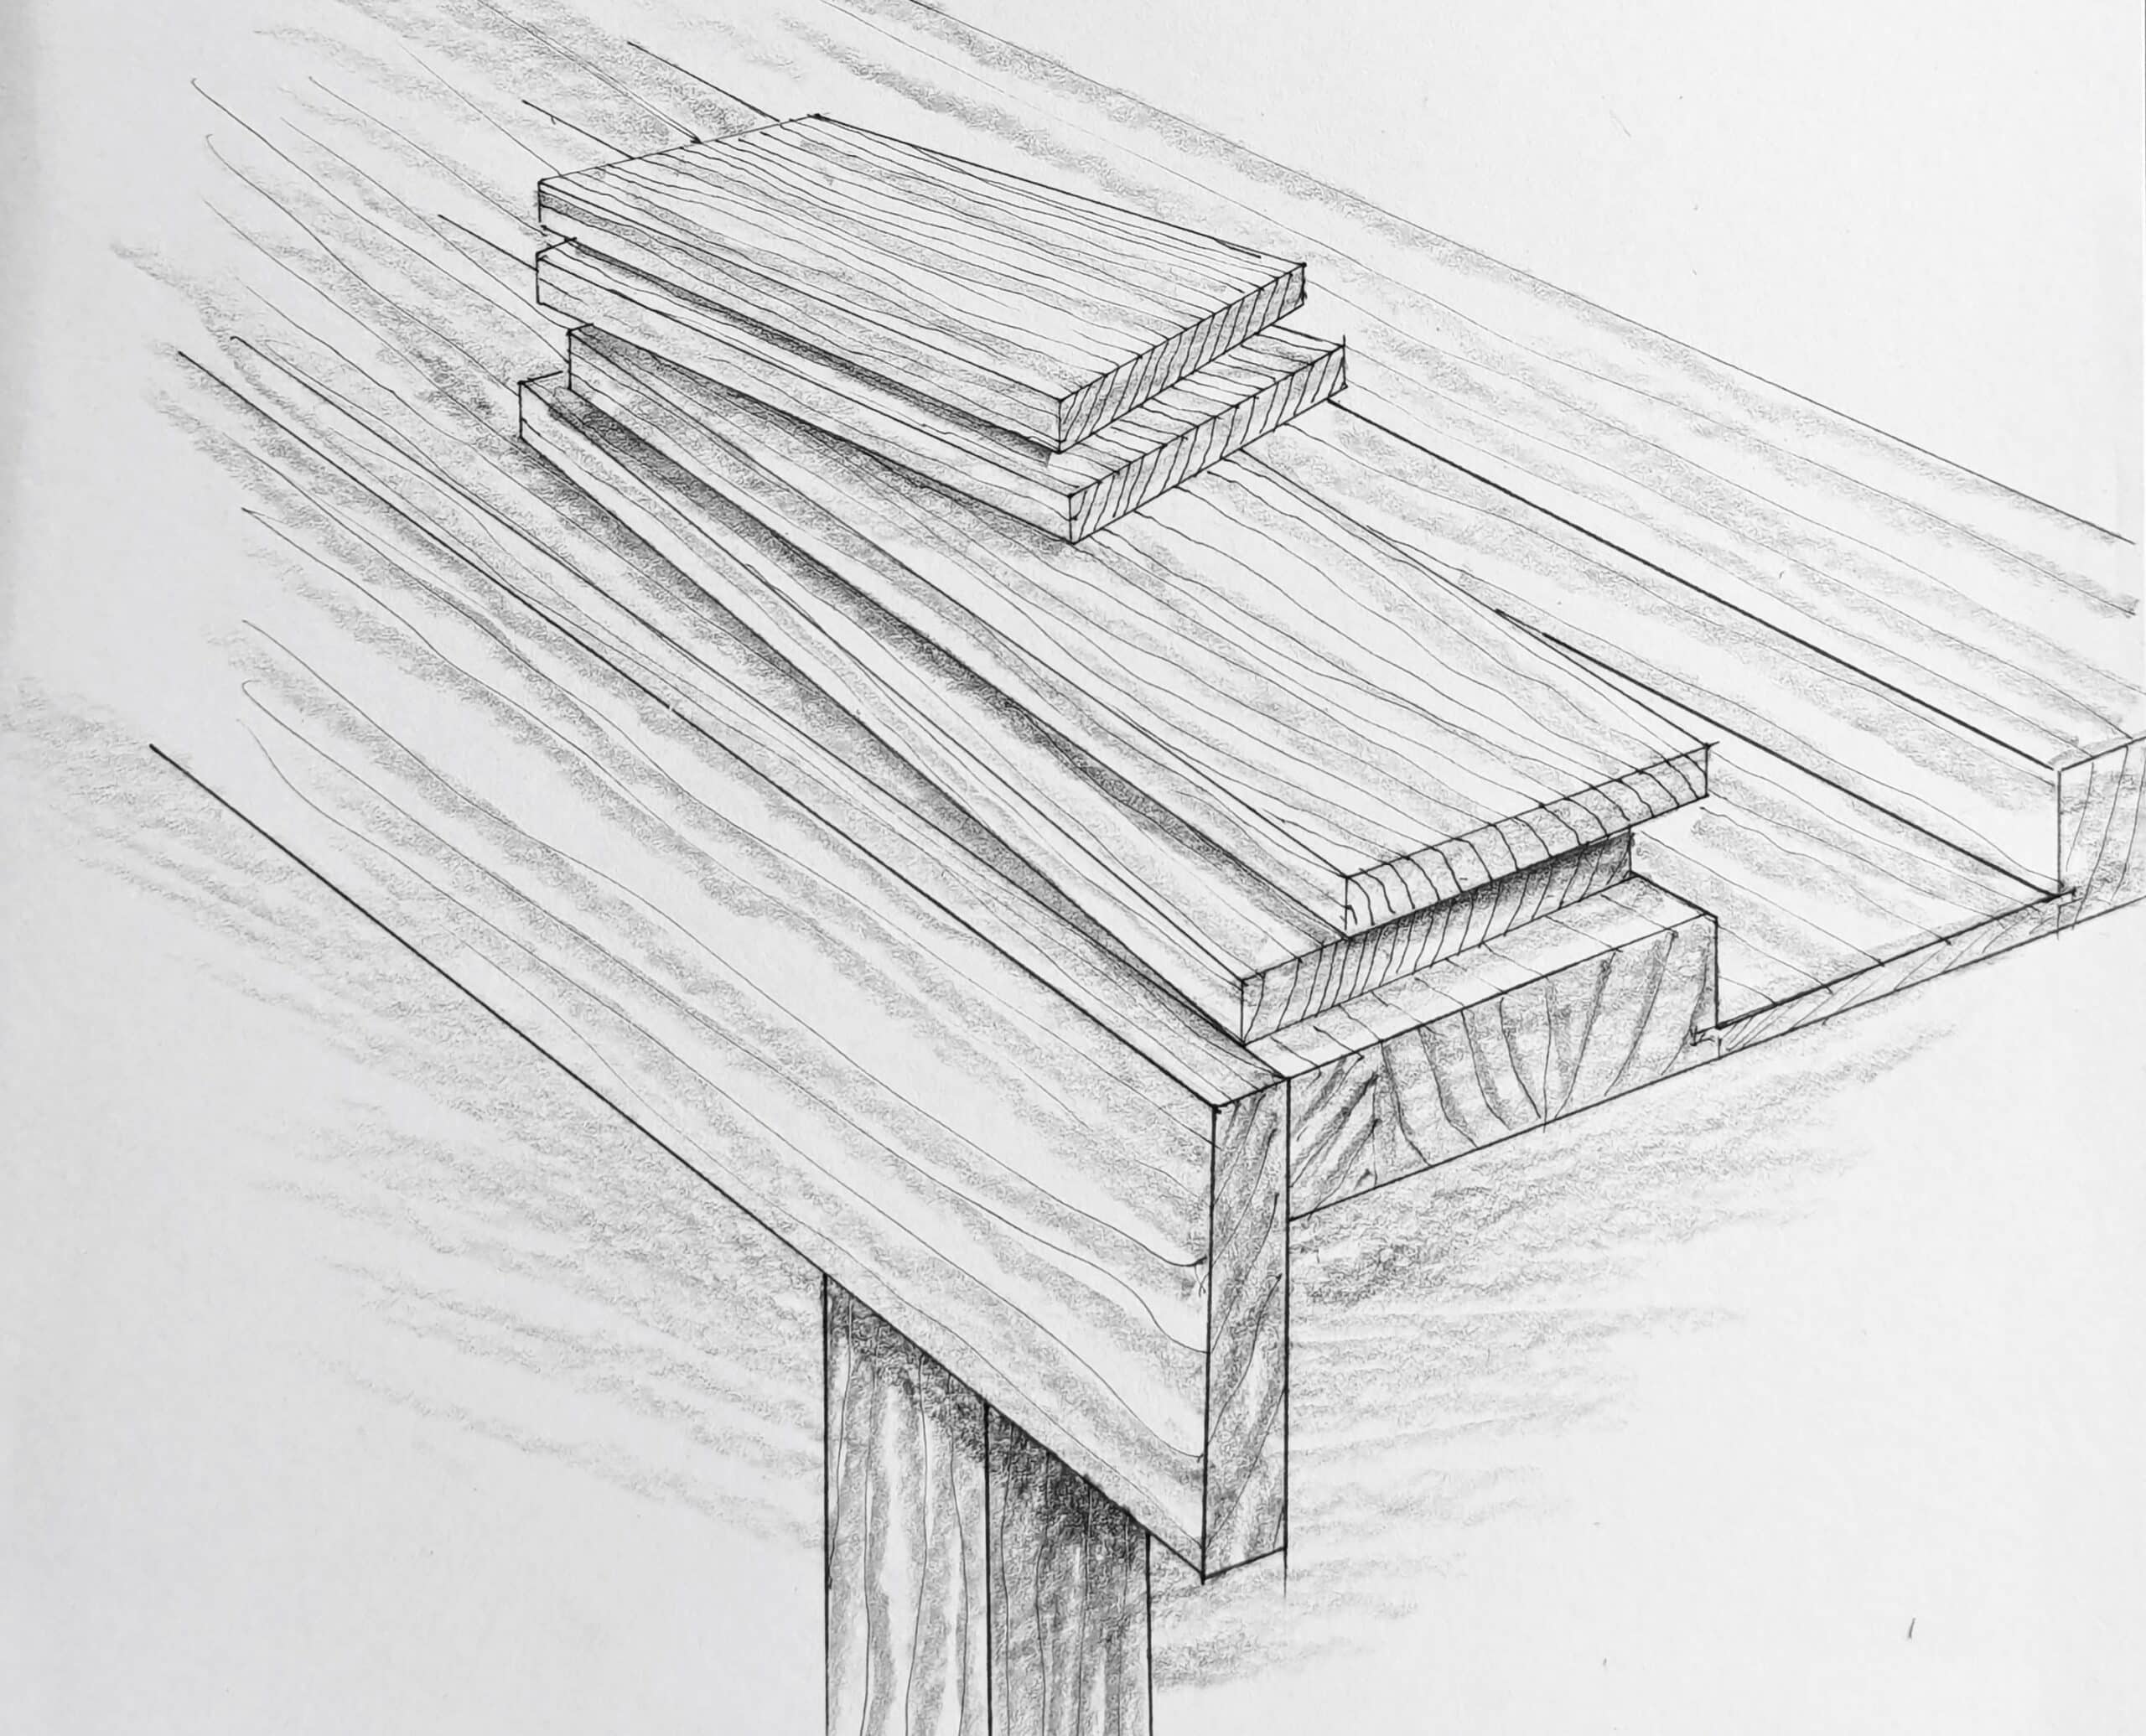
George had arranged with Jack for me to have the wood without buying it but I had to put in a little overtime without pay so I really did pay something for it. But the extra sweeping and stacking wood was worth it. Jack was the foreman. Whenever George and I were making drawers or window cills and a piece of wood came up I would show it to George. He most of the time shook his head. “Nah! Too much resin.” he’d say, mostly. It took only a week to get the main carcass wood together. These were 8” wide and ¾” thick with two pieces cut to 30”, the length of the box and two 16”, the height. George cut two short offcuts to size for me to practice on and it was here that he taught me to lay out the dovetails with the angled line across the width of the box and then the stepping off to establish the centres of the pins. George found a place in the ends of the wood racks to store the wood and subsequent box as it came together when not in the process of being made. At that time I didn’t know I would be making two such boxes but it’s this one that gave me the strongest account of mixed memories.

My practice dovetails were okay but, “Not good enough yet!” George said. He’d cut them off each time until I only had a few inches left. I think I cut five sets before he decided to turn me loose on the real thing.
We’d planed up the surfaces by hand before the joinery began. He insisted on me sharpening my #4 Stanley first and as the ripples of pine lifted from the plane throat so too the magical redwood scent of that wonderful virgin Russian pine. It filled the atmosphere and I am sure I can still smell it here and now, so vivid is the memory of it. But it wasn’t just the rich scent that was mesmerising, it was the visceral feeling I took with me at making something so intrinsic to my future being. I was making the first thing I ever really made for myself with my own tools, and something made specifically to keep my precious tools in.
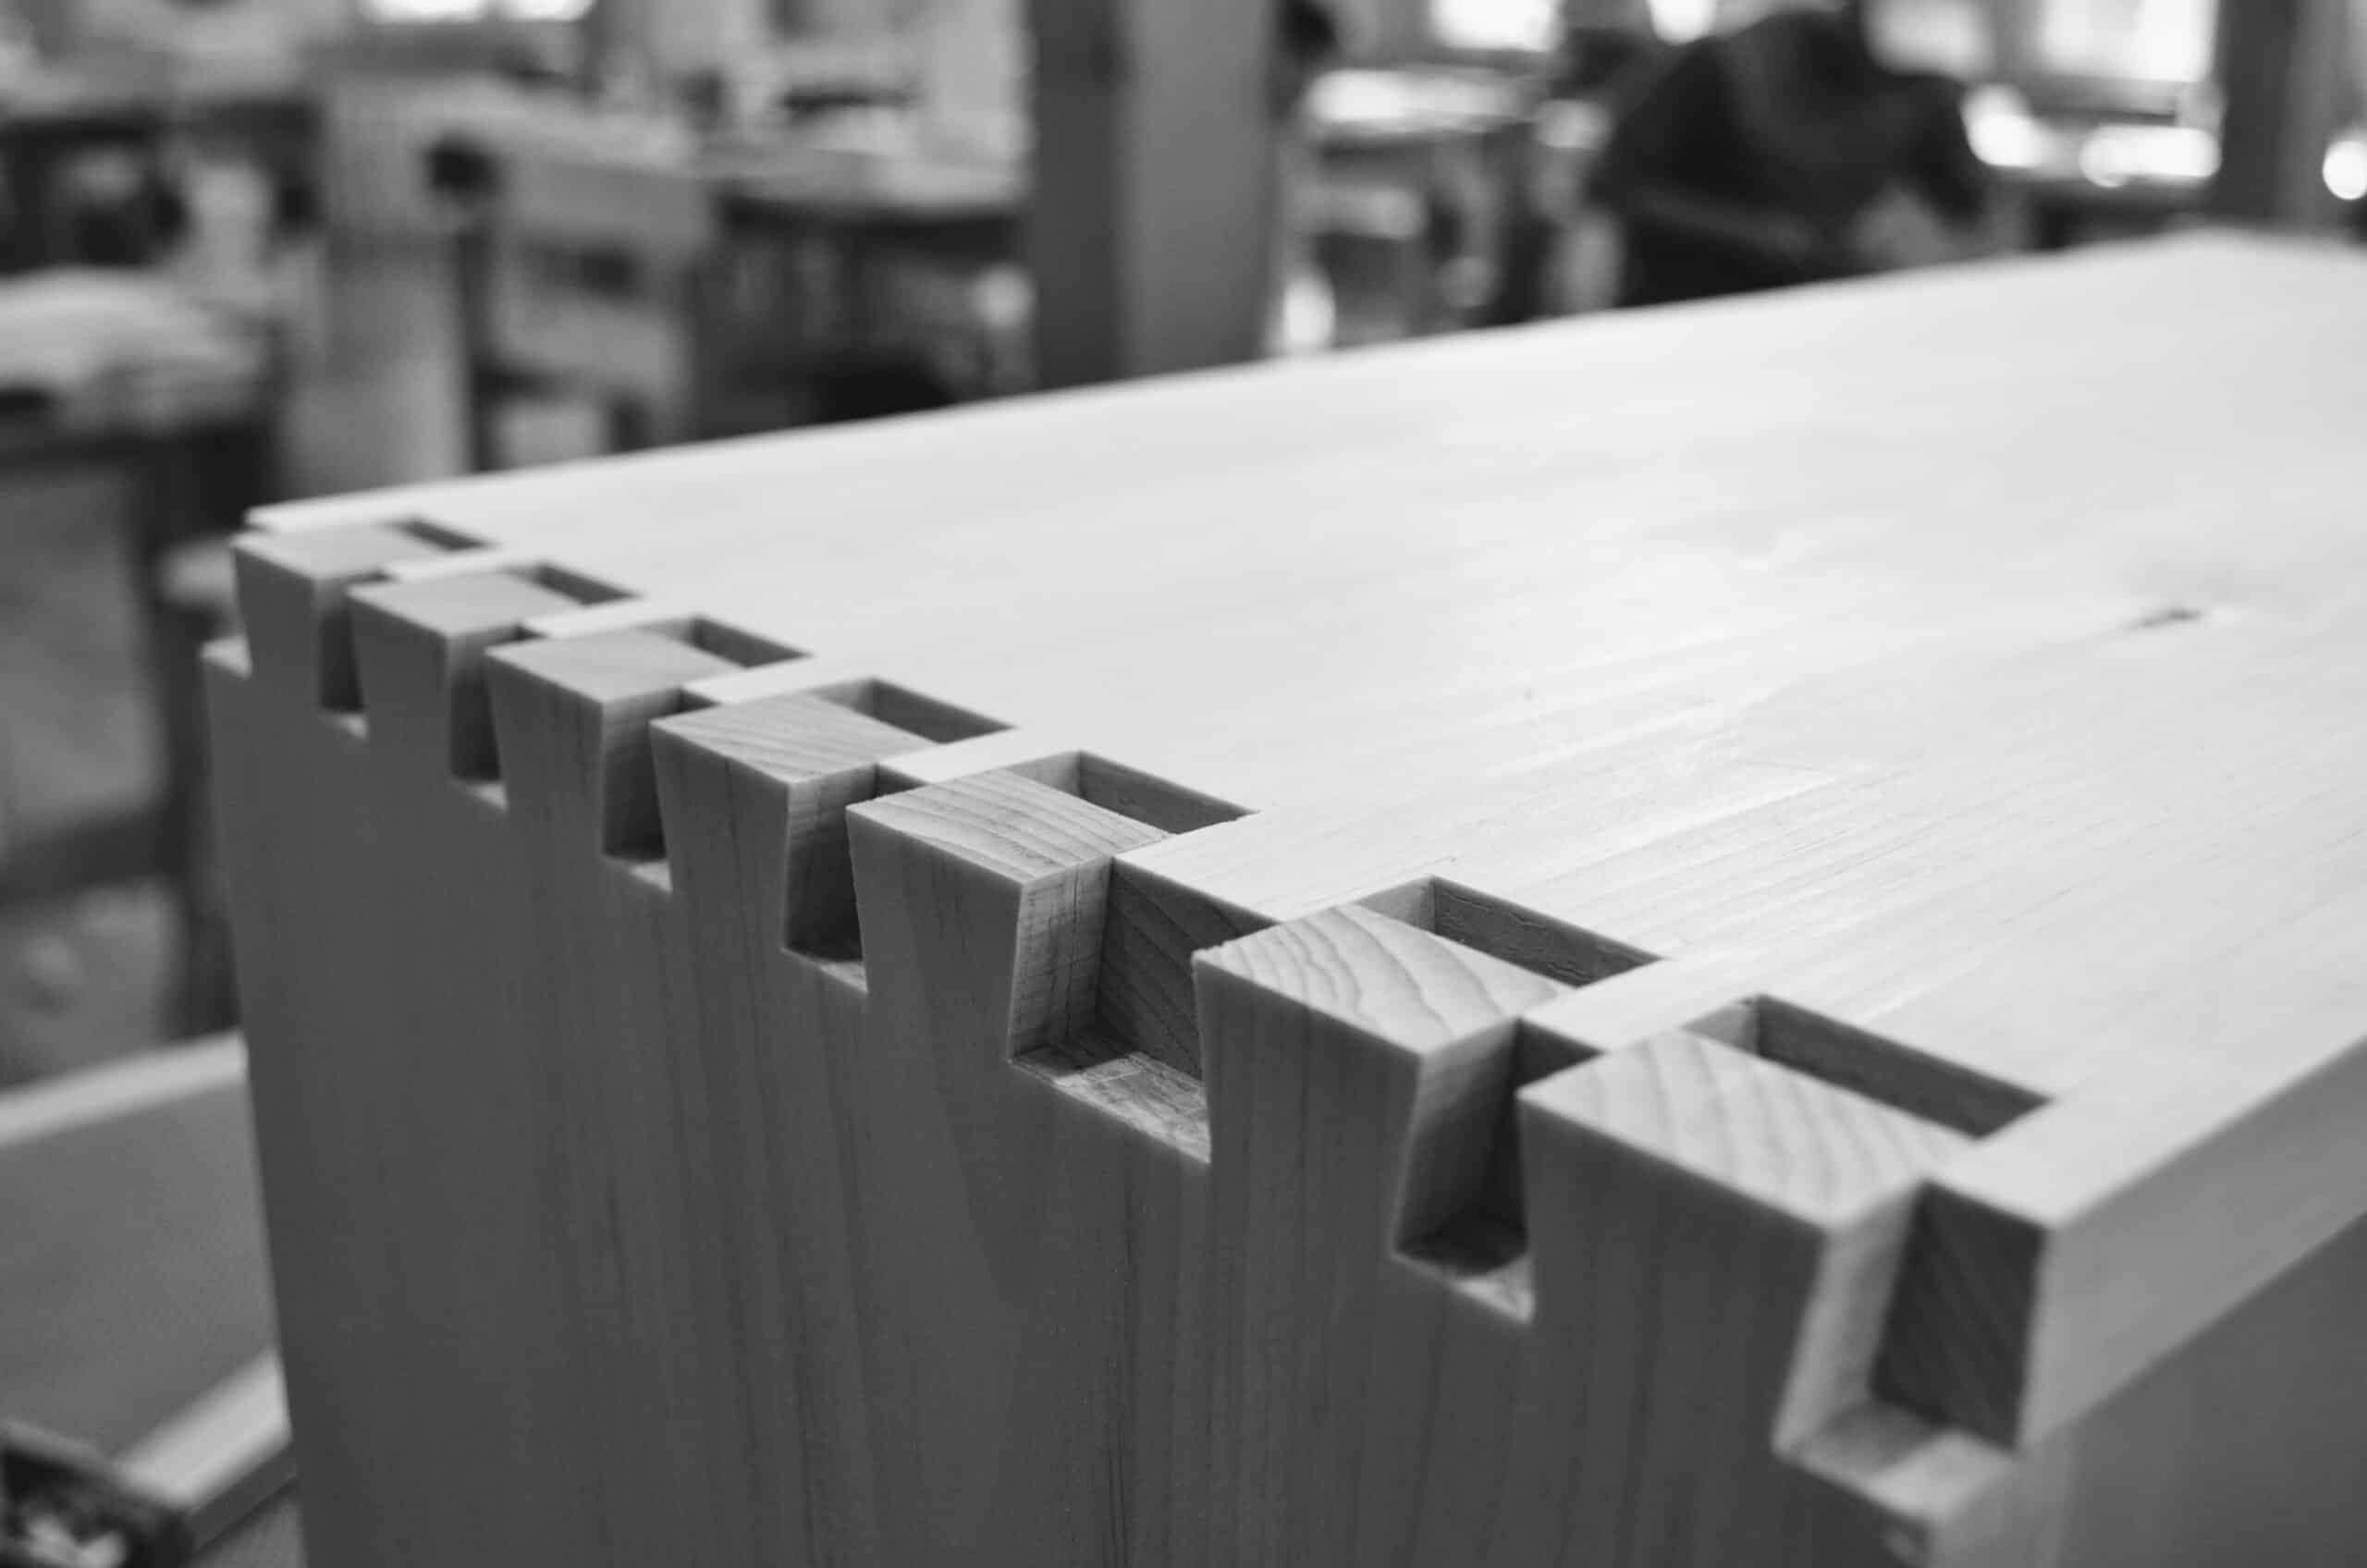
The thing I have learned about making dovetails is you just cannot stop until the whole corner is together. It’s a compelling task that we just keep going on until all of the parts fit and fully seat. That interlocking seems to keep everything frozen in time until the glue-up. You need to arrest the joint once it’s made if the glue-up is to be postponed. It’s just a good habit. Often, especially in some regions, woods swell at different rates and a joint that fits together well can have one part expand or shrink over its counterpart by some small degree. When together they will expand and contract together more evenly. In other words, when the joint is complete, keep the joint assembled, otherwise one piece of would might well expand at a different rate to the intended adjacent one and the joint not fit.
George felt that for a toolbox like this, the joiner’s toolbox, the dovetails are better if smaller and thereby more in quantity. I still don’t know if he was right but we made them according to his thought and put 1/4″ pins, this made the dovetails a fraction over 1″ apiece. My dovetail saw was sharp and quite new. George had taught me to sharpen saws and I’d sharpened this ready for dovetailing. There was the box and there’d be tills to do to.
More to come in another blog. I want to explain how I feel about toolboxes, chests and such.
Wonderful post Paul. Thank you for sharing. There is something magical about making a tool box for sure. I look forward to the next post.
Thanks Paul, I really like the stories about George, very inspiring. I’m looking forward to the next part of it.
I hope you are feeling better now.
Greetings.
Paul. I too love the stories about George and the old-timers you were connected to which now connects us. As a 48 year old American I grew up bereft of the way you English people savor and pass down the art. Maybe my 8th grade shop teacher showed me a few things. I can’t get enough of the old time stories. I learn something every time. Thank you.
Спасибо большое Полл!!!
Lovely post, Paul. Like Dardo and Kevin, I love the stories about `George. I need a version of this toolbox (maybe a small one?) as I travel to my friend’s house once a week to help him furnish his new house.
I’m also delighted you’re getting over recent adversity. You could make mallets out of you.
Thank you, Sir for your musings. I think often of Mr Amos who was my George in many ways.
We are blessed.
I made this piece so fine, I’m scared to put tools in it?
Grab a hammer and whack a mark in it, somewhere it’ll show. Then you won’t care anymore. I say this to anybody that makes a work bench – are you making a WORK bench or a sacred altar for thumb twiddlin’?
It may seem harsh words up front, but think about it for a second and you’ll see. 🙂
Oh, how that first slip with the saw and into the edge of my pristine, freshly made workbench got me!
Lol. My wife says similar things about some of the things I make for her as well. “It’s too nice to use.” Sort of a good problem I suppose.
Very nice tool box. I echo the well wishes to you also. JRW
Paul, what is resin and why was “too much resin” cause for piece rejection?
I never realized workmen would be on site for such a long period. It must have cost a fortune to hire someone or a crew for such a length of time.
I also didn’t know that they might have had several toolboxes.
I’m surprised they didn’t make the tool boxes stackable and accessible from the front if they had more than one box like auto mechanics do today.
I most certainly understand how any flat surface gets covered very quickly as I have the same issue in my shop. I wonder if that’s the reason some boxes were slanted like the Dutch tool chest design.
😀 Yes! I was considering making a Dutch-style toolbox for that very reason! And so that the tools can be seen and accessed more easily. But my skills, experience, confidence, time/space, weren’t upto it (then and now 🙁 ). I ended up buying a big old, English, vintage tool-chest from the midlands via the internet. I keep it on top of an old coffee-table, in my garage workshop; it stored many (but not all tools) quite well for me but inevitably it is becoming an additional temporary work surface 🙁 .
Tom,
It’s a good point about accessibility. If you look at modern “systainers” (think Festool coined the term, it’s just a box), they’re built with the idea that you can stack them, but it’s utterly useless if you want to get at the box on the bottom. I’ve never understood how such a flawed design could gain such traction (literally every power tool comes in one – of similar design – now) in the supposed efficient modern world. In reality, with modern plastics, it should be incredibly simple to, and with reasonable material efficiency, create a box that is openable like a drawer from the front, as well as accessed via the lid from the top. That would also give the option of being stacked as a temporary workbench with tools still accessible. Obviously, not particularly relevant to a hand tool worker, as the number of tools required on a single job wouldn’t fill the space that a selection of plunge saws, routers etc would in their systainers, but still interesting nonetheless.
Thanks,
Rico
Good story Paul, hope you’re healing well!
I’ve made two, of the lift-lid variety. The first with some drawers below and a sliding till inside. Casters on the bottom. The woods I used were pretty, so it came into the house. When grandchildren visited, it was filled with their toys, games, books, crayons, etc. where they not only could easily get at them, but also could easily re-fill it when it was time to go home.
Grandma was grateful for that.
The second, of similar design but somewhat coarser construction and no wheels, lives in my garage-workshop where I store a variety of jigs, gages, etc. and know where to find them.
Love going to antique stores looking for old tool chest especially dovetailed ones. Makes you appreciate the craftsmanship that was put into the chest and the person that made it. Would love to see it on a job site back then seeing how the carpenter used it. Thanks for the video series on your tool chest Paul. Made a smaller version for myself.
I have read every blog you have posted, seen every YouTube video, and most of the ones in Masterclass, and for some reason, I missed the information you stated in this post about leaving unglued joints together. Man, that was a lightbulb moment for me (I guess I’m a little slow on the uptake).
Thanks and keep the information coming- It takes some of us a bit more time to internalize all this.
Also, I am waiting with bated breath for your take on tool boxes/chests and such.
Thanks for this interesting account.
My grandfather (an organ-builder) had such a box – one which opened at the top to reveal several drawers (or ’tills’) of full length, but only halve the width, which could be slid to one side to reach the ones underneath. This was an inefficient design, I suppose, but perhaps it limited the weight of the thing, and provided it was big enough to hold all that was needed, I suppose it served its purpose. He had a job to do in Shanghai, in 1925, so it would have been especially important to take all the necessary odds and ends.
Thanks Paul. I hope your injuries are healing well. I look forward with much interest to your thoughts on tool chests and tool boxes and their practical workshop usage.
Cheers,
Michael
I rember my first tool box that I made in 1964. It was big and bulkey I could barely lift it and carry it around. I got a job that summer in a cabinet shop. After being there for a while I soon realized that I needed to change my design to tall narrow boxes which were far more portable. I still have them, but no longer use them. I now have tool cabinets which work better for me at 77. Getting to old to lug heavy boxes of tools around.
Bob
Thank you for this very interesting post. Like Tad, I also missed the tip on keeping dovetailed joints together until glue-up but I will certainly use it from now on.
I like hearing about how you kept practicing making the dovetails until it was good enough. I want to be an expert the first time I cut them. Woodworking requires the patience to practice and repeat and make mistakes. It’s a journey.
Paul,
Your post is timely for me. I recently came upon a big old toolbox, about 24 x 24 x 36. It is well-made with dovetails and brass corners. Could be from a carpenter or a joiner, not sure, but it has three sliding bins and a saw till in the front with room for 5 panel saws. I am slowly restoring it. The bottoms of the bins were all split and falling apart, repaired with hundreds of nails over the years. The top is rough, obviously used as a job-site bench top by the previous owner. Not sure what to do with that yet. Other than that, the box is sound and well-made.
I plan to build a wheeled cart for it to sit in and fill it with some of the less-frequently used hand tools I have been collecting. The cart will help me move it around the shop when necessary. It is too late for me to consider a job as an itinerant carpenter, but what a pleasing artifact to restore.
Is it really possible to have enough tool boxes? My wife says it’s pretty evident that I don’t think so… Thanks for sharing this post.
Paul
Like all your fans I’m hoping your recovery is progressing and that you’ll soon be “fit as a fiddle”.
I have wondered how journeymen wood workers could use those cumbersome tool chests. It never made sense, on the other hand, there weren’t a lot of options.
Having been born disorganized, I have landed on a plan—a Dutch tool chest with casters.
Well, no one is born organised, that’s for sure so part of evolving has been to choose any path of least resistance which has led to our emerging with lighterweight toolboxes. In ships holds wooden boxes were made to stack and withstand all kinds of heavy pressures according to all extremes a ships passage might engage in. Traveling from shop to workplace was common practice. Traveling on hand carts and horsedrawn vehicles on rougher cobbled streets jostled them around and so the robustness of some of the boxes was weigh in excess of being carriable without two or three men. In light of the fact that sheet metals as we know them did not exist in any quantity or reliability until the 1700s but nothing like we know it today, metal fabrication grew with the emergence of machining ever thinner metals created by passing the metal through heavy rollers to successive diminishing thickness. Wood was therefore the medium for tool chests for every craft type and especially for tool holding. Some of the older versions I have are massively robust while others are supremely lightweight being made from very soft and lightweight softwoods commonly referred to as deal.
Through all the articles, I have become fond of George.
Thanks for another enlightening post.
Would this design work ok in pine? I’m not a youthful apprentice but need to carry a varying selection of handtools to ‘site’ occasionally.
I’m really glad your mending well and find your attitude to the whole experience inspiring.
Best wishes.
Most of mine have been made from pine or spruce because of the weight to strength ratio: softwoods often proving stronger as a lighterweight material than some hardwoods though far from all of them.
Many thanks Paul.
I can finally use those reclaimed pine boards I’ve be so reluctant to part with. 😀.
My dad’s tool box was much like your tool tote except that it was a meter long and .25 wide. He made it when he was a finish carpenter. It was a bit heavy but it held all the tools he needed for his work (saws, plane, chisels, brace and bits, etc) as he went from house to house. Might be worth making one.
i made my first tool box at 17 when working for a carpenter. it was a carpenters tool box so not that pretty, but very functional. that was in 72.
Paul I don’t normally comment but I have a couple of questions. 1 where and when dit you serve your appprenticeship. 2 It would be nice to see the inside of your fall down lid box. I am glad to see you are on the mend . You can’t keep a good man down. Thanks for all you thoughts . Keep them comming. Doc Raffety ps not a real doctor just a nick name I aquried.
I served my apprenticeship in my home town of Stockport, England, six miles south of Manchester and now very much a part of what’s called the Greater manchester Area. It was a small company working mainly on joinery. My journeymanship was with the New Day Furniture Company also based in Stockport. We can’t post pictures here on comments but this link will give you an idea: https://paulsellers.com/2020/10/toolbox-build-update/
Hi Paul,
I’d appreciate if you could describe how the front and the back are attached to the dovetailed main body.
Thank you and greetings from Vienna/Austria!
Just glued. That’s enough and more than enough as there is no compromise of alternate grain direction of any consequence. I have in the past glued, screwed and plugged but that is definately overkill.
Just an erratum… the North American Redwood (“coast redwood”) tree is sequoia sempervirens. Sequoiadendron gigenteum is its cousin, the giant sequoia, the largest tree in the world.
Paul, I look forward to each post you do and to the replies as well from intelligent devotees to your work. What I suppose attracts my attention is your multi-faceted talents as a craftsman, a writer, and the skills you possess in drawing. Thank you for your dedication to passing on your skills in the most teachable manner possible!