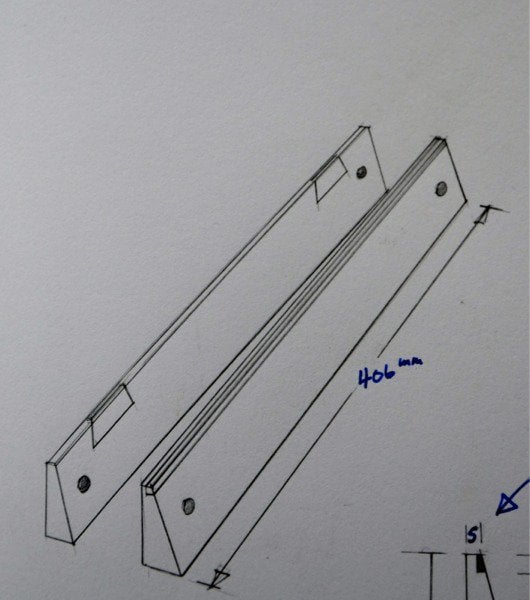
Making Winding Sticks by Hand – Part II
Here are some drawings to help
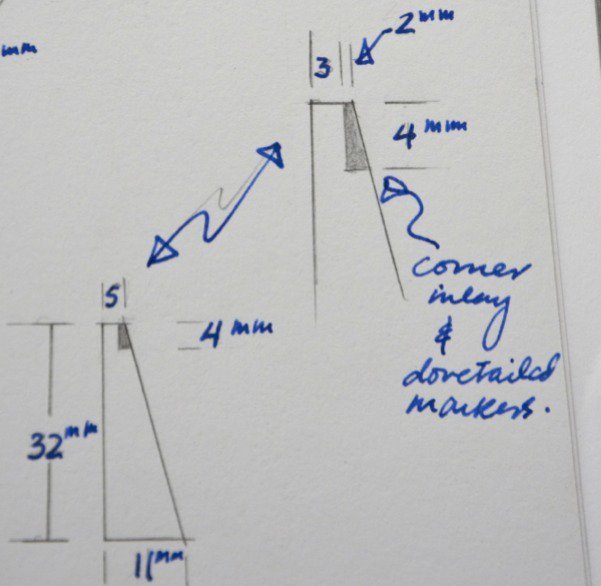
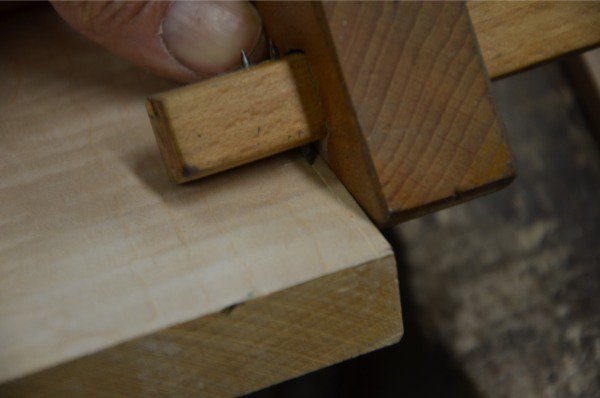
Corner inlay
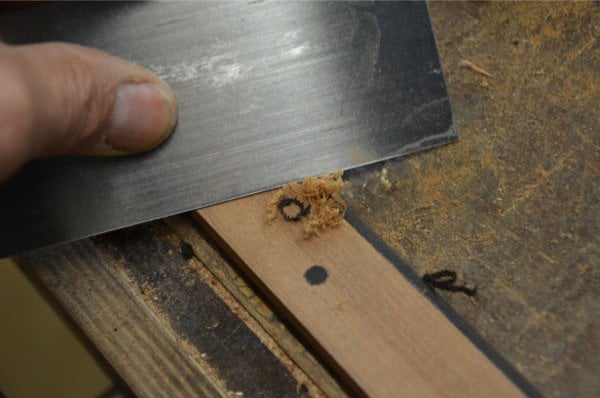
The corner rebate is best done with a marking gauge, knife and tenon saw. The Veritas marking gauge works well for this type of gauge work as it works like a knife, but you can achieve the same results with a light pass with a regular marking gauge followed by a sharp knife.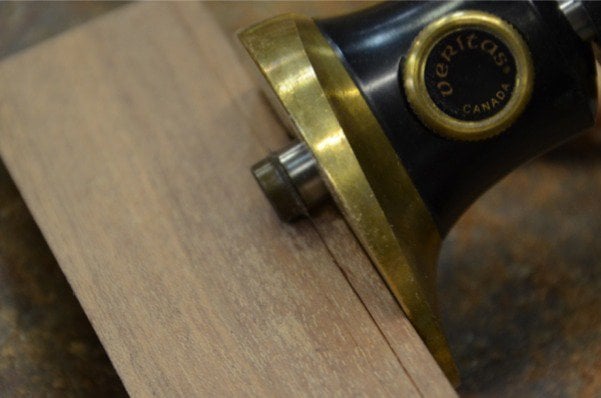
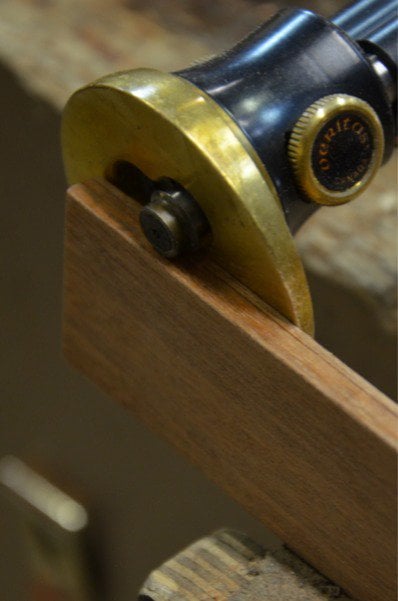
Do the same on the adjacent face but set the gauge to a shallower setting of 2mm. Remove the waste carefully.
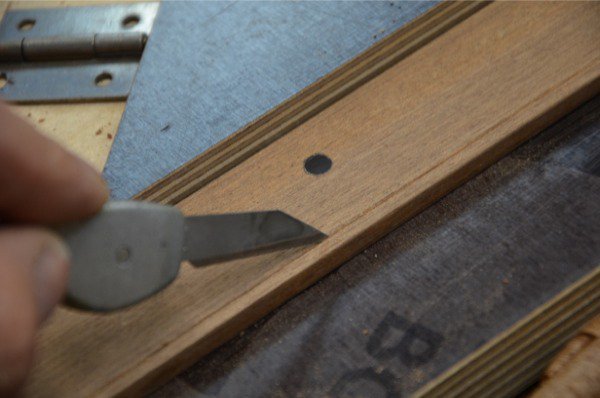
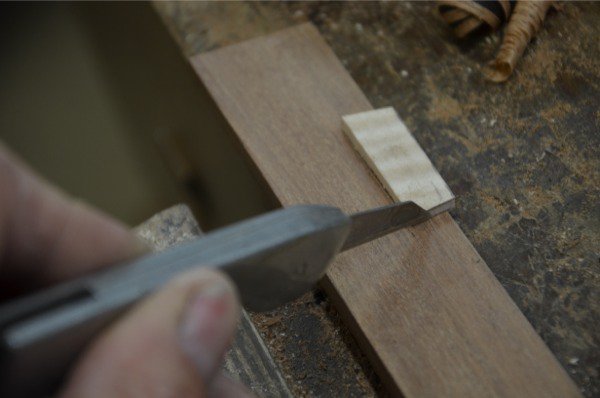
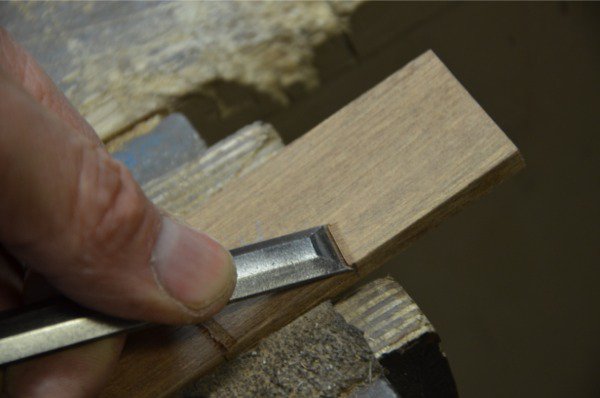
Trim with a bullnose if you have one, if not trim as best you can with a wide chisel and a knife.
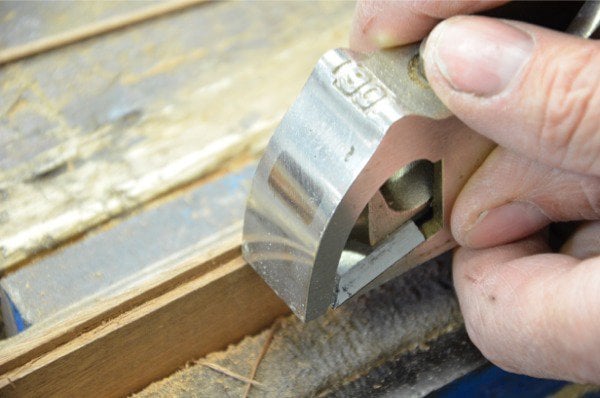
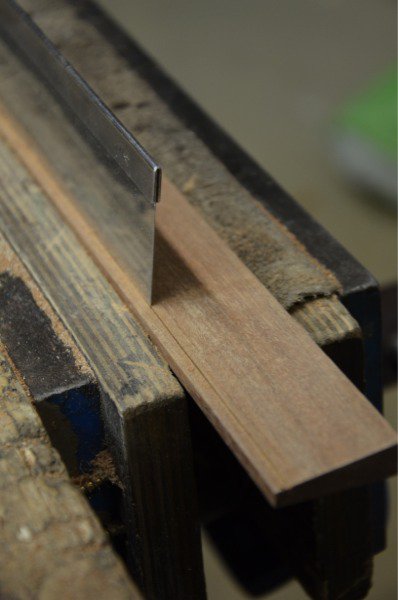
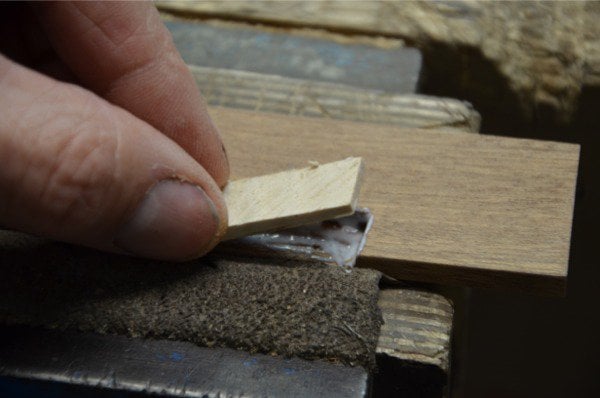
I cut my ebony piece to just 4.5mm square and smoothed up two adjacent faces with the plane.

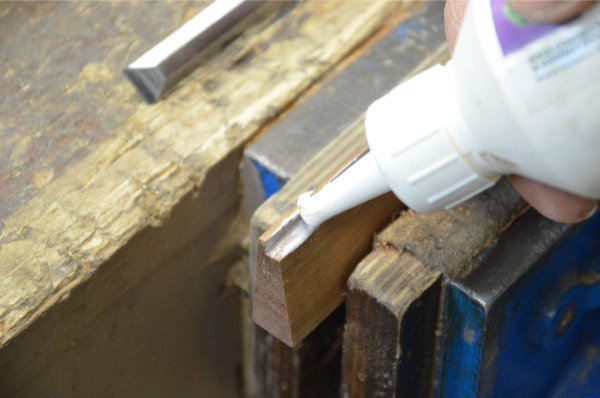
Use PVA glue to glue the ebony in place. Run a bead into the corner. When you place the ebony the glue will automatically distribute onto both faces.
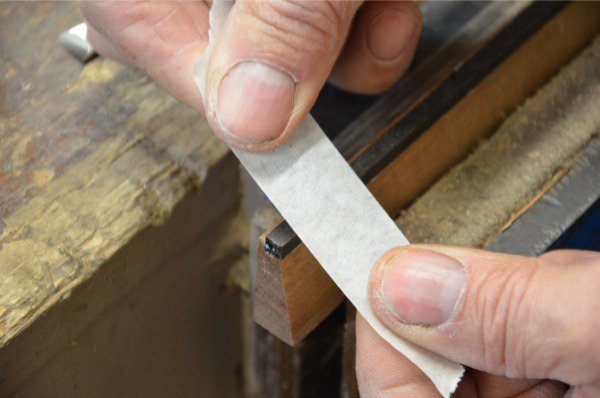
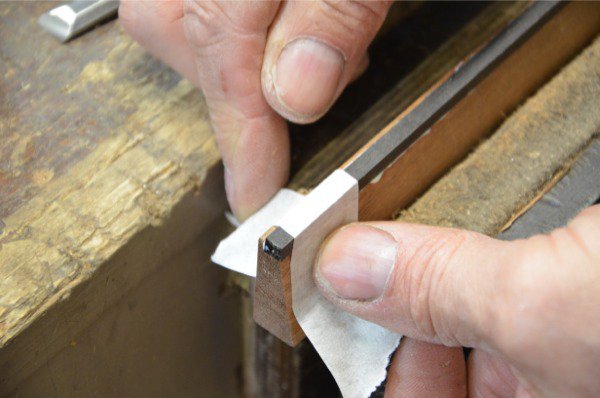
Stretch masking tape as tightly as you can and pull it onto the corner of the ebony and lull the tape equally so that the ebony is pulled tightly into the corner. The tape should be about 25mm apart. Leave aside to dry thoroughly – 4 hours at least.
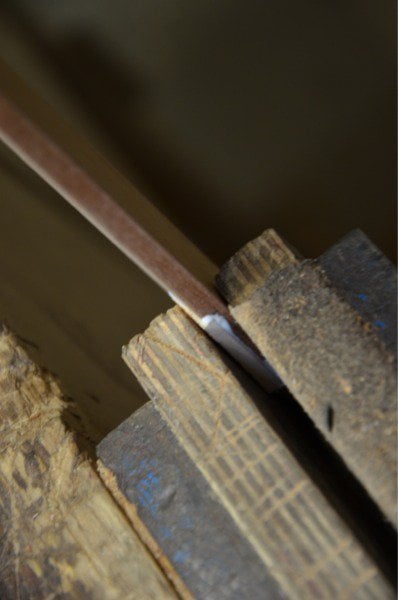
Plane off any excess with a #4 smoothing plane.
Use a scraper if the grain becomes difficult or reversed.
Sand as necessary.
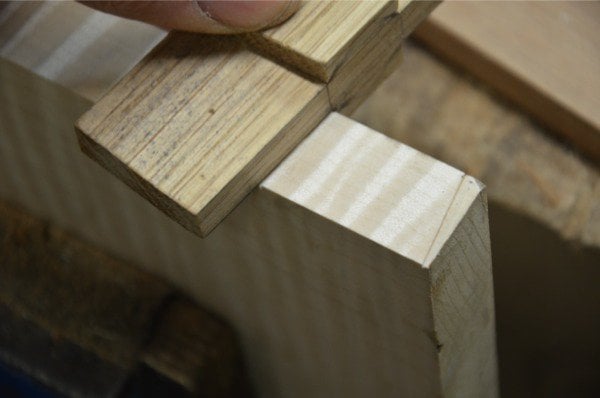
Inlaying the dovetailed insets
I have some curly maple, but almost any light or white wood will do. I used a dovetail guide to make my knifewall of 1-7 pitch.
The short-point measurement is 32mm.
Chisel into the knifewall to deepen the cut.
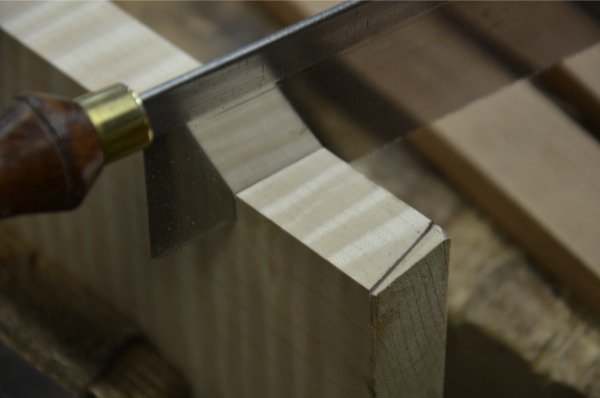
Saw down the knifewalls to about 8mm. This is deep enough to cut two 3.5mm inlay sections. You will use these pieces to trace around with the knife shortly
I set a gauge to 3.5mm and used this to guide my saw as I cut out the first inlay dovetail.
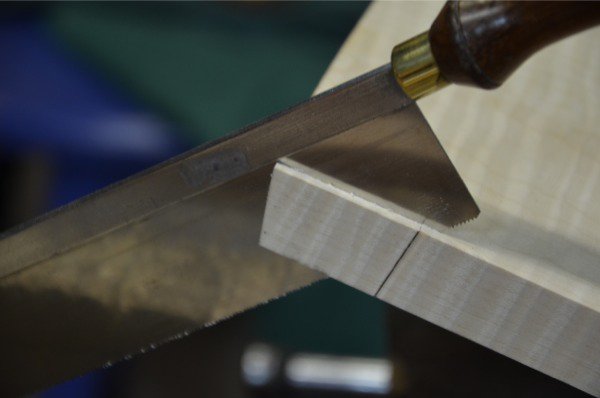
The second one I eyeballed for distance as I couldn’t run a gauge line.
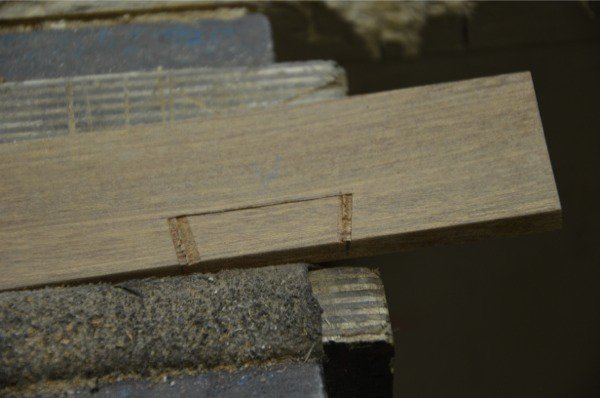
I set the gauge to 2mm for the depth of the recess and ran the gauge along the top edge of the second winding stick. the drawing will guide you for distances.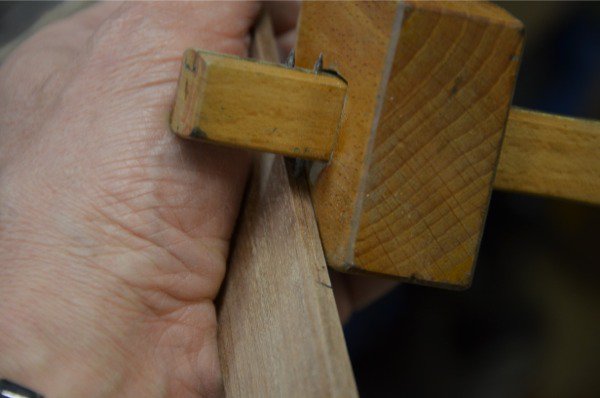
I then set the gauge to 10mm for the broad aspect of the inlay and run a fine line.
Position the inset piece on the gauge line and trace the knife along the walls as shown.
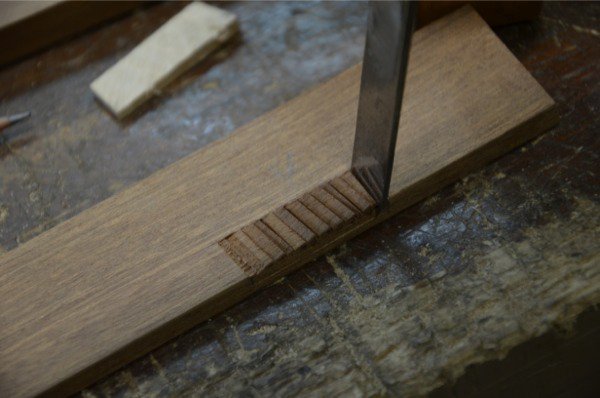
Chisel cut into the knife wall to deepen the wall.
Chop lightly on the knifewall.
Make a series of chops to split-cut the surface in 2mm increments.
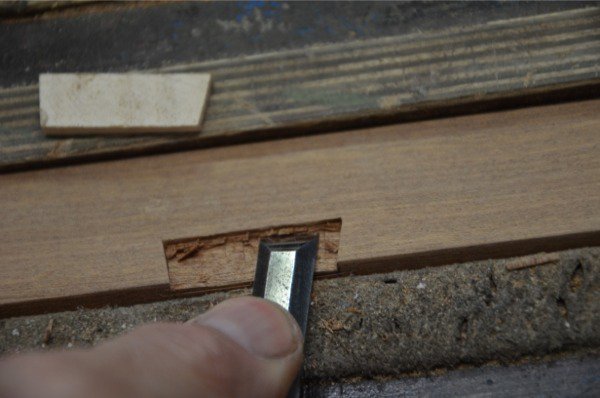
Pare down gradually to the depth gauge line.
If you have a small router, route down to finalise the depth evenly. Use the knife into the corners.

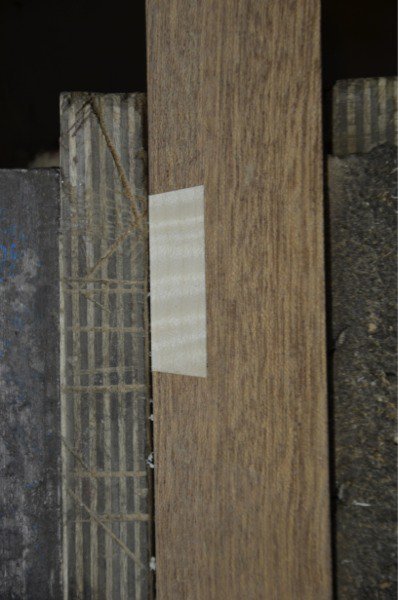
Glue in the inset and…
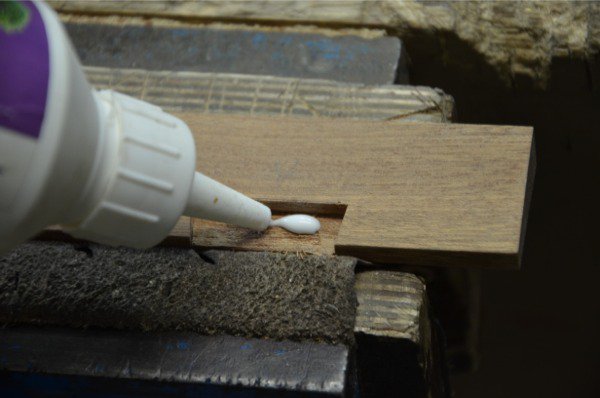
Once dry, plane down the inset pieces flush with the edge and face.

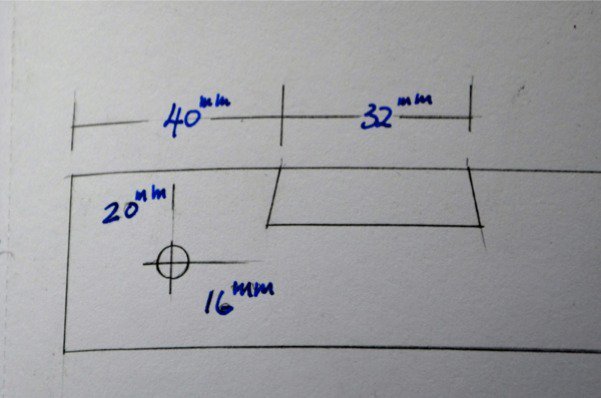
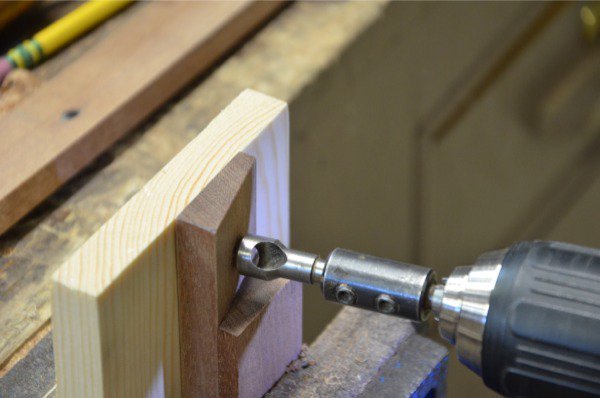
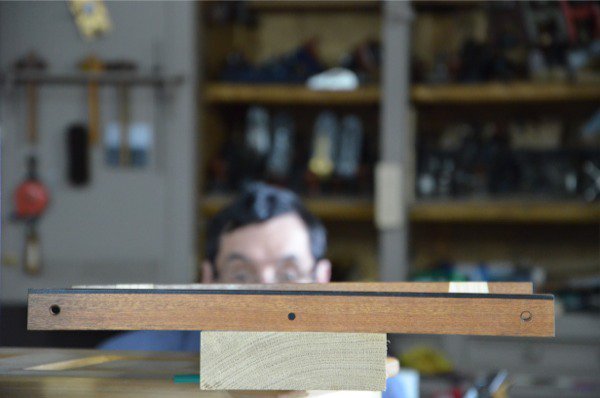
Hanging holes
This is optional, but the holes actually give grip in use. Drill both holes to equal out the weight for balance in use. Perhaps this is not necessary but it’s not worth risking either.
The holes are 6mm but could be bigger or smaller. 
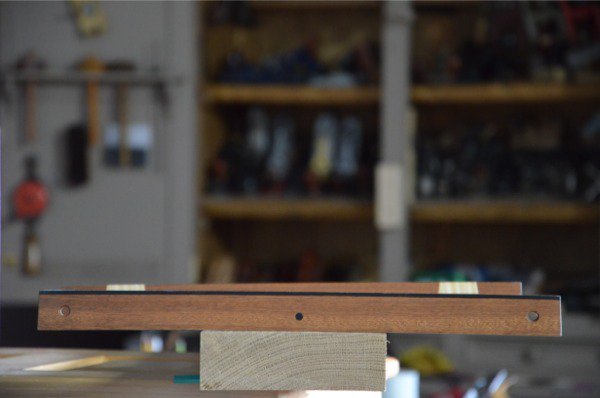
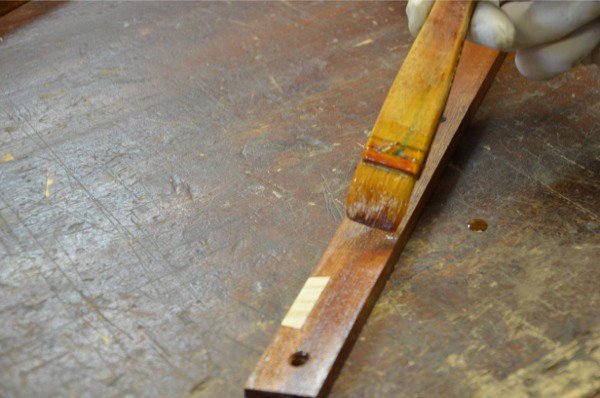
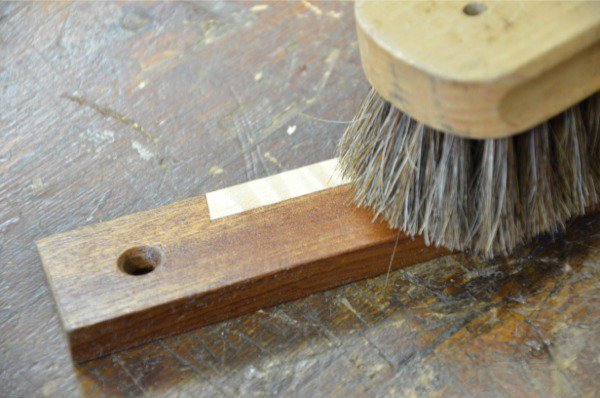
Finish
I am using shellac for a finish. Two thin coats is sufficient.
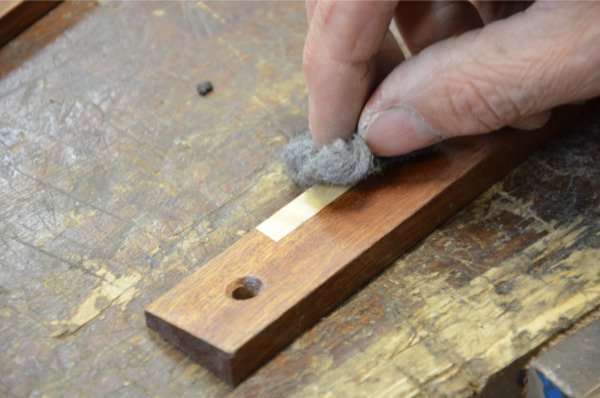
Then a quick and easy coat of soft furniture wax.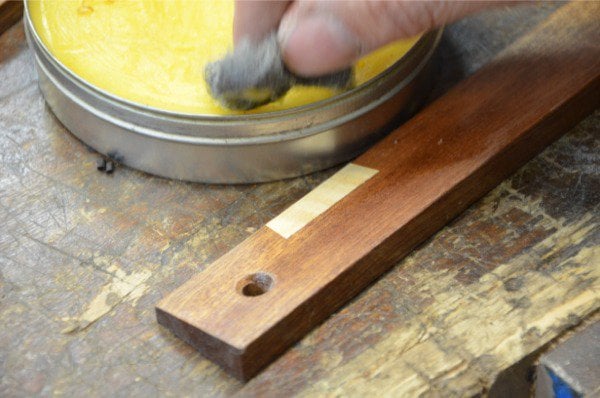
And a shoeshine brush does the trick.
ENJOY this one everybody!!!!
a must have tool thanks for finding the time to share with us i’m looking forward to getting started on my set
Thank you so much Paul. I started with a couple of aluminium sticks when I built my bench (Paul style). It was quick and cheap. But, it never felt right to be a budding wood-working crafts-person and not have nice wood winding sticks.
Jason
Ooh, inlay. A new skill to gain. This has always scared me, but I guess it’s not much different than a dovetail or a hinge. Cut an opening just the right size to fit something, put that something in the opening, and plane it smooth.
Hi Paul, these look great, and thanks for another great article.
Just a question on your Finish. I made a plane cabinet for my workshop last week using oak and pine using hand techniques gained from your masterclass. I applied the shellac which really brought out the grain of both woods, but it was the application of the beeswax where I had a few problems.
I was using 0000 liberon wire wool to apply the beeswax, but strands of wire wool kept falling off when I was applying the beeswax. Not a problem when I was polishing up, as they came out, but I was wondering if this is normal, or is it down to my technique and doing something wrong?
Any help would greatly appreciated.
Thanks
It is normal for the steel wool to break this way and it is unfortunate because the particles can contaminate the work area and other items you are working with.
Yeah, a new skill!, thanks very much
Paul:
Is there an advantage to the dovetail insets vs a long continuous inlay of light wood? Similar to the ebony one, but maybe taller.
Thanks.
I think so. Continuous white lines seem to disappear in sighting.
Can you see if your web team can get the photos back up?
Hi guys
Can´t see any pictures. Have they gone missing somehow? Or is it something wrong at my side of the world? Please check, cause I would really like to build this.
Thanks.
I’m not seeing any pictures either ?
http://2ji6mlfsb2ovu23y2j4h2xhfn.wpengine.netdna-cdn.com, the server where the pictures once lived, seems to have disappeared.
I’d love to see the pics, too! Though I have a slightly different idea of how to make a nice pair. I need to find some 1/8″ sheet brass somewhere that I can afford. I’m thinking brass, walnut, and a stopped center line filled in with a white crayon might be a very nice way to go… 😉
Anyone else having a problem with the photos and drawing not loading?
I just finished making these. My second official woodworking project, the first being the dovetail gauge. My inlays are not perfect but pretty good for someone who has yet to build a single thing. I’m looking forward to using these on future projects. Thanks Paul for the excellent instructions and photos.