Steps to Making a Traditional Oilstone Box
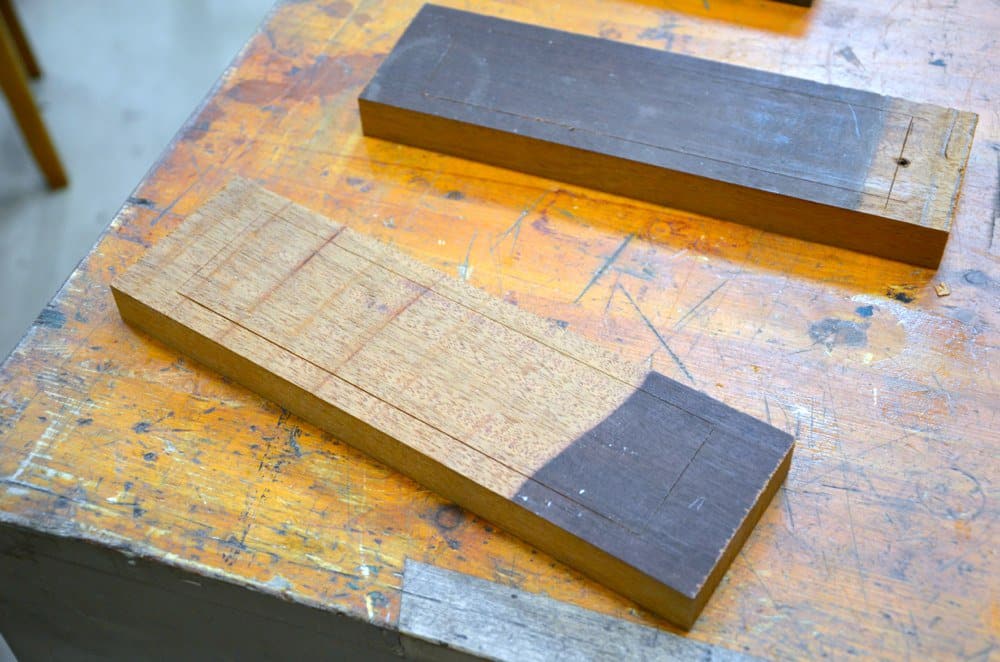
I laid out the perimeter with a knife and square and a marking gauge to line out the cut lines for the 2” width of the stone.
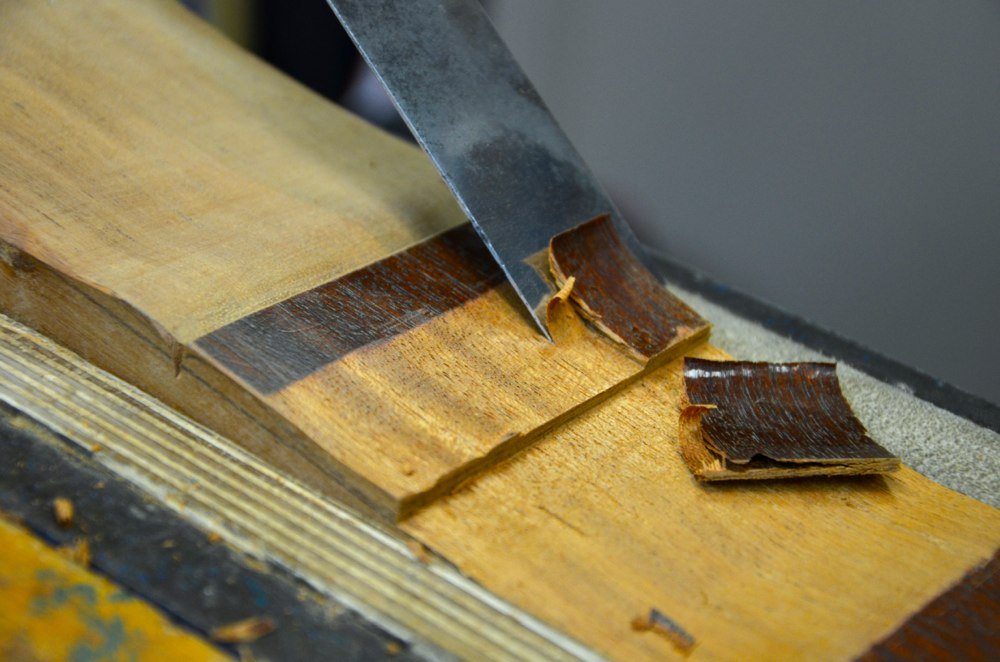
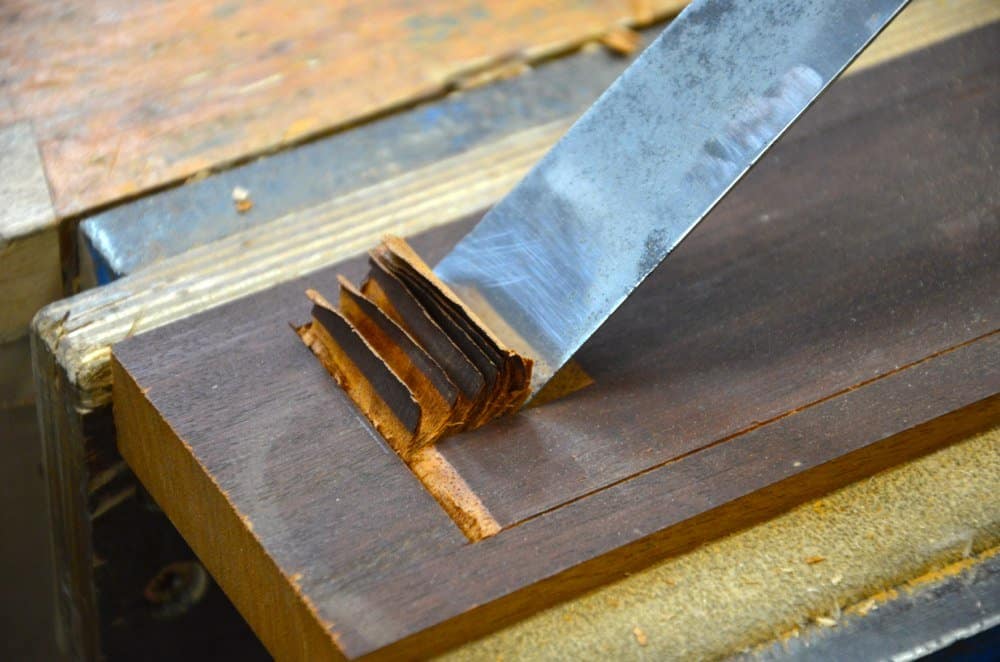
I chiseled into the knifewall to make the wall deeper and to guide the perpendicular chops for the ends.
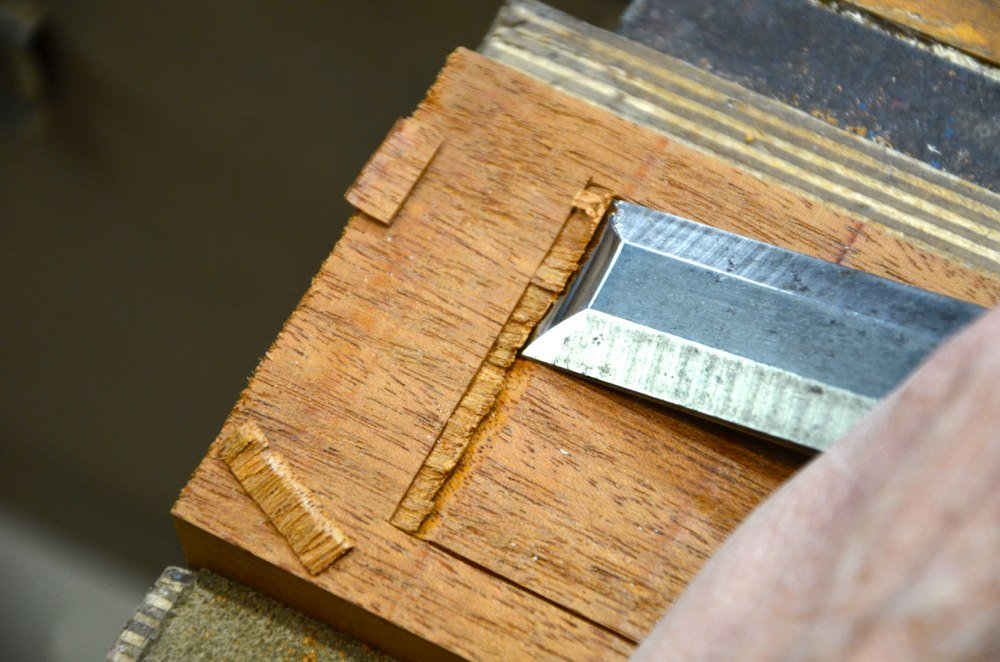
Then I chopped vertical cuts from one end to the other.
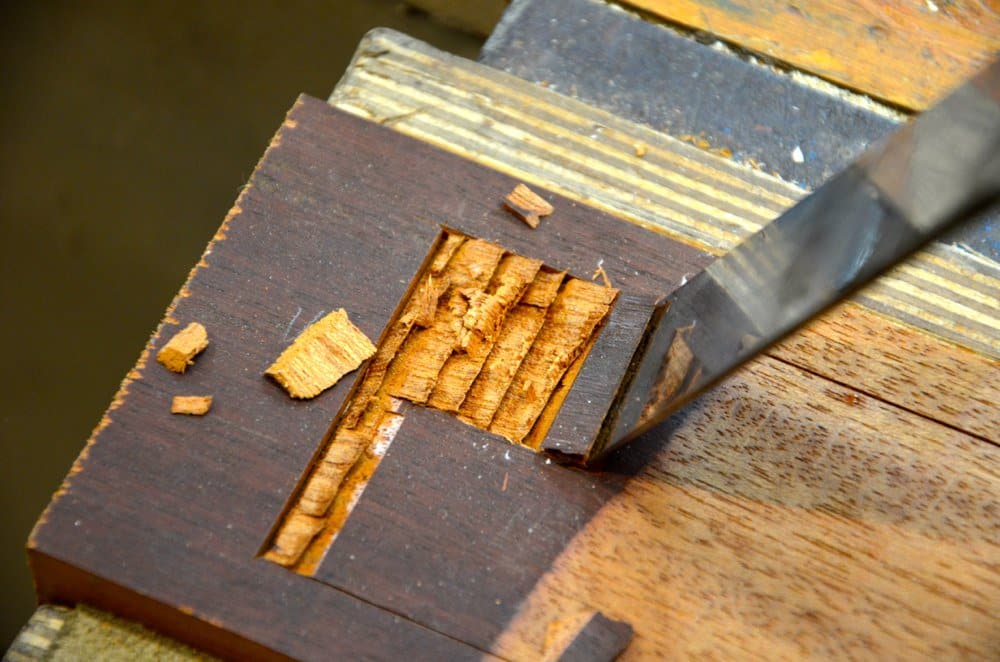
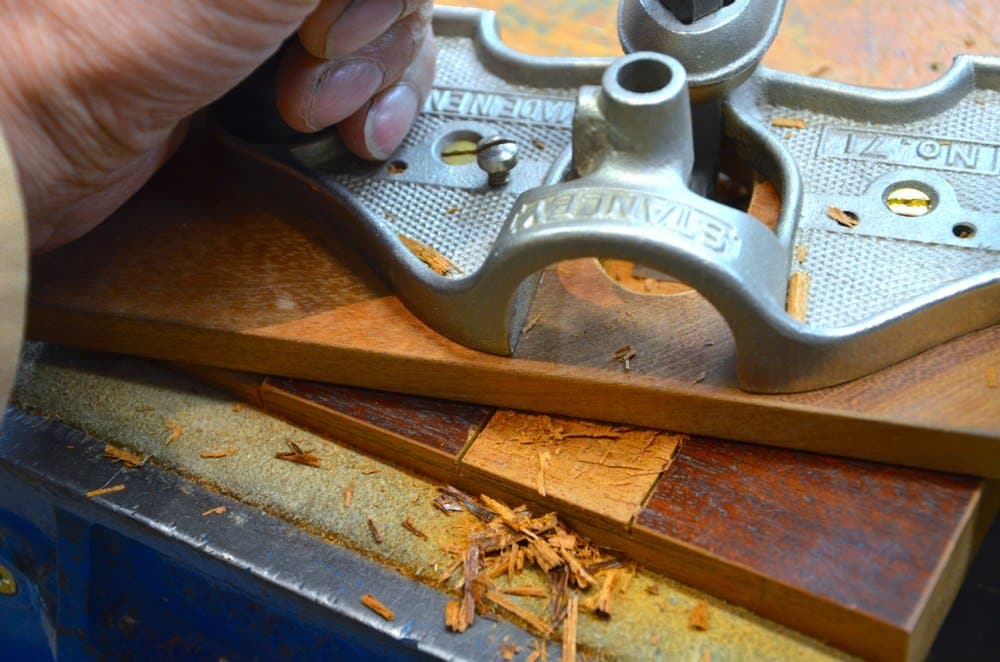
When the bulk was removed I went in with the Stanley 71 router and levelled out the bottom to 1/2” deep.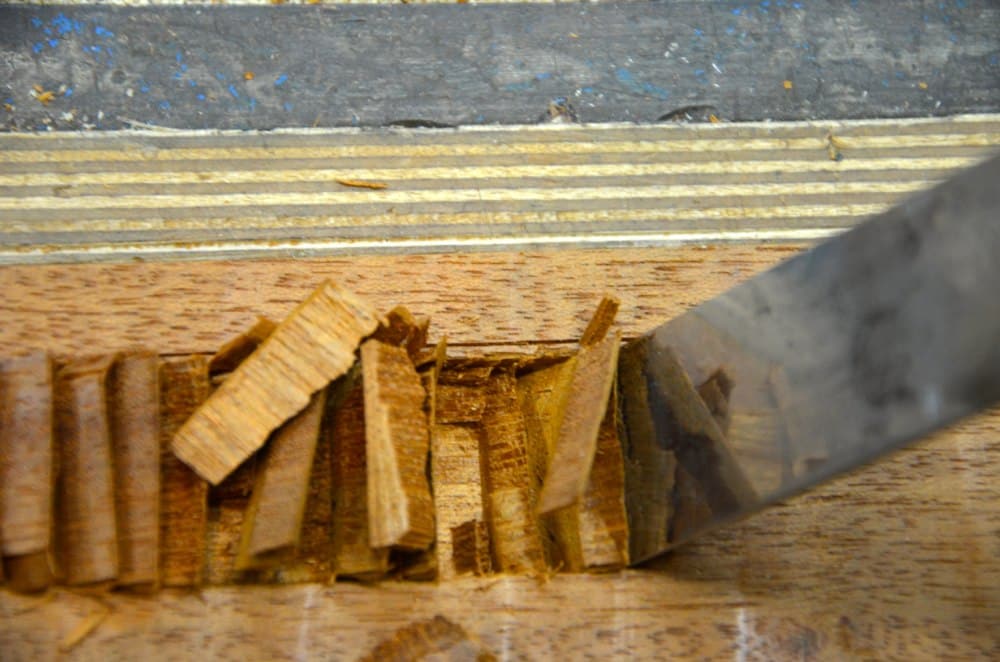
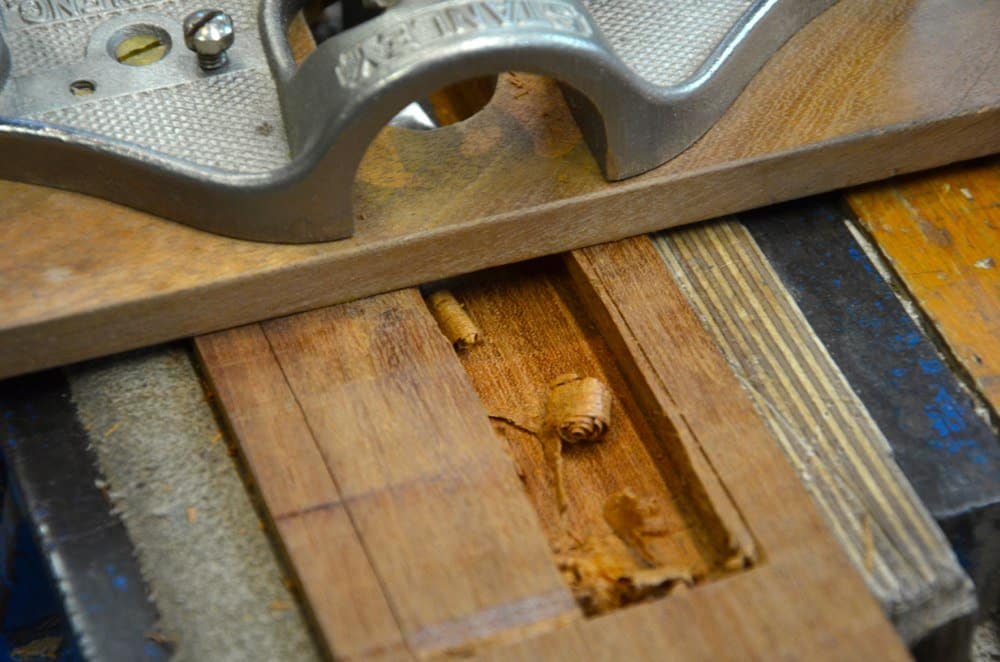
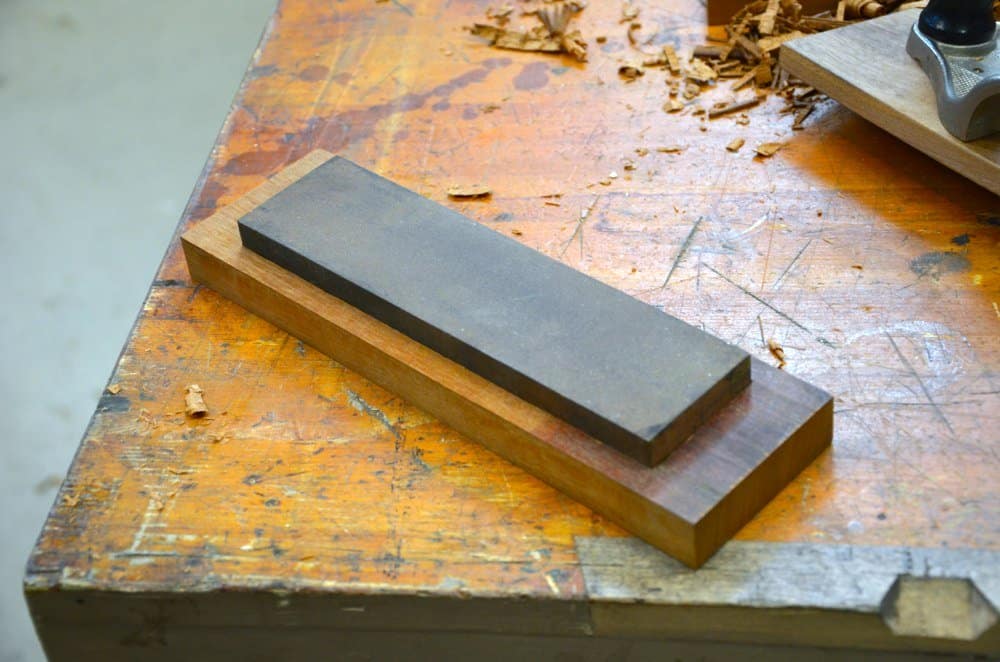
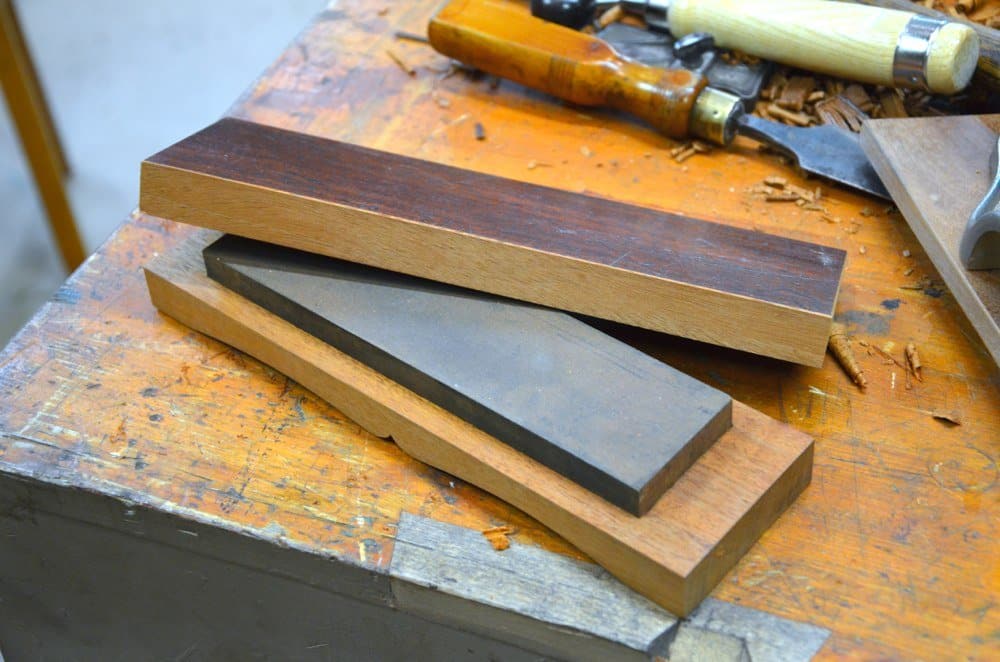
The stone is just under 1” thick.
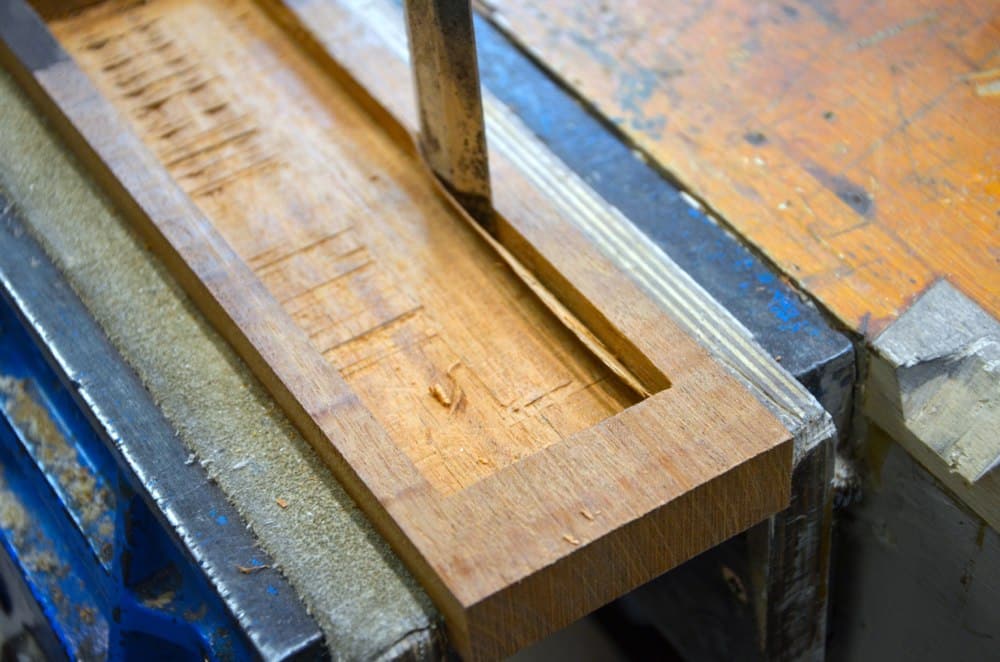
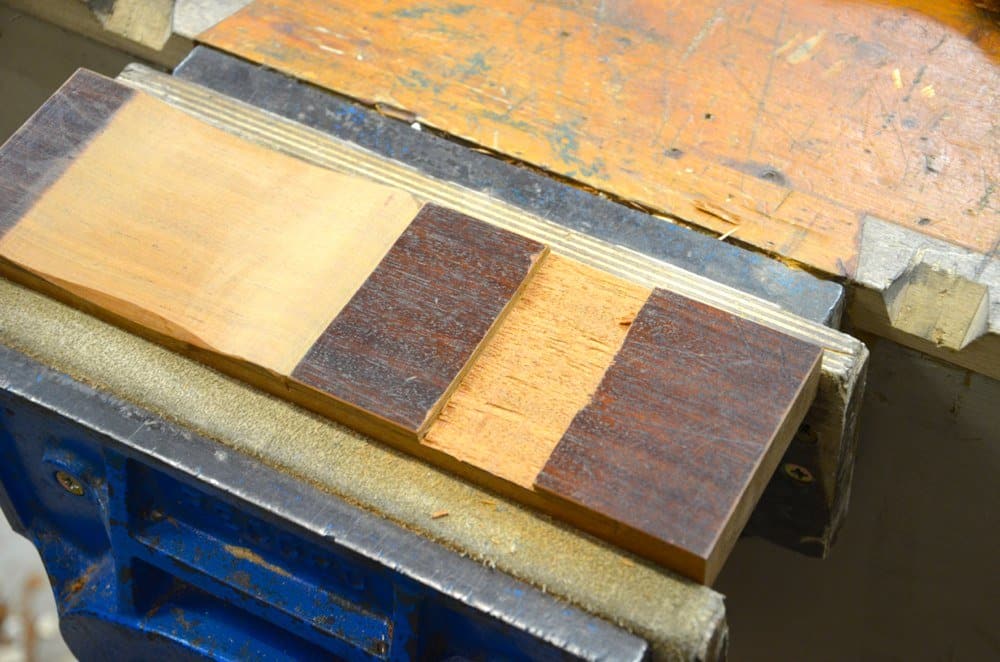
I pared the sides and ends until the stone fit snuggly in its new housing.

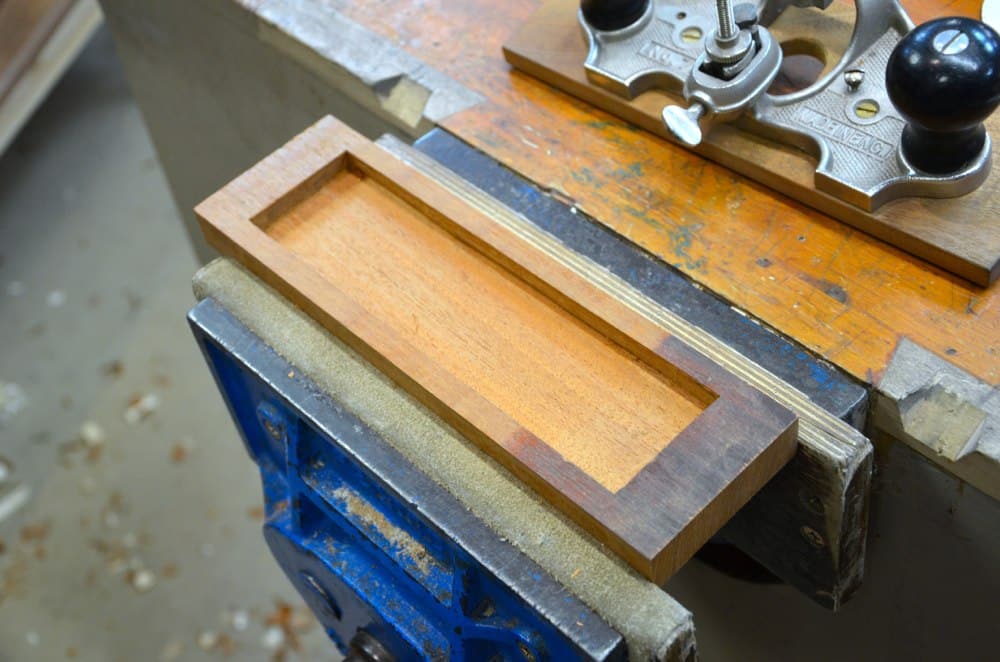
I fitted the stone snug and tight enough not to slip but easy enough to tap free.
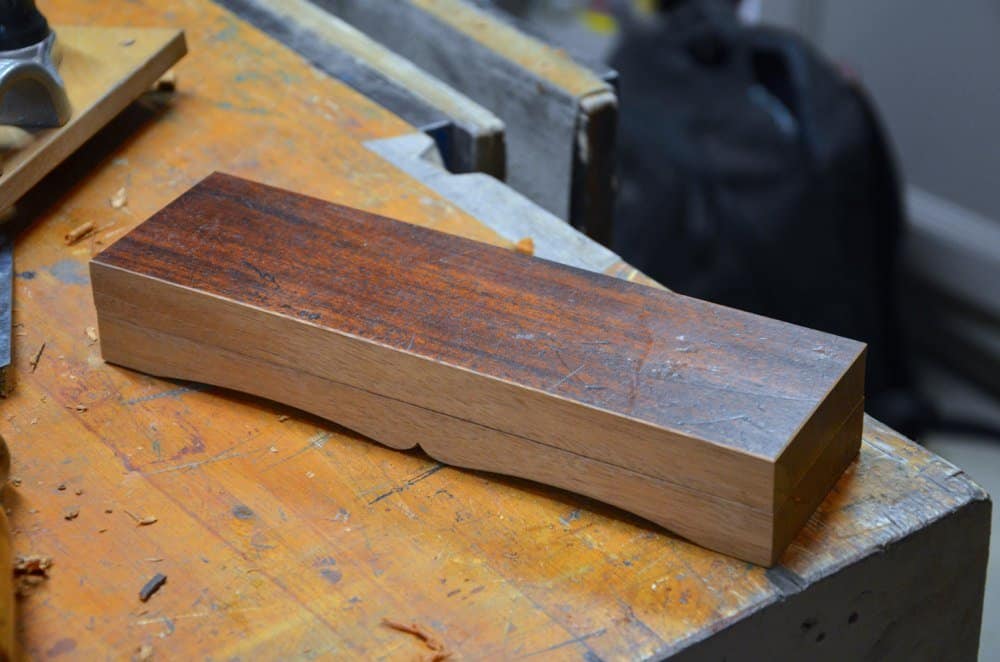
The underside has scallops to the midsection to allow the stone to kinda squat on the benchtop. Often they are shaped like the one here.
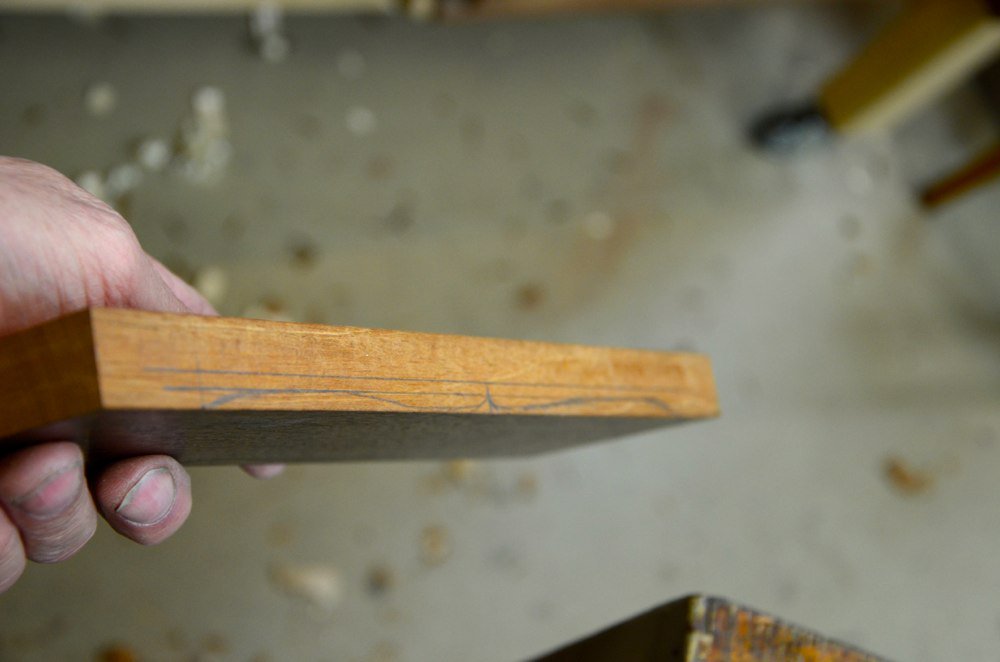
I pencilled a depth line to make certain not to go through the bottom and scribed lines to the shape I wanted. Pretty traditional.
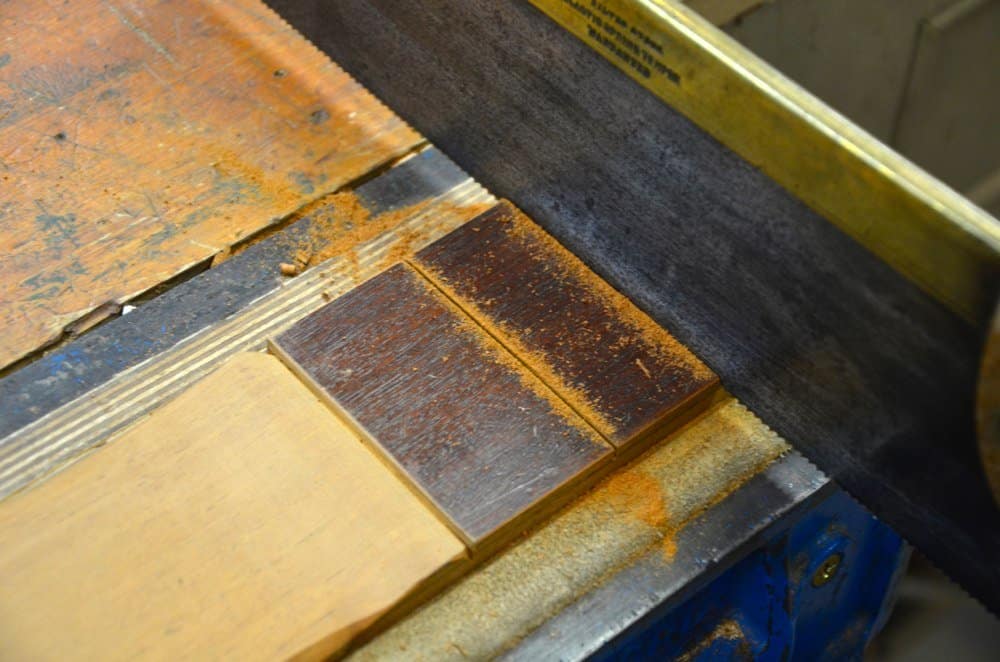
I used a tenon saw to cut either side of the middle of each half.
I stopped just shy of the depth line.
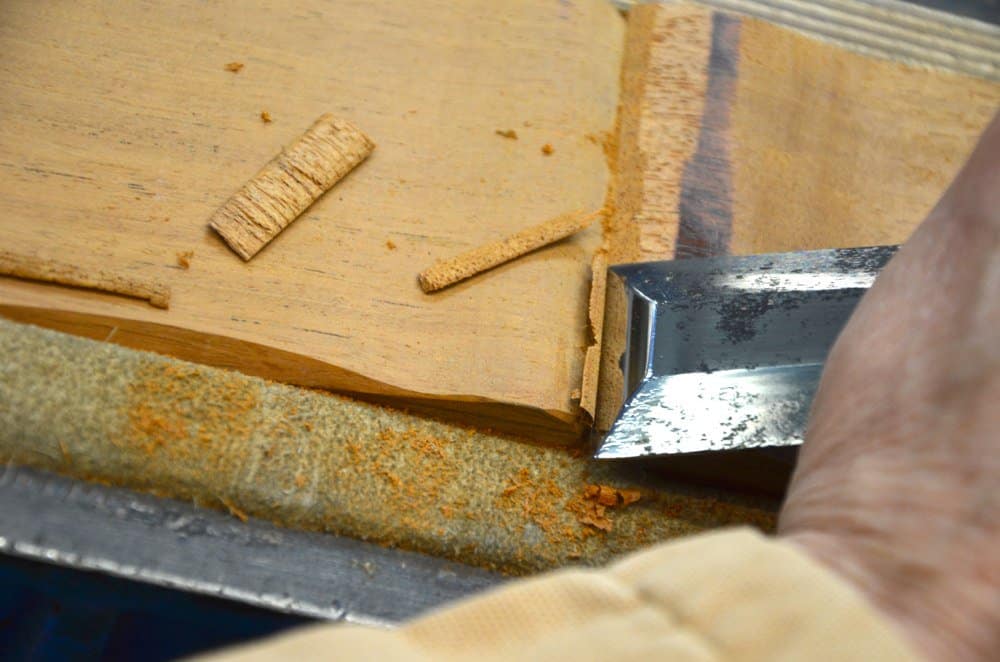
Then I went across with the hand router to remove the waste but I went down in shallow stages so as not to gouge but pare cut.
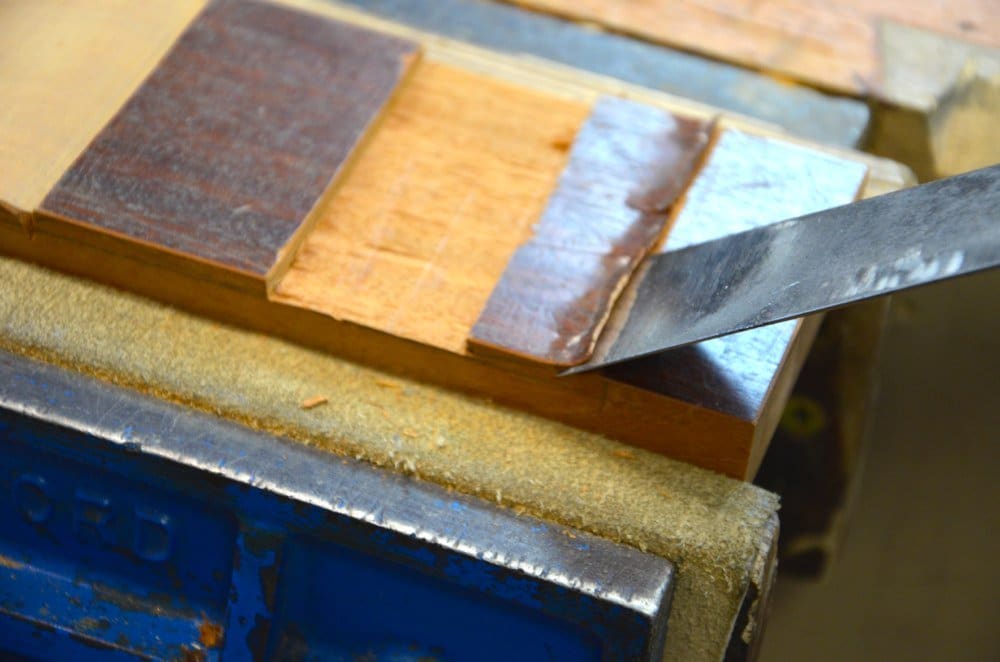
I used a chisel bevel down to scallop the ends.
I used a card scraper to clean up the transition.
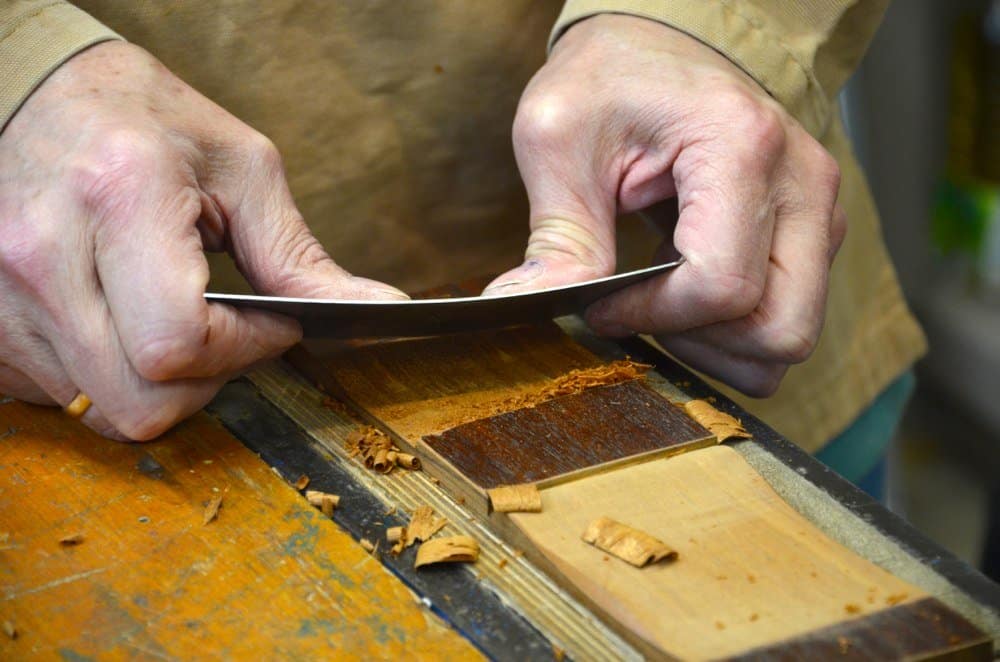
Once the main shaping was completed I used a spokeshave to emphasize the countered area.
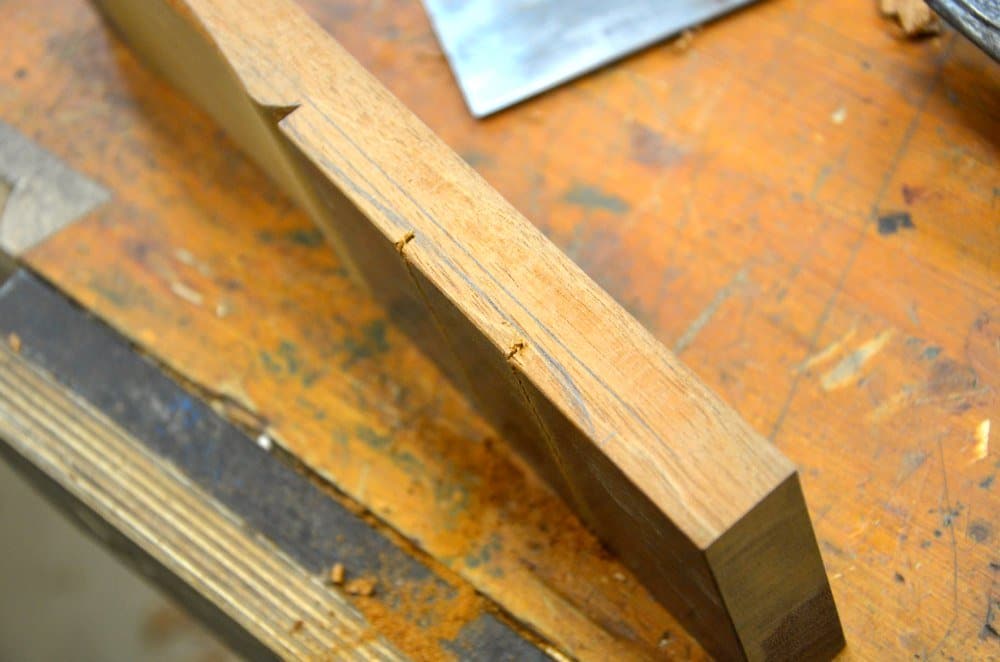
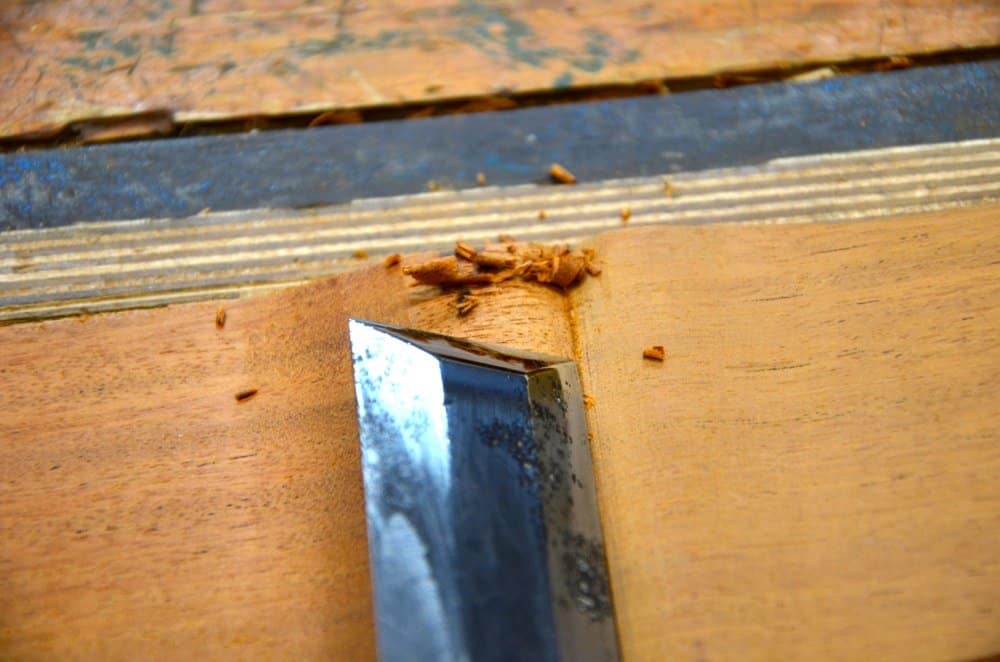
I chiseled a more incised cut to the centre section kerf.
The box lid goes through the same housing treatment.
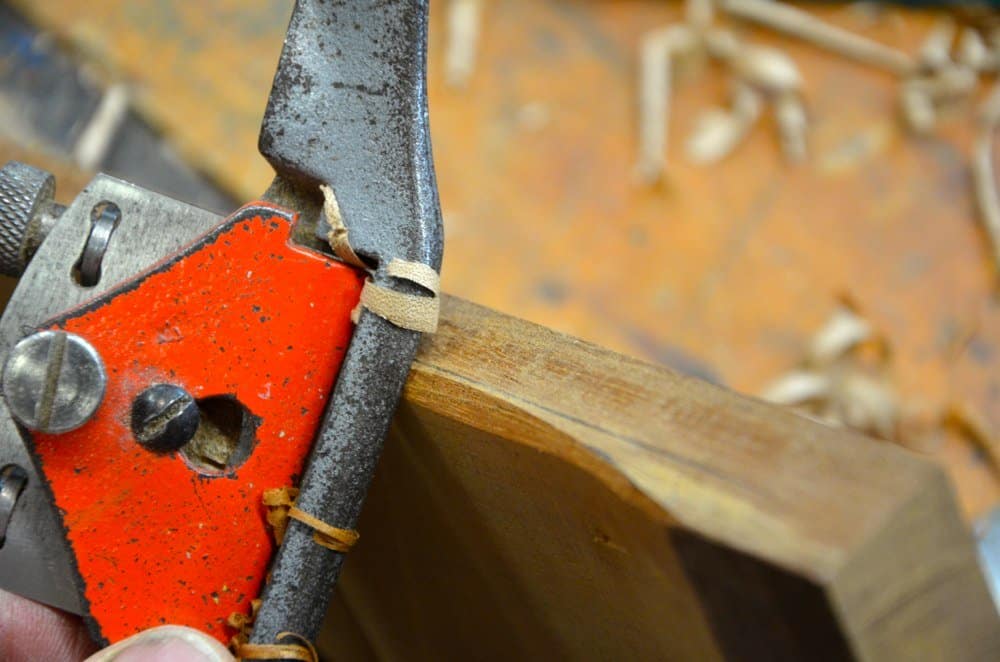
The majority might not like this but traditionally we drove to pins into one end of the stone box…
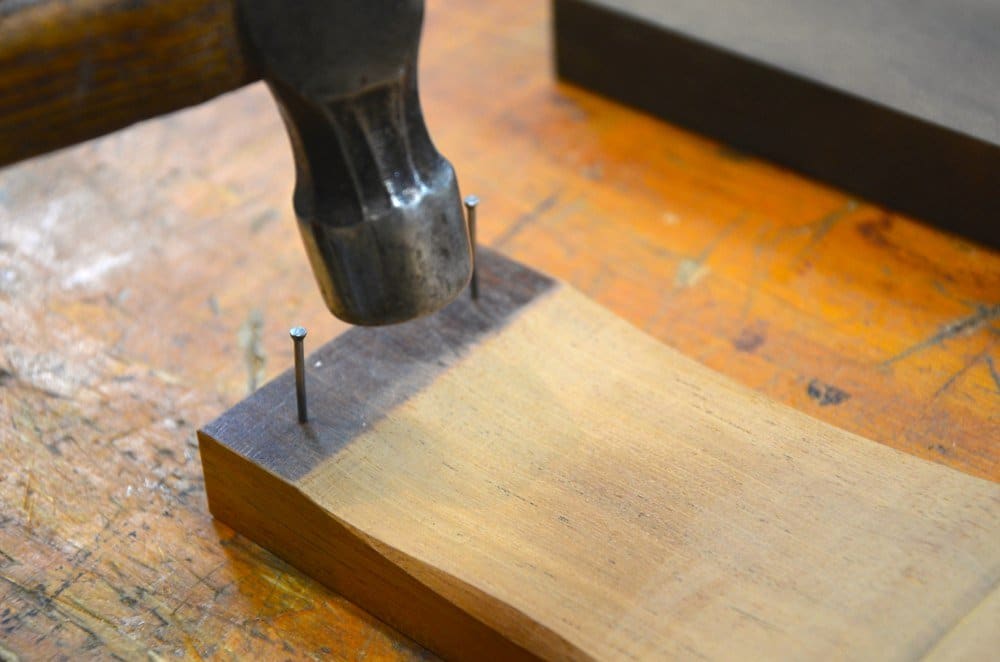
…and clipped them off wight the pliers.
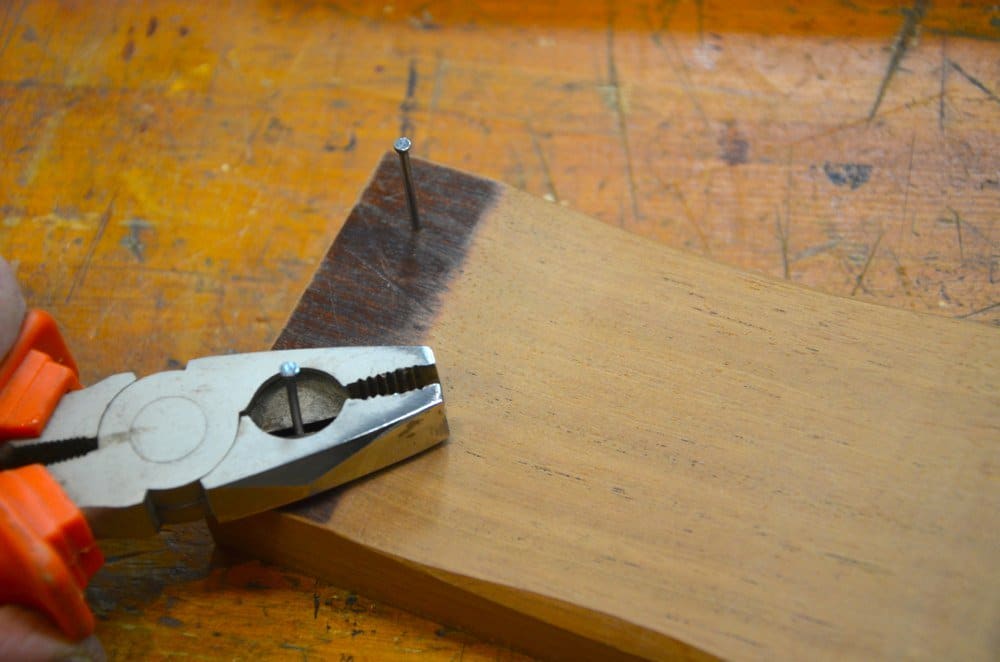
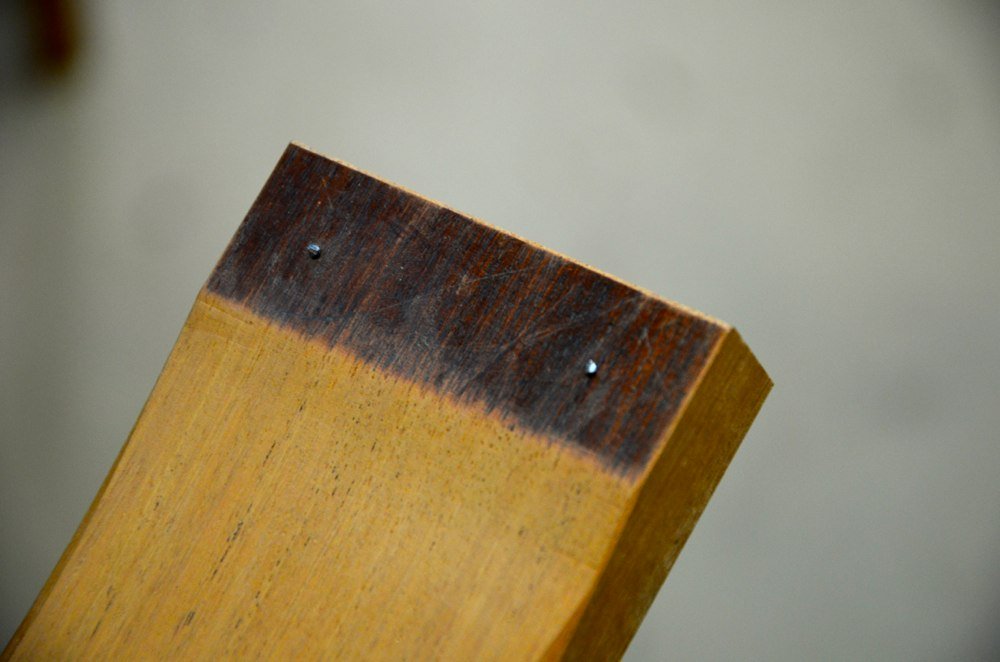
The remaining nubs barley protrude but these prevent the stone from slipping in use. It works well.

Beautiful.
Inspiring, as always Paul. My oilstones have lived together in a knocked together plywood box for many years, that looks ugly and home-made. Not at all craftsman-like. I must now remedy that! I have two stones in that box, one a combination India stone, and the other a slightly smaller and shallower fine black Arkansaw. I think it’s time they were divorced, and had smart boxes of their own?
I *just* made a set of these for my oilstones. Unfortunately, I’m going to have to redo them now because I look at yours and then I look at mine and then I look at yours and then I need new boxes that look like you made them and not me!
I’ve heard one shouild soak their oil stones in their preferred honing oil before using them and then let them sit in a puddle of it in the box when not using them. Most of mine came from garage sales so my honing oil is likely the first oil they’ve seen in 30 years, and I didn’t soak them, I just oiled profusely when I sharpened and if the stone soaked up the oil, I added more. It might be yet another myth to be busted, but how would that work with boxes like these?
The better quality stones are factory filled and then set aside to allow excesses to drain off before packaging and shipping out. More inexpensive stones are dry and that means they must be soaked in a light machine oil in a bucket. `whatever you saved n buying a cheaper stone is then lost in buying in the oil. It’s fine to oil profusely as you say, but the factory-filled stones need so little oil once filled I think its worth the extra.
I have now finished my box and will be posting more shortly. I coated the box with three coats of shellac and matched the colour of the old table as it was. Shellac isn’t affected by Three-in-1 oil, which is my preferred honing fluid, so `i can keep things clean with a quick rag-wipe.
Looks wonderful. Thanks for the quick tutorial. I’ve always admired the boxes that I’ve seen antique oilstones housed in. I’ll have to try making one.
I have an oilstone, but have stopped using it since I moved to diamond stones. Where would you still advocate the use of an oilstone?
Norton India stones work very well for removing steel fast. Because they surface fracture they constantly give a good cutting surface and get you to the cutting edge on the bevel fast. Oil works much better than water say on water stones because the oil stays in place because of its viscosity. I’m not debating the case for oil over water stones or these over diamond plates, just that they work without water baths and all you need is a can of Three-in-1 and a rag. Of course all stones become hollow but we don’t really need flat once we have polished all of the flat faces on our edge tools if we use the macro camber as I do. I am about to put up another blog on this tomorrow hopefully.
Paul,
Out of curiosity, if you just got stuck into this box with no distractions and worked at your normal pace, how quickly would you make it to this standard?
Thanks,
Jon
Maybe an hour and half.
simple but wonderful. Very nice and well explained as always.
pure poetry Thanks a lot !
Paul very nice job, I have and started out on oil stones and use them every so often. This is another project I need to do to store them properly. Would pine work ??? Also I am a confused about the nail heads, how they work etc. obviously for what ever reason I am not seeing the purpose would you mind explaining again, sorry not trying to be a pain here as I enjoy everything you do and share.
Steve
The ends of the beheaded pins protrude about 1/32″ and stick to the bench top. It really works amazingly and you really don’t end up with a torn up bench top at all although I would say that owners of more prissy benches won’t like this a bit. As far as I can recall, every bench joiner I ever saw in the “old days” used this manner to secure their stone in use, and the reason is it is quick and effective and back then workbenches were workbenches.
Paul thank you, I now understand and it makes good sense.
Steve
What an elegantly but simple little project. I’m going through my odds and ends of wood tomorrow as I have several stones and a fine ceramic plate that need homes. I’m tired of chasing them around the bench.
My box has been slipping for years and i’ve never thought of the nails tricks… thanks!
I made your elegant oilstone box this weekend and stuck leather on the top side with double sided tape which is now the strop. It’s an elegant convenient all-in one sharpening kit and I think I have resharpened all my few tools again. As a precaution I strop with the cover on the box to protect the stone from the wax compound. It’s not a perfect job but I am delighted with it and prefer it as a sharpening method. Thanks a million Paul, your blogs are all deeply appreciated.
I made an oilstone box recently (the oilstone cost 10p or 20p in the local charity shop), although I would not call mine elegant! 😀 I made the box from an old piece of solid-wood floor board (I remember the houses in question being built, so it would have been installed 40+ years ago but there is not much sign of wear). I left the bottom grooves of the modern floorboards in place as I needed the full thickness and just face them towards each other, with the shiny, finished faces outwards.
I used a large Forstner bit (carboot find) to remove the bulk of the holes, a 3/4″ chisel to clean up the edges and a “poor man’s router plane” with 1/4″ chisel to level the bottoms (it got them flat enough but not smooth). I added 8 small, cheap, powerful “rare earth” magnets (~5mm diameter & depth) and added them to top and bottom to provide a strong hold – they work very well. Was hoping that 2 magnets + tacks or 4 magnets would dbe enough but found than 8 magnetic (4 top, matched to 4 bottom, with reversals to prevent top being place on wrong way round as its not perfectly symmetrical) worked better. It wouldn’t win any prizes but I am “as pleased as punch” with it. I added pins (cut of nails) to the bottom too – copying the idea from an old oilstone & box I bought last year.
I have 3 oilstones, inherited from my Dad, and bought at second hand stalls. They are all in wooden bases, though one is in poor condition, but they have all lost their lids.
I’m in the process of cleaning up the stones, and making new lids & boxes as required
Woodworking is a fairly minor interest, but I also need to sharpen my leatherworking knives. My main hobby is making model aeroplanes, so my bench top is laminated plastic
I use the pin method to prevent the stones from moving, but to avoid scratching the plastic I use a bench hook; so it’s actually a belt & braces affair
All the bases for these stones are just plain & flat; I’ll leave them like that, and also the new one I will be making
A few months ago I treated myself to 3 rather expensive diamond stones. They do the job, and produce a very good cutting edge, but somehow I can’t take to them; I prefer the oilstones. Hence the renovation