Repeatable, Scaleable Dovetails From a Single Layout
I developed this strategy to give me repeat cuts from a single guide and I can slide up or down the guide to give me different sizes of dovetails within fractions of a millimetre if I want an alternative size from as little as half a millimetre on half pins with 1 mm on full pins to 12mm for half pins and 24mm for the full pins. The neat trick in this guide is you can have any size you want by a simple split-second realignment yet you never have to layout for any change of sizing you make again. It’s my own invention but it’s free for you to use whenever you want to. I can make the guide in five minutes and you can watch the video here and then follow the guide below to make yours if you prefer.
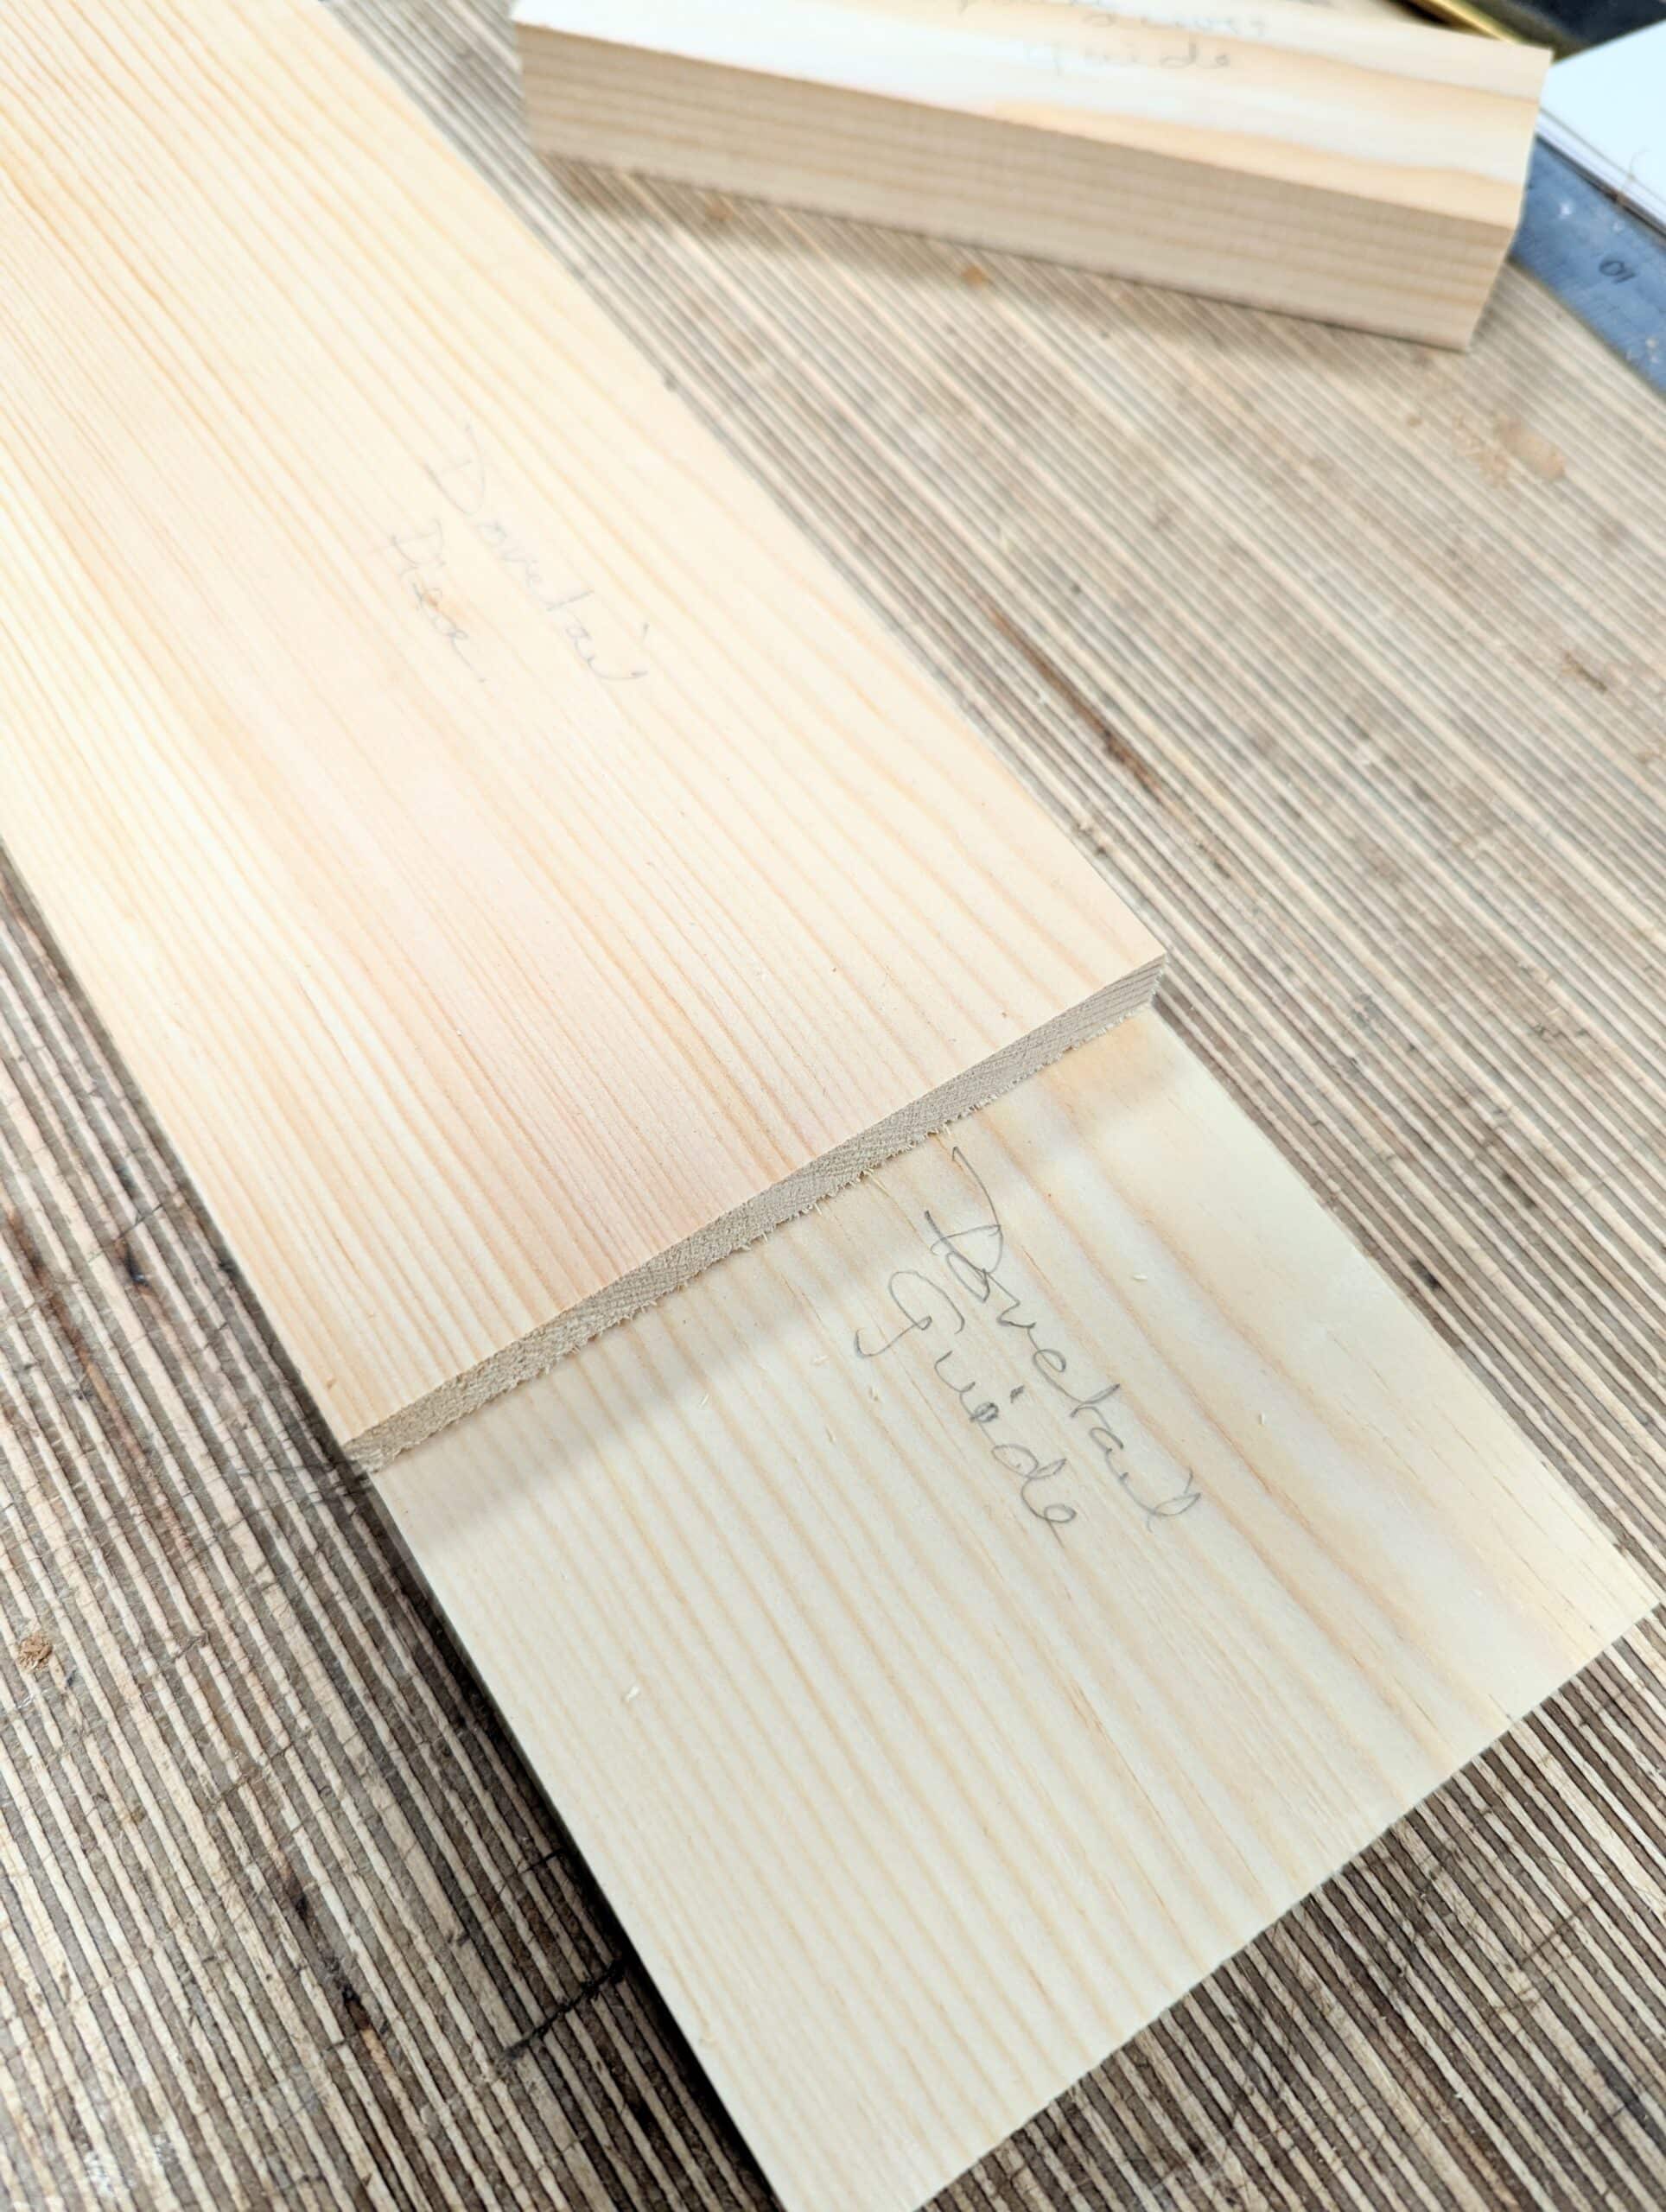
Explanation first: The guide you make can have as many dovetails as is practicable for you and you can make the guide as wide and for as many dovetails as you want according to that size of width. I will assume you will practice with me as you follow so I start with three pieces of wood. One piece is the piece I will present as say a drawer or box side. The second piece will be the final guide and the third piece is the sacrificial piece we will discard after the guide is made as we will not need this again. The square-across guide is 6″ long x 2″ wide x 3/4″ thick. Any near size will work. The Dovetail guide is 8″ long x 4″ wide x 3/4″ thick. The width size is arbitrary but usually, it will correspond to the size of drawer or box you will make. The third piece is your pretend drawer side or box side; this is whatever length you want or your drawer side length so in this case I’ll say 10″ by 4″ wide by 1/2′ thick.

In the image, I have marked the pieces of wood to show what each piece is for.
In my case, I used 4″ wide wood or 102mm. If you want five dovetails divide the width by five. In my case, I want three so I divide 102mm by three and get my 34mm division for three dovetails totalling 102mm.
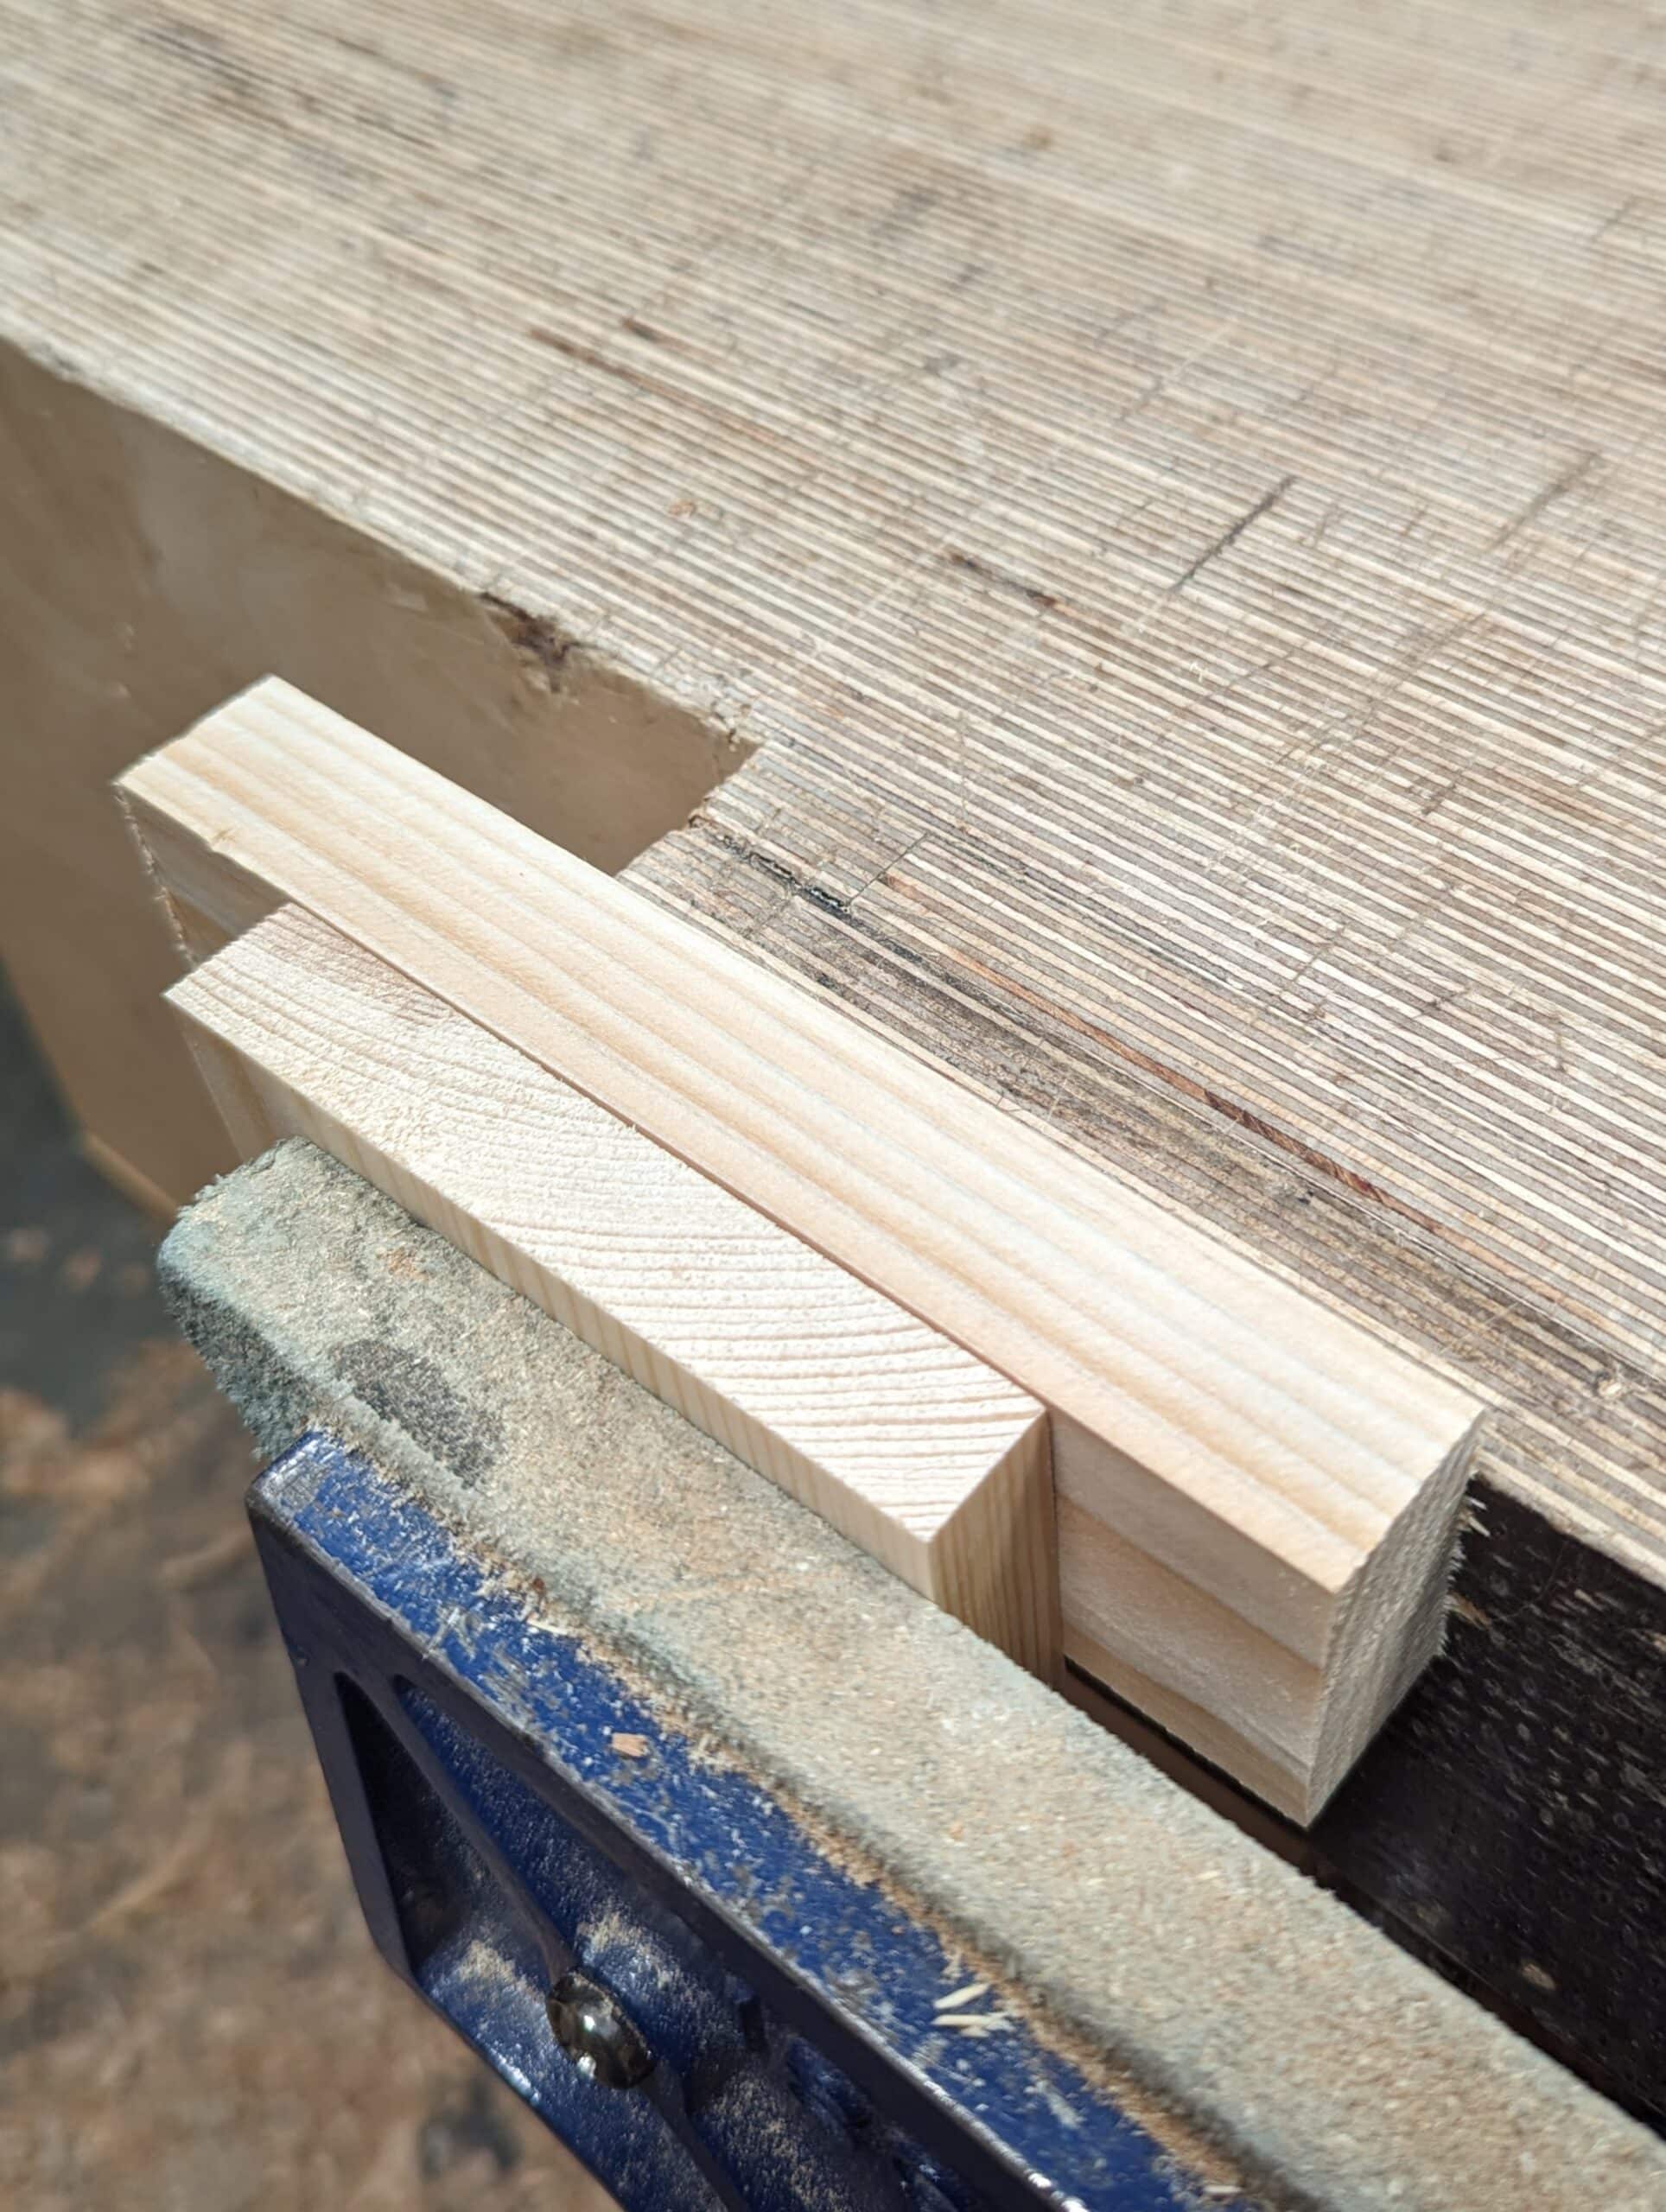
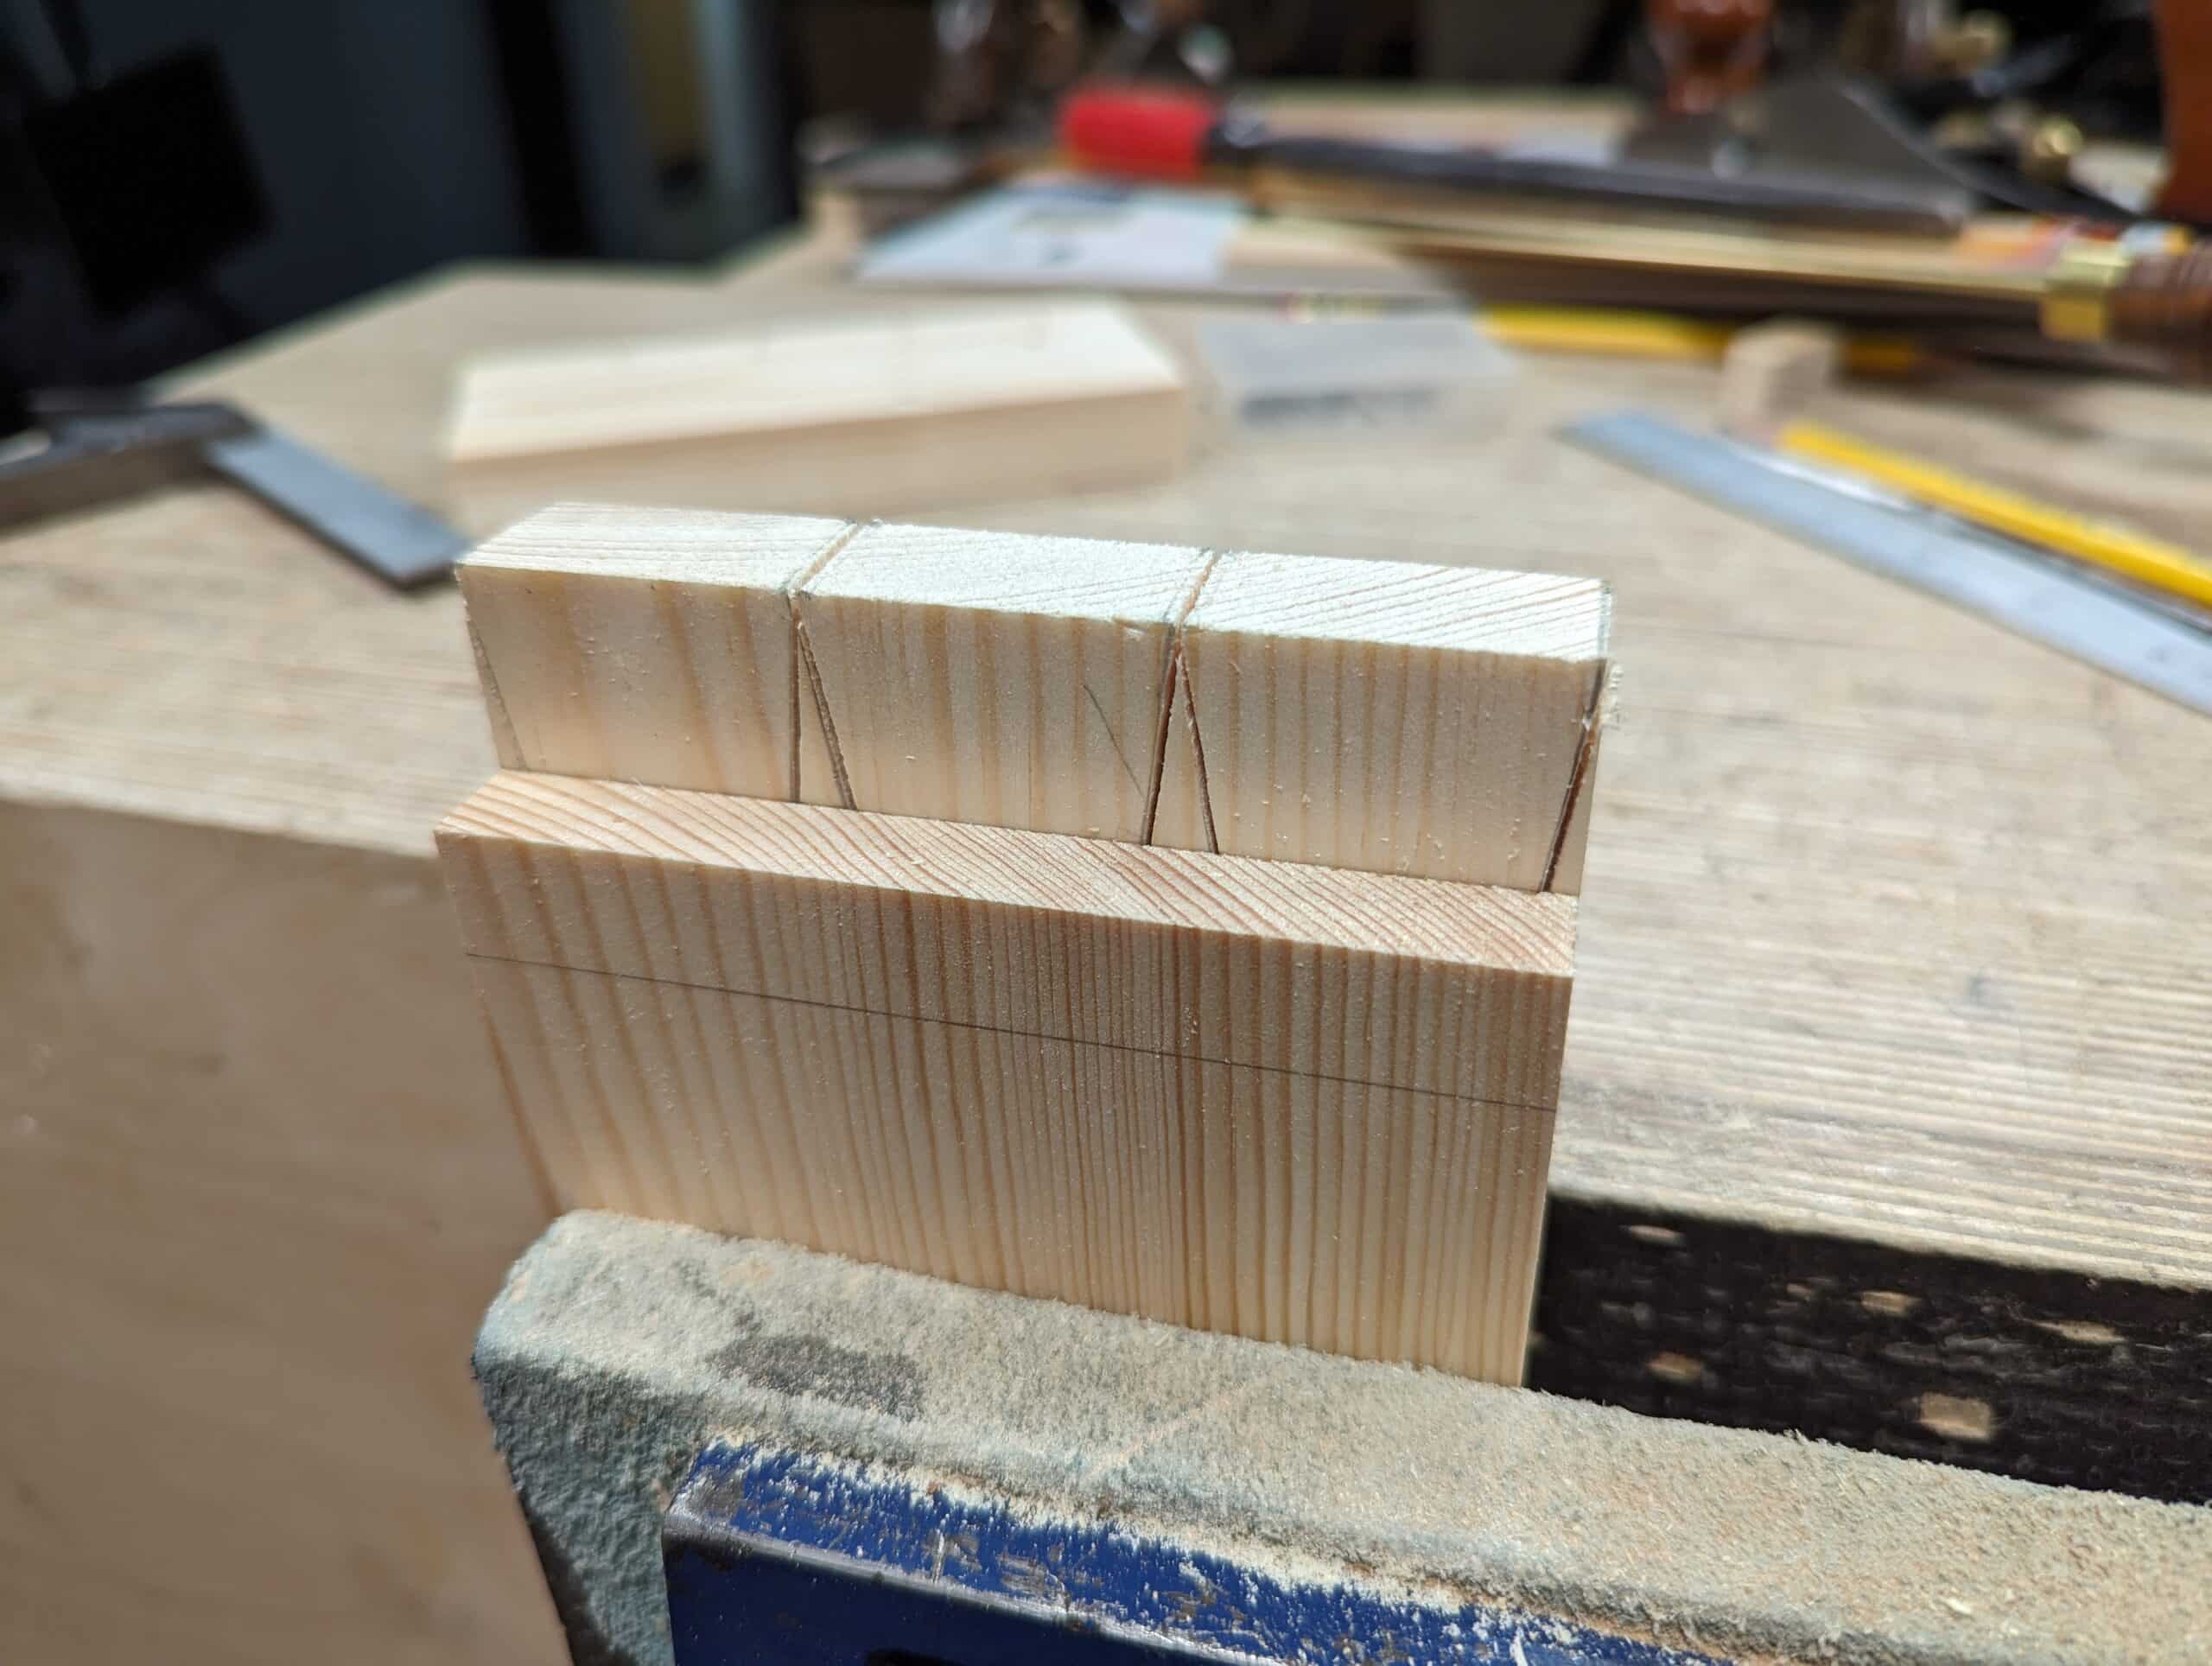
I clamped my two pieces into the vise level with one another. The sacrificial square-across piece is at the back.

I divided my wood equally into three for three dovetails. Had I wanted two I would divide by two or if I wanted five, divide by five.

The knifewall gets you dead square with no discrepancy. Follow this and you will have a good guide emerging.

With the knifewall as your guide, saw across dead onto each knifewall.
Use the dovetail guide or a sliding bevel set to a 1:7 ratio for laying out the guidelines on the guide piece.

This is to show centralising the saw kerfs on the position lines as near as possible. These kerfs will guide the square-across cuts. From this point your saw will be square and you can focus on the angled cuts alone.

With the square-across saw kerfs in place, angle the saw to follow the pencilled guidelines.

Extend the depth of the cuts in the guide further as needed.

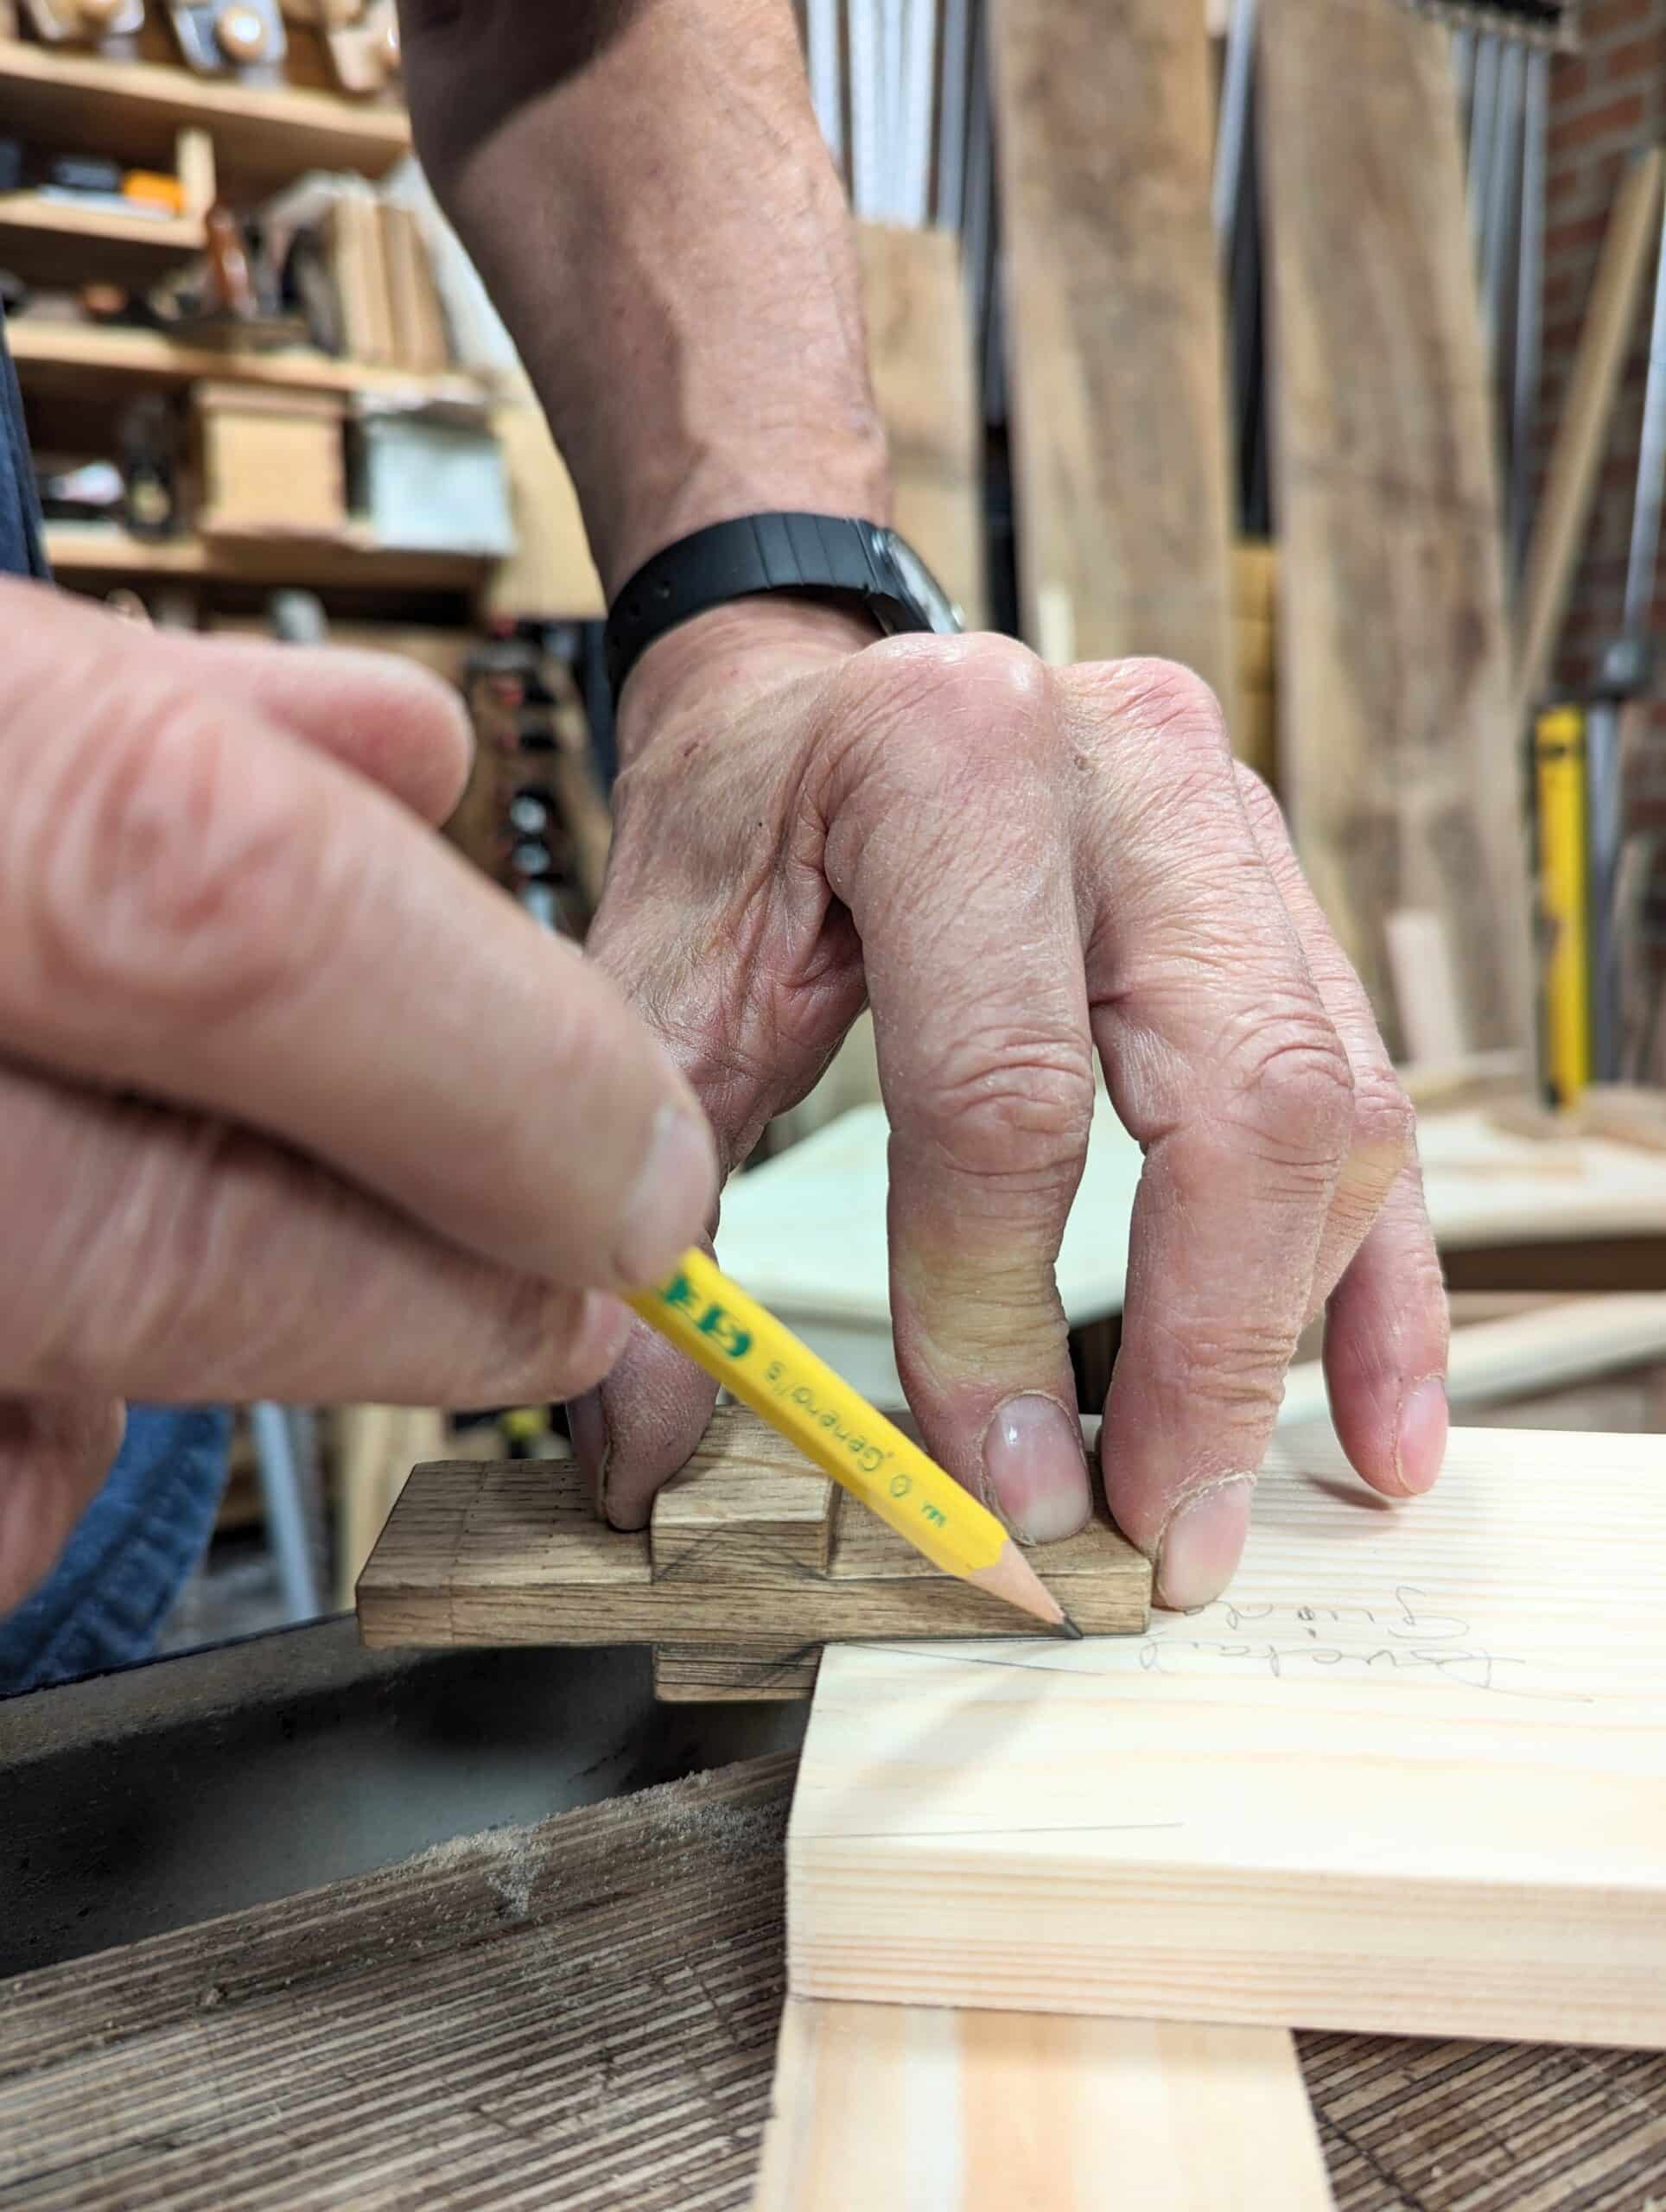
Marking for the 1/4″ pins. This mark is squared across and will be used to align the end of the dovetail side piece to the guide.

Marking for the across-line for half-inch pins.
Marking the position for the 3/4″ depth mark for aligning the workpiece to.

Showing 3/4″ positioning with 3/8″ outer half pins.

Quarter-inch pin position.

Half-inch pin position.

This is for the 5/8″ pins . . .

. . . and sliding further down the guide gives you a wider dovetail size. in this case, it is 3/4″ for the pins between and 3/8″ for the outer half pins.

The squared across line comes from the width of the adjacent pin piece you will use be that the same width or thicker or thinner.
Align the end of the workpiece with the distance line according to the width of the dovetails you want. In this case, I went for the 1/4″ pins with half pins of 1/8″ on the outer edges.

The guide streamlines the saw in the cut and all you have to do is follow the path of least resistance. So nice!

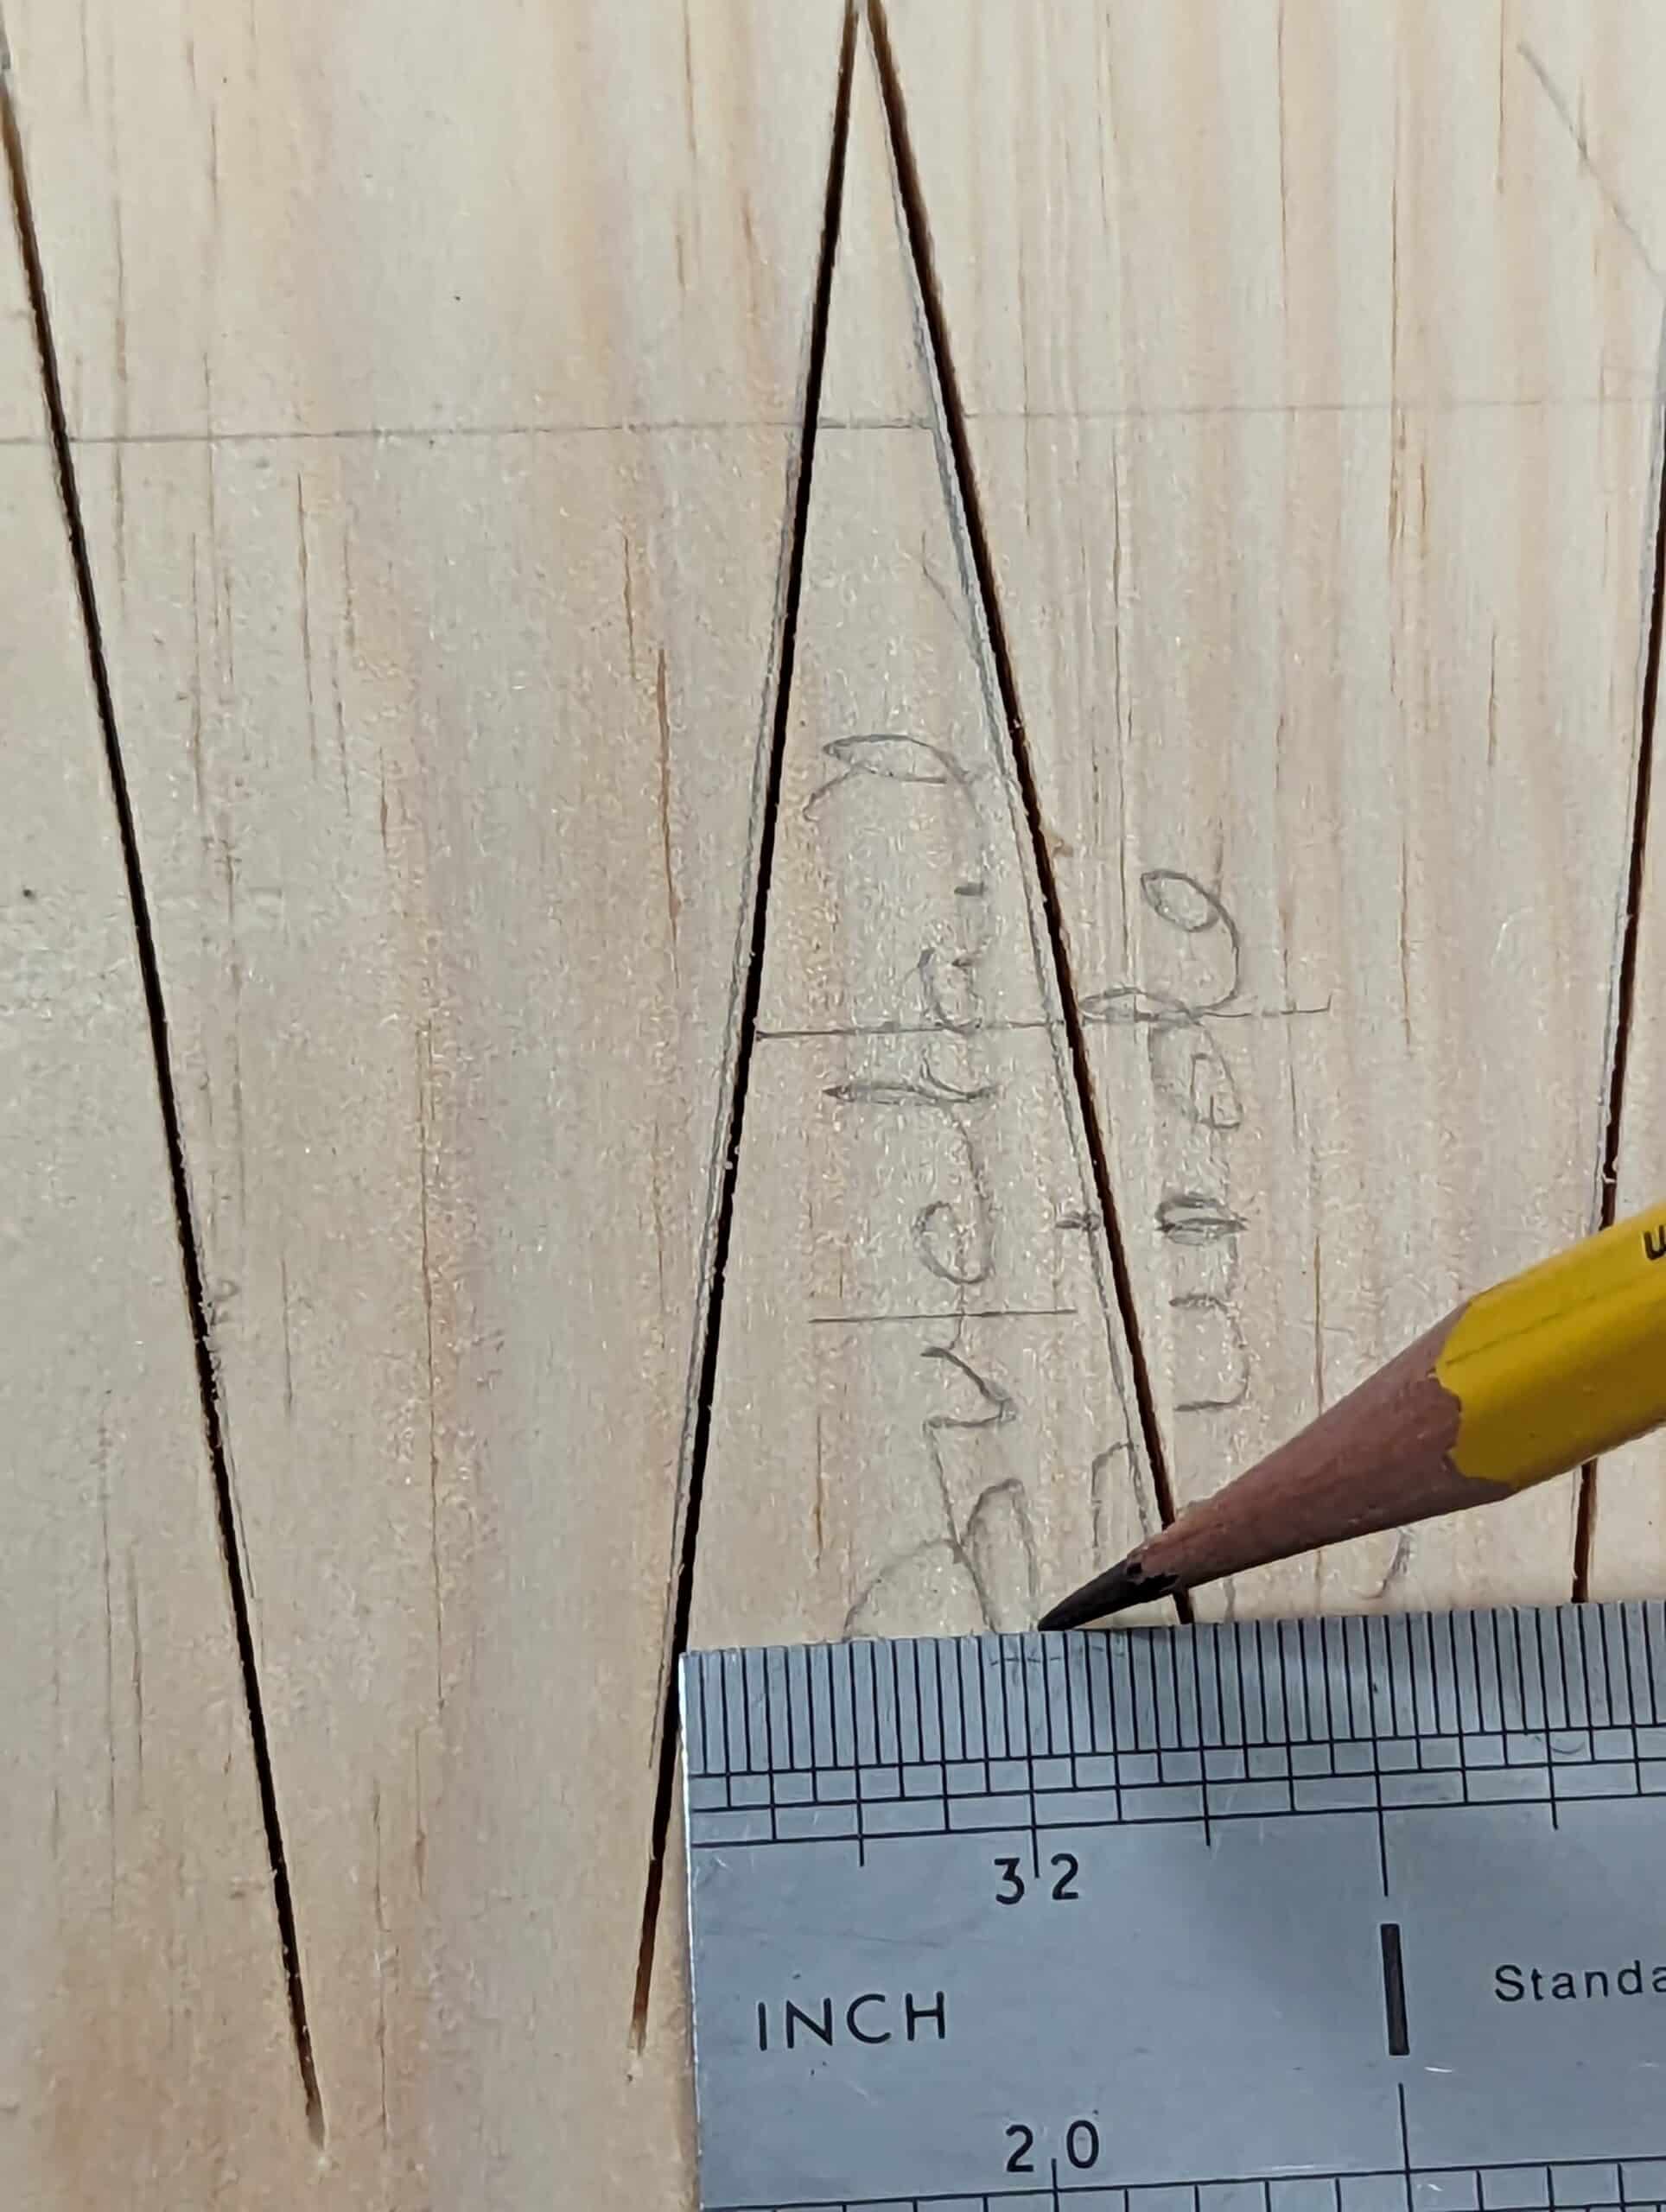
Here are the cuts straight off the saw. They are crisp and clean and as near perfect as they get.

It works really well with Western saws because there is zero of the flex associated with pull-stroke saws. This also preserves the cuts in the guide for future use so I think I could get about a hundred dovetails off the one guide. Also, worth doing, why not make three or four guides from this one when it is so brand new?

The face cuts are clean and good to look at and show none of the waverings you might often get from normal saw cutting.

The outcut is as good as the incut because the inside face is supported wholly by the guide itself acting as a backer board too. So, there you go!
Gotta say Paul, this could be very handy come holiday time when I want to make multiple boxes efficiently. Save the template and reuse each year. Thanks.
Mon./September
.2023-09-25,
@.1433Hhr’s.
Sir. Paul Sellers,
Thank you, for so many of your “Free YouTube Videos” on Professional Woodworking Skills, Techniques, and Good habits. The thoughtfulness, in offering/displaying Measurements in Inches, and Metrics, helps give people visual learning ability/skills. You, & your Staff/Team, have immaculate Editing Skills.
Well thought out, Planned, and executed. Your Teaching Skills are unique.
Sir Paul Sellers, “You are a Global Pillar in the YouTube Woodworking Community.”
On behalf of, “We The People,” I thank you for the “Free Woodworking Tutorial (YouTube) video’s.
Again, thank you for Serving.
Truly,
Hi, Mr sellers.
I would like to make a sugestion for a new video, how to work with different sizes of stocks in your workbench. I made the workbench from your youtube videos and I have issues working with stocks wich doesn’t fits in the vice.
Thanks for your knowledge and sorry for my english!
Paul, do you have any tricks for pins? That’s usually where I have problems. Thanks!!
me too! can’t seem to get it right in terms of judging how much of the pencil line to saw into without things being too tight or gappy
It’s simpler than you might think. A sharp pencil gets you tight into the corner and I mean sharp. That being so, cutting by any degree into the line automatically makes the opening or recess too big. Leave the whole of the pencil line in and your dovetails will be an exact fit.
Elegant solutions always look so simple, once well thought out and well explained.
Excellent idea….Thank you for sharing Paul.
Just getting started and I must say I love your video guides. Not only do you make it look easy, but it is an infectious love of woodworking that comes over in every aspect of what you are doing and that is so fun to see.
Thank you !
Hi Paul. I’d be interested to know how you’d recommend people to use this system and make a transition to freehand sawing? I’m guessing you wouldn’t use this yourself in practice because you have the eye and the muscle memory to cut clean without the need of a guide. Would you say that people starting out should think about using this guide until they have effectively ‘got their eye in’ and then start to freehand, or have I misunderstood and you are suggesting use of this system as standard good practice?
It’s a bit like the similar sharpening up question. I try and do it free hand as you show. But I get slightly better results using a jig – my eye isn’t in yet! But I don’t want to just rely on a jig as I won’t learn the free hand that way!
This system is a better choice I guess than the sharpening jig though, as it will help get the muscle memory right for freehand cutting even while using a jig.
Well, actually I would. But as it is with many things, because I do have the skills you speak of, I can flit between one or the other. This is likely to help you to establish patterns and rhythms in sync with muscle memory but its intended use is to establish a better pace to work at without interruption for laying out or transferring marks. It is also to show how we can indeed use guides for our tools when we have replication on a regular basis. The flaw comes when someone fails to develop the skill and eye for accuracy freehand working–like using a hining guide every time you sharpen and not developing self-reliance.
Thank you Paul. I will give this a go in my next project.
I’m thinking about a second chest of drawers, and this would definitely help. Its simplicity reminds me of the Poor Man’s miter “box” which I have used with much success. Thank you for that too.
Paul & Company
This jig should improve my dovetail joints by 1/3. This being the ability to take out square and straight cuts of the tails. Now I’m going to build one and give a bit of thought to making for Pins using this type of system then I’ll have another 1/3 improvement. the last third will be totally me cutting the floors (?) of the sets.
thank you.
The guide is exactly that. It leads the saw by the plate and no cut takes place in the kerf of the guide. Drop the saw into the kerf and with a light hand the saw follows the guide. In actuality, all of the dovetails you make on your box will indeed be interchangeable provided you cut your recesses to receive them accurately. There really will be no value in a counterpart guide and that may well destroy the real value of what is presented. YOU need to master dovetailing and cutting the recesses to the line will give you that mastery without creating a substitute for skill.
The most important element to my suggestions is to spend the few minutes it takes to experience for yourself how and why it works. Looking at the video and taking out my explanation time this guide took my only five minutes or less to make it once I had my wood together. I took down a commenter answering to this because it wasn’t based on experience and gave an erroneous answer based only on opinion. This guide works like no other. It isn’t only economising on layout time. Imagine being able to make you next hundred boxes from the same guide and all of the four hundred dovetail pieces slotting in interchangeably!
Many thanks Paul. I will try this on my next project.
Thanks, Paul. Great idea.
Just wondering why the backerboard is horizontal. An identical vertical backer would yield a completed tail board end.
A very useful post.
I will leave you to find out by trying and letting me know why it didn’t work, Daniel!!!
I’m not being mean or condescending, just that by doing we learn so very much more and understand more truly, I think.
Paul, I really love these posts. I just acquired an old Sargent no. 42 scraper plane, and I don’t know much about setting them up. I’m not even sure which direction the bevel goes! Do you have any insight on these?
This would work really well for drawers, and I’ll definitely be making one the next time I do some. I’m reasonably proficient at dovetails and sawing generally, but this would certainly give a consistency I couldn’t match. I’d maybe quickly screw in a plywood-scrap side fence to the guide, so I can just shunt my piece up against it without too much thought. I find that with my shaky hands, aligning in two directions seems to take me longer than it should, so a fence would mean only getting the depth line right! A fantastic, quick jig. Thanks Paul.