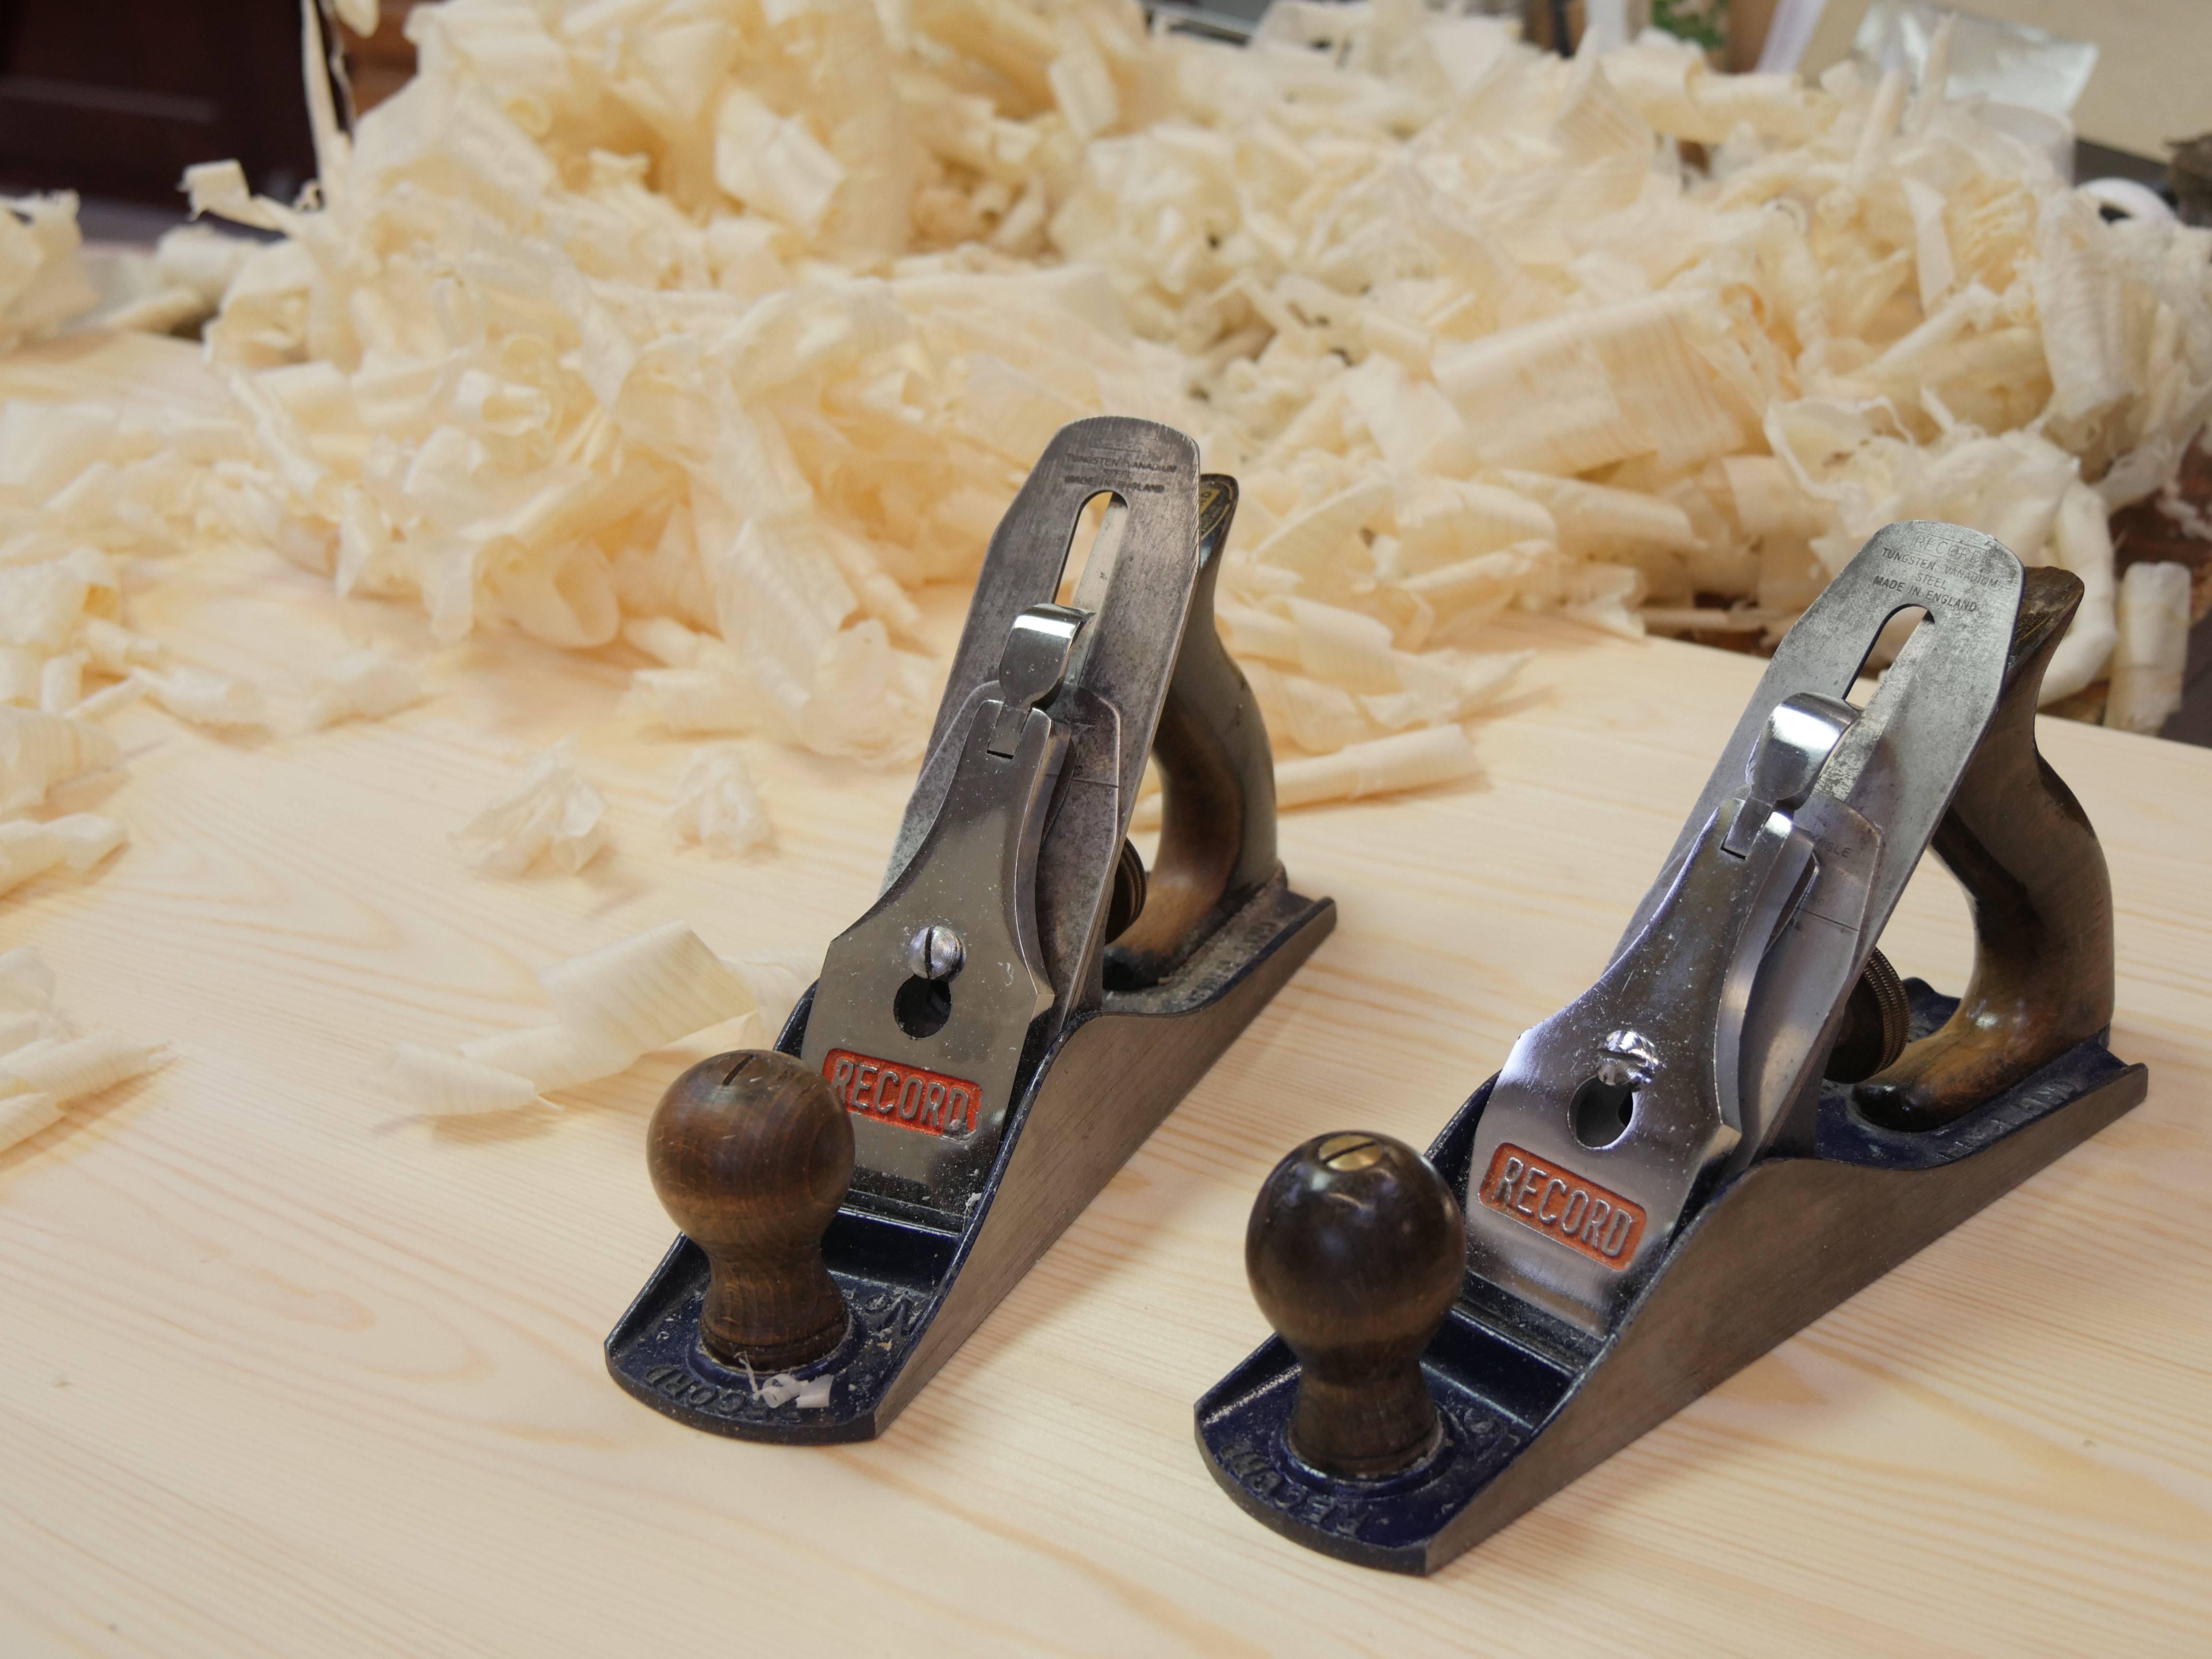
Why I Use Two Planes
For more information on planes, see our beginner site Common Woodworking.
My reasoning goes like this
This system works well for me. It is a luxury in some measure perhaps, but it is more for economy than anything else. I do the same with one or two of my other plane types too.
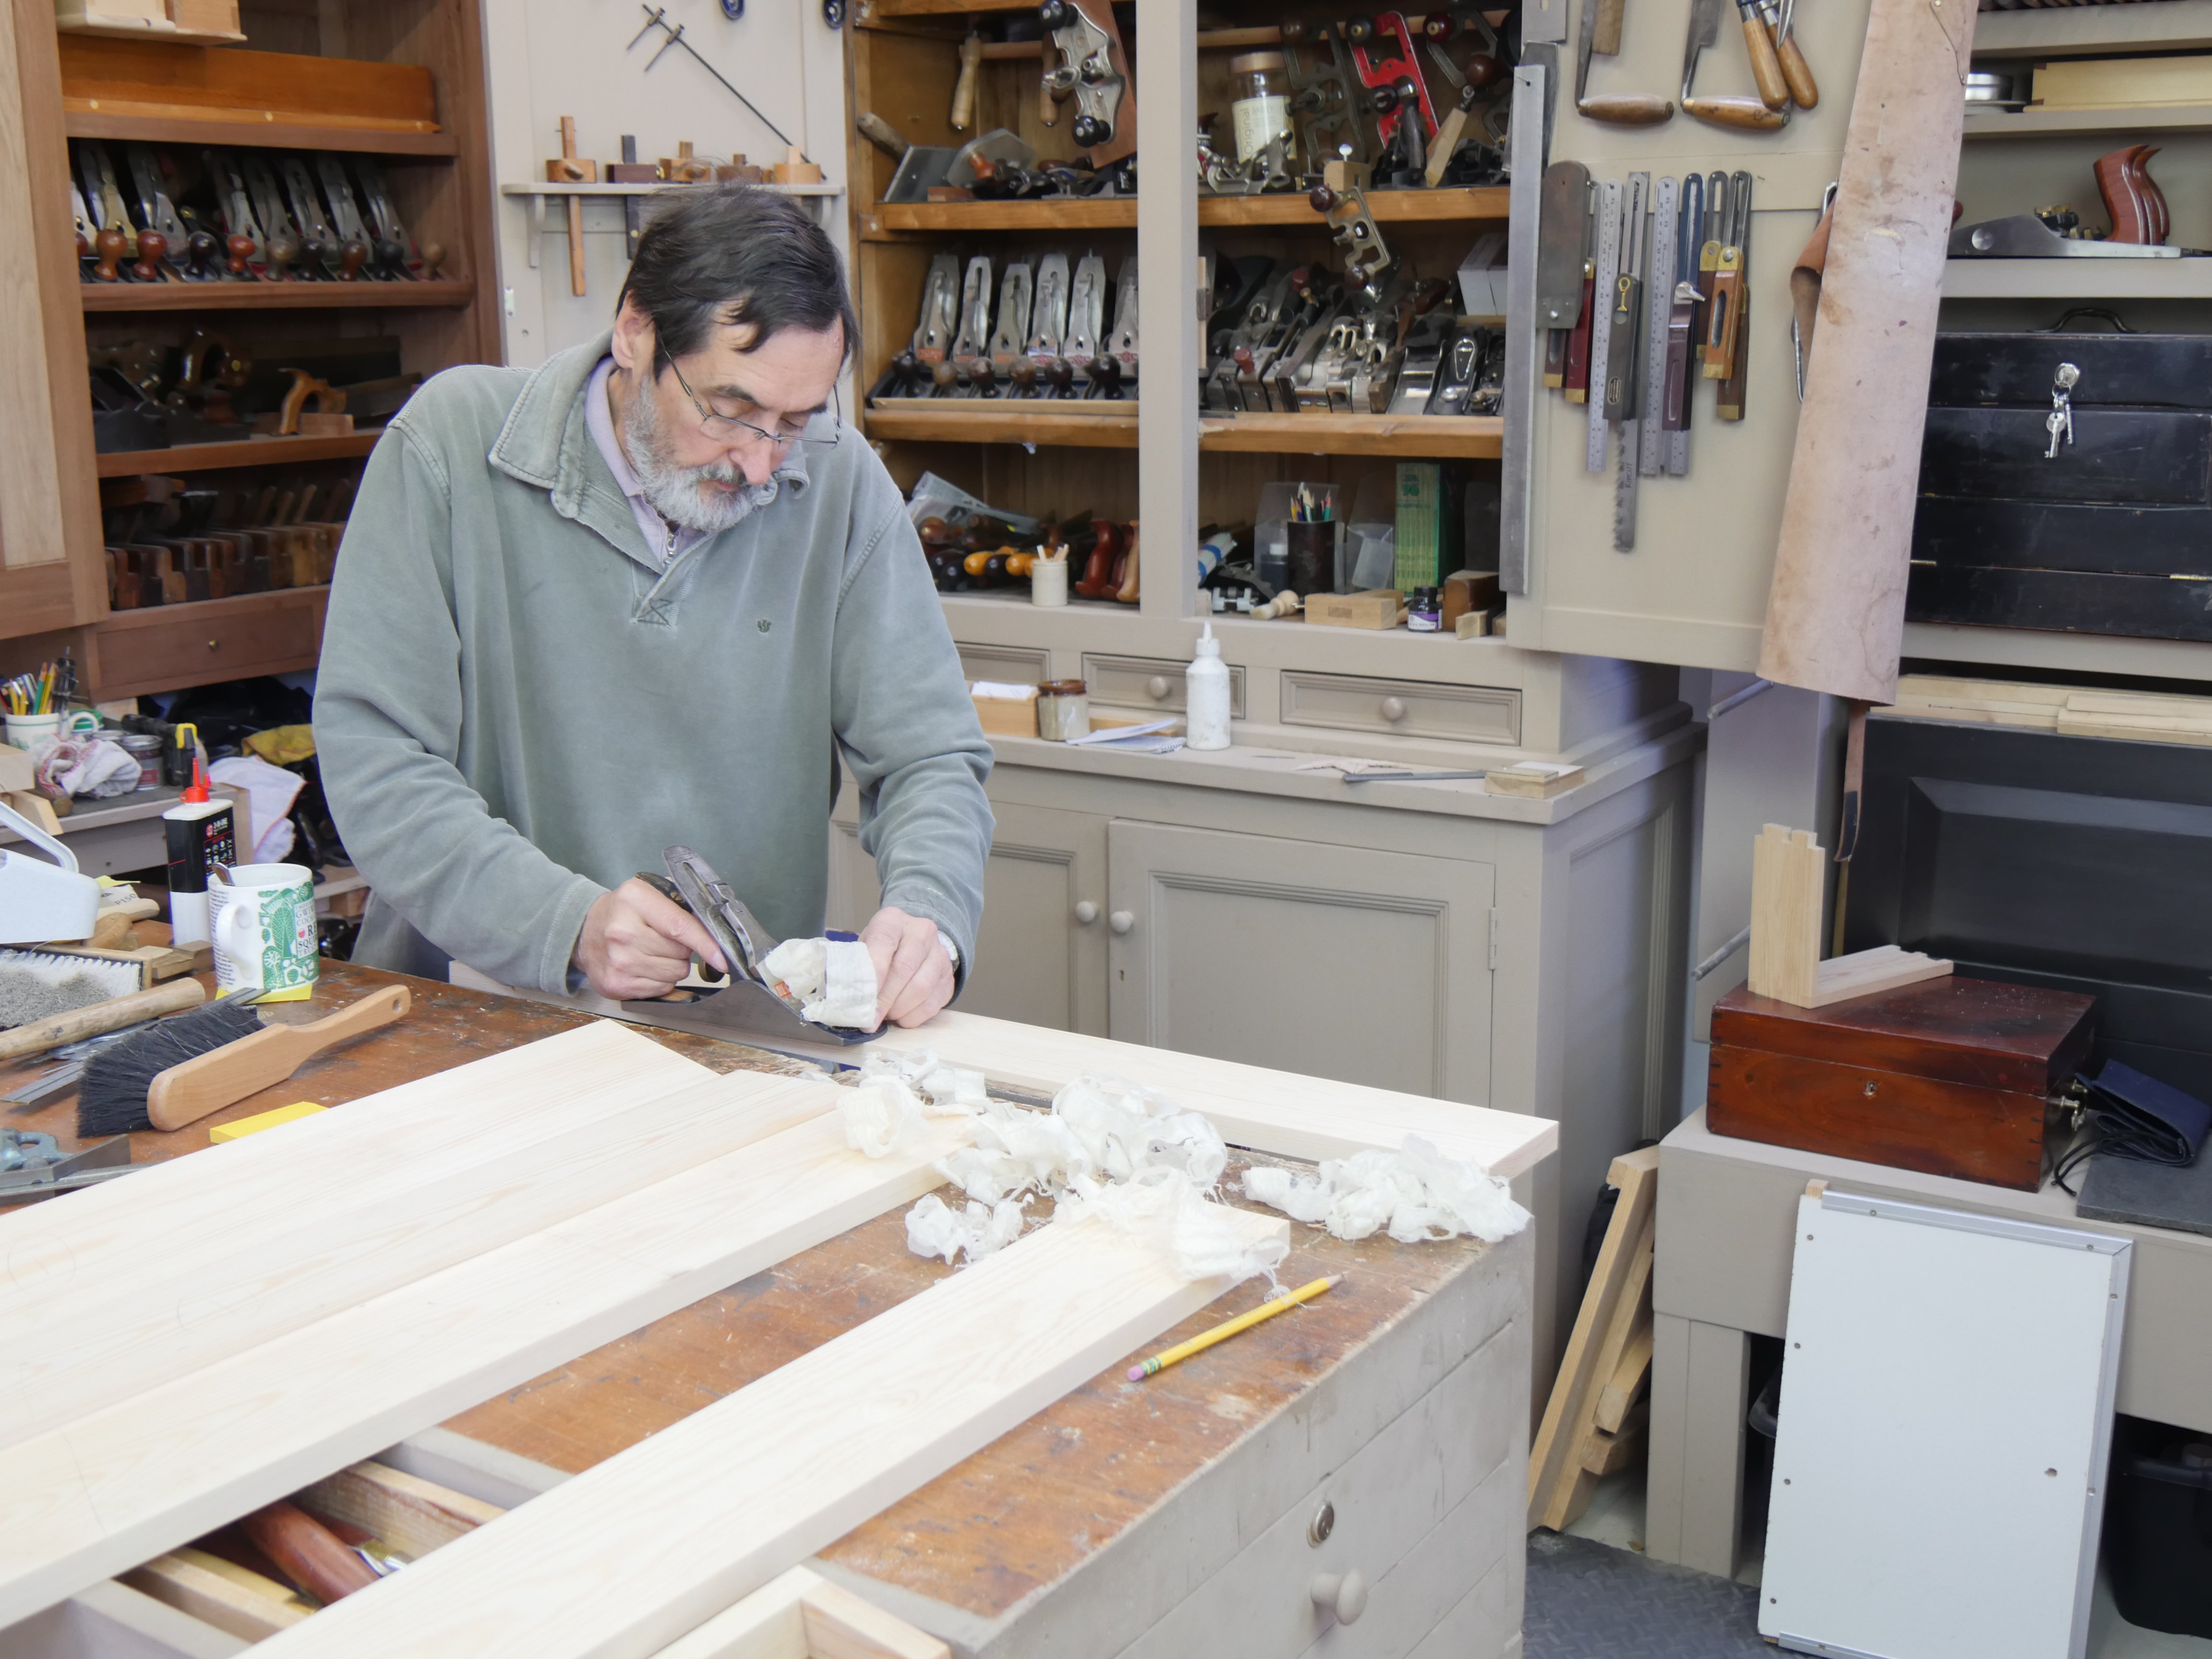
When I sharpen my plane I look for one or two other planes to sharpen at the same time. I do this with chisels during chisel work, card and cabinet scrapers, spokeshaves as well. Pulling out the sharpening plates or setting up for sharpening is generally interruptive but essential. Though it is critical to keep on top of sharpening as an iterative element of the workday, it still trips up the continuity of the work and thereby the energy too. I am so used to it now and look forward to sharpening.
The facts
Sharpening two planes at the same time means that I can keep one for more reductive work where glue lines and unevenness need a heavier set and a more rigorous approach in planing. Glue snots are removed at this level. Generally I would not necessarily rely on a scrub plane every time, this roughing level can be done with a regular straight iron. I attack glue lines first to remove the protrusions of glue and then abrasive hardness glue often leaves when fully hardened. I then remove uneven heights keeping the same set throughout at this level. 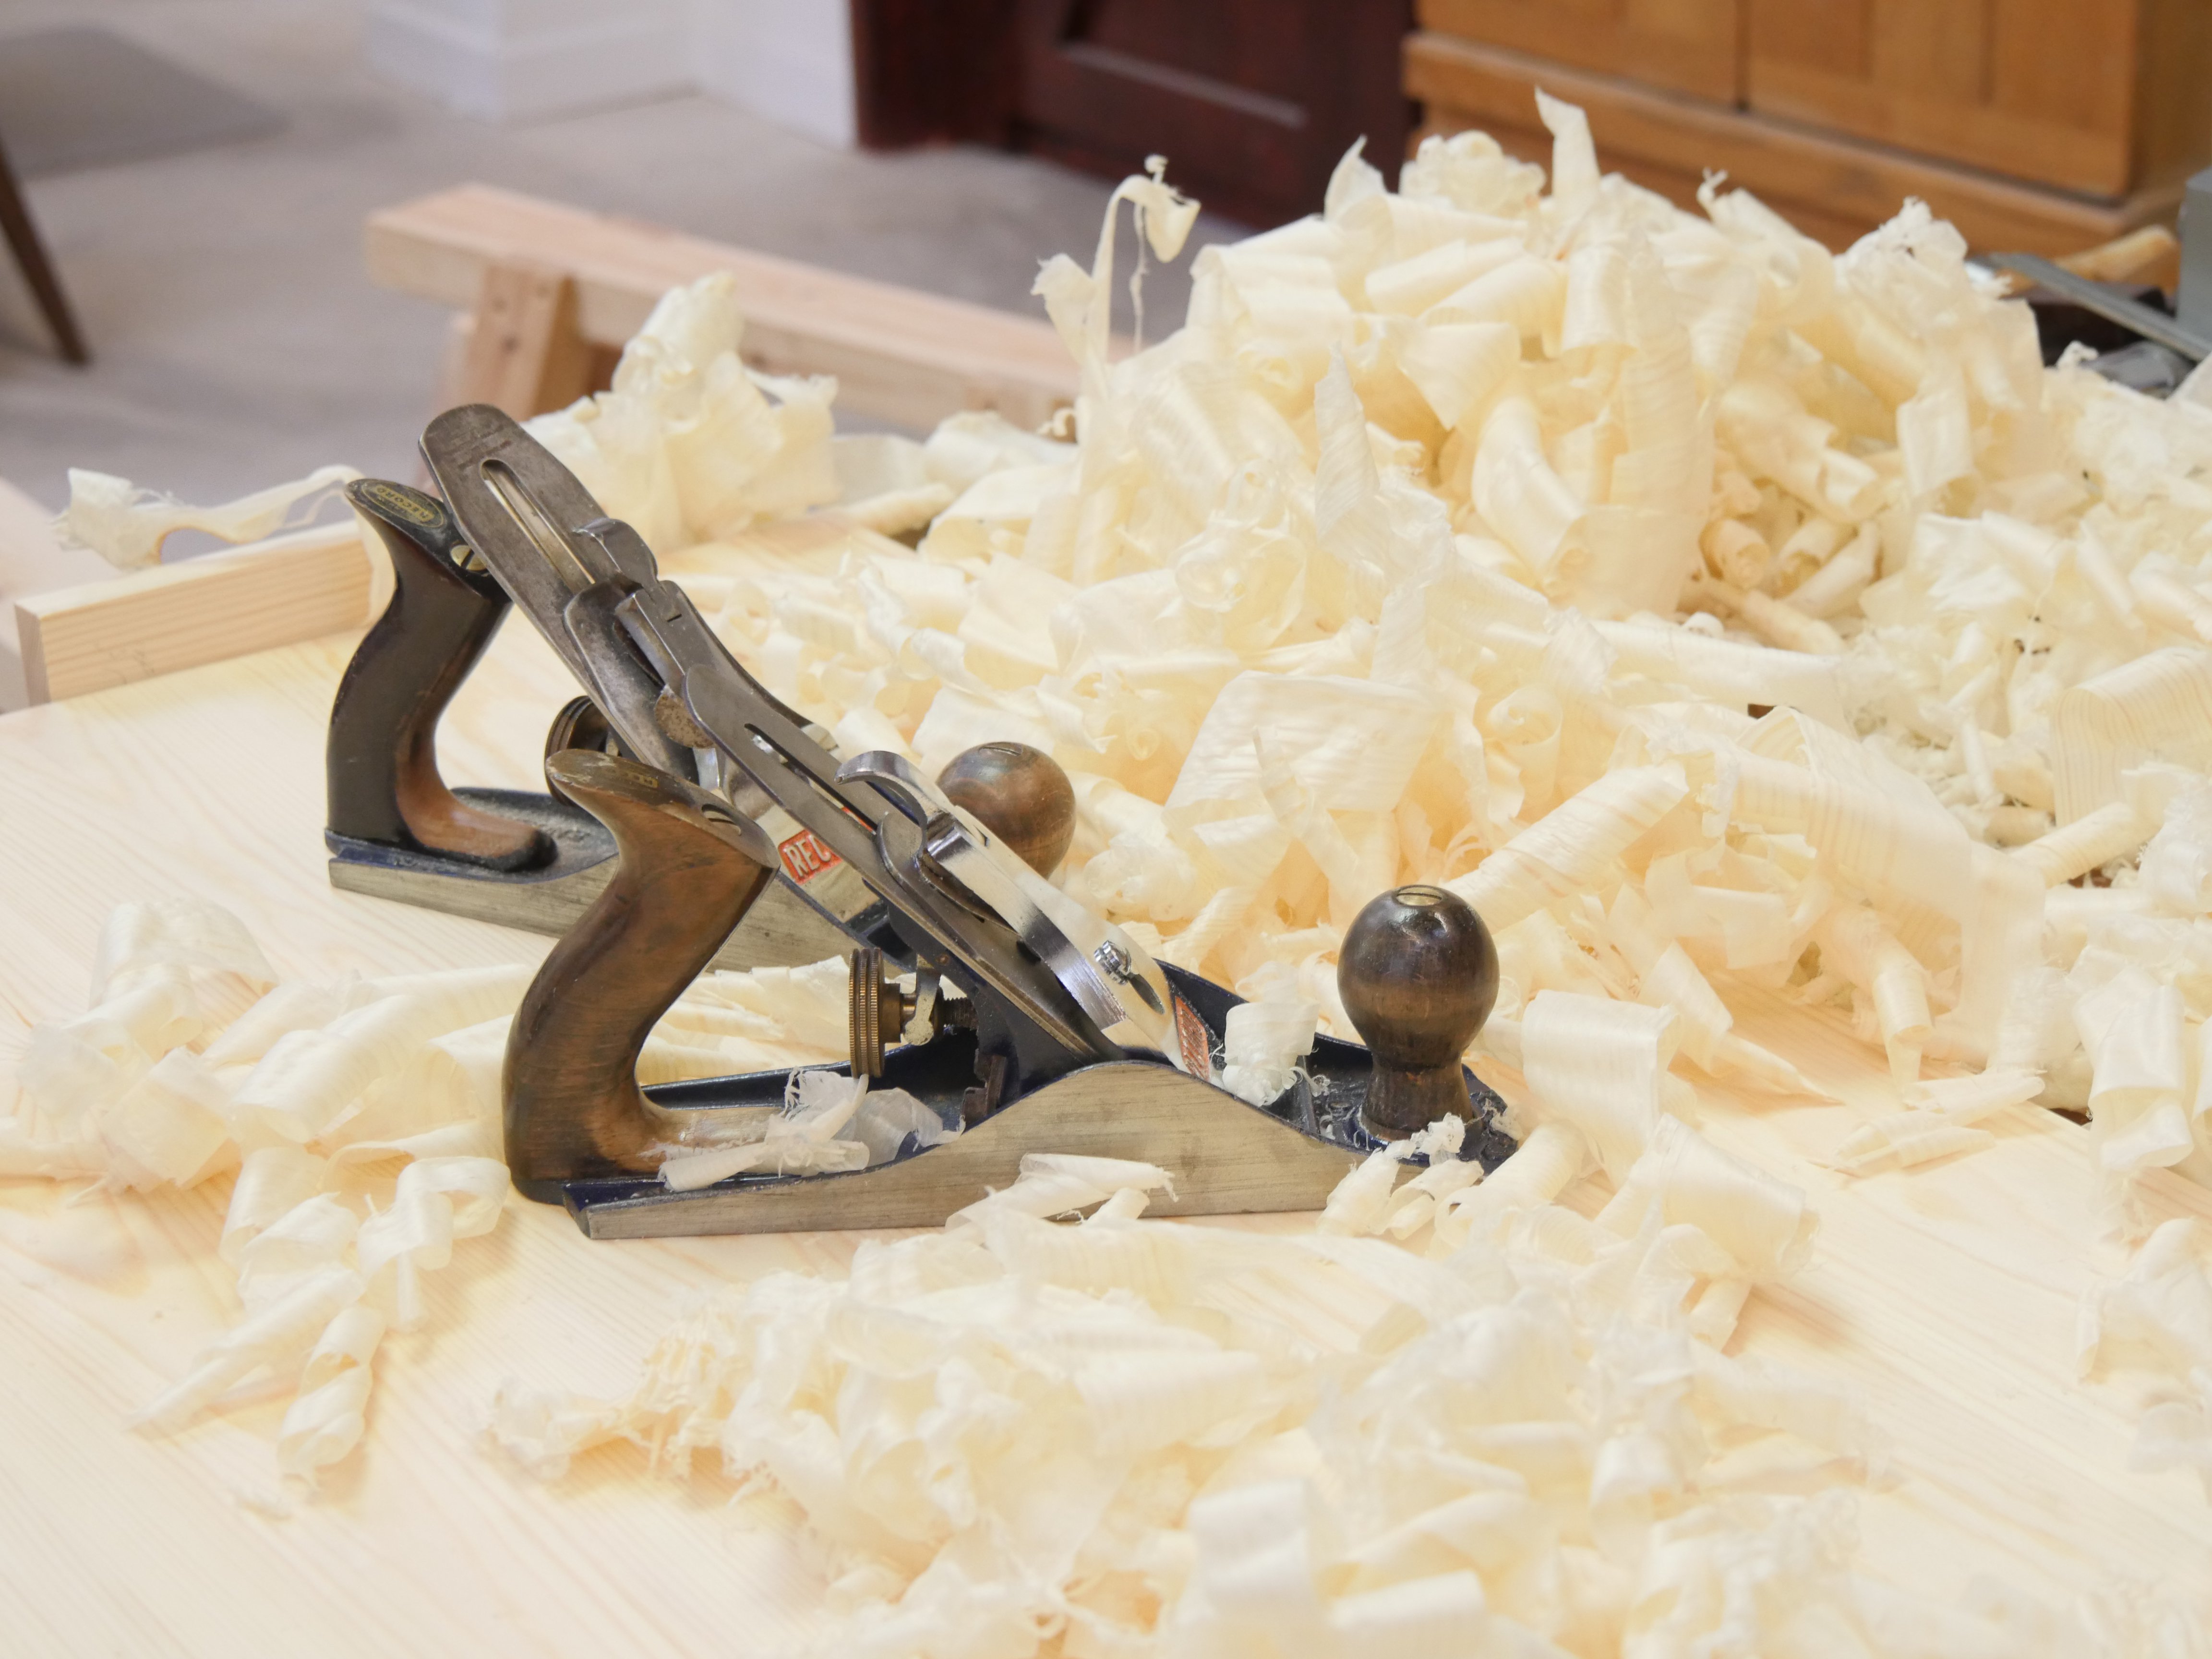
The heavier set plane usually dulls earlier than the fine set for obvious reasons, but I still return to the sharpening plates with both planes for resharpening to a fine level. I can of course use either plane for either level rather than having one particularly dedicated. That way I don’t have to keep track of one or the other. I am always aware of which plane is which because I can see the shaving thicknesses in the throat.
I hope this is covered in future project , in meantime Ill keep practicing
I’ve been under your tutalidge for a little over a year now, and your starting to rub off on me. I just picked up my third #4 in an antique shop here in the Pacific Northwest. It’s a pre war Stanley that’s looks barely used for $30 US. I nearly felt guilty paying so little for it. But I had in my mind that I would keep this one very finely set. The other two a scrub and a bit more fine than the scrub. Thank you for all of the nuggets of wisdom. And for reminding us to think for ourselves.
I’ve picked up stanley planes at carboot sales for the price of a pint (less than €5, $5.70 atm)
Look into it.
After watching your video on how to turn a #4 into a scrub lane, I purchased another #4 and will follow your lead. Great idea!!
Paul, this is a good day . I received your book and Dvd’s about a week ago or so which is Wonderful I may add.
Over the past two to three years I’ve been buying #4 Bailey Pattern Stanley’s, Records, and even a Woden. And although I thought I was fettling them correctly I just couldn’t get them to work like I thought they should so therefore I was blaming it on the planes.
So last night around midnight I poped in your DVD . There was the answer to all my problems right there. I even blamed it on my diamond stones and now I have six different sets . That’s a lot of money ! Lol. I even bought two WWII #4’s this past week both had never been used still in the box. I was thinking that maybe these two will be the ones to work. Well they do. And so do the other thirty five I bought now thanks to your Book and DVD. I was so happy I was up all night tuning up my #4’s . I also finally got the diamond plates yesterday in the mail ,the ones you use. They are definitely flatter than the other ones.
When you sharpen your plane irons I notice that you almost turn the iron ,not completely “but almost “at an angle that the width of the iron is running close to parallel with the length of the diamond plate. Espically when your doing the corners. Do you have a specific reason for doing this and if so what is it?
Hello Paul,
I too have a few planes with different settings. All are car boot finds and bought for next to nothing. I must admit I like restoring them almost as much as using them.
I recently bought an old wooden ‘coffin plane’ as we call them which had a handle at the back making it much easier to control. Looking at the heavy blade and cap iron (Mathieson) I saw that the blade had been rounded somewhat at the corners as you recommended. A quick hone, and I was astounded at how good a scrub plane it made with it’s wider throat, and being wooden bodied it simply glides over rough sawn timber. What a joy to use, and at a princely £5, it came with that smug feeling that I was beating the system.
Regards, Steve M
Paul
As always thanks for the great information and simple, elegant solutions to make woodworking easier.
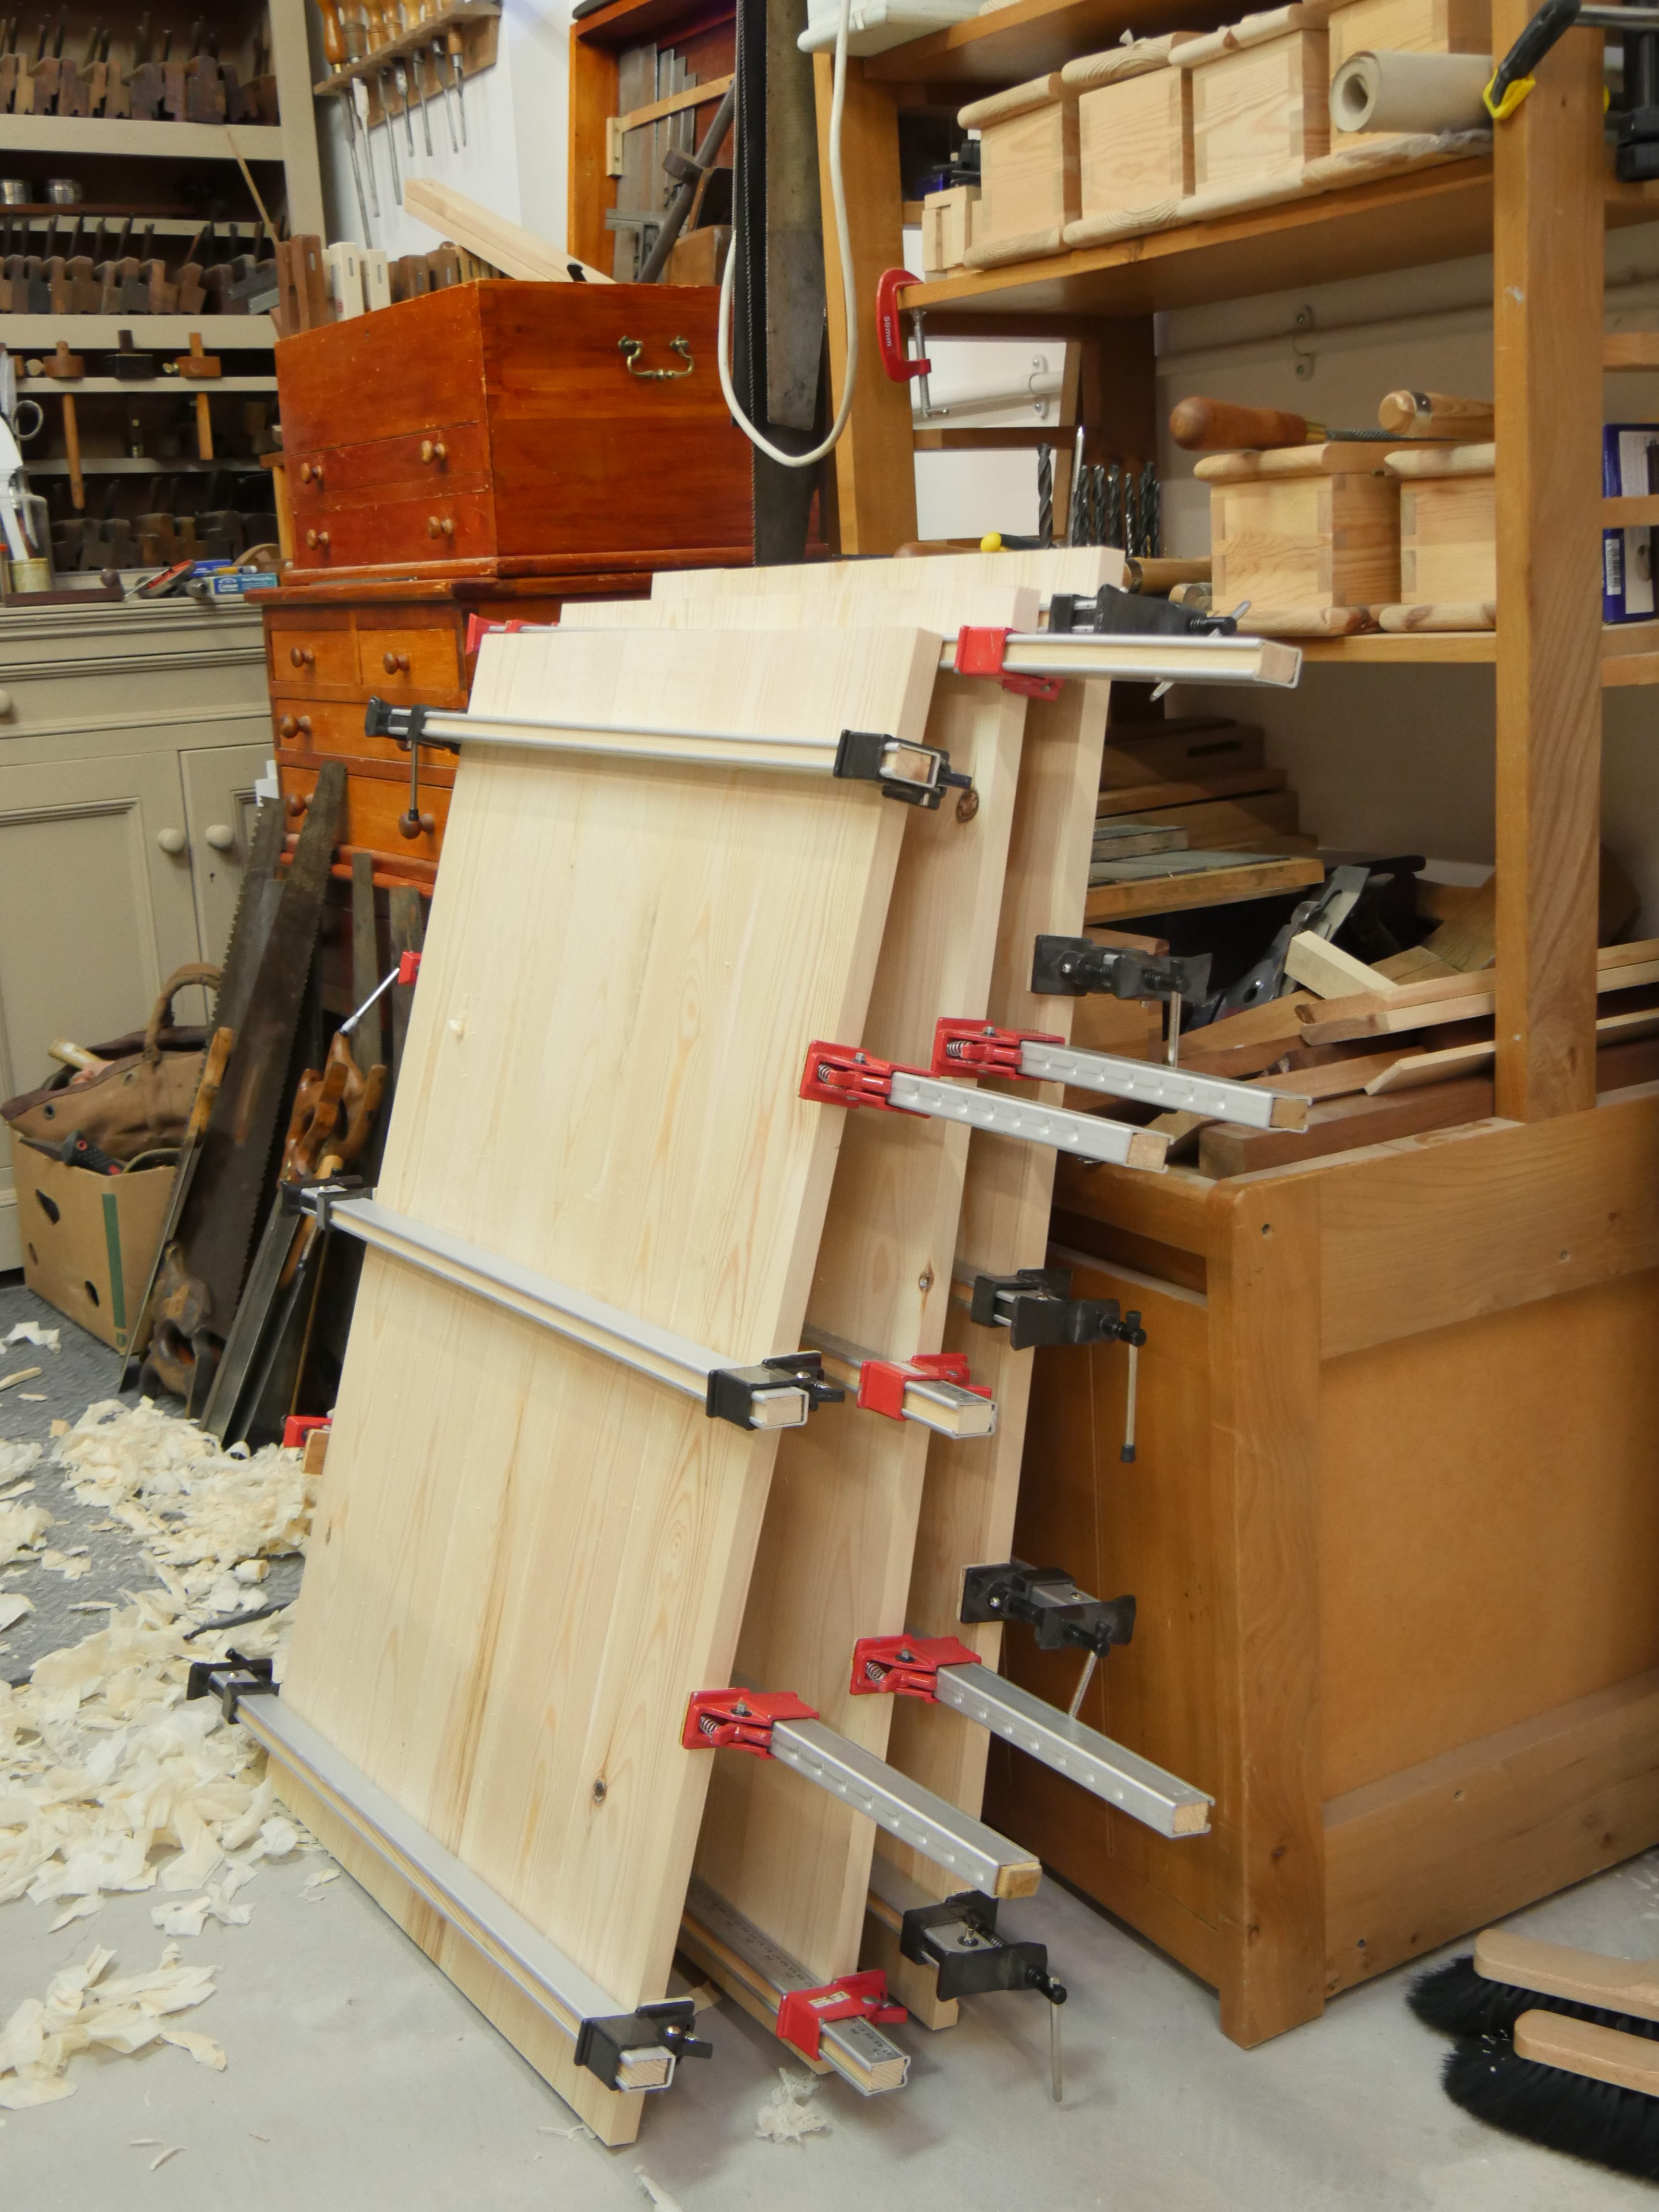
I noticed you added wooden battens inside the aluminum bar clamps, is that to make them stiffer?
Yes, here is a video link to see it on youtube . And there is a blog also here.
FWIW —
Your example of using a second #4 smoothing plane as a scrub plane is very practical and, as you have pointed out, has long historical precedent.
Because I happened to have a second #5 plane that was of lower quality (plastic-handled Stanley), I transformed it into a scrub plane and it works great.
Having a “second plane” can be a luxury, as you say, like having a #5 bench plane and a #5 low-angle bench plane, but if you can swing it, it really contributes to one’s economy of time and effort over the longer run.
Thank you for encouraging all of us to think reflectively about our tools,
Best regards.
Does “set” mean how far the cap iron is set from the edge of the blade? If so, what would be a good set for a scrub #4, “rougher” #4, and fine #4?
The depth of cut is the distance the cutting iron (blade) protrudes past the face of the sole. As far as rougher setting and scrub plane setting goes, if you watch the YT video (see answers to Tim O below for url) on setting up the scrub plane you will see the work that’s to be done to get the blade to protrude sufficient for deeper cuts and the way the cutting iron assembly is altered to facilitate the extra protrusion through the mouth. Rougher just means a deeper set but the distance for the cap iron to the plane iron cutting edge remains the same at about 1-2mm.
Thanks Paul.
I find that at my beginners level I enjoy the 6. The Joy Of Six perhaps? It’s a ruddy great thing but I find the longer forward part of the sole hugely useful in stopping me chopping away the early part of the board. I have 4’s of course, one sharpened flat for fine finishing and another at quite a curve for reducing a coarse finish quickly. I don’t think though that at my level I shall be able to produce a dead flat board with such a short plane as a 4. Perhaps a week with Mr S might do the trick? Thanks to all for your insightful comments as always.
May your splinters be few.
Paul I’m sure you’ve answered this before. I am new to your blog am wondering why the aprons or skirts on your work bench ? What purpose do they serve ?
Different planes for different purposes. Why do you have multiple hand routers?
At least one has a wooden sole attached, and since you don’t do things wantonly (in wood work, at least) what different purposes do you have for those lovely Preston hand routers hanging behind your bench?
I have a Stanley 71 and I know I’ll need at least one smaller routing plane, but it would be nice to think ahead.
It’s all your fault…
…three weeks ago, I owned three planes; a cheap Stanley Workman No.4 & the Stanley Bailey 4½ & 5½ planes that belonged to my late father through his more than 60 years of joinery & home improvements.
None were particularly sharp, all slightly rusty & in need of some TLC (usual broken handle on the 4½). Then I found your YT video on restoring planes.
I now have the original three cleaned & razor sharp, plus two more Stanley No.4’s & a Record No.5½, also restored, a Record No.4 & a Stanley No.3 on the way, all from Ebay at less than £30 each delivered.
I’m flying out to the US next week & know that the flea market in Albuquerque will be a source of more planes at bargain prices.
I can stop any time I like, honestly…:-)
Paul,
Thank you for sharing your knowledge. You have allowed me to gain confidence in pursuing hand tool wood working, previously thinking I needed an apprenticeship to even have a pray in the craft. I am beginning my beginners tool set and I am on a tight budget. I’m in the mid-atlantic region of the U.S. and there are many antiques available but Stanley planes have been elusive. However, Craftsman, Millers falls, Sargent, and Dunlap are overflowing. Do you have an opinion on these brands? I have researched woodworking blogs and get a 50\50 mindset, some people even calling these copycat brands junk. But I can easily find them and afford them. I just don’t want to struggle as a beginner and blame myself if in fact my tool is a significant contributor.
Thanks
I’m struggling with my hand plane where I’m getting a small step down on the wood I’ve planed. What’s causing this and how do I correct so I don’t have to sand it out??
After watching your ” How to make square stock straight” video, I’ve been trying to find a used 5 1/2 Jack plane and have come across a 5 1/2 “fore” plane. Hoping you can explain the difference between a fore plane and a Jack plane. Thank you very much
Often bench planes are mis-named. The 5 1/2 is denoted by the number on the sole casting and so the 5 and 5 1/2 are both known universally as jack planes in the bedrock and Bailey pattern planes invented and developed under the Stanley brand. There are many copycats ranging from Record and other UK, Chinese and American makers all the way through Clifton, Quangsheng, WoodRiver and Lie Nielsen at the modern-day end. Jack plane and fore plane works fine for me regardless as the jack plane is often used be’fore‘ other planes. Watch out for the clever verbiage though. Things like, “Made to British Standards” It does not mean made in Britain and the British standard is/was not always that good.